How to Make a Flower Bed in 7 Simple Steps
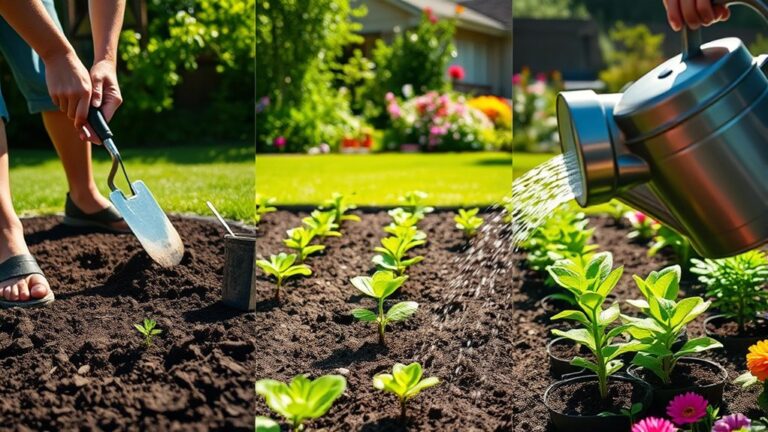
Starting a flower bed can feel overwhelming when you’re unsure what to plant, how to prepare the soil, or where to begin. You’re not alone—many gardeners struggle to bring their ideas to life. This guide to how to make a flower bed breaks the process into simple steps and highlights helpful products to make the job easier.
To make a flower bed in seven simple steps, choose a spot with at least six hours of sun and good drainage. Plan its shape and size, keeping the bed narrow enough to reach the center.
Pick flowers suited to the light and bloom seasons. Gather tools, clear weeds and debris, then loosen the soil and mix in compost as needed.
Plant flowers with suitable spacing, water slowly at the roots, and finish with two to three inches of mulch. A few smart details can help your new bed thrive.
Key Takeaways
- Choose a sunny, well-drained site that receives at least six hours of direct sunlight daily.
- Sketch a simple bed shape, mark it with a hose or string, and measure its dimensions.
- Gather tools, remove weeds and grass, and clear debris, stones, and dead plants.
- Loosen the soil, remove remaining roots and stones, and mix in finished compost as needed.
- Choose flowers suited to the bed’s sunlight and seasonal needs, then plant and water them thoroughly.
Choose a Sunny, Well-Drained Flower Bed Spot
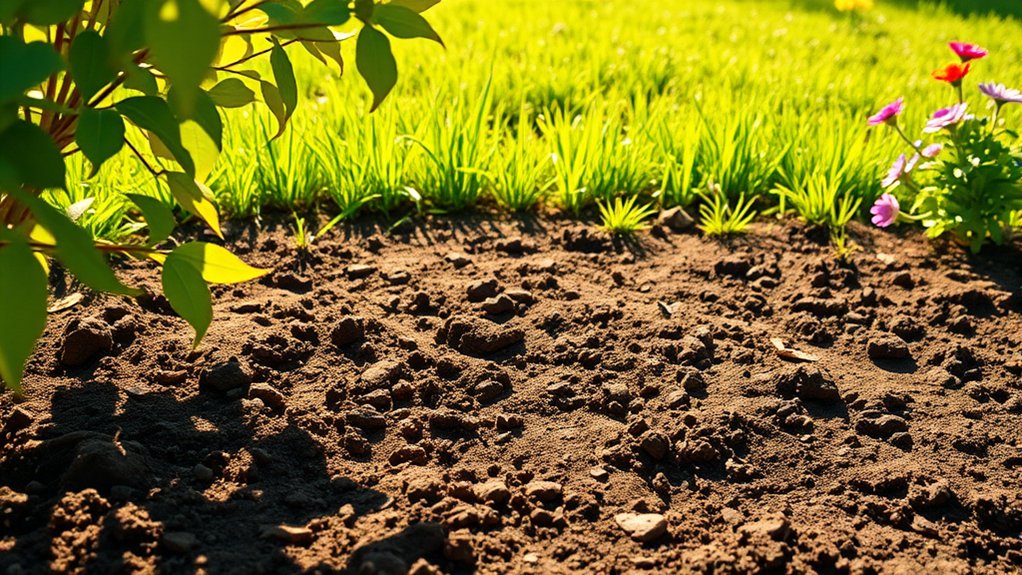
Start by choosing a spot that gets at least six hours of direct sunlight a day and drains well after rain. Most flowering plants thrive with plenty of light, but check the labels on your chosen varieties; some prefer partial shade. Watch the area throughout the day to see whether trees, fences, or buildings cast shade. These observations help you compare sunny spots and select a place that suits your plants.
Next, assess how water moves across the ground. After a rainstorm, look for puddles that linger or soil that stays soggy. Poor drainage can suffocate roots and encourage disease. For simple drainage tips, avoid low spots and compacted ground, and check whether the soil feels sticky or waterlogged. If you’re unsure, dig a small test hole, fill it with water, and see how quickly it empties. Choose a location where excess water can drain without washing soil away. A suitable site gives your flowers the light they need and helps their roots stay healthy.
Plan Your Flower Bed’s Shape and Size
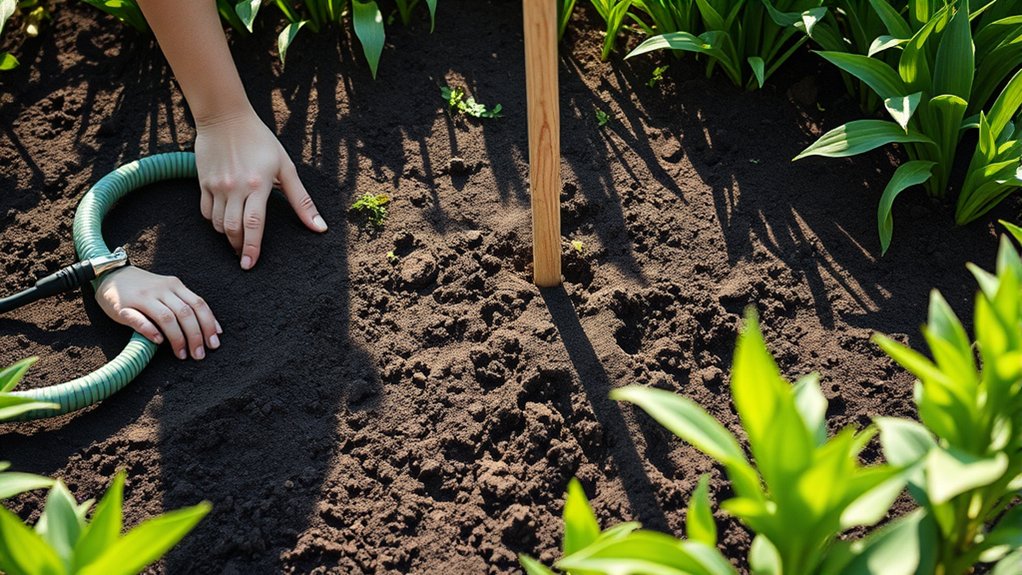
Choose a shape that suits your yard and complements nearby paths or structures. Then measure the bed’s length and width to figure out how many plants it can hold.
Choose Bed Shape
Decide where your flower bed will go, then sketch a shape and size that suit the space. Choose a design that complements your yard and works with nearby paths, trees, and buildings.
The right flower bed shapes can make a small garden feel welcoming or give a large lawn a clear focal point. Consider curved vs straight beds: curves soften open areas, while straight edges suit formal layouts and tidy borders.
Use these ideas to narrow your choice:
- Match the bed’s outline to your home’s style.
- Follow existing lines, such as fences or walkways.
- Choose curves for a relaxed, natural look.
- Pick straight edges for a crisp, structured effect.
You’ll find it easier to maintain a shape that fits your routine. Keep the outline simple, especially if you’re new to gardening.
Measure Bed Size
How large should your flower bed be? Match its dimensions to your space, plants, and maintenance needs. Keep the bed narrow enough to reach its center without stepping on soil; a width of three to four feet works well beside a path. For an island bed, make sure you can reach every side.
| Bed location | Suggested width |
|---|---|
| Along a path | 3–4 feet |
| Against a wall | 2–3 feet |
Mark the outline with a garden hose or string, then measure its length and width. For curves, measure the widest points. Check measuring accuracy by taking each measurement twice, and adjust the outline before digging.
Use a level or straightedge to check edge alignment along paths and borders. Record your final dimensions so you can estimate soil, compost, and plant quantities before buying supplies.
Choose Flowers for Sunlight and Seasons

Check how many hours of sunlight your flower bed gets, then choose plants that thrive in those conditions. To keep your garden colorful, pick flowers that bloom in different seasons. That way, you can enjoy blooms for longer.
Match Flowers to Sunlight
Before choosing flowers, note how many hours of direct sunlight each part of your bed gets. Track sun exposure in the morning and afternoon, since nearby trees or buildings can change the light.
Then match each spot to plants that thrive under those conditions. Don’t assume a partly shaded area suits every flower; check each plant’s shade tolerance on its label or in a reliable garden guide.
Use these simple categories to narrow your choices:
- Full sun: Choose flowers that need six or more hours of direct light.
- Part sun: Pick varieties suited to four to six hours.
- Part shade: Look for plants that grow well with two to four hours.
- Full shade: Select flowers that tolerate less than two hours of direct sun.
Place each flower where its light needs fit.
Plan for Seasonal Blooms
Once you’ve matched flowers to the bed’s sunlight, plan when you want them to bloom. Check each plant’s flowering season and use seasonal bloom timing to keep your garden colorful from spring through fall. Choose early, midseason, and late bloomers so one group’s flowers fade as another’s open. Include a few long-blooming varieties for steady color between these transitions.
Think about color coordination, too. Select a palette that suits your home and garden, such as warm reds and yellows or cool blues and purples. Repeat key colors across the bed to create a unified look, and add contrasting shades for interest. Check mature plant sizes and bloom periods before buying, then sketch where each flower will go. This simple plan helps you avoid gaps, crowded plants, and color clashes as the seasons change.
Gather Tools and Clear the Flower Bed
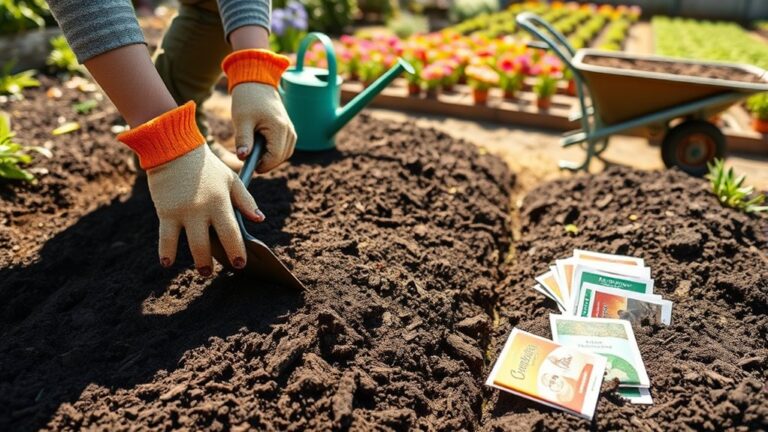
What tools will make the job easier? Gather tools before you begin, so you won’t stop midway to search for supplies. You’ll need a spade, hand trowel, rake, gloves, and a wheelbarrow or garden bag. Keep pruners nearby for small unwanted growth.
Set aside materials that provide mulch and compost for later steps, but don’t work them into the ground yet.
Clear the bed carefully to make room for your planned flowers. First, remove debris and anything that doesn’t belong:
- Pull weeds, including their roots, and bag invasive plants.
- Cut back dead stems with clean pruners.
- Lift out stones, litter, and broken branches.
- Rake away loose leaves and leftover plant matter.
If you’re removing grass, slice beneath its roots with a spade and lift it out in manageable sections. Check for buried edging, cables, or irrigation lines before digging.
Work steadily, and dispose of waste responsibly. Leave established plants you intend to keep untouched.
Prepare the Soil for Healthy Flowers
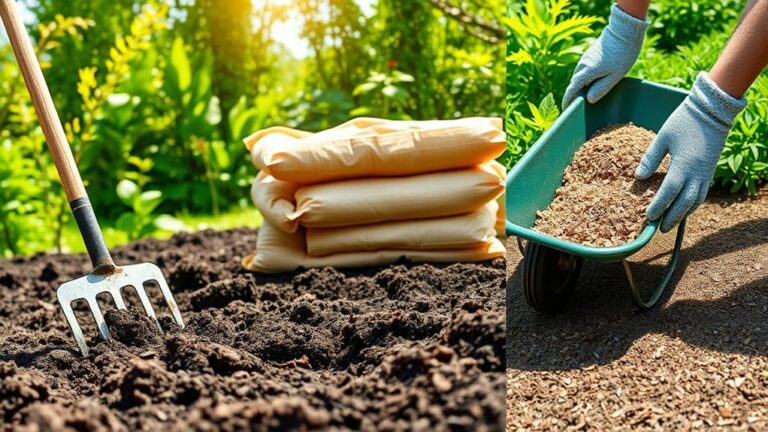
With the bed clear, loosen the soil with a spade or garden fork to help flower roots spread. Work across the bed, breaking up compacted clumps without turning the soil too deeply. Remove stones, roots, and any remaining weeds as you go.
Next, check the soil’s texture and drainage. If it feels heavy and sticky, mix in finished compost to improve airflow and water movement. If it drains too quickly, compost can help it hold moisture. Spread a layer over the surface, then blend it into the top several inches.
Test your soil pH with a home kit or a local extension service. Use the results to decide whether you need an amendment; don’t add lime or sulfur without guidance. Compost also supports microbial health, helping soil organisms cycle nutrients naturally.
Rake the bed smooth, then water lightly to settle the soil. Let the prepared bed rest briefly before you continue.
Plant Flowers at the Right Spacing
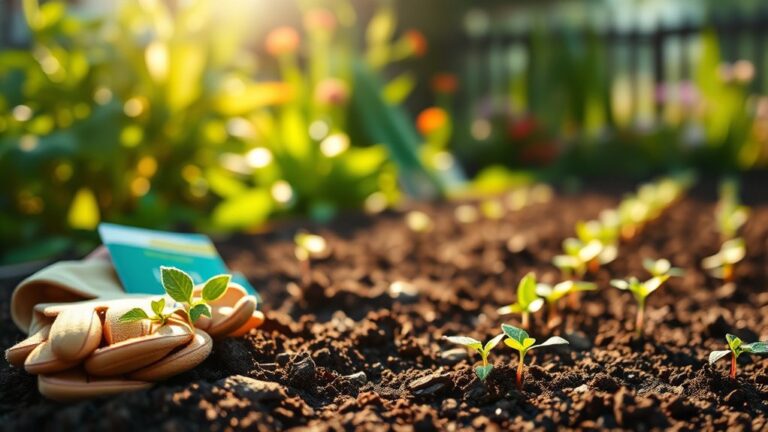
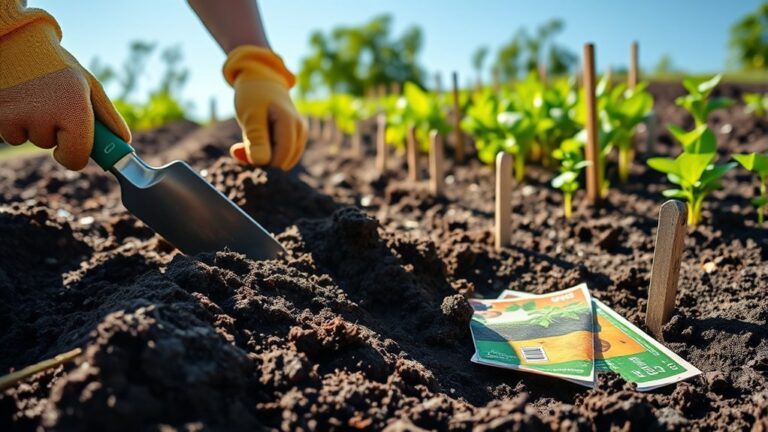
Before planting, check each flower’s mature width on its label or seed packet. Use that measurement to plan plant spacing, allowing each flower room to reach its full size without crowding its neighbors. Follow spacing guidelines for the varieties you’ve chosen, since compact annuals and spreading perennials need different amounts of space.
Arrange pots on the soil before you dig. This lets you adjust the layout and balance colors, heights, and shapes. Keep taller flowers toward the back of a border or the center of an island bed, and place shorter varieties where you can see them. For a natural look, avoid perfectly straight rows; stagger plants in loose groups instead.
Use these checks as you position each flower:
- Measure between plant centers, not leaf edges.
- Leave the recommended distance for mature growth.
- Group matching varieties in odd-numbered clusters.
- Check that every plant has enough room around it.
Once the arrangement looks balanced, plant each flower at the same depth it grew in its pot.
Water and Mulch Your Flower Bed
Water your flower bed thoroughly after planting to help the soil settle around the roots. Apply water slowly at the base of each plant so it reaches the root zone instead of running off. Check the soil a few inches down; if it feels dry, water again.
Your watering schedule depends on rainfall, temperature, and soil type. During the first few weeks, check moisture often, then adjust as plants establish. Water in the morning to reduce evaporation and give foliage time to dry.
Once the soil is moist, spread a layer of organic mulch over the bed. Shredded bark, compost, or leaf mold can help retain moisture, suppress weeds, and moderate soil temperature.
Keep mulch thickness around two to three inches, but leave a small gap around each stem to prevent rot. Don’t pile mulch against plant crowns or cover them. Refresh the layer as it breaks down, and check beneath it before watering so you don’t keep the soil too wet.
Frequently Asked Questions
When Is the Best Time of Year to Create a Flower Bed?
The best time to create a flower bed is usually early spring or fall, when cooler temperatures and regular rainfall help plants establish roots. For spring planting, start spring planning while the ground is workable, then complete soil preparation before adding flowers.
In mild climates, you can build a bed almost any time, but avoid frozen or waterlogged soil and extreme summer heat. Check your local planting calendar to choose the best window.
How Much Does It Typically Cost to Make a Flower Bed?
You can typically expect to spend $300–$1,500 to create a flower bed, though size, soil, plants, and labor can push costs higher. A small DIY bed may cost $50–$300, while professional installation often starts around $500.
The devil’s in the details: edging, compost, mulch, and delivery fees add up quickly. Compare local cost estimates, then set aside money for maintenance budgeting, including watering, seasonal replacements, and fresh mulch each year.
Can I Create a Flower Bed Over an Existing Lawn?
Yes, you can create a flower bed over an existing lawn, and this lawn transformation doesn’t require digging up every blade of grass. First, mow the area short and cover it with overlapping cardboard or several layers of newspaper. Wet the covering, then add four to six inches of compost and soil. Let the grass break down for several weeks before planting, or plant immediately in deeper soil. Avoid using glossy cardboard or weed-barrier fabric.
How Can I Prevent Weeds From Returning to My Flower Bed?
Prevent weeds from returning by removing them before they set seed, then covering bare soil. Use effective weeding methods: pull young weeds after rain, dig out deep roots, and check the bed weekly.
Apply mulch strategies by spreading a two- to three-inch layer of shredded bark, leaves, or compost, keeping it away from plant stems. Replenish mulch as it thins, and water plants directly so weed seeds get less moisture and light.
Should I Use Landscape Edging Around My Flower Bed?
Yes, you should use landscape edging if you want a neat border and easier weed prevention. It helps separate your flower bed from lawn grass and can slow spreading roots, but it won’t stop every weed. Choose durable edging that suits your garden’s style, then install it securely with the top slightly above soil level. You’ll still need to pull weeds and maintain mulch, since edging works best as part of a broader plan.
Conclusion
Your flower bed is more than a patch of color. It’s a small promise of growth. Choose a sunny spot, shape the space, and select flowers suited to its light and seasons.
Gather your tools, clear the ground, and prepare the soil before planting at the right spacing. Water deeply and add mulch to help roots thrive.
With each thoughtful step, you’re laying the groundwork for beauty that will return, season after season, and reward your care with blooms. A well-planned flower bed can bring that beauty to your garden year after year.