10 Easy Steps to Create a Vegetable Garden
Starting a vegetable garden can feel overwhelming when you’re unsure where to begin or what tools you need. You’re not alone—many beginners struggle to choose the right spot, prepare the soil, and keep plants thriving. These easy steps to create a vegetable garden can help you get started with confidence.
To create a vegetable garden, choose a sunny spot with well-drained soil, then plan a small layout that’s easy to reach. Check your local frost dates and select beginner-friendly crops suited to the season. Gather a trowel, fork, gloves, and watering can or hose.
Clear weeds, loosen soil, and mix in finished compost. Plant seeds or seedlings at the recommended depth and spacing, label rows, and water consistently. Mulch, weed, watch for problems, and harvest crops when ripe. Keep these steps in mind as you get started.
Key Takeaways
- Choose a sunny, accessible location near a water source, and gather basic tools, gloves, and seed trays.
- Test the soil, remove weeds and debris, loosen compacted ground, and mix in finished compost.
- Select easy-to-grow vegetables suited to your climate, and follow seed-packet guidance for planting dates, depth, and spacing.
- Plant seeds or acclimated seedlings, label each row, and water gently to keep soil evenly moist.
- Mulch around plants, weed regularly, adjust watering for weather, and harvest crops when ripe.
Choose a Sunny Spot for Your Vegetable Garden
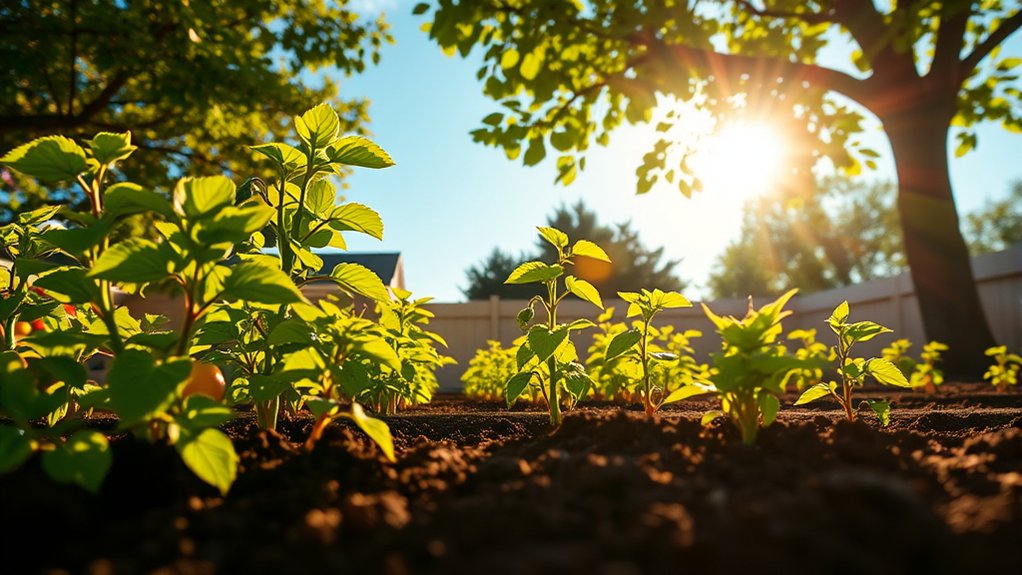
Choose a spot that gets at least six to eight hours of direct sunlight each day. Most vegetables grow best with ample light, which supports healthy leaves, strong roots, and a good harvest.
Watch your yard throughout the day to see where sunlight falls, and note any shade from trees, fences, or buildings. A sunny location also helps soil warm up in spring, giving many crops a better start.
Check that your chosen area has well-draining soil. After rain, avoid places where water pools or the ground stays soggy, since overly wet roots can struggle.
If your soil needs improvement, add compost to build its structure and support plant growth. Consider your fertilizer choices based on the soil’s needs and the vegetables you plan to grow; a soil test can help you avoid adding unnecessary nutrients.
Before settling on the spot, make sure you can reach it easily with a hose or watering can. Regular access makes watering and routine care simpler, especially during hot, dry weather.
Plan a Small, Practical Garden Layout
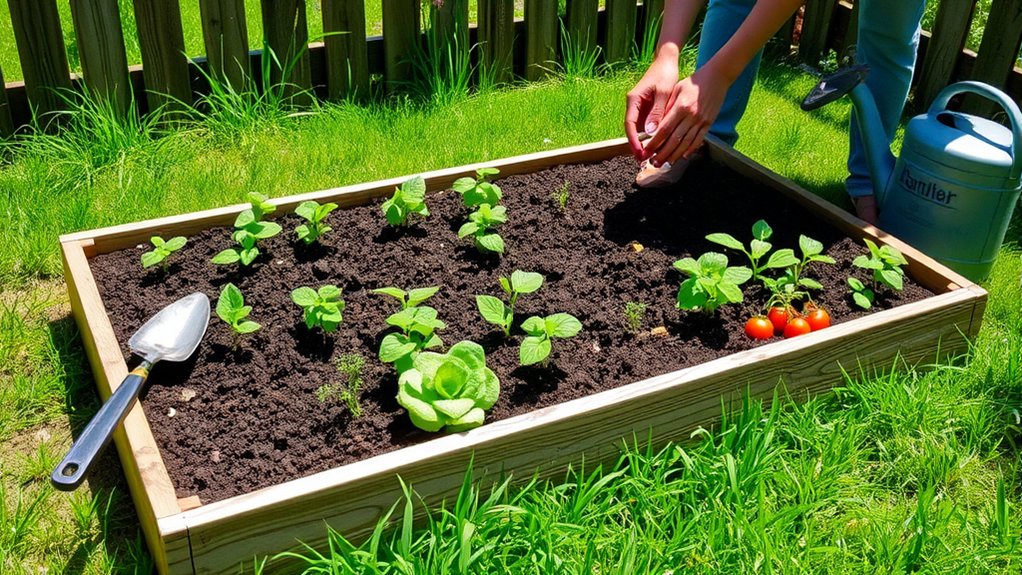
Measure your space first so you can plan a garden that fits. Then arrange your crops to make the most of the sunlight, and group compatible plants together to simplify care and support healthy growth.
Measure Your Space
Before you plant, map out the space you can realistically tend. Grab a tape measure and measure the space available in your yard, patio, or balcony. Record the length and width, then sketch the area on paper or in a garden-planning app.
If the ground has an irregular shape, divide it into simple sections and measure each one separately. Next, evaluate plot conditions that affect layout, such as slopes, narrow passages, fences, and nearby structures. Mark fixed obstacles on your sketch so you won’t plan beds where you can’t reach or work comfortably.
Choose a garden size that fits your routine, not just your ambitions. Leave room for paths and access to every bed. A compact, well-measured layout makes planting, watering, and harvesting easier to manage throughout the season.
Arrange for Sunlight
Now that you’ve mapped your space, check how sunlight moves across it. Observe your garden at several times of day, noting which areas receive direct light and when shadows appear.
Record the sunlight duration in each spot; most vegetables need at least six hours of direct sun, while leafy greens can manage with less. Use these observations to place taller structures, such as trellises, along the north side so they won’t shade shorter plants.
Include shading considerations from nearby trees, fences, buildings, and seasonal changes. If one corner stays dim, reserve it for a bench, tools, or crops that tolerate partial shade.
Sketch a simple layout, marking sunny and shaded zones. Leave narrow paths between beds so you can reach plants without stepping on the soil.
Group Compatible Crops
Group crops with similar needs—such as watering, sunlight, and spacing—to make a small garden easier to manage. This group compatibility helps you care for plants efficiently and prevents vigorous crops from crowding smaller ones.
Use crop pairing to place helpful neighbors together, while keeping plants with competing needs apart.
| Crop | Compatible neighbor | Layout tip |
|---|---|---|
| Tomatoes | Basil | Leave room to reach fruit |
| Carrots | Lettuce | Sow carrots between rows |
| Beans | Cucumbers | Provide a shared trellis |
| Peppers | Onions | Keep soil evenly moist |
Check each crop’s mature size before planting, not just its seedling footprint. Put tall plants where they won’t shade shorter neighbors, and leave paths wide enough for watering and harvesting.
If your garden is small, grow only a few compatible crops, then adjust the arrangement next season based on what thrived.
Check Your Frost Dates and Planting Window
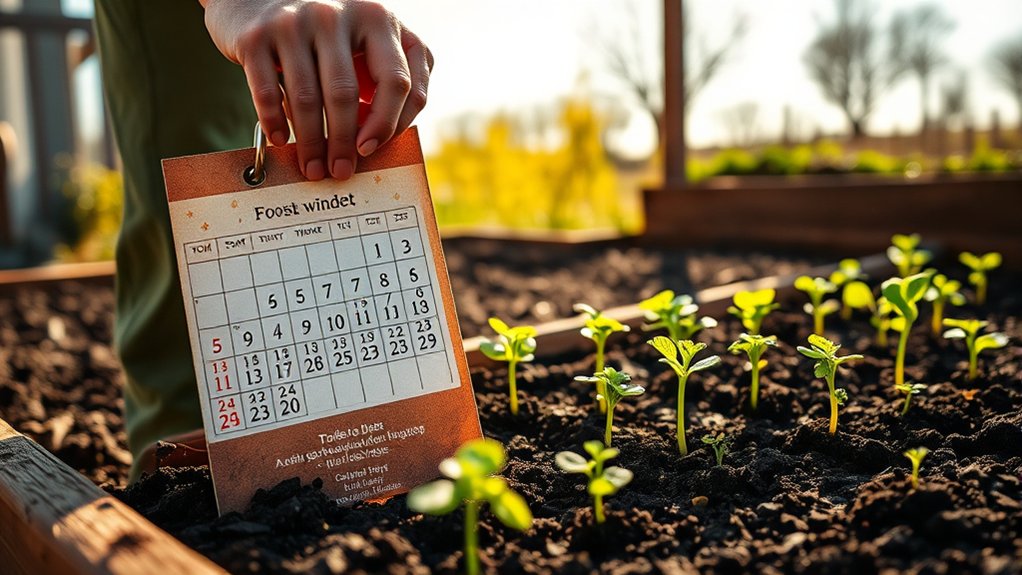
Look up your area’s average last spring frost and first fall frost dates. Use these dates to plan when to plant, keeping each vegetable’s needs in mind. Since conditions can vary across your region, adjust your schedule to match your local climate.
Find Your Frost Dates
Before you plant, check your area’s average last spring frost and first fall frost dates. These frost dates help you understand local growing conditions and choose suitable vegetables.
You can find them through your county extension office, a nearby garden center, or a reliable online frost-date calculator. Enter your ZIP code for estimates specific to your location, then confirm the results with local gardening resources.
Frost dates are averages, not guarantees: a late cold snap or early freeze can still occur. Your yard may also differ from regional estimates because of elevation, slope, buildings, or nearby water.
If you’re new to gardening, ask experienced local gardeners which dates they use. Keep the information handy as you plan your planting window, and check forecasts before setting out tender plants.
Know Your Planting Window
Once you know your frost dates, use them to set a planting window for each vegetable. Check seed packets and plant labels for guidance on when to sow seeds or transplant seedlings in relation to your last spring frost and first fall frost.
Cool-season crops, such as peas and spinach, often tolerate earlier planting, while warm-season crops, such as tomatoes and peppers, need warmer conditions. Count backward from your area’s first fall frost to see whether a crop has enough time to mature.
Include timing considerations such as days to harvest and whether you’ll start seeds indoors. Compare recommendations with regional calendars from your local extension service or trusted gardening guides.
Mark each crop’s window on a calendar, then schedule sowing and transplanting dates so you can act on time.
Plan Around Local Climate
Your local climate determines when vegetables can thrive, so check your area’s frost dates before setting planting and harvest plans. Find your average last spring frost and first fall frost through a local extension service or weather office.
Use those dates to estimate your growing season and choose crops that can mature in time. Next, compare each vegetable’s preferred temperatures and days to maturity with your planting window.
Sow cool-season crops before the last frost when conditions allow, and wait until frost danger passes to plant warm-season vegetables. Adjust these dates for your garden’s elevation, shade, and exposure, since microclimates can shift local conditions.
Build climate adaptation into your routine by tracking temperatures and using seasonal forecasting to anticipate unusual cold or heat. Protect tender plants when forecasts warn of frost.
Choose Easy Vegetables for Beginners
Choosing easy vegetables gives your first garden a better chance to thrive. Pick crops that grow quickly, tolerate small mistakes, and suit the space you have. These easy vegetables help you see progress early and learn what works in your garden. Start with just a few beginner varieties rather than planting everything that sounds appealing.
Choose a few quick-growing vegetables suited to your space, and enjoy early progress while learning what works in your garden.
- Leafy greens: Try lettuce or spinach for quick harvests. You can pick outer leaves as needed, so plants may keep producing.
- Radishes: Sow these fast-growing roots for a simple first success. They’re ready in weeks, giving you a clear sense of how your garden is developing.
- Bush beans: Choose compact plants that don’t need much space. They produce steadily, and their seeds are easy to handle and plant.
Check each crop’s growing season and choose varieties suited to your local conditions. Consider what you enjoy eating, too; you’re more likely to care for crops you’ll use. Keep your first selection manageable, then add new vegetables as your confidence grows.
Gather the Tools You’ll Need to Start
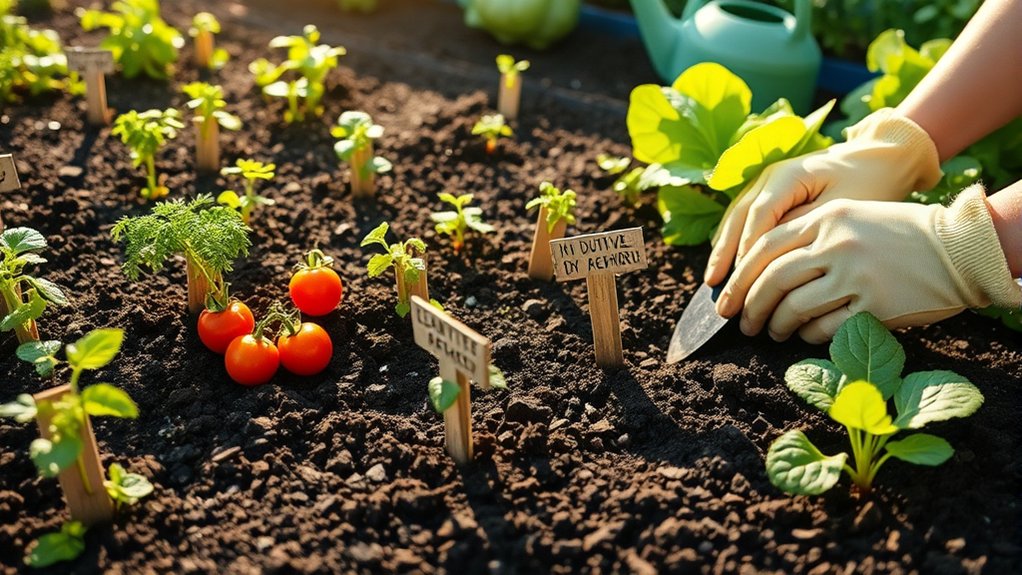
Before you plant, gather a few essentials: a trowel, hand fork, and watering can. You’ll also want sturdy gloves and sun-safe clothing to protect yourself. Keep seed trays, labels, and any other supplies nearby so they’re easy to reach.
Essential Gardening Tools
A few reliable tools make vegetable gardening easier from the start. Choose versatile basics that help you prepare soil, plant seeds, and keep beds tidy. You don’t need a shed full of equipment; a small, well-chosen set can handle most beginner tasks.
- Use a sturdy hand trowel to dig planting holes, transplant seedlings, and mix organic compost into the soil.
- Keep a garden fork or hoe nearby to loosen compacted earth, break clumps, and control weeds between rows.
- Pick a watering can or hose with an adjustable nozzle. If you’re growing several beds, drip irrigation can deliver water steadily while reducing waste.
Look for comfortable handles and durable materials that suit your garden’s size. Clean tools after use, then store them dry so they’ll last season after season.
Protective Gear and Supplies
Protective gear and a few practical supplies help you work safely and comfortably in the garden. Choose items that fit well and suit your tasks. Gloves protect your hands from thorns, rough tools, and soil; closed-toe shoes guard your feet.
A wide-brimmed hat and sunscreen help shield you from sun, while safety glasses keep debris out of your eyes when you prune or dig.
| Item | Use | When to use |
|---|---|---|
| Gloves | Protect your hands | Digging, weeding |
| Sturdy shoes | Guard your feet | Any garden work |
Keep a first-aid kit, drinking water, and insect repellent nearby as basic safety supplies. Store everything in a dry, easy-to-reach spot.
Check protective gear for damage before each session, and replace worn gloves or cracked glasses promptly. You’ll stay prepared without buying more than you need.
Improve Your Soil Before Planting
Healthy vegetables start with healthy soil. Before planting, check your garden bed’s texture, drainage, and nutrient levels. Grab a handful of damp soil: it should crumble easily, not form a sticky lump or feel dusty. A simple soil test can reveal pH and nutrient imbalances, helping you choose amendments that support soil health.
Improve the bed with these steps:
- Clear weeds, rocks, and leftover plant debris so roots have room to grow.
- Loosen compacted soil with a garden fork, turning it gently without working it when wet.
- Mix in finished compost to add organic matter and improve moisture retention. Follow test results when adding lime or other amendments; too much can harm plants.
Good composting practices turn kitchen scraps and yard waste into useful soil enrichment. Spread amendments evenly, then rake the surface smooth. Water lightly to settle the soil, and let it rest briefly before you work the bed again. A well-prepared bed gives vegetables a stronger foundation.
Plant Seeds and Seedlings at the Right Time
When should you plant? Check your region’s last expected spring frost and your seed packets before choosing dates. Cool-season crops, such as peas, spinach, and lettuce, can often go into the ground a few weeks before that frost. Warm-season vegetables, including tomatoes, peppers, and beans, need warmer soil and should wait until frost danger has passed.
Match each crop to its preferred season, and use a local planting calendar to refine your seedlings timing. Seed packets list sowing depth, spacing, and days to maturity; follow these details to give plants room to grow and time to produce before fall frost.
Match crops to their preferred season, check local planting calendars, and follow seed-packet guidance for depth, spacing, and maturity.
For a head start, sow suitable seeds indoors, then transplant seedlings outdoors after gradually acclimating them to outdoor conditions. Check soil temperature when a crop needs warmth, since cold ground can slow growth.
Fresh seeds usually offer better germination rates, so check package dates and store leftovers in a cool, dry place. Label rows with crop names and planting dates to track progress.
Water Your Vegetable Garden Consistently
Once your seeds or seedlings are in the ground, water them consistently to help roots establish and plants grow. Aim to keep the soil evenly moist, not waterlogged. Check it with your finger before watering; if the top inch feels dry, give your garden a thorough drink.
- Water early in the morning, when cooler temperatures reduce evaporation and give plants time to absorb moisture.
- Direct water toward the soil near each plant’s base. This keeps foliage drier, supporting pest prevention and reducing the risk of disease.
- Adjust your schedule for rainfall, heat, and soil type. Sandy soil dries quickly, while clay holds moisture longer.
Use a watering can or hose with a gentle flow to avoid washing away seeds or exposing roots. Deep, less frequent watering encourages stronger roots than frequent, shallow sprinkles. Capture rainwater when possible to support water conservation, and track how your plants respond so you can refine your routine as they grow.
Mulch, Weed, and Check for Plant Problems
Add a layer of mulch around your vegetables to help retain soil moisture, suppress weeds, and keep produce clean. Spread two to three inches of straw, shredded leaves, or untreated grass clippings around plants, leaving a little space around each stem.
Check mulch maintenance regularly; replenish thin spots and loosen compacted material so water and air can reach the soil.
Pull weeds while they’re small, when their roots come out easily. Hand-pull near delicate seedlings, or use a hoe between rows, taking care not to disturb vegetable roots.
Consistent weed control reduces competition for water, nutrients, and sunlight.
Inspect your plants often, including the undersides of leaves. Look for holes, discoloration, sticky residue, wilting, or unusual growth.
Remove damaged leaves and identify the cause before choosing a treatment. Pick off larger pests by hand, and use barriers or appropriate controls when needed.
Check after rain or watering, since problems can develop quickly. Keep the garden tidy, but avoid disturbing healthy plants.
Harvest Your Vegetables at the Right Time
Harvest vegetables when they’re ripe to enjoy the best flavor and texture. Check your plants often, since produce can mature quickly in warm weather. Use the seed packet or a garden guide to learn each crop’s typical ripening schedule, then look for changes in size, color, and firmness. Your timing harvest can affect taste and encourage plants to keep producing.
Harvest vegetables at the right time for the best flavor, and pick regularly to keep plants producing.
- Pick leafy greens early. Harvest lettuce and spinach when leaves reach a useful size, before they turn tough or bitter. Take outer leaves first so the center can continue growing.
- Check fruiting crops closely. Choose tomatoes when they’re fully colored and slightly soft. Pick cucumbers, beans, and zucchini while they’re tender; oversized fruits may become seedy or woody.
- Handle roots with care. Loosen soil around carrots, beets, and radishes before pulling. Sample one to judge size, then harvest others when they meet your preference.
Use clean scissors or pruners, and avoid tugging stems. Harvest in the morning for crisp produce, then refrigerate or prepare it promptly.
Frequently Asked Questions
Can I Grow Vegetables in Containers Without a Backyard?
Yes, you can grow vegetables in containers without a backyard. Container gardening works well on a balcony, patio, doorstep, or sunny windowsill. Choose compact plants such as lettuce, cherry tomatoes, peppers, and herbs, and use pots with drainage holes.
Give your balcony vegetables at least six hours of sunlight when possible, water them regularly, and use quality potting mix. Even a small space can provide a satisfying harvest throughout the growing season.
How Can I Keep Rabbits and Deer Out of My Vegetable Garden?
Treat your garden like a fortress: install a sturdy fence before hungry visitors discover your crops. Use wire mesh at least 2 feet high for rabbits, burying its bottom 6 inches to block digging.
For deer, choose fencing 8 feet tall, or angle shorter fencing outward. Good rabbit deterrents include motion-activated sprinklers and repellents; rotate products after rain.
Fence timing matters: protect seedlings early, before browsing becomes a habit. Keep fallen produce cleared.
Is It Safe to Reuse Soil From Last Year’s Garden?
Yes, reusing soil is generally safe if last year’s plants stayed healthy and you refresh the mix. Remove old roots and debris, then add compost to restore nutrients and improve texture.
Practice garden sanitation by cleaning pots and tools, and avoid reusing soil from beds where plants had disease, pests, or heavy contamination. Check drainage, too; compacted or depleted soil may need more amendment before you plant again.
Can Children Help Care for a Vegetable Garden?
Yes, children can help care for a vegetable garden, turning small tasks into sunny little adventures. Give them age-appropriate kids chores, such as watering plants, pulling easy-to-spot weeds, or harvesting ripe vegetables. You’ll build their confidence and curiosity while spending time together outdoors. Keep garden safety in mind: supervise young helpers, provide child-sized tools, wash hands after gardening, and teach them never to taste unfamiliar plants or use fertilizers and pesticides without your guidance.
How Do I Preserve Extra Vegetables After Harvest?
You can preserve your extra vegetables through freezing, canning, pickling, drying, or fermenting. Choose storage methods based on each vegetable: freeze blanched beans, can tomatoes using a tested recipe, pickle cucumbers, or dry herbs.
Refrigerate produce that needs cool conditions, and store onions, potatoes, and winter squash in a cool, dark, dry place. Label packages with dates, and use older items first. These preserving harvest techniques help you enjoy your produce longer.
Conclusion
Your vegetable garden is more than a patch of soil. It’s a small kingdom you’ve built with sunlight, patience, and care. Each seed is a promise, and every watering helps that promise grow.
Keep an eye out for weeds and pests, and gather your harvest when it’s ready. You won’t get everything perfect on your first try, and that’s fine. Learn from each season, tend your little kingdom, and enjoy the fresh rewards you’ve grown yourself. With these 10 easy steps to create a vegetable garden, you can enjoy fresh harvests season after season.