7 Steps to Prepare Dirt for Planting Success
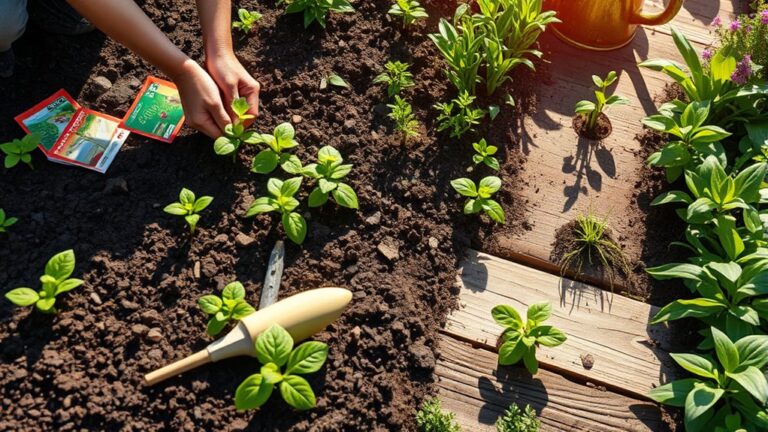
Getting your garden soil ready can feel overwhelming, especially when you’re unsure where to start. You’re not alone—many gardeners struggle to create the right conditions for healthy plants. These seven steps to prepare dirt for planting success can help you get started.
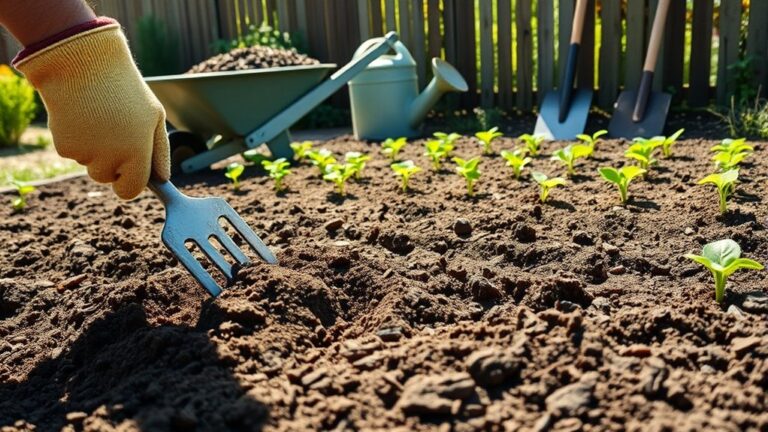
To prepare dirt for planting success, test your soil first and note its pH and nutrient levels. Remove weeds, rocks, dead leaves, and other debris, then loosen the soil gently without turning every layer.
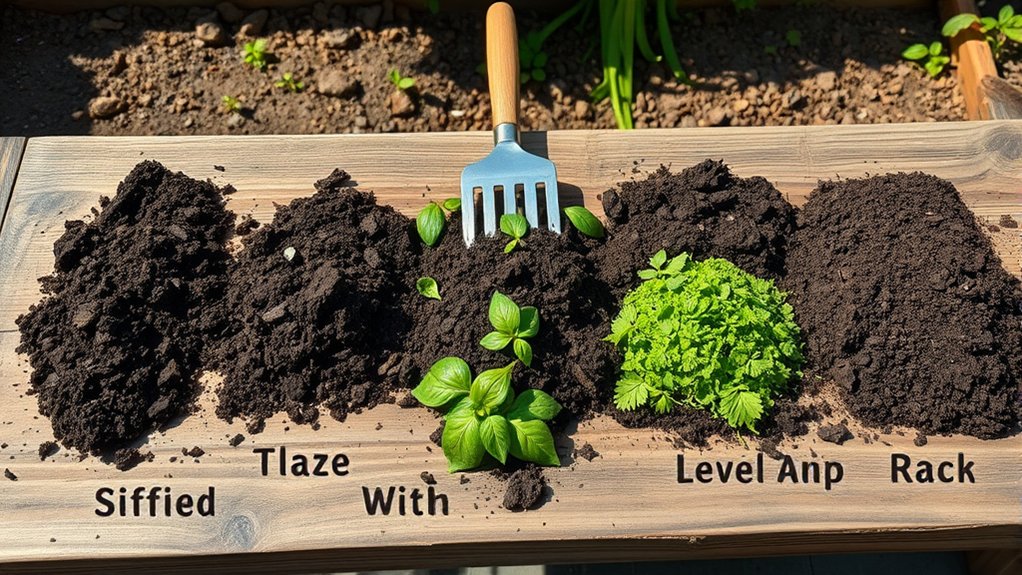
Mix in a thin layer of mature compost, and adjust pH only as your test recommends. Shape beds to drain away from structures, with clear runoff paths.
Water lightly, let the soil settle, and check moisture below the surface. Follow these steps for healthier planting conditions.
Key Takeaways
- Test soil pH and nutrient levels before adding amendments; follow recommendations and retest as needed.
- Remove weeds, roots, rocks, debris, and diseased plant material from the planting area.
- Loosen soil with a garden fork when it crumbles easily, lifting gently without turning or overworking it.
- Spread mature compost evenly and adjust pH with lime or sulfur only as soil-test results recommend.
- Shape beds for drainage, create safe runoff paths, and check soil moisture before planting.
Test Your Garden Soil Before Planting

Before adding compost or fertilizer, test your garden soil to find out what it needs. A soil test reveals pH and nutrient levels, helping you choose amendments that support healthy growth instead of guessing. You can use a home kit for quick results or send a sample to a local extension service for a more detailed analysis.
Collect soil from several spots in the planting area, following the test’s instructions for depth and sample size. Remove only material that could affect the sample, such as mulch, and mix the soil thoroughly. If you use a home kit, calibrate its components as directed and check the expiration date before starting. Then test the soil’s nutrients and pH, recording each result.
Compare your readings with the needs of the plants you plan to grow. If the pH falls outside their preferred range or nutrients are low, follow the test’s recommendations and apply amendments at the stated rates. Retest later to track changes and avoid overcorrecting your soil.
Clear Weeds, Rocks, and Old Debris

Before planting, pull out weeds and remove their roots so they don’t grow back. Pick out any rocks that could get in the way of root growth, and clear away old debris to give your plants a clean start.
Remove Weeds and Roots
Pull weeds, roots, rocks, and old debris from the planting area so they won’t compete with new plants or obstruct their roots. For effective weed control, remove young weeds before they set seed.
Use a hand fork to loosen stubborn roots, then lift them out rather than snapping them off. Thorough root removal helps prevent persistent weeds from regrowing.
Clear dead leaves and tangled stems, too, so you can see the soil surface and prepare it evenly.
| Material | Removal method | Why it matters |
|---|---|---|
| Young weeds | Pull by hand | Limits spreading |
| Deep roots | Loosen with fork | Reduces regrowth |
| Dead stems | Rake away | Clears planting space |
| Old leaves | Gather and remove | Reveals soil surface |
Work when soil’s slightly moist. Dry ground makes roots harder to extract, while soggy soil can compact underfoot.
Dispose of diseased plant material separately.
Pick Out Rocks
Pick out rocks that could block roots, interfere with planting, or damage tools as you work the soil. After removing weeds and roots, inspect the exposed ground carefully.
Stone identification helps you distinguish troublesome rocks from small pieces that won’t hinder growth. Look for large stones, sharp fragments, and clusters near the surface, where they can obstruct seed placement or make digging difficult.
Use a hand rake or gloved fingers to loosen soil around each rock, then lift it out. For larger stones, work a sturdy spade beneath the edge and lever it up safely; don’t strain your back.
Set removed rocks aside for reuse in paths or borders. Continue rock removal across the planting area, checking deeper layers where roots will grow. Smooth the soil afterward, leaving it ready for planting.
Clear Old Debris
Clear old debris to give new plants room to grow and make the soil easier to work. Pull out weeds, roots, and leftover plant material by hand or with a garden fork. Thorough weed removal matters because weeds compete with your seedlings for water, light, and nutrients. Remove any diseased leaves or stems, too, so they don’t spread problems to new growth.
Next, clear debris such as sticks, fallen branches, plastic, and old mulch from the planting area. Check beneath leaves and around the edges of beds, where pests may hide. If you find healthy, untreated plant material, add it to your compost pile; discard diseased or pest-infested waste. Rake the surface smooth, then inspect the soil once more. A clean bed gives you a clear view of the ground and makes planting easier.
Loosen Garden Soil Without Overworking It
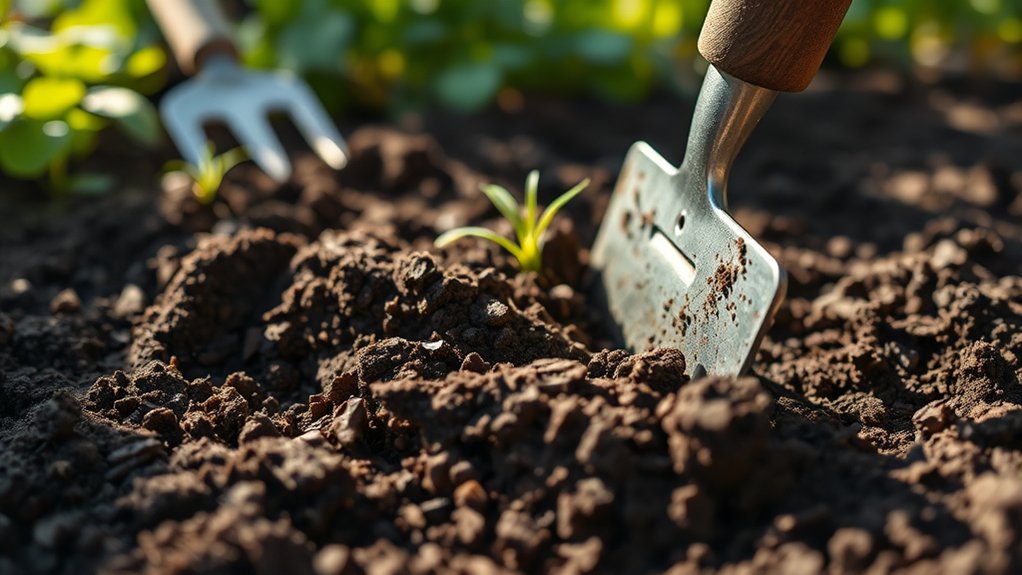
Once the soil is workable, loosen it just enough for roots to grow and water to drain. Use a garden fork or broadfork to lift and crack compacted areas, rather than turning every layer. This helps you loosen soil while you minimize disturbance to beneficial organisms and existing soil structure.
Loosen compacted soil gently with a fork, preserving its structure while making room for roots and drainage.
Work only when the ground crumbles in your hand; wet soil smears and compacts, while dry soil resists tools. Focus on planting rows or beds, leaving paths undisturbed. As you work, keep these principles in mind:
- Insert the fork, rock it gently, then lift without flipping the soil.
- Stop when the surface feels friable and roots can move through it.
- Preserve stable clumps that support airflow and moisture retention.
- Leave room for later compost integration instead of mixing amendments now.
Gentle loosening improves drainage and gives roots space without bringing buried weed seeds to the surface. If the soil already feels loose, skip digging; a light rake is enough.
Mix Compost Into the Soil
Spread a thin layer of finished compost over the loosened bed, then rake it into the top few inches of soil. As you mix compost into the ground, aim for an even distribution rather than a thick pocket in one spot. This soil amendment adds organic matter that can improve texture, help soil hold moisture, and support steady drainage.
Use mature compost that smells earthy and looks dark and crumbly. If it’s still warm, sour-smelling, or full of recognizable scraps, let it finish breaking down before adding it to your bed. A modest layer is usually enough; too much can create an uneven nutrient balance and may encourage lush growth at the expense of sturdy plants.
Work gently so you don’t compact the loosened soil. Compost also feeds beneficial organisms, supporting microbial health as they help cycle nutrients and build soil structure. Once you’ve blended it in, rake the surface level and prepare for planting.
Adjust Soil pH Based on Test Results
Before changing your soil’s pH, check a recent test result to see whether it’s too acidic or too alkaline for the plants you plan to grow. Use the test results to choose a measured correction, not a guess. Your plants’ needs vary, so compare the reading with reliable guidance for each crop.
- To raise pH in acidic soil, apply garden lime at the rate recommended by your test or product label.
- To lower pH in alkaline soil, use elemental sulfur only when your soil test supports it; changes take time.
- Spread amendments evenly, then mix them into the soil’s upper layer as directed.
- Retest after the recommended interval before adding more, since overcorrection can limit nutrient availability.
When you adjust soil pH gradually, you give roots a better chance to access nutrients without creating a new imbalance. Keep records of your readings and applications so you can make informed adjustments in future seasons. Don’t expect an instant change; follow-up testing confirms whether your treatment worked.
Shape Garden Beds for Better Drainage
Raise your garden beds to help excess water drain away from plant roots. Slope them away from structures to protect foundations, and create clear runoff paths so water flows where you want it.
Raise Beds for Drainage
How can you keep water from pooling around your plants? Build raised beds to lift roots above soggy ground and give excess water room to drain. Before shaping them, observe drainage patterns after rain so you can identify low spots and areas that stay wet. Choose a height that suits your soil and plants; even a modest lift can improve airflow and prevent waterlogged roots.
- Loosen compacted soil beneath each bed so water can move through it.
- Blend compost into the fill to improve soil structure without making it overly dense.
- Keep beds narrow enough for you to reach the center without stepping on the soil.
- Check moisture after watering, then adjust bed height or soil texture if water lingers.
A well-built bed supports healthier roots, steadier growth, and easier planting care. You’ll also find it simpler to maintain consistent soil conditions.
Slope Beds Away From Structures
Raised beds can improve drainage, but their shape and slope matter too. As you shape each bed, create a gentle grade that falls away from your home, garage, or shed. This drainage planning helps keep excess moisture from collecting beside foundations, where it can cause damage.
Don’t make the slope steep; a gradual fall supports stable soil and gives plants a more even growing surface.
| Bed area | Slope guidance |
|---|---|
| Near a wall | Grade away gently |
| Across the bed | Keep the surface even |
| At the edges | Avoid abrupt drops |
Check the grade after adding soil, then recheck it after heavy rain or settling. Add or move soil as needed to maintain the intended direction. Regular slope maintenance keeps your bed shaped to protect nearby structures without compromising planting space.
Create Clear Water Runoff Paths
After shaping beds to slope away from structures, give excess water a clear route out of the garden. Walk your yard during rain to see where water collects and how it moves. Then shape gentle runoff paths that guide it toward a safe outlet, such as a rain garden or planted area. Keep channels shallow and stable; steep cuts can erode soil and expose roots.
- Use narrow drainage channels where space is limited, but make them wide enough to carry stormwater without overflowing.
- Line vulnerable sections with stones, mulch, or groundcover to slow flow and hold soil in place.
- Avoid directing water onto neighboring property, walkways, or foundations.
- Check paths after heavy rain, then clear debris and repair low spots.
A well-planned route protects beds, reduces pooling, and helps your plants thrive. Don’t let runoff carry fertile topsoil away.
Water the Soil and Check It Before Planting
Before planting, water the soil lightly and give it time to settle. A gentle, even soak helps the ground hold together without washing away nutrients or creating puddles. If you’ve already shaped runoff paths, make sure water flows where you want it instead of pooling around planting areas.
Wait a few hours, then check moisture by squeezing a handful of soil. If it forms a loose ball that crumbles when you tap it, the moisture level is suitable for planting. If it feels dusty and won’t hold together, water the soil again in small amounts. If it feels sticky or releases water when squeezed, let it dry before you dig.
Check several spots, since beds can dry unevenly, especially near edges or under trees. You’ll get a more reliable reading by testing below the surface rather than judging by appearance alone. Adjust as needed, then plant when the soil feels evenly moist and easy to work. This simple check helps roots settle into balanced conditions.
Frequently Asked Questions
When Is the Best Time of Year to Prepare Garden Soil?
Prepare your garden soil in early spring, as soon as it’s workable and no longer waterlogged. For Spring timing, wait until soil warming has begun; digging wet earth can compact it and damage its structure.
You can also improve beds in fall, giving compost time to settle before planting. Handle Mulching disposal by removing diseased or pest-infested material, and plan Compost sourcing ahead so you’ll have enough finished compost ready when your garden needs it.
How Deep Should Soil Be Prepared for Different Types of Plants?
Match your soil’s depth to each plant’s roots: give shallow-rooted lettuce about 6–8 inches, most vegetables 8–12 inches, and deep-rooted crops like tomatoes or carrots 12–18 inches of prepared soil. Think of loose soil as an open doorway for root growth.
Your seed depth depends on the plant type, but soil preparation should reach well below the seed so roots can spread without meeting a hard floor. Don’t dig deeper than needed.
Can I Plant Directly in Native Soil, or Do I Need Raised Beds?
Yes, you can plant directly in native soil; you don’t automatically need raised beds. Check that your soil drains well, isn’t heavily compacted, and suits your plants’ needs.
If it’s poor, contaminated, or difficult to work, raised beds let you control the growing mix. You can also grow in containers with indoor soil or choose a hydroponics setup, but those alternatives aren’t necessary when your garden’s native soil supports healthy growth.
How Can I Improve Heavy Clay Soil Over Several Seasons?
Treat heavy clay like a stubborn sponge: improve it gradually with organic matter. Each season, spread 2–3 inches of compost over the surface and let worms and weather work it in; avoid tilling when soil’s wet, which can compact it further.
Grow deep-rooted cover crops between plantings, then cut them down and leave roots in place. These two-word discussion ideas, compost and cover crops, build better drainage and structure over time. Don’t add sand; it can worsen compaction.
Should I Use Different Soil Preparation Methods for Containers?
Yes, use different methods for containers: garden soil can compact and restrict roots, so fill pots with a lightweight soilless mix instead. Choose a mix suited to your plants, and moisten it before planting so it settles evenly.
Check that each container has drainage holes, then keep them clear to support container drainage and prevent waterlogged roots. You’ll need to water and fertilize more often than you would in garden beds, since containers dry out and lose nutrients faster.
Conclusion
Prepare your garden soil one step at a time, and you’ll give every seed a stronger start. Test first, clear away debris, loosen the ground gently, and add compost before making any pH adjustments.
Shape your beds to shed excess water, then water the soil and check its texture before planting. Think of it as laying a solid foundation: the better you prepare now, the more easily your garden can flourish later.
As the adage goes, “Well begun is half done.” Follow these 7 steps to prepare dirt for planting success, and give your garden a strong start.