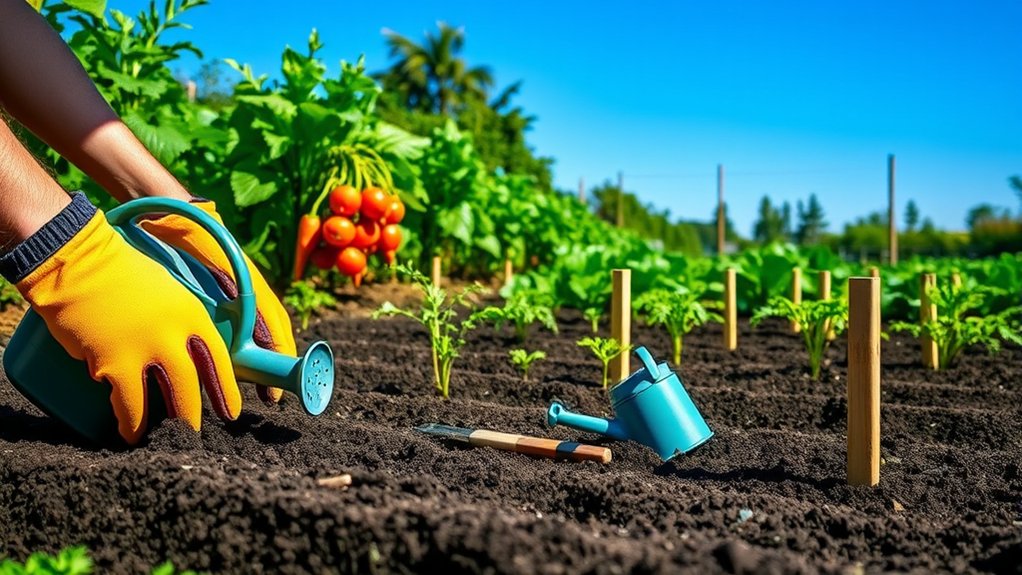
How Do You Create a Vegetable Garden in 10 Essential Steps?
Starting a vegetable garden can feel overwhelming when you’re unsure what to plant, where to put it, or how to keep everything growing. You’re not alone—many new gardeners face the same challenges. These 10 essential steps for creating a vegetable garden will help you choose the right setup and find the products you need to get growing with confidence.
To create a vegetable garden in 10 essential steps, choose a sunny site, check your soil, and select crops suited to your climate and available space. Plan your layout and planting dates around sunlight and frost, then choose beds, containers, or in-ground rows. Gather seeds, seedlings, and tools; prepare the soil with compost; and plant at the recommended depth and spacing. Water consistently, weed, mulch, and protect young plants. Harvest at peak ripeness, record dates, and plan your next planting. You’ll find practical details for each step below.
Key Takeaways
- Choose a level site with at least six hours of direct sunlight, away from large trees and competing roots.
- Plan bed layout, crop placement, and planting dates around sunlight, mature plant size, local frost dates, and seasons.
- Select climate-appropriate vegetables and varieties suited to your space, soil, and preferred harvest.
- Clear and loosen the soil, test its pH and nutrients, then incorporate finished compost.
- Sow seeds at packet-recommended depths and spacing; water deeply, thin seedlings, and keep beds weed-free.
Choose a Sunny Spot for Your Vegetable Garden
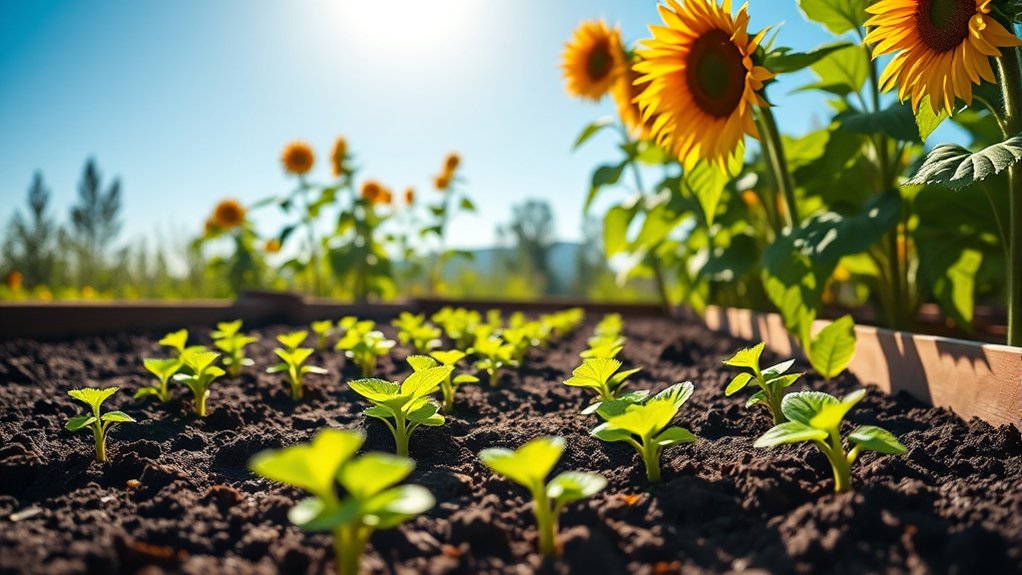
Start by choosing a spot that gets at least six hours of direct sunlight each day, since most vegetables need plenty of light to grow well. Watch how sunlight moves across your yard, then note which areas stay bright through the afternoon. This simple check helps you find a reliable sunny placement rather than guessing from one quick glance.
Pay attention to nearby trees, fences, buildings, and shrubs. Their shadows can shift with the season, so consider how they’ll affect your garden when the sun sits lower. If you’re unsure, observe the space at different times over several days. You can also use a sunlight-tracking app to estimate sun exposure duration and identify shaded periods.
Choose level ground when possible, since slopes may create uneven light and make watering harder. Avoid spots beneath large trees, where roots can compete for moisture and branches may block the sun. Mark your preferred area, then recheck its light before preparing the soil. A little observation now can help you give your plants a brighter, more consistent start.
Pick Vegetables for Your Space and Climate

Choose vegetables that fit both your garden’s size and your local climate. If you’re working with a small bed or containers, focus on compact crops such as lettuce, radishes, and bush beans. Larger spaces can support sprawling plants like pumpkins or winter squash, but check how much room each variety needs before you buy seeds.
Next, consider your region’s growing conditions. Use your area’s climate zones as a starting point, then check seed packets for guidance on heat tolerance, cold tolerance, and days to maturity. Choose varieties suited to your typical weather, especially if your growing season is short or summer heat is intense.
Your soil matters, too. Soil testing can reveal whether your garden soil needs adjustments and help you choose crops that will thrive in its conditions. If you’re new to gardening, start with a few dependable vegetables you enjoy eating. You’ll learn what grows well in your space without taking on more than you can manage.
Plan Your Garden Layout and Planting Dates

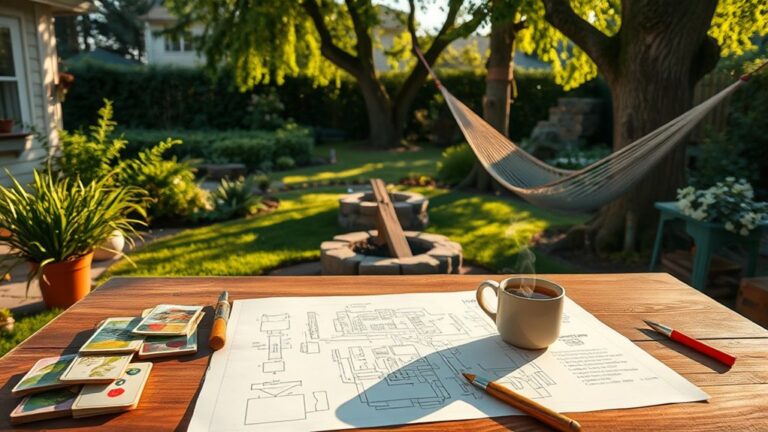
Once you’ve picked vegetables suited to your space and climate, map where each crop will grow and when you’ll plant it. Sketch your garden’s sunny areas, then assign crops according to their light needs and mature size.
Leave enough room for airflow and easy harvesting, and note which plants can share space without competing.
Use this planning schedule to turn your sketch into a practical timeline:
- Check your local frost dates and count backward to find indoor sowing and transplanting windows.
- Group crops by season, placing cool-weather vegetables before heat-loving ones.
- Stagger quick-growing crops, such as lettuce, so you can harvest fresh leaves over several weeks.
- Record sowing, transplanting, and expected harvest dates, then adjust as weather changes.
Before planting, do soil testing to check pH and nutrient levels; use the results to guide amendments and crop placement.
Review your layout after each harvest, noting what thrived and what needs a different spot next season. Keep the plan flexible, since rain, temperature, and germination can shift your dates.
Choose Beds, Containers, or In-Ground Rows
Choose the setup that works best for your space, budget, and gardening goals. Raised beds offer better drainage and make gardening easier to reach. If you’re working with a patio or balcony, containers are a great option. And if you have open ground, in-ground rows make planting and maintenance convenient.
Raised Bed Benefits
Raised beds warm up quickly, improve drainage, and give you more control over soil quality, while containers suit small spaces and in-ground rows work well where soil drains freely. If you choose a raised bed, you can tailor its depth and fill it with a suitable growing mix. This makes soil improvement easier, especially when your yard has compacted, rocky, or poor soil.
You’ll also find raised beds convenient for maintaining and harvesting crops. Consider these advantages:
- You can reach plants without stepping on growing soil.
- You can define tidy, accessible planting areas.
- You can reduce weed pressure with careful bed preparation.
- You can add supports or covers more easily.
Choose a bed size you can comfortably reach across, and leave clear paths for watering and harvesting. You’ll spend less effort managing the space and more time tending vegetables.
Container Garden Options
If you’re short on space, containers let you grow vegetables on a patio, balcony, or sunny doorstep. Choose pots with drainage holes and enough room for roots to develop. Larger containers hold moisture longer, so you won’t need to water as often.
Match each pot to your crop: leafy greens thrive in shallow containers, while tomatoes and peppers need deeper ones. Use lightweight potting mix rather than garden soil, which can compact and restrict drainage.
Group plants with similar sunlight and watering needs to make care easier. For a productive container garden, select compact varieties and check labels for mature size. Consider drought tolerance if you can’t water daily, but remember that pots dry out faster than garden beds.
Place containers where you can reach them easily, and move them as sunlight or weather changes.
In-Ground Row Layout
For a larger plot, in-ground rows offer a straightforward way to organize crops and access them for care. You’ll need enough space to walk between rows without stepping on growing areas.
Plan your layout before planting, considering sunlight, water access, and mature plant size. Use these steps to set up your rows:
- Mark straight rows with stakes and string, leaving paths wide enough for comfortable movement.
- Check drainage and loosen the soil; add compost as part of thorough soil preparation.
- Group crops by their water and sunlight needs, and rotate plant families each season.
- Mulch paths and inspect plants regularly to support pest prevention and spot problems early.
Keep rows narrow enough to reach the center from either side. A practical layout makes planting, weeding, watering, and harvesting easier throughout the season.
Gather Seeds, Seedlings, and Garden Tools
Choose seeds or seedlings that suit your climate, available space, and favorite meals. Gather a few essential tools, such as a trowel, gloves, and a watering can. Once you have everything, you’ll be ready to start planting.
Choose Seeds and Seedlings
With your garden plan in place, gather seeds, seedlings, and basic tools suited to your space, climate, and growing season. For smart seed selection, check each crop’s sunlight, soil, and temperature needs, then choose varieties that fit your available space.
Consider flavor, harvest time, and disease resistance, too. Your seedling timing matters: start seeds indoors only when the packet recommends, or buy healthy transplants close to your local planting date.
- Choose crops your household enjoys and will use.
- Match varieties to your region and growing season.
- Check seed packets for planting depth and spacing.
- Select seedlings with sturdy stems and healthy leaves.
You don’t need to grow every vegetable from seed. Buying seedlings can simplify crops with long growing periods, while direct-sowing quick-growing varieties saves transplanting effort.
Keep labels so you can track each crop’s needs and planting dates.
Select Essential Garden Tools
Once you’ve selected your seeds and seedlings, gather a few reliable tools to make planting and upkeep easier. Choose a hand trowel for digging small holes and moving soil, plus a sturdy garden fork for loosening compacted ground.
A hoe helps you shape rows and remove weeds, while sharp pruning shears let you trim damaged stems cleanly. Keep a watering can or hose with a gentle spray nozzle nearby to water young plants without washing soil away.
Add durable gloves to protect your hands from thorns and rough edges. Use chalk markers to label pots or plant tags so you can identify varieties at a glance.
If your garden gets intense sun, shade netting can protect delicate seedlings. Pick tools that feel comfortable, clean easily, and suit your garden’s size.
Gather Supplies Before Planting
Before planting, gather everything you’ll need so you can work efficiently and avoid last-minute trips. Choose seeds or seedlings suited to your climate, available space, and planting season.
Check seed packets for sowing dates and spacing, and buy healthy seedlings with sturdy stems and vibrant leaves. Set aside the tools you selected, plus essentials for preparing and caring for your beds.
- Seeds and seedlings: Pick vegetables your household enjoys, and plan enough variety for your space.
- Soil supplies: Use soil tests to identify nutrient needs before adding amendments.
- Compost: Keep materials ready, and consult compost recipes to make a suitable blend.
- Garden tools: Gather your trowel, gloves, watering can, and other tools for planting.
Organize supplies near the garden, then confirm you have labels and water before you begin. This preparation helps you plant on schedule and care for each crop consistently.
Prepare Healthy Soil for Vegetables
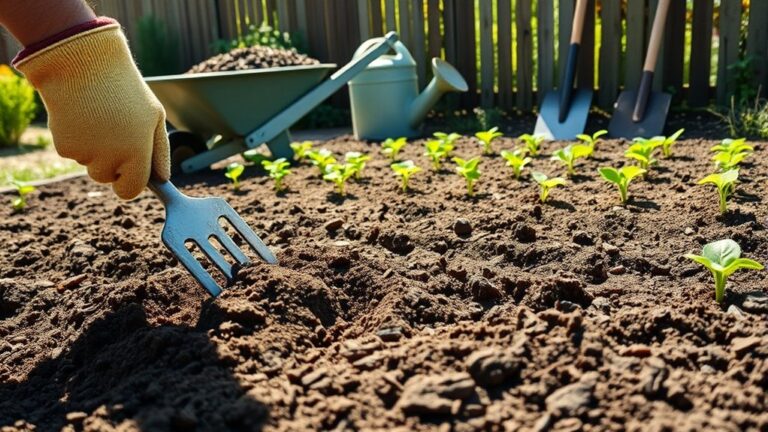
Healthy soil gives vegetables the nutrients, water, and structure they need to thrive. Start by clearing away weeds, rocks, and leftover plant debris. Then loosen the soil with a garden fork, taking care not to work it when it’s waterlogged; wet soil compacts easily and can damage its structure.
Check your soil’s texture and drainage, and use a soil test to learn its pH and nutrient levels. Follow the test’s recommendations rather than adding amendments blindly. Spread finished compost over the bed and mix it gently into the top layer. Learning composting basics helps you choose mature, crumbly compost that improves soil without introducing fresh, unstable material.
Healthy soil supports soil biology, including organisms that help cycle nutrients and maintain a good structure. Keep the surface covered with a light layer of organic mulch to reduce moisture loss and erosion. Before planting, water the prepared bed and let excess water drain. Your soil’s condition will guide later care, so observe how it holds moisture and responds to rain.
Plant Vegetables at the Right Depth and Spacing
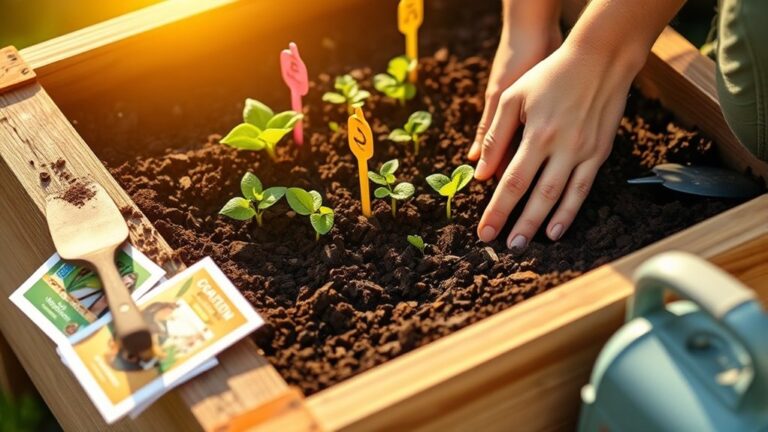
Plant each seed at the depth listed on its packet. Then, give seedlings enough room to grow by following the recommended spacing guidelines. The right depth and spacing will help your vegetables thrive.
Follow Seed-Depth Guidelines
How deep should you plant each seed? Check the packet first: recommended seed depth varies by vegetable, and planting too deeply can prevent seedlings from reaching the surface. Use these practical guidelines, then adjust for your soil and local conditions:
- Plant tiny seeds, such as lettuce, on the surface or cover them lightly with fine soil.
- Sow medium seeds, including carrots, about ¼ inch deep.
- Place larger seeds, such as beans and peas, roughly 1 inch deep.
- Set oversized seeds, such as squash, about 1 inch deep, following packet directions.
Measure seed depth from the soil surface to the seed, not to its tip. Keep soil evenly moist while seeds germinate, but don’t water so heavily that you wash them away. Once seedlings emerge, their root depth will increase as they grow.
Space Plants Properly
After sowing seeds at the right depth, give each plant enough room to grow. Check the seed packet or plant label for recommended plant spacing, since needs vary by crop and variety.
Crowded vegetables compete for sunlight, water, and nutrients, while proper spacing improves airflow and helps reduce disease.
Use space planning to make the most of your garden without overcrowding it. Measure rows and planting spots before you sow, and mark them with stakes or string.
If you’re growing in raised beds, arrange plants in a grid rather than long rows to use every area efficiently. Leave paths wide enough for you to reach plants without stepping on soil or damaging roots.
Thin seedlings once they emerge, keeping the strongest ones at the suggested distance. As plants mature, check that leaves don’t block neighboring crops’ light.
Water Your Vegetable Garden Consistently
Consistent watering helps your vegetable garden grow strong and produce well. Give your plants steady moisture, especially as they establish roots and develop fruits. Check the soil before watering: if the top inch feels dry, water deeply at the base. This encourages roots to grow downward and helps keep leaves dry.
Check the top inch of soil before watering, then soak the roots deeply to encourage strong growth and keep leaves dry.
Use these four habits to guide your routine:
- Check conditions: Adjust watering frequency for rainfall, heat, soil type, and plant needs.
- Water early: Give plants moisture in the morning so they can use it throughout the day.
- Soak the root zone: Apply water slowly until it reaches the roots, rather than giving frequent, shallow sprinkles.
- Watch for clues: Wilting can signal dry soil, but check before adding water; excess moisture can also stress plants.
A simple schedule can help, but don’t follow it blindly. Recheck soil regularly and respond to changing weather. Keep mulch maintenance in mind when assessing moisture, since a covered bed may dry more slowly. You’ll build a reliable routine by observing your garden.
Weed, Mulch, and Protect Your Plants
Keep weeds from competing with your vegetables for water, nutrients, and light by pulling them while they’re small. For effective weed control, loosen shallow roots by hand or use a hoe carefully; don’t disturb vegetable roots. Check beds regularly, especially after rain, and remove weeds before they set seed.
Choose mulch types that suit your crops and local conditions. Spread a two- to three-inch layer around plants, keeping it away from stems to reduce rot and discourage pests.
| Mulch type | Best use | Key benefit |
|---|---|---|
| Straw | Vegetable beds | Blocks weeds and holds moisture |
| Shredded leaves | Established plants | Adds organic matter as it breaks down |
Protect young plants with row covers when insects or chilly nights threaten them. Secure the edges, but leave enough room for growth and airflow. Inspect leaves and stems often for holes, discoloration, or pests, and act promptly. Remove damaged foliage, handpick visible insects, and avoid crowding plants. Good spacing improves airflow and helps limit disease without relying on unnecessary sprays.
Harvest Vegetables and Plan Your Next Planting
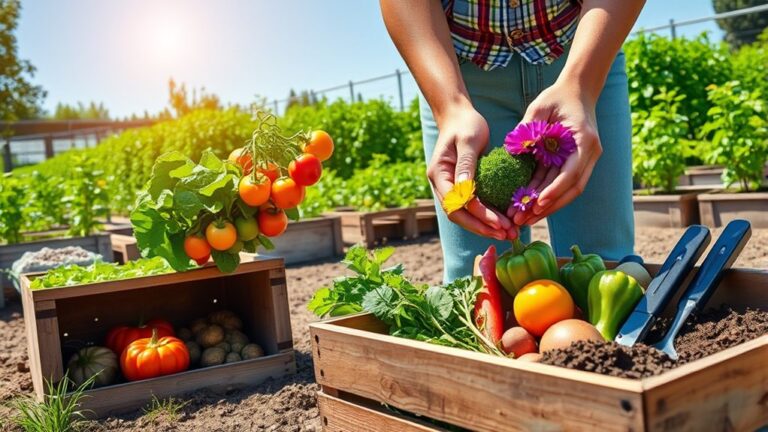
When should you harvest? Pick vegetables when they reach the size, color, and firmness listed on the seed packet. Good harvest timing protects flavor and encourages many plants to produce more. Check your garden daily; ripe produce can quickly become overripe, especially in warm weather. Use clean scissors or a sharp knife to avoid damaging stems and nearby growth.
- Harvest leafy greens from the outside, leaving the center to keep growing.
- Pick beans and cucumbers frequently while they’re tender and before seeds swell.
- Gather tomatoes when they’re fully colored and slightly soft; let them ripen indoors if frost threatens.
- Pull root crops when their shoulders reach the size you want.
After picking, remove damaged or diseased plants, then note which crops are finishing. Use succession planning to keep beds productive: sow quick-growing lettuce, radishes, or beans where space opens. Check your local planting calendar, sunlight, and expected frost dates before replanting. Add compost, water new seeds gently, and record planting dates so you can plan your next harvest with confidence.
Frequently Asked Questions
How Can I Keep Pests Out of My Vegetable Garden Without Using Harsh Chemicals?
Keep pests out by combining barriers, healthy soil, and regular checks. Cover young plants with lightweight row fabric, handpick insects, and remove damaged leaves or weeds.
Invite helpful predators with flowers such as dill and alyssum, and rotate crops each season to disrupt pest cycles. Practice pest control mindfulness: identify the culprit before acting.
Compare chemical free strategies vs. conventional methods, choosing targeted, low-impact options like insecticidal soap only when necessary. These habits protect your harvest and beneficial wildlife.
What Should I Do if My Vegetable Plants Develop Yellow Leaves?
If your vegetable plants develop yellow leaves, check watering, sunlight, soil, and pests before changing anything. Use a yellow leaves diagnosis: note whether older or newer leaves turn yellow, and inspect for soggy roots, dry soil, or visible insects.
Water consistently, improve drainage, and remove pests by hand when possible. Add balanced fertilizer only if growth suggests a nutrient shortage.
You can enrich soil over time by composting kitchen scraps, but keep compost mature and well decomposed.
Can I Grow Vegetables Indoors During Winter?
Yes, you can grow vegetables indoors during winter. Indoor winter gardening works well when you give plants enough light, warmth, and consistent care.
Choose compact crops such as lettuce, spinach, herbs, radishes, or dwarf tomatoes. Place containers near a sunny window, or use a grow light for 12–16 hours daily.
Keep soil moist but not soggy, and ensure pots drain well. This approach makes urban farming possible year-round, even in small spaces.
How Do I Start Composting Kitchen Scraps for My Garden?
You can start composting kitchen scraps in a small, ventilated bin, and the idea that composting requires a backyard is a myth. For starting compost bins for beginners, choose a container with drainage and add alternating layers of food scraps and dry materials, such as shredded paper or leaves.
Composting kitchen scraps works best when you avoid meat, dairy, and oily foods. Keep the mix damp, turn it regularly, and add finished compost to your garden.
Which Vegetables Grow Well Together as Companion Plants?
Tomatoes grow well with basil, carrots, lettuce, and onions; beans pair nicely with corn, squash, and cucumbers. You can also plant carrots beside onions, since their scents may confuse some pests.
These companion planting choices make useful plant partnerships, but avoid pairing beans with onions or garlic. Give each crop enough room, sunlight, and water, and rotate plant families each season. Your local climate and soil can affect which combinations thrive best.
Conclusion
Your vegetable garden doesn’t need to be perfect to thrive. Give it sun, good soil, steady water, and a little attention, and you’ll soon see your efforts take root.
Watch for pests, harvest at the right time, and keep planting as space opens up. Each season teaches you something new, so let small setbacks be stepping stones, not stop signs.
Before long, your garden will reward you with fresh food and the satisfaction of growing it yourself. That’s how you create a vegetable garden that keeps giving season after season.