How to Plant a Kitchen Garden in 10 Simple Steps
Starting a kitchen garden can feel overwhelming when you’re short on space, unsure what to grow, or worried your plants won’t thrive. You’re not alone—many people struggle to know where to begin. These helpful products can make it easier to plant a kitchen garden in 10 simple steps and enjoy fresh herbs and vegetables at home.
Choose a spot with at least six hours of sun, measure it, and select beds, pots, or both. Pick herbs and easy vegetables you’ll use, then gather seeds, seedlings, and basic tools.
Sketch a layout, grouping crops by light and water needs. Prepare suitable soil with compost, then sow seeds at packet depths and transplant seedlings carefully.
Water when soil begins drying, mulch to protect plants, and harvest crops at peak size and flavor. A few practical details can help each step go smoothly.
Key Takeaways
- Measure the garden area, note paths and water sources, then sketch a layout that leaves room to walk and harvest.
- Choose a bright site with at least six hours of direct sunlight; account for seasonal shade and hot afternoon conditions.
- Select containers, raised beds, or in-ground rows to suit your space, and group plants with similar light and water needs.
- Prepare suitable soil, check its pH and drainage, and mix in finished compost without overworking the soil.
- Plant easy herbs and vegetables at packet-recommended depths and spacing, label them, water when soil begins to dry, and harvest at peak maturity.
Choose a Sunny Spot for Your Kitchen Garden
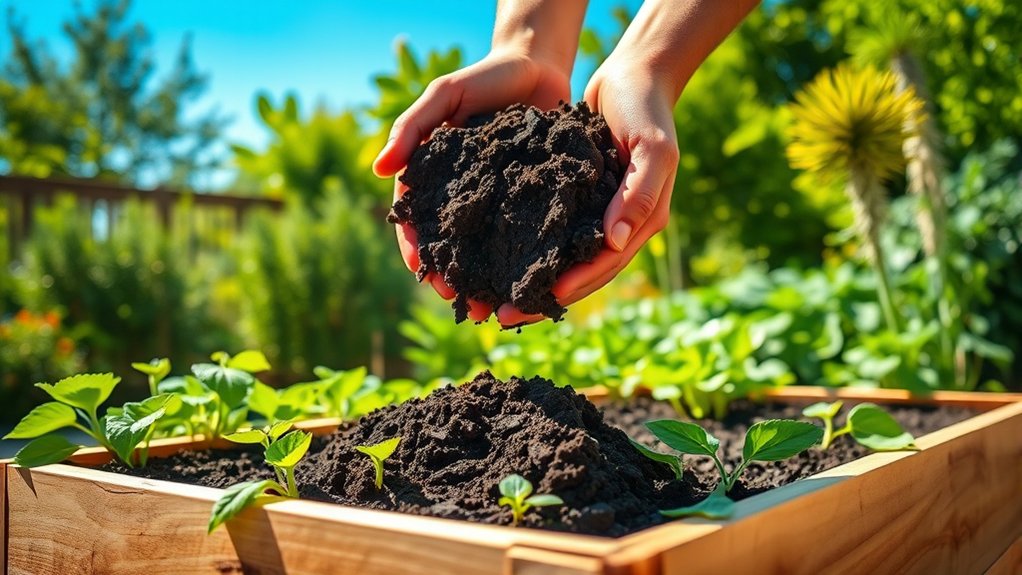
Start by choosing a spot that gets at least six hours of direct sunlight each day. Most vegetables and culinary herbs grow best with plenty of light, so observe your yard throughout the day before you settle on a location. A sunny placement helps plants produce healthy leaves, flowers, and fruit.
Check how nearby trees, fences, walls, and buildings cast shadows. Morning sun is valuable, while strong afternoon sun can be intense in hot climates. If your area gets scorching summers, a little late-day shade may protect tender greens from wilting. These shade considerations can help you balance light and heat without sacrificing growth.
Watch the spot on a clear day, and note when shadows move across it. Don’t rely on a single quick glance; seasonal changes can alter sunlight as trees leaf out or the sun’s path shifts. Choose a location that stays bright for most of the growing season, and avoid persistently dim corners. Your plants will reward that attention with stronger, more reliable growth.
Measure Your Space and Choose a Garden Style
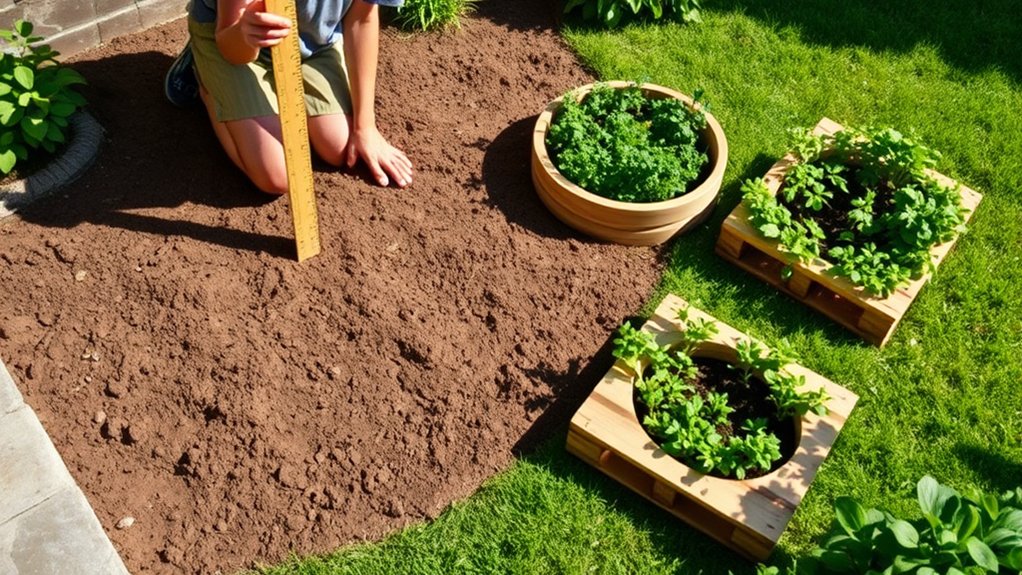
Once you’ve found a sunny spot, measure its length and width so you know how much room you have. Note nearby walls, paths, doors, and water sources, then sketch the area on paper. Accurate measurements make space planning easier and help you avoid blocking walkways or crowding the yard.
Next, choose a garden style that fits your space and routine. If you have a patio or limited ground, use pots, window boxes, or a vertical planter. For a larger yard, consider raised beds or neat in-ground rows. You can also combine containers and beds to make the most of different areas.
Think about how you want the garden to look as well as how you’ll reach and care for it. Straight lines create a tidy feel, while curved beds can soften a corner. Match materials and colors to your home for pleasing garden aesthetics. Leave enough room to move comfortably between planting areas.
Pick Herbs and Vegetables You’ll Use
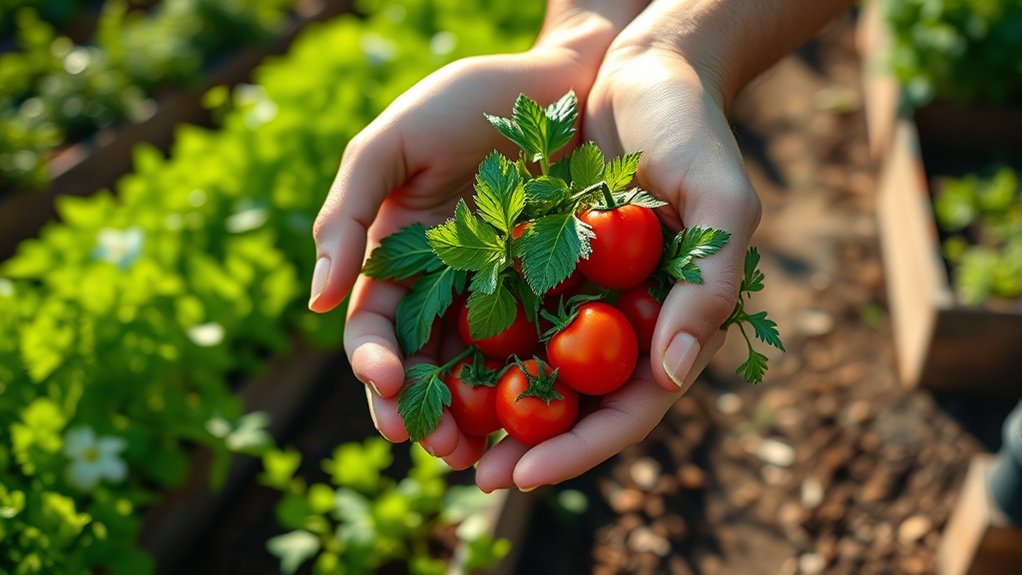
Choose herbs you use every day, like basil, parsley, or mint. Then grow your favorite vegetables and pick plants that suit the meals you love to make.
Choose Everyday Herbs
Think about the herbs and vegetables you reach for most when you cook. Choose everyday herbs that fit your meals, taste preferences, and available space. If you often season soups, plant parsley, chives, or Fresh thyme. For pasta and salads, basil may earn a spot. Consider how each herb’s Herbs aroma and flavor will complement your favorite dishes, then select a few you’ll use regularly.
Check your recipes before choosing varieties, and start with a manageable mix rather than planting every herb you like. You’ll get more value from a small selection you harvest often than from crowded pots of unused leaves. Match herbs to your garden’s conditions, too: many thrive in sun and well-drained soil, while mint spreads quickly and does best in its own container. Label each plant so you can identify it as it grows. A practical herb garden makes cooking easier and fresher.
Grow Favorite Vegetables
Alongside your everyday herbs, grow vegetables you’ll enjoy cooking and eating. Choose favorites that suit your taste, available space, and gardening experience.
If you’re new to growing food, start with easy options such as lettuce, radishes, bush beans, or cherry tomatoes. Check your local climate and planting calendar before selecting seasonal varieties; the right choices will thrive with less effort.
Consider how much sunlight your garden receives, since most fruiting vegetables need at least six hours of direct sun daily. You’ll also want to check each plant’s mature size so crowded beds don’t limit growth.
Try companion planting to make smart use of space and encourage a healthy garden. Mix plants with compatible light, water, and soil needs, and leave enough room for airflow, harvesting, and regular care throughout the growing season.
Match Plants To Meals
What do you reach for most when you cook? Let your everyday recipes guide what you plant. If you often make pasta, grow basil, parsley, and tomatoes. For salads, choose lettuce, cucumbers, radishes, and chives. Love stir-fries? Plant scallions, peppers, and leafy greens. When you match meals to your garden, you’ll harvest ingredients you’re excited to use instead of letting them go to waste.
Think about herb pairings, too. Basil complements tomatoes, while dill brightens cucumbers and potatoes. Thyme works well with roasted vegetables, and cilantro adds freshness to tacos and salsas. Choose a few favorites that suit your cooking style, then check whether they share similar sunlight and water needs. You don’t need to grow everything at once. Start with a small selection, cook with it, and adjust your planting choices next season.
Choose Seeds, Seedlings, and Essential Tools
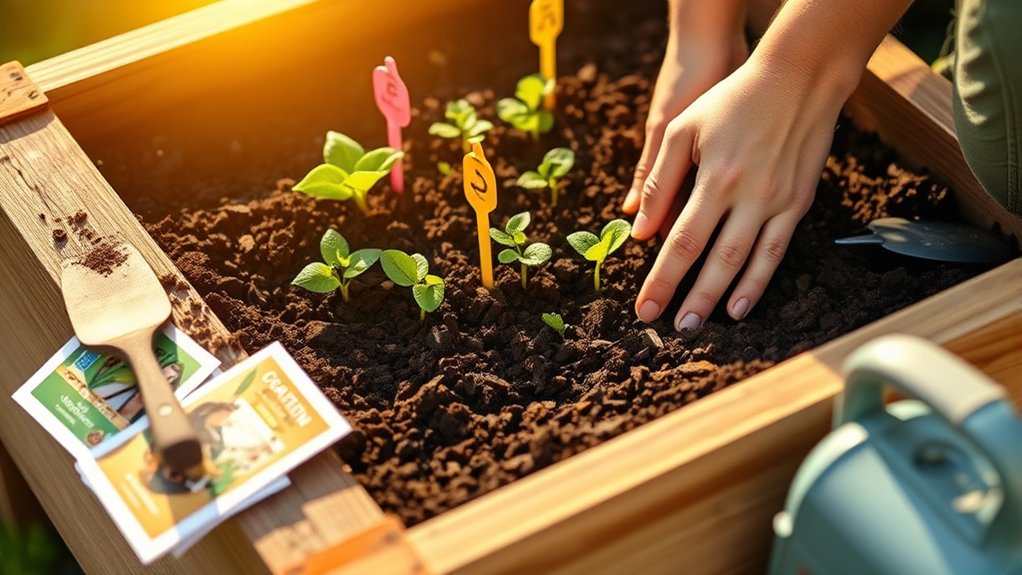
Choose seeds or seedlings that fit your garden space and growing season. Check the plant labels to see how much sunlight they need and how to care for them. Before you get started, gather a few essentials, like a trowel, gloves, and a watering can.
Choosing Seeds and Seedlings
Start with seeds suited to your climate, available space, and cooking habits, then decide which crops are easiest to grow from seedlings. Check seed viability by reviewing packet dates and storage conditions.
Choose compact varieties if you’re gardening in containers, and prioritize crops you’ll actually eat. Lettuce, radishes, and beans grow readily from seed; tomatoes and peppers often benefit from nursery seedlings.
Before transplanting, allow for seedling acclimation: gradually expose young plants to outdoor conditions over several days.
| Crop | Best starting choice | Why |
|---|---|---|
| Lettuce | Seeds | Quick, easy sowing |
| Radishes | Seeds | Fast harvest |
| Tomatoes | Seedlings | Earlier fruiting |
| Peppers | Seedlings | Slow to mature |
Select healthy seedlings with sturdy stems, green leaves, and no visible pests. Avoid crowded, wilted, or root-bound plants.
Match each choice to your season and growing space for a practical, productive garden.
Gathering Essential Tools
Once you’ve chosen your seeds and seedlings, gather a few reliable tools to prepare the soil and care for your plants. Start with essentials that suit your garden’s size and your comfort. Good gardening ergonomics can help you work longer without straining your back or hands.
- Hand trowel: Dig planting holes and move soil around seedlings.
- Pruners: Trim herbs and remove damaged stems cleanly.
- Watering can: Give young plants a gentle, controlled drink.
- Garden gloves: Protect your hands from thorns, dirt, and blisters.
Choose sturdy tools with comfortable grips, especially if you’ll use them often. You don’t need a large collection; a few dependable items can handle most kitchen-garden tasks. After each use, brush off soil, dry metal parts, and store tools in a sheltered spot. Regular tool maintenance keeps them sharp, clean, and ready when you need them.
Plan Your Kitchen Garden Layout
Before you plant, map out where each crop will thrive. Start your planning layout by noting how much sunlight reaches each area throughout the day. Place sun-loving tomatoes, peppers, and herbs where they’ll get at least six hours of direct light. Reserve shadier spots for leafy greens that tolerate less sun.
Map sunlight before planting: give tomatoes, peppers, and herbs six hours of direct light, and save shadier spots for leafy greens.
Next, consider how you’ll reach every plant for watering, harvesting, and routine care. Leave clear paths between beds or containers, and keep frequently picked crops close to your kitchen door.
Check each plant’s mature size on its seed packet or label, then allow enough room for leaves and roots to grow. Optimal spacing improves airflow, limits competition, and makes harvesting easier.
Group crops with similar light and water needs so you can care for them efficiently. If you’re growing vertically, position trellises where they won’t shade shorter plants.
Sketch your choices on paper, adjust the arrangement, and keep the plan handy as you plant. Include labels to track varieties and locations.
Get Soil Ready for Beds or Pots
Choose soil that suits the vegetables you plan to grow. Then improve its structure with compost or other amendments to help roots grow and water drain well. Finally, fill your beds or pots, leaving enough room to plant.
Choose the Right Soil
Healthy vegetables start with soil that holds moisture, drains well, and provides nutrients. Choose soil based on your garden’s location and the crops you want to grow.
For raised beds, use a quality garden blend. For pots, select potting mix, not dense garden soil. Check the label to ensure it suits vegetables, then consider these points:
- Match the mix to your containers or beds.
- Look for a pH near 6.0 to 7.0.
- Use soil testing to identify nutrient needs.
- Choose a product with clear ingredient information.
If you’re filling a bed, calculate its volume before buying soil so you have enough. You can make compost through compost creation and add it later according to your plants’ needs.
Avoid mixes marketed for specific plants unless they suit your vegetables. Read package directions before planting.
Improve Soil Structure
Once you’ve chosen your soil, improve its structure so roots can grow and water can move through it. Check the soil texture by squeezing a handful when it’s slightly damp.
If it forms a hard clump, loosen it with a garden fork; if it falls apart easily, mix in a modest amount of finished compost to help it hold moisture. Compost also feeds microbial life, which supports healthy soil and nutrient cycling.
Work amendments gently into the soil rather than turning it over deeply, since excessive disturbance can damage its structure. Remove stones, roots, and compacted clods as you go. Aim for a loose, crumbly feel, not powdery soil.
If you’re preparing a potting mix, follow its label and adjust only when needed. Stop when the soil feels workable and evenly loosened.
Fill Beds and Pots
Fill raised beds and pots with the prepared soil, leaving an inch or two of space below the rim so water won’t spill over. Break up clumps and remove stones, weeds, and debris before you plant.
Blend in compost if the mix needs more organic matter, but don’t pack the soil down; roots need air and room to grow. Check that every container has drainage holes, and set beds where they’ll get enough sunlight.
- Match soil depth to your crops’ roots.
- Moisten the mix evenly before sowing.
- Keep soil loose to support healthy growth.
- Plan seed selection with space and sunlight in mind.
Top off low spots after watering, then smooth the surface. Good drainage and clean soil support pest prevention, helping your kitchen garden get off to a strong start.
Plant Seeds and Seedlings at the Right Depth
Plant each seed at the depth listed on its packet, since planting too deep can delay or prevent germination. Check the recommended seed depth before you make a furrow or hole. Tiny seeds often need only a light covering of soil, while larger seeds can go deeper. If a packet says to sow seeds on the surface, press them gently into the soil instead of burying them.
Set seedlings at the same depth they grew in their nursery pots. Gently loosen crowded roots, then place each plant upright in its hole. Keep the stem and leaves above the soil, and cover the roots without packing the soil tightly.
Follow the spacing guidance on the packet or plant label so each crop has room to grow. Good seedling spacing also makes it easier to reach plants for harvesting and care. Mark each row or pot with the crop name and planting date, so you can identify young sprouts as they emerge.
Water Your Kitchen Garden Consistently
Water your kitchen garden when the soil begins to dry, rather than following a rigid schedule. Check the soil by pressing a finger about an inch below the surface. If it feels dry, give your plants a thorough drink.
Your watering schedule should reflect the weather, soil type, and plants’ needs. Containers and sandy soil often dry faster than garden beds.
- Water early in the morning to reduce evaporation.
- Direct water to the soil around each plant’s base.
- Pour slowly so moisture reaches the roots.
- Check containers daily during hot, dry weather.
Use a watering can or a gentle hose setting to avoid washing soil away or damaging tender stems. Rainwater barrels can help you collect water for dry spells. Use clean, covered barrels and follow local guidance.
After watering, check the soil again to confirm it’s moist, not soggy. Adjust how often you water as temperatures and rainfall change, and watch plants for wilting or yellowing leaves. These signs can help you spot watering problems early.
Mulch and Protect New Kitchen Garden Plants
Once seedlings are established, add a thin layer of mulch around them to hold moisture, suppress weeds, and moderate soil temperature. Choose clean straw, shredded leaves, or untreated grass clippings, and keep the material a few inches away from each stem. This gap helps prevent rot and discourages pests from hiding against tender growth.
The mulch benefits extend beyond moisture control: as organic material breaks down, it can improve your soil’s structure. Check the layer after rain or watering, and replenish it if bare soil appears. Don’t pile mulch too deeply, since thick layers can block air and water from reaching roots.
Protecting seedlings also means shielding them from wind, heavy rain, and sudden cold snaps. Use lightweight row covers, cloches, or cut-down containers, but leave room for airflow and remove covers on warm, sunny days. Secure covers so they won’t blow away, and inspect plants regularly for damage, pests, or signs of stress.
Harvest Herbs and Vegetables at the Right Time
Harvest herbs and vegetables at their peak for the best flavor, texture, and continued growth.
Harvest herbs and vegetables when they’re at their peak for the best flavor and texture. Check your plants often, since harvest timing can change quickly with warm weather.
Pick produce when it reaches its expected size, and use its color, firmness, and aroma as clues. Regular harvesting also encourages many plants to keep producing.
- Basil: Pinch leaves before flowers appear to support herb freshness and fuller growth.
- Lettuce: Snip outer leaves while they’re tender, leaving the center to regrow.
- Tomatoes: Pick fruits when they’re fully colored and yield slightly to gentle pressure.
- Zucchini: Harvest when fruits are small and firm; oversized ones can turn tough.
Use clean scissors or a sharp knife to avoid damaging stems. Harvest in the cool morning, when leaves and fruits are crisp, and handle everything gently.
If you can’t use your harvest right away, refrigerate suitable vegetables promptly. Keep herbs in water or wrap them loosely in a damp towel. Taste what you pick, and adjust your schedule to suit your preferences.
Frequently Asked Questions
How Can I Keep Pests Out of My Kitchen Garden Without Using Chemicals?
Keep pests out of your kitchen garden by combining physical barriers, regular checks, and natural pest deterrents. Cover young plants with fine mesh, handpick larger insects, and remove damaged leaves promptly.
Try companion planting: grow herbs such as basil or flowers such as marigolds near vegetables to discourage some pests and attract beneficial insects. Water at soil level, clear weeds, and encourage birds and ladybugs. Check plants often so you can act early.
Which Kitchen Garden Plants Grow Well Together?
For companion planting, pair tomatoes with basil, carrots with onions, and lettuce with radishes. These plant pairings make efficient use of space, and some may help confuse pests or attract beneficial insects. You can also grow beans beside corn; beans add nitrogen to the soil, while corn offers support. Keep mint in a pot, though, because it spreads aggressively. Match plants’ sunlight and water needs, and leave enough room for airflow and growth.
Can I Grow a Kitchen Garden Indoors During Winter?
Yes, you can grow a kitchen garden indoors during winter, especially with herbs and leafy greens. Indoor winter viability depends on warmth, suitable containers, and enough light.
Check sunlight requirements: place plants near a bright, south-facing window, or use a full-spectrum grow light for 12–16 hours daily. Choose compact varieties, use well-draining potting mix, and water when the surface feels dry. Keep plants away from cold drafts and heating vents.
How Do I Preserve Surplus Herbs and Vegetables?
Dry, freeze, or steep herbs; can, pickle, or freeze vegetables. To preserve herbs, rinse and dry them thoroughly, then hang them, freeze chopped leaves in oil, or blend them into pesto.
To store vegetables, keep roots in a cool, dark place, refrigerate leafy greens, and freeze blanched extras. Label containers with dates, and use older supplies first. Check stored produce regularly, removing anything spoiled so it won’t affect the rest.
How Can I Start a Kitchen Garden on a Tight Budget?
You can start a kitchen garden cheaply by growing a few easy crops in containers you already own. For start up budgeting, set a small spending limit and prioritize seeds, soil, and sunlight over decorative supplies.
Try low cost sourcing: swap seeds with neighbors, reuse food-safe buckets with drainage holes, and ask local gardeners for cuttings. Choose herbs, lettuce, or radishes, which grow quickly and let you harvest fresh food without costly equipment.
Conclusion
With a sunny spot, smart layout, and suitable seeds, you’re ready to grow a kitchen garden that works for you. Water wisely, mulch generously, and watch your herbs and vegetables flourish. Then harvest fresh, flavorful food right outside your door.
Start small, stay steady, and savor each success. You’ll soon turn a little patch, pot, or planter into a productive, beautiful garden that brings color, fragrance, and homegrown goodness to your kitchen every day. That’s the joy of a kitchen garden.