How Do You Make a Flower Garden in 7 Easy Steps
Want a flower garden that looks beautiful without the guesswork? You’re not alone—many people struggle to choose the right flowers, prepare the soil, and keep blooms thriving. This guide to making a flower garden walks you through seven simple steps to help you get started.
To make a flower garden in seven easy steps, choose a spot with at least six hours of sun, then pick flowers suited to your climate and soil. Plan plant locations, spacing, and bloom times. Clear the ground and improve the soil with compost based on a soil test. Plant flowers at the recommended depth and mature spacing. Water thoroughly, then add mulch. Deadhead faded blooms, pull weeds, and check for pests. Keep going to discover practical tips for each step.
Key Takeaways
- Choose a sunny, accessible site with at least six hours of direct sunlight, and mark its boundaries and paths.
- Check your USDA hardiness zone and test the soil’s pH, texture, drainage, and nutrients; amend it as needed.
- Select climate- and soil-suited flowers, favoring regional varieties and planning blooms across the seasons.
- Arrange plants by mature size and water needs, then plant at the recommended depth and spacing.
- Water thoroughly, add two to three inches of mulch, and maintain the garden by weeding, deadheading, and checking for pests.
Choose a Sunny Spot for Your Flower Garden
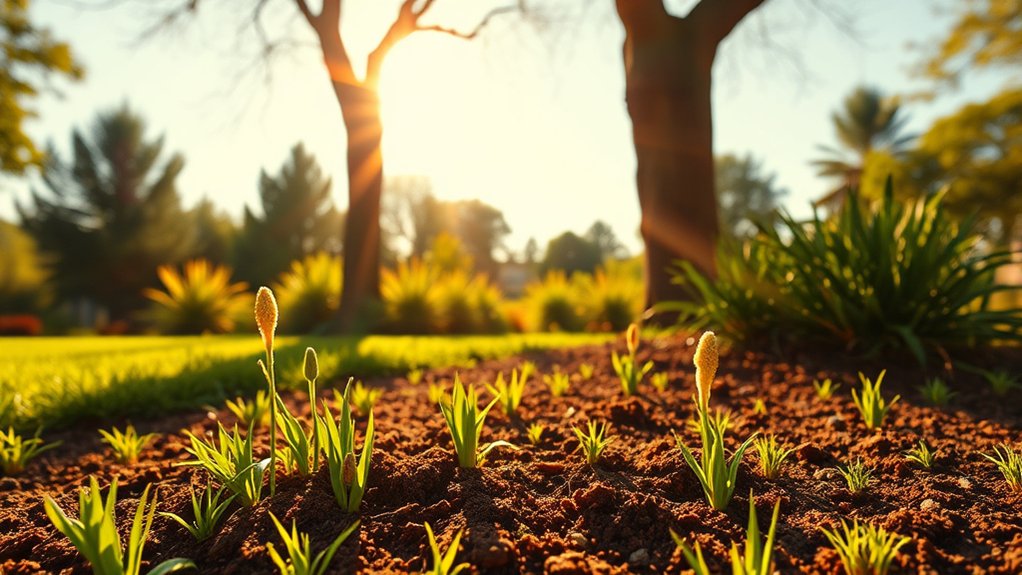
Choose a sunny spot that receives at least six hours of direct sunlight each day, since most flowering plants need plenty of light to thrive. Watch how sunlight moves across your yard before settling on a location. A spot that looks bright in the morning may fall into shade by afternoon, so check it at different times.
Use simple planning tools, such as a notebook, phone camera, or sun-tracking app, to record light levels and sketch possible layouts. Note nearby trees, fences, and buildings that could cast shadows as the seasons change. Consider how easy it’ll be to reach the area with a hose or watering can, and leave enough room to move around comfortably.
Good sun exposure helps you plan for seasonal nutrition, too, because healthy growth depends on matching care to changing conditions. Once you’ve chosen a bright, accessible site, mark its boundaries and observe it for a few days before preparing the ground.
Pick Flowers for Your Climate and Soil
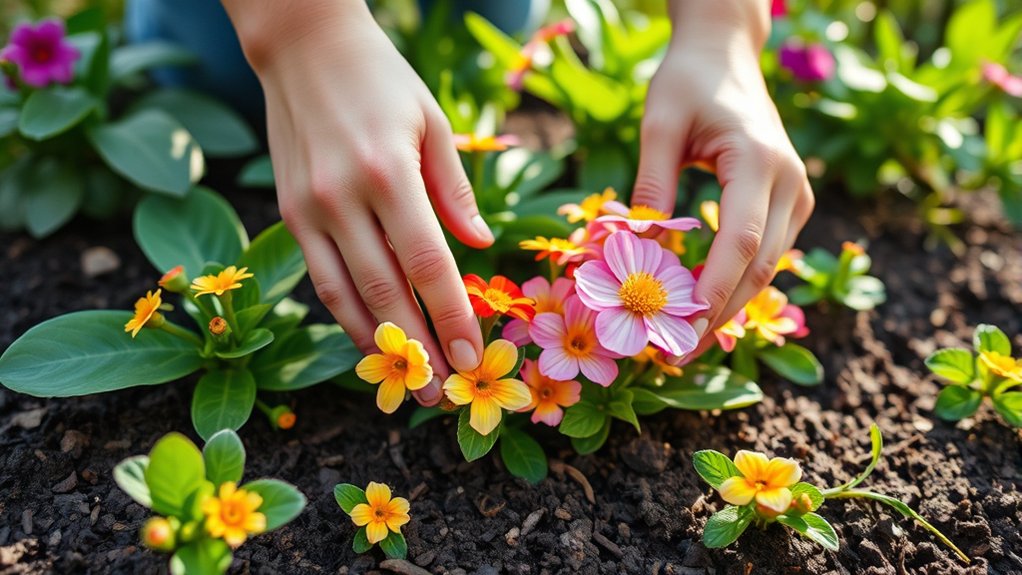
Check your growing zone to see which flowers are likely to thrive in your climate. You can also test your garden soil to learn its pH and nutrient levels. With that information, choose flowers that suit both your region and your soil.
Know Your Growing Zone
Before choosing flowers, find your USDA hardiness zone to see which plants can survive your area’s winter temperatures. Use your ZIP code with an official zone mapping tool, then check each flower’s hardiness range.
Your zone guides winter survival, but it doesn’t describe summer heat, sunlight, or rainfall, so consider those conditions too. Match flowers to your local climate and your garden’s needs; soil testing can help you assess soil suitability later.
| Zone | Winter conditions | Planting clue |
|---|---|---|
| 3–4 | Very cold | Choose hardy perennials |
| 5–6 | Cold | Check frost dates |
| 7–8 | Mild | Consider longer seasons |
| 9–10 | Warm | Select heat-tolerant blooms |
Treat the table as a starting point, not a complete plant list. Compare nursery labels with your zone, and ask local garden experts about varieties that thrive nearby.
Test Your Garden Soil
Next, test your garden soil to learn whether its pH and texture suit the flowers you want to grow. Start with a soil pH assessment using a home kit or a sample sent to a local extension service. Follow the directions carefully, since accurate results help you understand whether your soil is acidic, neutral, or alkaline.
Then check its texture: squeeze a handful of moist soil. Sandy soil feels gritty, while clay soil feels sticky; loam crumbles easily. For reliable test soil testing, collect small samples from several spots in the bed and mix them before testing.
Review the results for pH, drainage, and nutrient levels. If needed, amend the soil with compost or other recommended materials, then retest before planting. These steps help you prepare a healthy foundation for your garden.
Choose Climate-Friendly Flowers
Choose flowers that thrive in your local climate and match your soil’s pH, texture, and drainage. Check plant labels for sunlight needs, hardiness zones, and water requirements. Your soil test results can help you select varieties that will grow well without extensive amendments. Native and regionally adapted flowers often handle local weather and pests better than unfamiliar species, making them easier to maintain.
Plan for blooms across the growing season by combining early, midseason, and late-flowering plants. Choose diverse shapes and colors to attract bees, butterflies, and other beneficial visitors. Look for pollinator friendly nectar sources, and avoid flowers treated with pesticides that can harm pollinators. Group plants with similar water needs together to support climate friendly irrigation and reduce waste. If you’re unsure, ask a local nursery or extension service for recommendations suited to your garden.
Plan Your Flower Garden Layout and Bloom Times
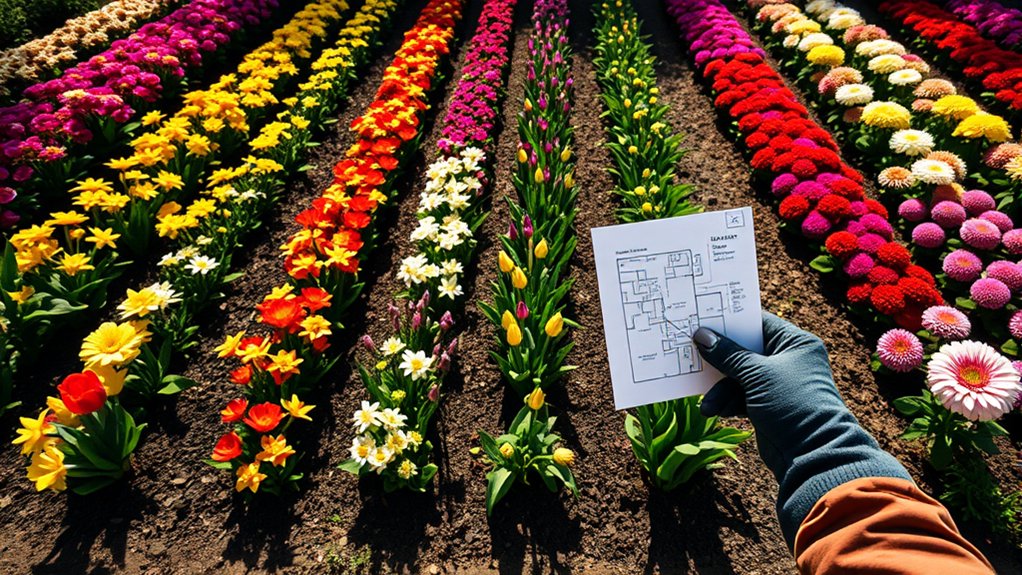
A thoughtful layout gives your flower garden structure and keeps color coming from spring through fall. Start by sketching your space, noting its shape, paths, views, and available sunlight. Place taller flowers at the back of a border or in the center of an island bed, then arrange shorter varieties where they won’t be hidden. Leave enough room for each plant’s mature width so your garden won’t feel crowded.
For planning bloom times, check each flower’s expected flowering season and group varieties that bloom in spring, summer, and fall. Overlap their seasons so one set of blossoms appears as another fades. You can also mix foliage colors and textures to keep beds appealing between flowering periods.
Consider companion planting when you position flowers with similar light and water needs. Repeating a few colors or varieties across the bed creates a unified look, while small clusters make individual blooms easy to notice. Mark your plan with plant names and spacing before you begin.
Clear the Ground and Improve the Soil
Remove weeds, rocks, and other debris so your flowers have room to grow without competing for space. Loosen the soil to help roots spread and water drain. Then mix in compost or other amendments to give your garden the nutrients it needs.
Remove Weeds and Debris
Before planting, remove weeds, rocks, and other debris so flowers won’t compete for nutrients or struggle to take root. Start your weeds removal by pulling young weeds after rain, when their roots come out more easily.
Grip each plant near its base and lift steadily to remove as much of the root as possible. For stubborn weeds, use a hand tool, taking care not to disturb nearby plants you plan to keep.
Next, complete debris cleanup by collecting stones, dead leaves, sticks, and discarded garden materials. Check the area carefully, since small scraps can hide beneath foliage or along the edges.
Bag invasive weeds and diseased plant matter rather than adding them to compost, where they may spread. Dispose of the collected debris according to local guidelines, leaving a clear, tidy space for your garden.
Loosen the Soil
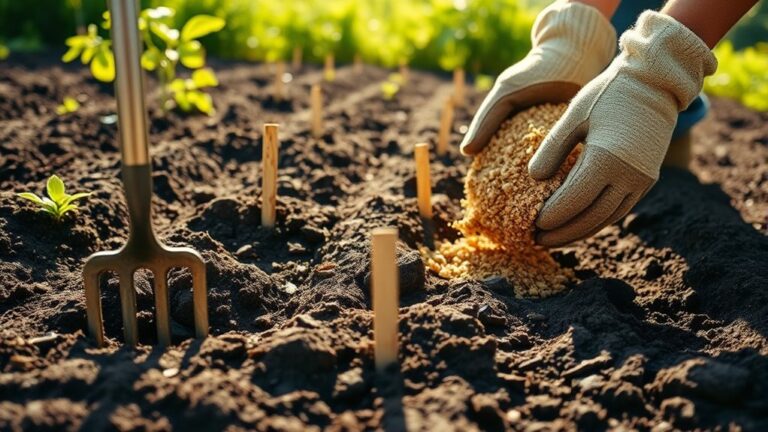
With weeds and debris gone, loosen the soil to help roots spread and water drain. Use a garden fork or spade to work the top 8–12 inches, turning compacted earth without pulverizing it.
Break large clods gently, and remove any remaining roots or stones. For a small bed, a hand cultivator gives you better control near existing plants.
| Tool | Best use | Care |
|---|---|---|
| Garden fork | Dense soil | Lift, don’t chop |
| Spade | Open ground | Turn shallowly |
| Hand cultivator | Tight spaces | Work gently |
Keep the bed’s shape consistent with your garden design, leaving paths accessible for planting and care. Loose, well-drained soil supports flowering plants that offer pollinator benefits.
Stop if soil sticks heavily to your tools. Wait until it’s drier to avoid compaction.
Add Soil Amendments
Once the soil is loose, mix in amendments to improve its texture and fertility. Start with finished compost, which adds organic matter, supports helpful soil life, and helps the ground hold moisture without becoming waterlogged.
These compost benefits make it a useful choice for many flower beds. Spread a layer about two inches deep over the planting area, then blend it into the top six to eight inches of soil with a garden fork.
Check your soil’s drainage and structure before adding anything else. If it feels heavy and sticky, compost can help improve soil texture over time. If it drains too quickly, organic matter can help retain water.
Avoid adding sand to clay soil, since it may create a dense mix. Use amendments sparingly, and follow soil test recommendations when available.
Plant Flowers at the Right Depth and Spacing
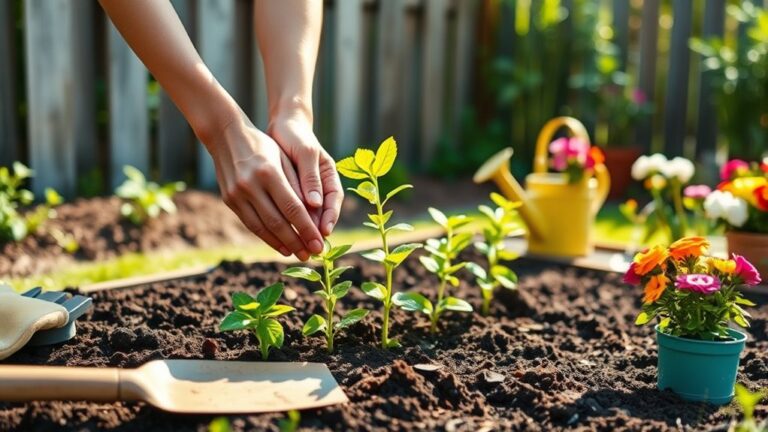
Plant each flower at the depth and spacing recommended on its label to help it establish strong roots and grow without crowding. Check the instructions before planting, since varieties differ. Most nursery-grown flowers should sit at the same depth they occupied in their pots. If you bury the crown or expose too much of the root ball, the plant may struggle to settle in.
For bare-root flowers, spread the roots gently in the hole, then cover them with soil to the depth specified for that variety. Set each plant in place, backfill around its roots, and press the soil lightly to remove large air pockets. Don’t pack it hard.
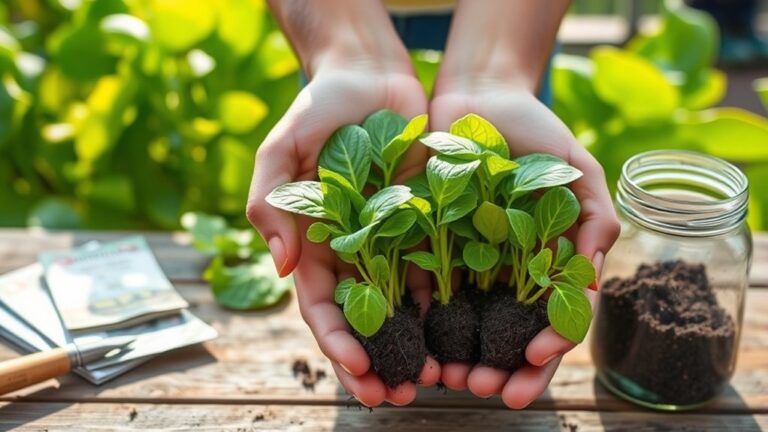
Use the mature width listed on the label to space plants, not their current size. Proper spacing gives each flower room to branch and helps you avoid overcrowding as the garden fills in. For seed starting, follow packet directions for sowing depth and thin seedlings to the recommended spacing. A simple planting plan helps you keep track of varieties and placement.
Water and Mulch Your New Flower Garden
Water your new flower garden thoroughly after planting to settle the soil around the roots and help plants recover from transplanting. Apply water slowly at the base of each plant so it reaches the root zone instead of running off.
Water slowly at the base of each plant to settle the soil and help roots recover after planting.
For the first few weeks, check the soil regularly and water when the top inch feels dry. Adjust your watering schedules for rainfall, temperature, and soil type; containers and sandy beds may need more frequent attention than clay soil.
Aim to water in the morning, giving foliage time to dry and reducing water loss to evaporation.
Once the soil has absorbed water, spread a two- to three-inch layer of organic mulch over the bed. Shredded bark, compost, or straw can help conserve moisture, moderate soil temperature, and limit weeds.
Keep mulch a few inches away from stems and crowns to prevent rot. Include mulch maintenance in your routine: replenish thin areas and avoid piling material against plants.
Deadhead, Weed, and Check for Pests
As your flowers grow, deadhead spent blooms to encourage continued flowering and keep the bed tidy. Use clean, sharp snips, cutting just above a healthy leaf or bud.
Your deadheading techniques may vary: pinch soft stems by hand, but trim woody stems with pruners. Remove weeds while they’re small, pulling out roots so they don’t compete with your flowers for water and nutrients.
Check your garden regularly for signs of pests, such as chewed leaves, sticky residue, or discolored growth. Consistent pest monitoring helps you spot problems early, before damage spreads.
- Deadhead: Snip faded flowers every few days, unless you want them to form seeds.
- Weed: Loosen soil around stubborn roots, taking care not to disturb nearby plants.
- Inspect: Look beneath leaves and along stems for insects, eggs, or disease.
- Respond: Handpick pests or use a suitable treatment, following its label carefully.
Keep notes on recurring issues and which plants attract them. With steady care, you’ll support healthier growth and enjoy a neater, longer-lasting display.
Frequently Asked Questions
What Tools Do I Need to Start a Flower Garden?
You’ll need a sturdy spade or shovel, a hand trowel, gardening gloves, pruning shears, and a watering can or hose to start a flower garden. A rake helps clear debris and level soil, while a hoe can control weeds.
For concept planning, keep a notebook and measuring tape handy to map your beds. For soil preparation, use a garden fork and add compost with a bucket. Choose tools that feel comfortable and durable.
Can I Grow Flowers in Containers Instead of Garden Beds?
Yes—you can grow flowers in containers instead of garden beds. Think of each pot as a small ship: you choose its cargo, route, and supplies, but it needs your care to thrive. With container gardening, you can move blooms to catch sunlight and fit limited spaces. Choose pots with drainage holes, use quality potting mix, and check your flowers’ watering needs often; containers dry out faster than garden soil, especially in warm, windy weather.
How Much Does It Cost to Create a Flower Garden?
You can create a flower garden for about $50–$300, depending on its size, soil condition, and plant choices. A small container garden may cost $30–$100, while a larger bed with edging, soil, and established plants can exceed $500.
For a useful cost comparison, price seeds against nursery plants and reuse containers or tools. Follow simple maintenance tips, such as watering consistently and mulching, to protect your investment and reduce ongoing expenses.
When Is the Best Time of Year to Start a Flower Garden?
You’ll usually get the best results by starting your flower garden in spring, after your area’s last expected frost. This best planting season gives many flowers warm soil and a full growing period.
For hardy perennials and spring bulbs, fall can work better because roots settle before winter. Check each plant’s needs and local climate, then handle seasonal soil prep by loosening the ground, removing weeds, and adding compost before you sow or transplant.
How Can I Protect My Flower Garden From Pets?
Protect your flower garden by installing pet safe fencing around vulnerable beds and choosing pet proof mulch that won’t harm curious animals. You can also place sturdy containers over seedlings, use raised beds, or add low barriers to discourage digging.
Train your pets to avoid planted areas, and provide a nearby play space to redirect them. Avoid toxic plants and chemical repellents, and check your garden regularly for damage or hazards.
Conclusion
A thriving flower garden starts with a sunny spot, suitable plants, and a simple plan. Prepare the soil, plant at the right depth, and water well so your flowers can settle in.
Then keep up with weeding, deadheading, and pest checks. You don’t need a perfect garden on day one, just steady care and a little patience.
With thoughtful choices and consistent attention, you’ll learn how to make a flower garden that brings beauty, blooms, and joy to your yard through the seasons.