How to Make a Mulch Bed in 10 Easy Steps
Creating a neat, healthy garden bed can feel like a lot of work, especially when weeds keep returning or mulch never seems to stay in place. You’re not alone—many gardeners struggle to get the look they want without adding more upkeep. This guide to how to make a mulch bed walks you through the essentials for a tidy, low-maintenance space.
To make a mulch bed, choose a spot that suits your plants’ sunlight, drainage, and access needs. Mark the shape, then remove grass, weeds, and debris. Loosen and level the topsoil, and decide whether landscape fabric suits your planting plans. Measure the bed and gather enough mulch, tools, and materials. Add edging if desired, then spread mulch evenly 2 to 3 inches deep. Keep it clear of stems and trunks. Follow these steps for a tidy, healthier bed with less upkeep.
Key Takeaways
- Choose a location based on sunlight, drainage, plant needs, nearby roots, and access for watering and weeding.
- Mark the bed’s shape with a hose or string, check the outline from different angles, and clearly mark its boundaries.
- Cut and remove grass, weeds, roots, and debris, then loosen, amend if needed, and level the soil.
- Install low, level edging; decide whether to use weed-suppressing fabric or cardboard, considering future planting and soil access.
- Spread mulch evenly 2–3 inches deep, checking with a ruler, and keep it several inches away from stems and tree trunks.
Choose the Right Spot for Your Mulch Bed
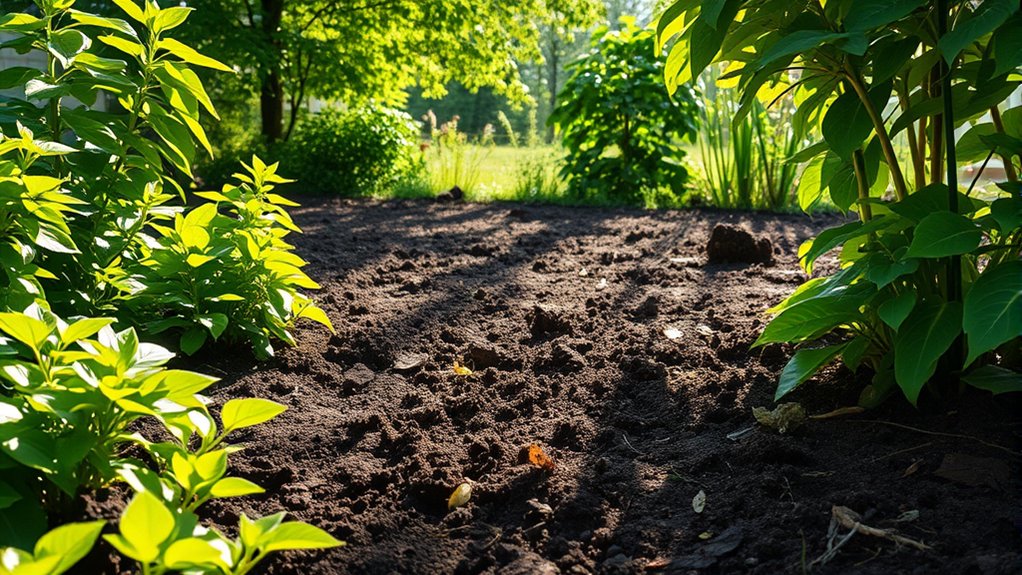
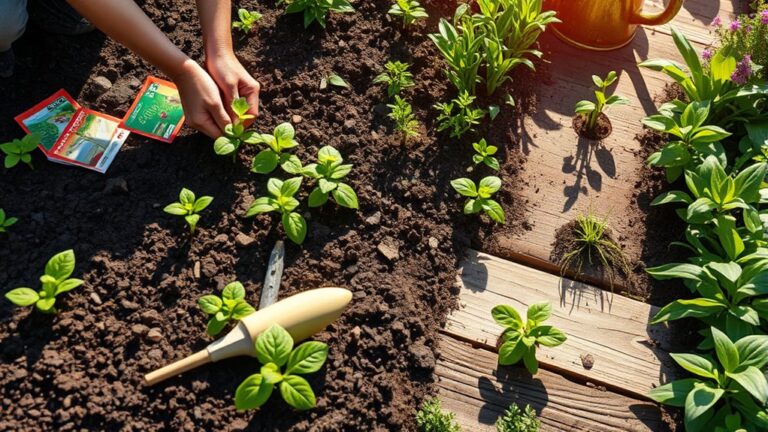
Before you spread mulch, choose a spot that suits your plants and is easy to maintain. Good spot selection starts with your garden’s needs: consider which plants you want to grow, how much room they need, and whether you can reach the area to water and weed.
Choose a garden spot that suits your plants, gives them room to grow, and is easy to reach for watering and weeding.
Choose a location that supports healthy growth rather than one that simply looks convenient. Check sun exposure throughout the day before settling on a site. Some plants thrive in full sun, while others need partial shade, so match the location to the varieties you plan to grow.
Also note how water moves across the ground after rain. Avoid low spots where water pools, since soggy soil can harm roots and encourage disease. A gently drained area usually works better.
Consider nearby trees and shrubs, too. Their roots may compete with your plants for moisture and nutrients, and their shade can change as they grow. Pick a site that fits your plants and your routine.
Mark Your Mulch Bed’s Shape and Boundaries
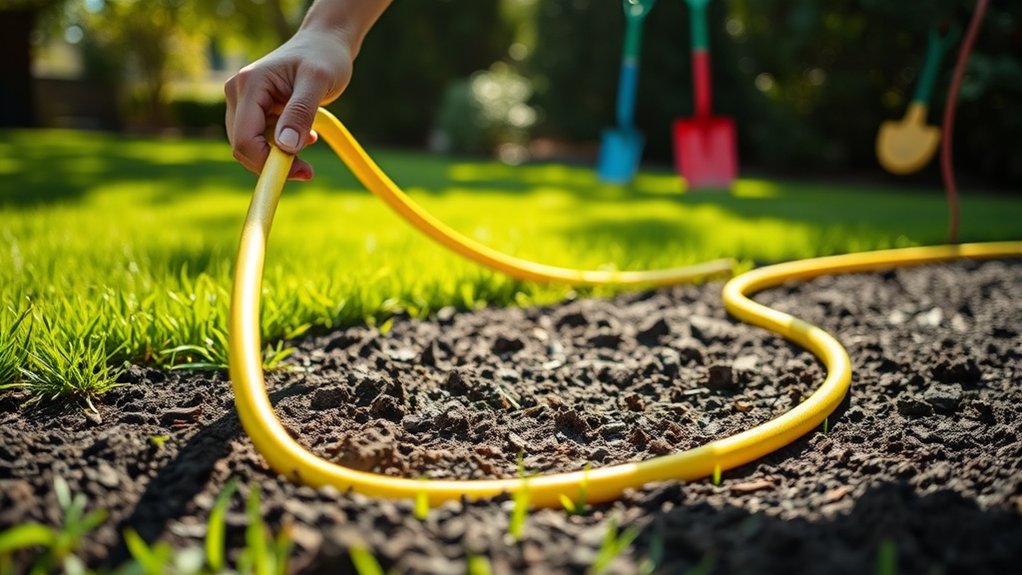
Once you’ve chosen a spot, mark the bed’s shape and boundaries so you can see its footprint before you start digging. Use a garden hose or rope to outline curves, or set stakes and stretch string for straight edges.
Step back and visualize the shape from several angles, including the view from your home and nearby paths. Adjust the outline until it feels balanced and leaves enough room to move around plants and structures.
To mark boundaries clearly, use flour, landscape marking paint, or small flags. Choose a method that stands out against your lawn and won’t confuse you later. Take a moment to notice how the planned bed will change the space:
- A graceful curve can make a plain yard feel welcoming.
- A crisp edge can give your garden a polished, intentional look.
- A shape that fits the setting can make the whole landscape feel more harmonious.
Walk the perimeter once more, then refine any awkward corners or narrow sections. A clear outline helps you follow your plan as you work.
Remove Grass, Weeds, and Debris
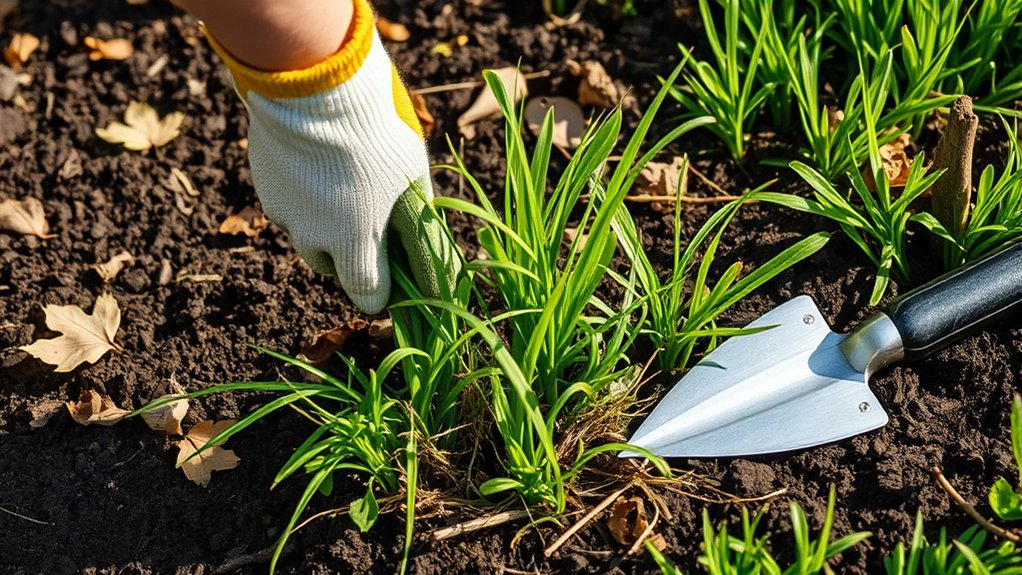
With your bed’s outline in place, clear the area of grass, weeds, and debris so the mulch has a clean base. Cut grass short, then lift it with a flat spade, working carefully along the marked edge. Remove stubborn roots to limit regrowth, and bag or compost healthy plant material.
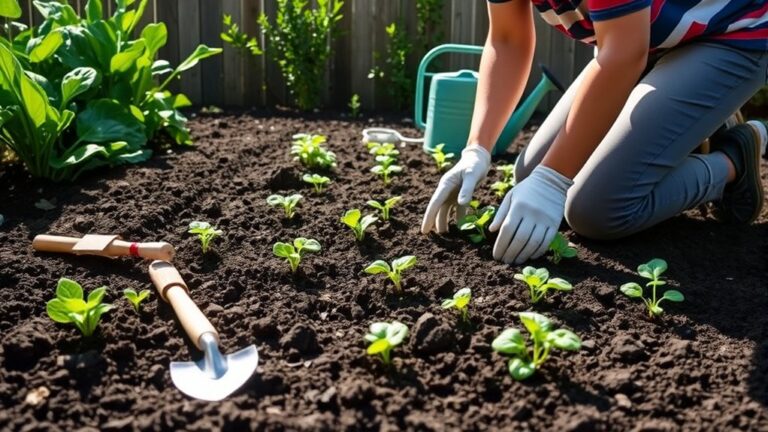
For clearing weeds, pull small plants by hand and dig out deep-rooted ones. Wear gloves, especially when handling prickly or unfamiliar growth. During removing debris, pick up stones, sticks, leaves, and litter; these can disrupt an even mulch layer or hide pests.
| Task | What you’ll notice | Why it feels good |
|---|---|---|
| Cut grass | A clear outline | Your plan takes shape |
| Lift turf | Bare ground appears | Progress feels real |
| Pull weeds | Roots come free | You reclaim the space |
| Gather sticks | Fewer obstacles | The bed looks cared for |
| Bag waste | Area looks tidy | You’re ready for the next step |
Keep the cleared material out of the bed, and check the boundaries once more before moving on.
Loosen and Level the Soil for Your Mulch Bed
Now that the area is clear, loosen the top few inches of soil with a garden fork or cultivator, breaking up compacted clumps without disturbing deeper roots. Work evenly across the bed, then rake the surface until it’s level. A smooth base helps mulch sit consistently and gives your planting area a cared-for finish.
Before you amend the soil, consider soil testing. A test can reveal pH and nutrient levels, helping you choose suitable fertilizer options rather than guessing. Follow the test’s guidance, and mix any recommended amendments into the loosened topsoil.
As you shape the bed, look for spots that need a little extra attention:
- Break apart hard clods so water can reach the soil more evenly.
- Fill shallow dips to prevent puddles and protect your future plants.
- Smooth small ridges for a neat, welcoming bed you’ll enjoy seeing.
Take a final look from several angles. Adjust uneven areas now, while the soil is easy to work.
Choose Whether to Use Landscape Fabric
After leveling the soil, decide whether landscape fabric suits your mulch bed. Fabric can provide weed suppression beneath mulch, but it isn’t right for every planting area. Consider how you’ll use the bed and what you plan to grow before choosing.
Landscape fabric blocks some weeds while allowing water and air to pass through. It may help in a bed with established shrubs or other permanent plants, where you won’t need to dig often. Cut openings for existing plants, then lay the fabric flat without stretching it. Overlap seams enough to limit gaps where weeds could emerge.
However, fabric can make future planting and soil improvements harder. Weeds may also grow in debris that gathers on top, and persistent roots can work through the material. If you’ll add annuals, divide perennials, or amend the soil regularly, skip the fabric and rely on mulch and hand-pulling instead. Whichever option you choose, keep mulch away from plant stems and trunks to reduce moisture-related problems.
Add an Edge to Keep Mulch in Place
Before spreading mulch, add an edge to define the bed and keep material from spilling onto the lawn or paths. A clear edge definition gives your garden a tidy, finished look and makes mowing easier.
Choose an edging style that suits your space, budget, and taste. You can cut a shallow trench with a spade, or install metal, plastic, stone, or brick edging for a more lasting boundary.
Set the edge firmly, following the bed’s curves, and keep its top low enough to avoid a tripping hazard.
A well-placed border can also support weed suppression by limiting grass and creeping weeds from invading the bed. Take a moment to enjoy the difference:
- A crisp line makes your flowers stand out.
- A sturdy border helps keep mulch where you put it.
- A smooth curve can make your yard feel welcoming.
Check that the edging sits level and has no gaps. You’ll spend less time tidying and more time enjoying your garden.
Calculate How Much Mulch You Need
How much mulch should you buy? First, measure the length and width of your bed in feet. For an irregular shape, divide the area into simple rectangles or circles, calculate each section, then add the results. Multiply the bed’s total square footage by your planned Mulch depth, measured in feet, to find the volume in cubic feet. For example, a 100-square-foot bed with a 3-inch layer needs 25 cubic feet.
Convert cubic feet to cubic yards by dividing by 27. In this example, you’ll need about 0.93 cubic yards, so round up to one yard. If you’re buying bags, check the package volume and divide your total cubic feet by that amount. A little extra helps cover uneven ground or settling, but avoid overbuying. Your Mulch sourcing may depend on whether you choose bagged or bulk mulch, so compare quantities and coverage before ordering. Recheck your measurements to keep the estimate accurate.
Gather Tools and Materials for Your Mulch Bed
Gather your tools and materials before you begin: a shovel, rake, garden hose, and mulch. You can also use landscape fabric or edging if you’d like. Having everything on hand makes building your mulch bed easier and more efficient.
Essential Tools
Having the right tools and materials on hand makes building a mulch bed easier and more efficient. Before you begin, gather essential tools that help you clear, shape, and finish the area without unnecessary effort.
A little preparation can turn a tiring job into a satisfying project you’ll enjoy completing.
- Spade or shovel: Cut clean bed edges and lift stubborn grass or weeds.
- Garden rake: Smooth the soil and spread mulch evenly for a polished finish.
- Wheelbarrow and gloves: Move supplies comfortably and protect your hands as you work.
You may also want a tape measure and garden hose to mark the bed’s shape before digging. Choose tools that feel comfortable and suit your yard’s size.
With everything nearby, you can focus on safe, effective mulching techniques and create a neat foundation for your finished bed.
Mulch Bed Materials
Before you begin, gather the materials that will help your mulch bed thrive. Choose mulch suited to your plants, climate, and style. Shredded bark, wood chips, and compost each offer different textures and benefits.
You’ll also need a garden hose or edging material to mark the bed, plus a rake for spreading mulch evenly. If you plan to suppress weeds, consider landscape fabric or cardboard.
Knowing the landscape fabric benefits can help you decide: fabric blocks many weeds and separates mulch from soil, but it may limit water and air movement. For most beds, a layer of cardboard or mulch alone may work well.
Gather compost or other soil amendments if your soil needs improvement. Keep everything nearby before you start, so you can work efficiently and cover the bed without interruption.
Spread Mulch at the Right Depth
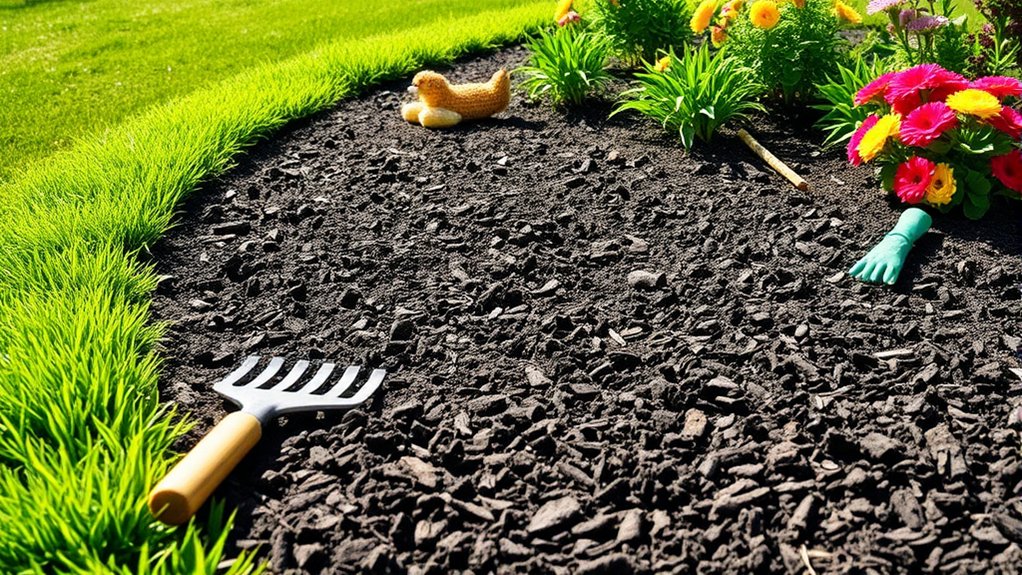
Spread mulch in an even layer about 2 to 3 inches deep. This mulch depth helps block weeds, regulate soil temperature, and support moisture retention without smothering the ground.
Use a rake to distribute material evenly, and check the layer in several spots with a ruler. If you’ve chosen fine-textured mulch, stay closer to 2 inches; coarse pieces can reach 3 inches while still allowing air and water to pass through.
A balanced layer can make your garden feel calmer and healthier. As you spread it, remember the small rewards you’re creating:
- Your plants can draw on steadier soil moisture during dry spells.
- You’ll spend less time pulling weeds and more time enjoying your garden.
- Your bed will look neat, cared for, and ready to flourish.
Don’t pile mulch too thickly. A heavy layer can limit water and oxygen, leaving roots stressed instead of protected.
If you notice uneven patches, rake them level before you finish. A consistent blanket gives the whole bed reliable coverage and a polished appearance.
Keep Mulch Clear of Stems and Trunks
Once the mulch is level, pull it back from plant stems and tree trunks. Leave a clear ring around each plant instead of piling mulch against the bark. For small plants, keep mulch a few inches away from stems. Around trees, leave several inches between the trunk and the mulch edge.
This careful mulch placement helps protect the plant’s base while still covering the surrounding soil.
Mulch piled against stems or trunks traps moisture and limits airflow. That damp, sheltered space can encourage rot, disease, insects, and rodents. Deep piles may also hide the trunk flare, where the trunk widens into the roots, and can lead to weak or girdling roots.
Mulch against stems or trunks traps moisture, restricts airflow, and can invite rot, pests, and weak roots.
For effective stem protection, spread mulch evenly across the bed, then check that no material has drifted back against plants. If you spot a mound, gently pull it away with your hands or a rake. Keep the exposed area clear as mulch settles, and refresh the bed without covering stems or bark.
Frequently Asked Questions
What Type of Mulch Is Best for Vegetable Gardens?
For most vegetable gardens, choose clean, untreated straw: it suppresses weeds, retains moisture, and breaks down into organic matter. Your best Mulch type depends on the crop and season; shredded leaves and grass clippings also work when they’re pesticide-free and applied in thin layers.
Keep mulch away from stems, and avoid dyed or chemically treated materials. You’ll support vegetable health by using a loose, breathable layer and replenishing it as it decomposes.
How Often Should I Replace Mulch in a Garden Bed?
You’ll usually refresh garden-bed mulch once a year, though the seasons—not a calendar—should guide you. Like a garden’s quiet renewal each spring, a fresh top-up can restore its protective cover.
Check the layer every few months; add mulch when it’s thin or bare, keeping it about two to three inches deep. You can try recycling mulch by loosening and reusing sound material, which helps support soil moisture retention and suppress weeds.
Can Mulch Attract Termites or Other Pests?
Yes, mulch can attract pests, but it doesn’t automatically cause an infestation. Mulch pests, including termites, ants, and earwigs, may shelter in damp, deep layers.
Termite concerns are usually greater when you pile mulch against wood siding or keep it constantly wet. Keep mulch a few inches from your home’s foundation, use a thin layer, and fix drainage problems.
Check beds regularly, and remove decaying wood that could provide pests with food or shelter.
Is Colored Mulch Safe for Pets and Children?
Colored mulch is generally safe for pets and children when you choose a reputable product and use it as directed. For colored mulch safety, check the label and ask the manufacturer about dyes and wood sources; avoid mulch made from treated or contaminated lumber. Keep children and pets from eating it, and supervise play near fresh mulch. If anyone chews or swallows mulch, contact a medical professional or veterinarian for advice.
Can I Use Grass Clippings as Mulch?
Yes, you can use grass clippings as mulch, and you’ll return valuable nutrients to your soil. Grass clippings can contain up to 4% nitrogen, making nutrient recycling a simple way to nourish your garden.
Let fresh clippings dry briefly, then spread a thin layer around plants. Thick, wet piles can mat, smell, and block water. Skip clippings treated recently with herbicides, and don’t use diseased grass. You’ll mulch effectively while putting lawn waste to work.
Conclusion
With your mulch bed in place, you’ve created a tidy, protective layer that helps your plants thrive. Check it regularly, pull any weeds, and top up the mulch as it breaks down.
Keep it away from stems and trunks to prevent moisture buildup and damage. A little upkeep goes a long way: “an ounce of prevention is worth a pound of cure.”
Now you can enjoy a cleaner, healthier garden with less effort throughout the season. Your mulch bed will help protect your plants and keep your garden looking its best.