How to Create a Garden in 7 Simple Steps
Starting a garden can feel overwhelming when you’re unsure what to grow, what supplies you need, or where to begin. You’re not alone—many people struggle to turn a patch of soil or a few containers into a thriving garden. These helpful picks can make it easier to get started.
To create a garden in seven simple steps, choose a sunny spot and observe how light shifts throughout the day. Decide what you’ll grow, then estimate the space each plant needs. Choose suitable containers, seeds, seedlings, and tools.
Prepare garden soil by removing weeds, loosening it, and adding compost, or use moistened potting mix. Plant at the recommended depth, water at soil level, and care for new growth.
Check regularly for pests, moisture problems, and damage; practical tips can help you handle them.
Key Takeaways
- Choose a sunny, accessible site by observing sunlight and shadows throughout the day.
- Decide what to grow, then plan spacing, pathways, and plant groupings around mature size and care needs.
- Select climate-appropriate seeds, plants, containers, and tools, considering sunlight, root space, drainage, and durability.
- Prepare garden beds by clearing debris, loosening soil, and adding compost; use moistened potting mix in containers.
- Plant at recommended depths, label your crops, and maintain them with regular watering, inspections, pruning, and timely problem-solving.
Choose a Sunny Spot for Your Garden
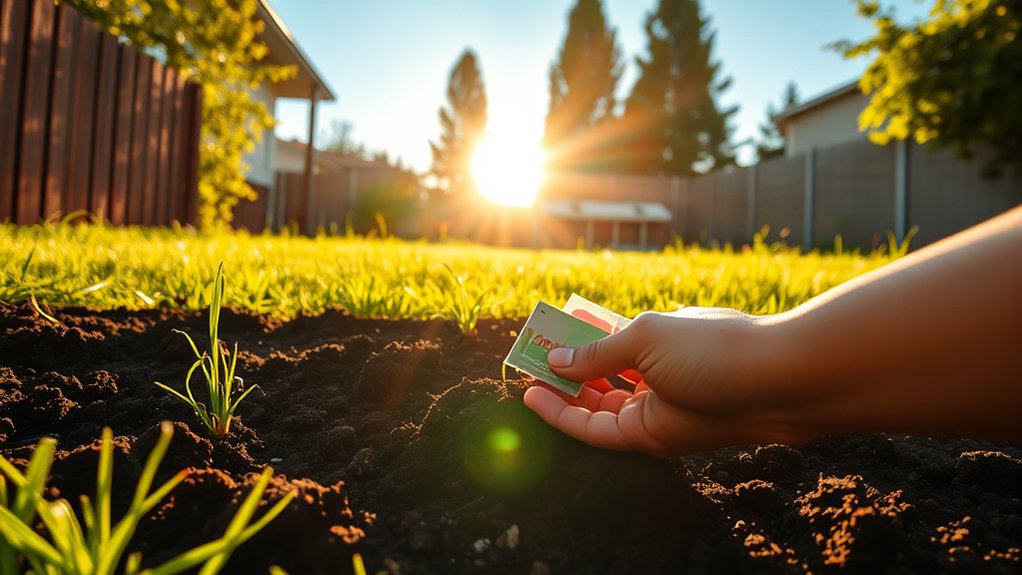
Before you choose a spot, watch how sunlight moves across your yard. Check the area at different times of day, since nearby trees, fences, and buildings can cast shifting shadows. Notice where direct light lasts longest, and consider how seasonal changes may alter the pattern. A sunny spot’s significance becomes clear when you see how reliably it receives light throughout the day.
Use a simple observation log or take photos from the same place each hour. This helps you distinguish steady sun from brief patches and identify areas that stay shaded. If your yard has limited direct light, don’t assume every shaded location is unsuitable. Shade tolerance nuances matter: some plants handle partial shade, while others need stronger, longer exposure.
For now, focus on finding a location with the most dependable sunlight your yard offers. Also check whether the site is easy to reach and observe, so you can keep an eye on changing light without overlooking the area.
Decide What to Grow and How Much Space You Need
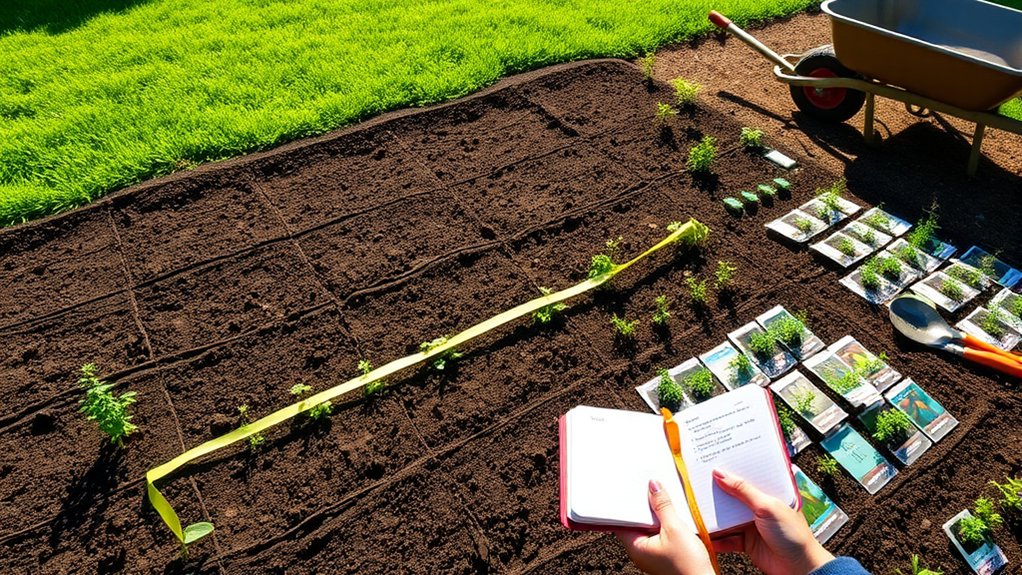
Start with a short list of vegetables, herbs, or flowers you’d enjoy growing, then check what suits your climate and the sunlight your chosen spot receives. Choose crops you’ll actually use or admire, and consider how much time you can give them. To plan crop mix, balance quick-growing favorites with plants that take longer to mature.
Estimate your available area before you commit. To decide space needs, check each plant’s mature width and height, then leave room for airflow and access. A small garden can still produce plenty when you focus on compact, productive choices.
- Group plants with similar sunlight and watering needs.
- Give sprawling crops enough room, or choose compact varieties.
- Reserve space for paths and future growth.
Now plan crop mix around your priorities: grow more of what you eat often, and limit plants that need more room than you have. Revisit your list and decide space needs before settling on the final layout. A realistic plan helps you enjoy your garden without overcrowding it.
Choose Containers, Seeds, Plants, and Tools

Choose containers that fit your space and give roots room to grow. Then pick seeds and plants suited to your climate, sunlight, and goals. Gather the essential tools you’ll need to plant and care for your garden.
Select Suitable Containers
The right containers, seeds, plants, and tools make gardening easier and help your plants thrive. For this step, focus on containers that suit your space and growing plans. A balcony may call for lightweight pots, while a patio can accommodate larger planters. Before buying, check these essentials:
- Size: Choose a container deep and wide enough for the roots of the plants you intend to grow.
- Drainage: Select pots with drainage holes, or add holes so excess water can escape and roots won’t sit in soggy soil.
- Container material: Compare plastic, terracotta, wood, and metal for weight, durability, cost, and how quickly each dries out.
Match each container to your available space and watering routine. You can keep seed selection and plant choices for the next step; first, make sure your containers offer practical, healthy growing conditions.
Choose Seeds and Plants
Once your containers are ready, pick seeds and plants suited to your space, climate, and experience level. Check sunlight, mature size, and harvest time before choosing.
A diverse seed variety can extend your harvest, while plant compatibility helps you group crops with similar needs. Consider how colors and heights support your landscape design, too.
| Choice | Best for | Check |
|---|---|---|
| Leafy greens | Cool, shaded spots | Days to harvest |
| Tomatoes | Sunny containers | Support and space |
| Herbs | Small spaces | Light requirements |
Choose varieties suited to your local growing season, and favor compact plants if space is limited. Pair plants with similar watering needs to improve irrigation efficiency and avoid stressing roots.
Read seed packets or plant labels for depth, spacing, and care guidance. Start with a manageable mix; you can add more varieties as you gain confidence and learn what thrives on your patio or balcony.
Gather Essential Tools
With your seeds and plants selected, gather the tools and supplies you’ll need to plant and care for them. Choose containers with drainage holes that fit your space and plants. Then collect a few reliable essentials:
- Use a hand trowel to dig planting holes and move soil into pots.
- Keep pruning shears handy for trimming stems, and use a watering can with a narrow spout to reach roots.
- Add gloves, potting mix, plant labels, and a small scoop to make planting easier.
You don’t need every garden gadget; start with durable basics and add tools as your garden grows. Check each item before use, clean off soil, and sharpen blades when needed. Regular tool maintenance helps your equipment last. Set up storage organization with a labeled bin or wall hooks, so you can find supplies quickly and keep them dry.
Prepare Garden Soil or Potting Mix
Before planting, prepare soil that gives roots the air, water, and nutrients they need. Start by clearing your garden bed of weeds, rocks, and leftover plant debris. Loosen the soil with a fork or spade, working about 8 to 12 inches deep. This helps roots spread and improves soil drainage.
Check your soil’s texture. If it feels heavy and sticky, mix in compost to improve its structure. If it’s sandy and dries quickly, add compost to help it hold moisture.
Organic matter also feeds beneficial soil life and gradually releases nutrients. Avoid adding fresh manure, which can damage plants.
For containers, choose a quality potting mix rather than garden soil. Potting mix stays lighter and drains well in pots. Check the package to ensure it suits your plants, and moisten the mix before use if it’s very dry.
If you’re unsure about your garden soil’s needs, use a simple test kit to check its pH and nutrient levels.
Plant Seeds or Seedlings at the Right Depth
Plant seeds and seedlings at the depth listed on the seed packet or plant label, since planting too deep can slow growth or prevent sprouting. Check the directions before you begin; different plants need different depths, and some seeds need light to germinate.
- Make a shallow hole or furrow. Use the recommended seed depth as your guide. If the packet says to sow seeds on the surface, press them gently into the soil instead of covering them.
- Space seeds as directed. Drop them into the prepared spots, then cover them with the specified amount of soil. Don’t guess: even a small difference can affect emergence.
- Set seedlings at the proper level. Match the seedling depth to the level at which each plant grew in its container. Keep the stem base near the soil surface, and avoid burying leaves or exposing roots.
Use a ruler for tiny seeds or delicate transplants. Label each row or container so you can identify what you’ve planted and check its progress.
Water Your Garden and Care for New Plants
Once your seeds or seedlings are in place, water them gently to settle the soil without washing seeds away or exposing roots. Choose watering techniques that deliver moisture slowly to the soil, not the leaves.
Check the top inch of soil; if it feels dry, water deeply. Your plants need consistent moisture while their roots establish, but soggy soil can suffocate roots.
| Plant stage | What you should do | Helpful timing |
|---|---|---|
| Freshly planted | Water gently at the base | Right after planting |
| Establishing roots | Keep soil evenly moist | Check daily |
| Growing steadily | Water deeply when soil dries | Adjust for weather |
Use mulch to slow evaporation, leaving space around stems. Remove faded flowers or damaged leaves with clean snips, and learn pruning basics before cutting healthy growth.
Support tall plants with stakes before they lean. Watch for new leaves and steady growth as signs your care is working. As roots strengthen, adjust your routine to suit each plant’s needs and local conditions.
Check for Pests and Fix Common Garden Problems
Check your garden regularly for pests and early signs of trouble, such as chewed leaves, spots, or wilting. A quick pest inspection helps you catch problems before they spread. Look beneath leaves and along stems, where insects often hide.
Check soil moisture, too, since both overwatering and dry conditions can stress plants and invite disease.
Use these common issue remedies to protect your garden:
- Remove pests: Pick off larger insects by hand, rinse smaller ones away with water, or use insecticidal soap as directed. Avoid harming helpful pollinators.
- Trim damaged growth: Cut away diseased or badly damaged leaves with clean shears. Discard them in the trash, not your compost pile.
- Adjust care: Water at the soil level, improve drainage, and space plants for airflow. These changes can reduce fungal problems and help stressed plants recover.
Keep checking weekly, and note recurring symptoms. If a problem persists, identify the cause before applying treatments. Careful observation lets you respond early and keep plants growing strong.
Frequently Asked Questions
When Is the Best Time of Year to Start a Garden?
The best time to start a garden is spring, after your area’s last expected frost, but your ideal planting window depends on what you’re growing.
Cool-season crops, such as peas and lettuce, can go in earlier; warm-season crops need warmer soil and settled weather. Check soil temperature thresholds on seed packets, and use a thermometer before planting.
You can also plant many vegetables in late summer for a fall harvest.
How Much Does It Typically Cost to Start a Garden?
You can start a small garden for about $50–$200, though a larger or raised-bed setup may cost $300–$1,000 or more. Like a seed that grows into something greater, your cost estimate depends on size, soil, containers, and plant choices.
You’ll spend less if you use existing tools, save seeds, and choose inexpensive starter supplies. Begin with a few containers or a modest plot, then add features as your garden—and budget—grow over time.
Do I Need a Permit to Create a Garden at Home?
You usually don’t need a permit to create a garden at home, especially for ordinary planting in your yard. However, permits overview and zoning considerations matter if you’re adding a greenhouse, retaining wall, fence, irrigation system, or other structure.
Local rules can also restrict gardens in front yards, shared spaces, or historic districts. Check your city or county website, homeowners’ association rules, and lease before starting. When uncertain, contact your local planning department.
How Can I Make My Garden More Accessible for Children?
You can make your garden more accessible for children by creating paths wide enough for little feet and big adventures. Use smooth, firm accessible paths so kids can move safely with wheelbarrows or mobility aids.
Choose child friendly soil that’s free of harmful chemicals, and add raised beds they can reach easily. Keep tools and water nearby, include sturdy seating, and plant colorful, non-toxic flowers, herbs, and vegetables for hands-on discover.
What Are the Environmental Benefits of Growing a Garden?
Growing a garden benefits the environment by supporting pollinators, improving soil, and reducing the distance your food travels. You can make your efforts more Environmentally sustainable by composting kitchen scraps, conserving water, and avoiding synthetic pesticides. Your garden’s Biodiversity impact grows when you plant native flowers, shrubs, and vegetables that provide food and shelter for wildlife. You’ll also absorb carbon, help manage rainwater, and create a healthier outdoor space for your community and family.
Conclusion
Start small, choose a sunny spot, and give your garden the care it needs. Pick plants that fit your space, prepare healthy soil, and plant each seed or seedling at the proper depth.
Water gently, watch for pests, and solve small problems before they spread. With steady attention, you’ll see tiny sprouts turn into thriving plants.
So gather your gloves, get growing, and enjoy the color, flavor, and calm your garden brings. Creating a garden is simple when you take it one step at a time.