7 Steps to Make a Garden Arbor
A garden arbor can add charm and a welcoming focal point to your yard, but choosing the right design and building it securely can feel overwhelming. You’re not alone—many people want a sturdy arbor that suits their space without making the project more complicated than it needs to.
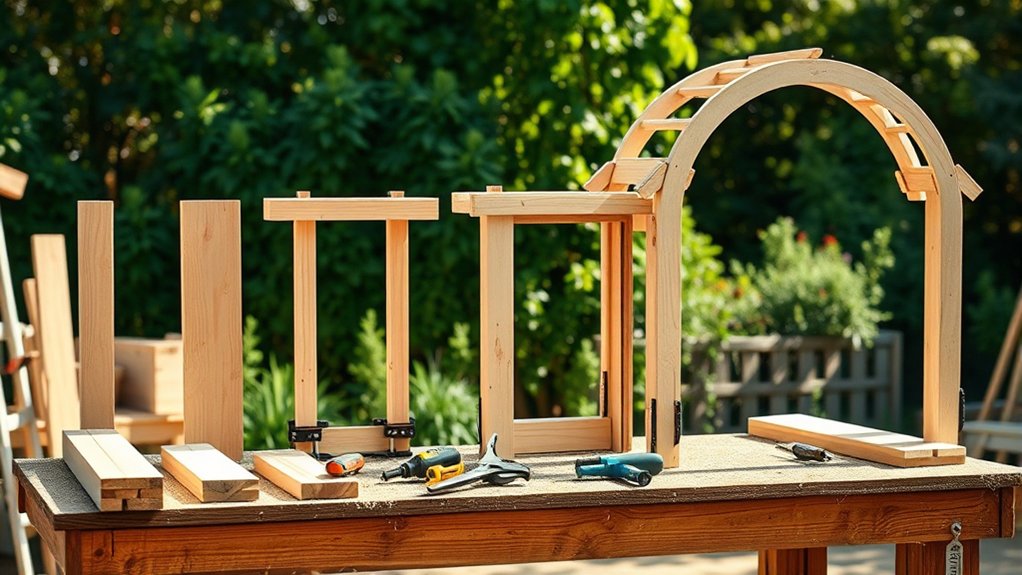
To make a garden arbor, first choose a site and size that suit your yard, then gather lumber, hardware, tools, and safety gear. Measure, cut, and label each piece before setting posts plumb and evenly spaced in secure footings. Assemble the frame and top, then brace the structure and check for wobbling or loose joints. Sand and seal the wood, choose suitable climbing plants, and guide their shoots as they grow. Follow these steps for a sturdy, welcoming arbor.
Key Takeaways
- Choose an arbor location, measure its footprint, and plan the height, width, and passage beneath it.
- Gather suitable lumber, corrosion-resistant hardware, tools, and protective gear; inspect and label materials.
- Measure twice, mark accurately, and cut posts, beams, braces, and crosspieces to size.
- Set posts level and evenly spaced, secure them in concrete if needed, then attach and brace the frame.
- Check stability, sand and finish the arbor, then plant suitable climbers and maintain the structure.
Plan Your Garden Arbor Site and Size
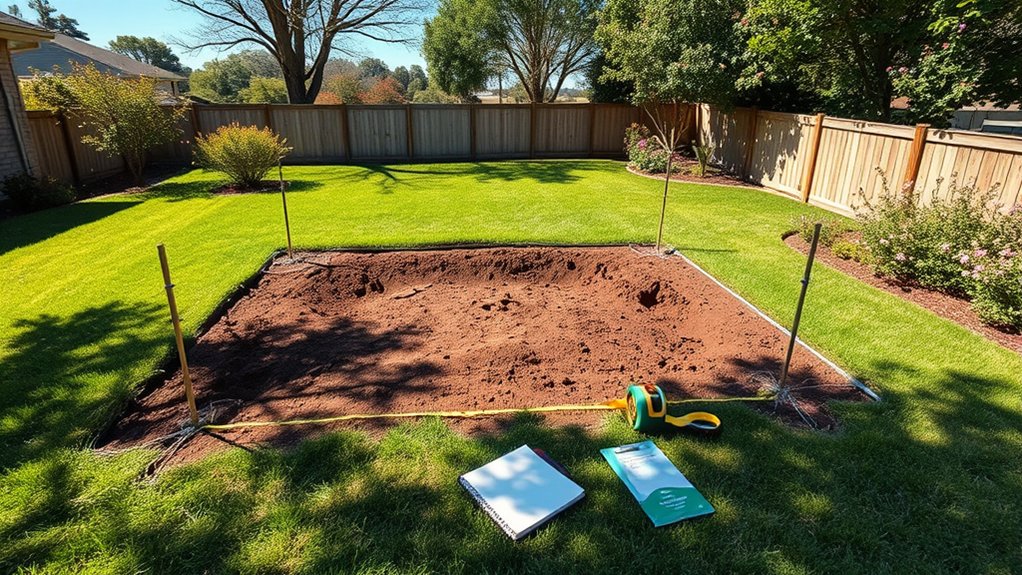
Before you build, decide where your arbor will look best and serve a purpose. Look for a spot that frames a garden view, marks an entrance, or creates shade beside a path. Check how sunlight moves across the area and note nearby doors, windows, and plantings. You’ll want the structure to complement your home and support the way you use your yard.
Measure the proposed site, including the path or opening beneath the arbor. Choose a height and width that allow people to pass comfortably and leave enough room for climbing plants to grow. Check the ground for slopes, drainage issues, and underground utilities before settling on a location.
If you share the space, consider community aesthetics and discuss the placement with neighbors or your homeowners’ association. Set a planning budget early, and make sure your chosen dimensions fit both the site and your spending limit. Mark the footprint temporarily to test its scale before you commit to the layout.
Gather Garden Arbor Materials and Tools

Gather pressure-treated lumber, galvanized screws, and sturdy brackets for your arbor. You’ll also need a saw, drill, level, and measuring tape.
Before you get started, put on safety glasses, gloves, and hearing protection.
Lumber and Hardware
A sturdy garden arbor starts with pressure-treated lumber, exterior-rated screws, and the right tools. Choose straight, sound boards sized for your design: posts need enough strength to support the structure, while rails and slats can be lighter.
For lumber sourcing, compare grades, inspect each piece for warping or splits, and select wood rated for ground contact where posts meet soil. Cedar or redwood offers natural decay resistance, but costs more than treated pine.
Check hardware compatibility before buying. Use corrosion-resistant galvanized or stainless-steel fasteners that suit treated lumber and outdoor exposure; incompatible metals can corrode.
Match screw length and diameter to the boards you’re joining, and choose structural screws or bolts for load-bearing connections. Gather post anchors or concrete if your plan requires them, plus exterior wood preservative for any cut ends.
Keep materials dry and organized until assembly.
Essential Tools
Set out the tools you’ll need before assembly: a tape measure, level, carpenter’s square, saw, drill with driver bits, and clamps. Check each tool’s condition and gather any accessories required for your lumber and hardware.
Use your conceptual design to confirm what you’ll cut, where each joint will sit, and how the arbor’s parts will align. Measure twice before cutting, mark boards clearly, and keep the square nearby to check corners.
A level helps you keep posts and crosspieces straight, while clamps hold parts steady as you drill and fasten them. Choose a saw suited to your lumber and make clean, controlled cuts. Keep bits matched to your fasteners and set them within easy reach.
After assembly, clean and store your tools properly. Add this task to your maintenance schedule so they stay ready for future projects.
Safety Gear
Before you cut or assemble the arbor, put on safety glasses, hearing protection, work gloves, and sturdy closed-toe shoes. These basics shield you from flying wood chips, loud saws, splinters, and dropped materials. Choose Safety gear that fits well and stays secure while you work.
Wear protective gloves when handling lumber, fasteners, and rough-cut edges, but keep them away from moving blades. Tie back long hair, remove loose jewelry, and avoid baggy sleeves that could catch in Power tools.
Check each tool’s guards and cords before use, and follow its operating instructions. Use hearing protection whenever a saw, drill, or other noisy tool runs.
Keep your work area clear, stable, and well lit so you can handle materials safely. Don’t rush cuts or assembly; pause if you feel tired or distracted.
Measure and Cut the Arbor Pieces
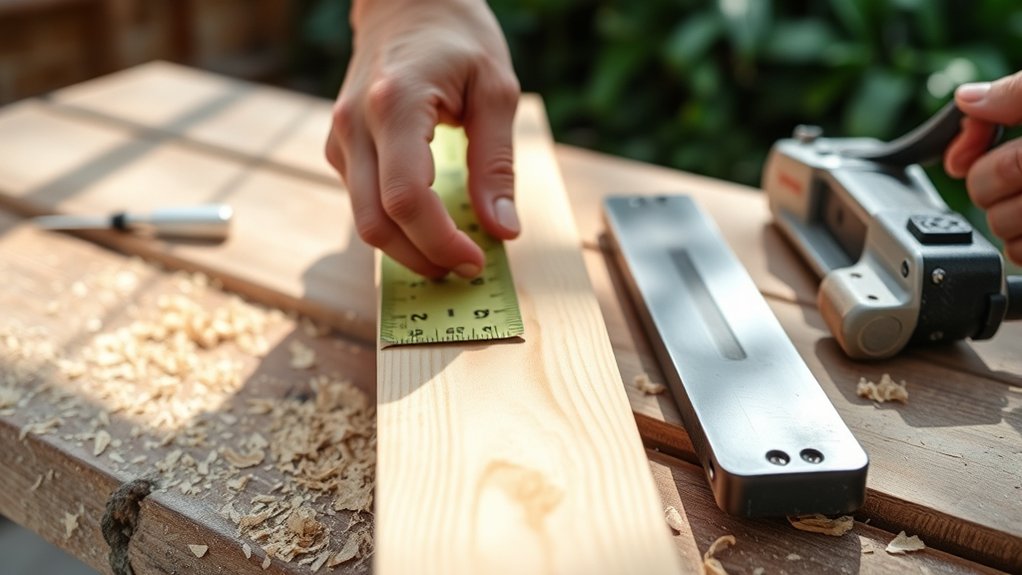
Accurate measurements keep your arbor balanced and make assembly easier. Check your plan and confirm each beam, post, brace, and crosspiece dimension before marking any lumber. Measure twice, then mark cut lines with a square so they’re clear and accurate.
Account for blade width when positioning each line; otherwise, your finished pieces may come up short. Use the specified cutting angles for braces and decorative ends, and verify them with a speed square or miter saw guide.
Keep measuring tolerances consistent across matching pieces so they’ll align during assembly. Label each cut part as you go, noting its location and orientation. This simple step helps you avoid mixing up similar components.
Support lumber securely on a stable work surface, and keep your hands clear of the blade. Cut just outside each mark, then trim carefully to the line if needed. Smooth rough edges with sandpaper, and compare paired pieces before moving on.
Set the finished parts aside in groups, ready for assembly.
Set, Space, and Level the Arbor Posts
Place each arbor post in its hole, then space the posts according to your measurements. Check that they’re level and parallel before securing them. Make any adjustments now to ensure the arbor frame fits properly.
Set the Posts
Place each post in its marked hole, then check the spacing and level before securing it in concrete. Keep the first post steady while you add gravel around its base for drainage.
Pour in the concrete mix according to the package directions, stopping a few inches below ground level. Add water as directed, and use a scrap board to brace the post while the concrete sets.
Repeat for the remaining posts, working carefully so none shifts. If you’re planning shade, consider how the arbor’s position will affect nearby plants and seating before you pour.
Choose a concrete option that fits your budget constraints, but don’t skimp on the amount needed for stable support. Let the concrete cure fully before attaching the arbor’s beams or adding weight. Check the product’s recommended curing time.
Space and Level Them
Before securing the posts, check that they’re evenly spaced and aligned with your layout marks. Measure between each pair of posts, then compare the distances with your plan. Adjust their positions until the openings match and the arbor looks balanced from every angle. Use a tape measure rather than estimating; small differences become obvious once you add the crosspieces.
Place a level against each post’s side to check it vertically. Rotate the level 90 degrees and check the adjacent side, too. If a post leans, shift its base or brace it temporarily until the bubble sits centered. Ask a helper to hold each post steady while you recheck spacing and alignment. These idea one and idea two checks help you catch errors before the concrete sets. Once everything’s straight, secure the posts according to your chosen footing method.
Assemble the Garden Arbor Frame and Top
With the posts anchored and ready, you can assemble the arbor’s frame and top. Gather your cut lumber, exterior-rated screws, drill, and level. Before fastening anything, review your sketch concepts and color themes so the structure suits your garden and planned finish.
Work on a stable surface, and ask someone to help hold long pieces in position.
- Set a horizontal beam across the front posts, align its ends, and fasten it with exterior-rated screws. Repeat across the back posts, keeping both beams level and parallel.
- Measure between the beams, then mark equal spacing for the rafters. Even spacing creates a tidy top and consistent shade.
- Lay each rafter across both beams, center its overhang, and secure it at each contact point. Check alignment as you go.
- Add any decorative crosspieces or trim, cutting them to fit and fastening them securely. Keep edges flush, and wipe away sawdust before applying your chosen finish.
Follow your plan, but adjust measurements to match your lumber and design. Don’t rush the layout; accurate placement makes the arbor look polished and ready for its next step.
Brace the Arbor and Check Its Stability
Once the frame and top are assembled, brace the arbor to keep it square and steady. Check that each post stands plumb and that the top sits level. If the structure leans, adjust the posts before securing the braces.
Use temporary diagonal braces to hold the frame in position while you fasten the joints. Cut each brace to fit snugly between a post and a crosspiece, then attach it with exterior-rated screws.
Apply bracing techniques evenly on both sides so the frame won’t twist or shift. Keep the braces clear of walkways, and don’t remove them until all permanent connections are tight.
Next, perform stability testing by pushing gently against each post from several directions. Watch for wobbling, loose fasteners, or movement at the joints.
Tighten connections and add suitable hardware where needed. If the arbor still rocks, check the post bases and ground contact, then correct the problem before proceeding. Confirm the structure feels firm and remains square under light pressure.
Finish the Arbor and Choose Climbing Plants
How you finish the arbor depends on the look and upkeep you want. Sand rough edges, then apply an exterior stain, paint, or clear sealant suited to your wood. Let the coating dry fully before planting. If you’ve built a metal arbor, check for rust and touch up its protective finish. While planning a budget, include both the finish and the plants, along with any supports they’ll need.
Finish your arbor with a weather-ready coating, and budget for plants and supports before planting.
When selecting climbers, match each plant to your climate, sunlight, and the arbor’s strength. Consider mature size and maintenance so growth won’t overwhelm the structure. These choices can help you create a welcoming entrance without adding unnecessary work:
- Choose roses for fragrant blooms, but tie canes gently and prune them regularly.
- Try clematis for colorful flowers; keep its roots cool and give stems a trellis.
- Plant honeysuckle for fast coverage, checking local guidance before choosing a variety.
- Use annual sweet peas for seasonal color and an easy-to-manage option.
Water new plants deeply, guide shoots onto the arbor, and inspect fasteners as they grow.
Frequently Asked Questions
How Much Does It Typically Cost to Build a Garden Arbor?
You’ll typically spend $200–$1,500 to build a garden arbor, depending on its size, design, and materials. For a basic DIY cost estimate, plan on about $200–$600; hiring a professional can raise the total to $500–$1,500 or more.
Material types affect your budget: pressure-treated wood and vinyl often cost less, while cedar, redwood, and metal may cost more. Add extra for concrete, hardware, paint, or climbing plants.
Do I Need a Permit to Build a Garden Arbor?
You may need a permit to build a garden arbor, but requirements vary by city, county, and property type. Check your local building department’s permit requirements before you start, especially if the arbor is large, attached to your home, anchored in concrete, or located near a property line.
Ask about height limits and utility clearances, too. Include permit fees in your cost considerations, and get approval before buying materials or beginning construction to avoid delays or penalties.
What Is the Difference Between an Arbor and a Pergola?
An arbor is usually a small garden structure with an open, arched or flat top, often framing a path or entrance. A pergola is typically larger, with posts supporting a broader, open-beam roof over a patio, walkway, or seating area.
In an arbor vs pergola comparison, you’ll find that both can support climbing plants, but their garden structure purposes differ: an arbor marks a passage, while a pergola creates a shaded outdoor room.
How Can I Protect an Arbor From Weather Damage?
Protect your arbor by sealing it against moisture, sun, and temperature changes. Apply protective finishes suited to its material, such as exterior paint or UV-resistant stain for wood, and use weatherproofing methods like rust-resistant hardware and secure, covered joints.
Keep water flowing away from posts, and trim nearby branches. Schedule seasonal maintenance to inspect for peeling, rot, rust, or loose fasteners. Make emergency repairs promptly after storms to prevent small problems from worsening.
Can I Build a Garden Arbor Without Woodworking Experience?
Yes, you can build a garden arbor without woodworking experience. A 2023 survey found that 46% of U.S. homeowners tackled a DIY home project, showing that beginners often learn by doing.
Choose a beginner friendly design with pre-cut lumber, clear instructions, and sturdy connectors. You’ll need only simple tools, such as a drill, level, and measuring tape.
Work slowly, follow safety guidance, and ask someone to help lift heavy pieces.
Conclusion
With your arbor in place, you’ve created more than a garden feature. You’ve built a welcoming gateway that makes your yard feel like a secret garden. Train climbing plants over the frame, and soon their leaves and blooms will turn it into a living canopy.
Keep checking the posts and braces for stability, especially after storms. Now step beneath your garden arbor, enjoy the shade, and take pride in the inviting space you made with your own hands.