7 Easy Steps to Create a Flower Garden
Choosing flowers for your garden can feel overwhelming when you’re not sure what will grow well in your space. You’re not alone—many people struggle to turn a sunny patch of yard into a thriving flower garden. These picks can help you get started.
To create a flower garden in seven easy steps, choose a sunny spot and check how light shifts throughout the day. Select flowers suited to your climate, soil, and sunlight, then sketch a layout that gives plants room to grow.
Clear the bed and mix compost into the soil. Plant seeds or transplants at the recommended time and spacing. Water at the base, add mulch, and keep up with weeding, deadheading, and regular checks. A few simple details can help your garden thrive.
Key Takeaways
- Choose a sunny site, observe shifting shadows, and select flowers suited to your climate and local conditions.
- Measure and sketch the garden, arranging plants by height, color, bloom time, and mature spacing.
- Prepare the bed by removing weeds, loosening soil, and mixing in two to three inches of mature compost.
- Plant seeds or transplants at the recommended depth and spacing, choosing a suitable planting time and avoiding frost.
- Water when the soil is dry, mulch to conserve moisture, and regularly weed, deadhead, inspect, and prune plants.
Choose a Sunny Spot for Your Flower Garden

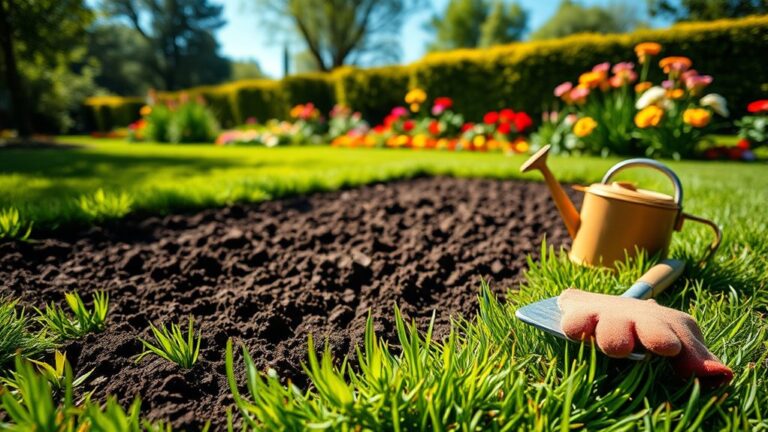
Before you choose a spot, check how much sunlight it gets throughout the day. Watch the area in the morning, around noon, and late afternoon. Nearby trees, fences, and buildings can cast shadows that shift as the sun moves. Your observations will help you find a sunny spot that suits the flowers you plan to grow.
Notice how long direct sunlight reaches each part of the garden. A bright area in the morning may sit in shade by midday, while another may receive steady light for hours. Use a simple sketch or take photos at different times to compare locations.
If you’re working with a small yard, consider a space beside a south-facing wall or an open patio, where garden lighting stays consistent. Don’t rely on a single glance; seasonal changes and growing branches can alter the light. Choose a place you can reach easily, so you’ll enjoy tending your garden and watching it grow.
Check Your Climate and Choose Flowers

Check your hardiness zone to see which flowers thrive in your climate. Then choose varieties that suit your region’s temperatures and growing season. That way, your garden can flourish with less guesswork.
Check Your Hardiness Zone
Your hardiness zone reveals which plants can survive your region’s coldest winter temperatures. Find your location on the USDA Plant Hardiness Zone Map, using your ZIP code or state. The map assigns zones by average annual extreme minimum winter temperatures, divided into ten-degree ranges and five-degree half-zones. Treat your zone as a useful starting point, not a complete description of your garden’s conditions.
| Zone | Winter minimum | What to check |
|---|---|---|
| 5a | −20 to −15°F | Half-zone |
| 5b | −15 to −10°F | Half-zone |
| 6a | −10 to −5°F | Half-zone |
Check your zone against a current map; local microclimates may differ. A sheltered wall or exposed slope can affect temperatures, but don’t let an unrelated topic or nonessential detail distract you from confirming your zone. Keep the result handy for the next planning step.
Choose Climate-Suited Flowers
Which flowers will thrive in your garden? Choose varieties suited to your local climate, soil, and sunlight. Since you’ve checked your hardiness zone, use it as a guide, then consider rainfall, humidity, wind, and seasonal temperature swings. A good match needs less extra care and has a better chance of flourishing.
- Check growing conditions: Note how many hours of sun each bed receives and whether its soil stays wet or dries quickly.
- Compare flower needs: Read plant labels or reliable local guides to confirm each variety tolerates your conditions.
- Plan for variety: Combine flowers with different colors, heights, and bloom times to improve landscape aesthetics and support pollinator diversity.
Choose some native plants, too; they’re often adapted to local weather and provide familiar food for beneficial insects. Start with a manageable selection.
Plan Your Flower Garden Layout and Spacing

A well-planned layout gives every flower room to thrive and makes your garden easier to care for. Start by measuring your planting area and noting its shape, sunlight, and views from nearby paths or windows.
Sketch a simple plan before you plant, and group flowers by height, color, and bloom time.
Place taller varieties toward the back of a border or the center of an island bed, so they won’t shade shorter blooms. Arrange medium-height flowers in the middle and low-growing plants along edges, where you can see and reach them easily.
Use repeating colors or shapes to create a balanced look without making the garden feel crowded.
Check each plant’s mature width before deciding on layout spacing. Give every flower enough room to spread and allow air to move between leaves.
Follow recommended plant spacing on labels, since crowded plants compete for light and become harder to maintain. Leave clear access for watering and cutting blooms, too.
A little planning now helps your garden fill in beautifully.
Prepare Your Soil With Compost
Choose quality compost to give your flowers a nutrient-rich start. First, clear away weeds and debris, then loosen the soil. Next, mix in the compost so its nutrients can reach the roots.
Choose Quality Compost
Quality compost gives your flower garden a nutrient-rich foundation and helps the soil retain moisture. Choose a finished product that smells earthy, feels crumbly, and looks dark and uniform. You can buy bagged compost or source it from a trusted local supplier; either way, check the label for ingredients and avoid material with a sour odor or visible trash.
- Check maturity: Fully decomposed compost won’t heat up or smell strongly of ammonia.
- Review ingredients: Look for plant-based materials and manure from a reliable source, with no questionable additives.
- Match your needs: Select compost suited to your flowers and soil, supporting balanced nutrient allocation rather than excessive feeding.
Quality compost also supports healthy growth as you handle decluttering weeds. Choose carefully, and you’ll give your flowers a dependable start without relying on unnecessary fertilizers.
Clear and Loosen Soil
Once you’ve chosen your compost, clear weeds, rocks, and other debris from the planting area. Remove stubborn roots so they won’t compete with flowers for water and nutrients. Then loosen the top several inches of soil with a garden fork or spade.
Work carefully around nearby plants, and avoid digging when the ground is soggy; wet soil can compact and become harder to manage.
Break up dense clumps, but don’t pulverize the ground. A crumbly soil texture gives roots room to grow and helps water move through the planting area.
If you encounter stones or thick roots, lift them out rather than forcing your tool through. Check the bed’s surface for low spots where water might collect. This preparation supports moisture control and creates a workable base for adding compost in the next step.
Mix Compost Thoroughly
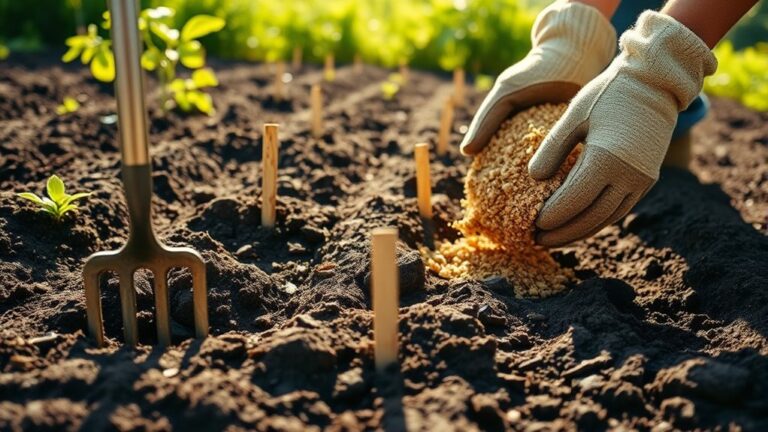
With the soil loosened, how much compost should you add? Spread a 2- to 3-inch layer over the garden bed, adjusting for your soil’s condition. Then mix it thoroughly into the top 6 to 8 inches of soil. This gives roots access to nutrients and improves drainage without leaving a dense compost layer.
- Choose mature compost. Use dark, crumbly material that smells earthy, not sour or rotten. If you’re DIY composting, make sure scraps have fully decomposed before adding them.
- Blend evenly. Break up clumps with a rake or garden fork, and work compost through the loosened soil.
- Check the texture. Your soil should feel loose and moist, not soggy. Skip opinionated compost claims; judge the finished material by its maturity and consistency.
Let the bed settle before planting.
Plant Seeds or Transplants at the Right Time
When should you plant your seeds or transplants? Check each flower’s seed packet or plant label for its preferred planting window. Your local frost dates and climate will guide seed timing: some flowers thrive when you sow them outdoors in cool spring soil, while others need warmer conditions. If you’re unsure, ask a nearby garden center or extension office for advice suited to your area.
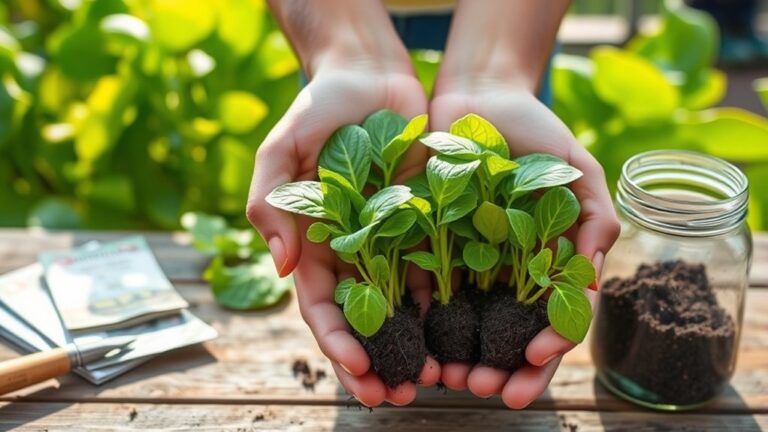
Before planting, prepare each seed or transplant according to its instructions. Sow seeds at the recommended depth and spacing, since crowded seedlings compete for room as they grow. For transplants, loosen tangled roots gently and set each plant into a hole sized for its root ball.
Follow the label’s guidance for transplant spacing, and consider each flower’s mature width so leaves and blooms have room to spread. Handle stems and roots carefully to limit damage. Plant on a calm, mild day when possible, and avoid exposing tender flowers to frost. Check forecast conditions before you begin, especially if temperatures may drop overnight.
Water and Mulch Your New Flower Garden
After planting, water your new flowers gently to settle the soil around their roots. Aim the stream at the base of each plant, not its leaves, and let the water soak in rather than run off. Your soil type, weather, and flower varieties will shape your watering schedule, so check moisture before watering again.
- Feel the soil an inch below the surface. If it’s dry, water slowly until the root zone feels moist; if it’s damp, wait.
- Apply water in the morning when possible. This gives plants time to absorb it and helps keep foliage dry.
- Spread a two- to three-inch layer of mulch around your flowers. Keep it a few inches from stems to prevent trapped moisture and rot.
Choose shredded bark, compost, or straw, depending on your garden’s needs. Check mulch depth after settling, and top it up if bare soil appears. Mulch helps retain moisture and reduces weeds without covering young plants.
Care for Your Garden to Keep Flowers Blooming
Regular care keeps your flower garden healthy and encourages blooms throughout the season. Build a simple care routine around your flowers’ needs, and check the beds often so you can spot problems early. Remove weeds before they compete for water and nutrients, and trim away dead leaves or damaged stems to improve airflow.
Deadhead spent flowers by snipping just above a healthy leaf or bud. This blooming maintenance can encourage many varieties to produce more blossoms, though some plants look best when you leave their seed heads. Follow each flower’s growth habits, and use clean, sharp pruners to avoid spreading disease.
Inspect leaves and stems for pests, spots, or unusual growth. If you find a problem, identify the cause before treating it; handpick pests or remove affected parts when practical. Feed flowers only as needed, since excess fertilizer can promote leafy growth at the expense of blooms. Keep notes on what thrives, then adjust your care routine as the seasons change.
Frequently Asked Questions
What Gardening Tools Are Essential for Beginners?
You’ll need a sturdy trowel, hand pruners, gardening gloves, a watering can or hose, and a small rake to handle everyday garden tasks.
Add a digging fork if you’ll work with compacted soil, and keep a bucket nearby for weeds and debris.
For basic pruning, choose sharp, comfortable pruners. A soil test kit can help you understand your garden’s needs; check local soil testing news for affordable testing options.
How Can I Keep Rabbits Out of My Flower Garden?
You can protect your flowers from rabbits with barriers and smart planting—it may feel like defending a castle from a thousand nibbling invaders! Choose fence options such as sturdy wire mesh, buried several inches underground and tall enough to discourage jumping.
Try rabbit deterrents like motion-activated sprinklers, scent repellents, or plants rabbits dislike. Reapply repellents after rain, check fencing for gaps, and remove hiding places nearby. Combine methods for stronger, lasting protection in your garden.
Are Flower Gardens Safe for Pets?
Flower gardens can be safe for pets if you choose non-toxic plants and prevent access to harmful chemicals. For Flower safety, check every plant’s toxicity before adding it, since some popular blooms can make cats and dogs sick.
Choose Pet friendly plants such as sunflowers, snapdragons, or zinnias, and avoid pesticides and fertilizers that could harm your animals. You should also supervise pets outdoors and contact your veterinarian if they eat an unfamiliar plant.
How Do I Grow Flowers in Containers?
You can grow flowers in containers by choosing a pot with drainage holes, filling it with quality potting mix, and planting flowers suited to your light. Start on the right foot: check each plant’s spacing and water needs before planting. Good container soil drainage prevents soggy roots, so don’t use garden soil, which can compact. Water when the top inch feels dry, feed as directed, and remove faded blooms to encourage fresh flowers.
Can I Create a Flower Garden on a Balcony?
Yes, you can create a flower garden on your balcony. Choose Balcony flower types that suit your sunlight, climate, and available space; petunias, geraniums, and compact marigolds often thrive in containers.
Use Container placement ideas such as railing planters, vertical shelves, and pots grouped in sunny corners. Check your balcony’s weight limits, secure containers against wind, and water regularly.
With thoughtful choices, you’ll enjoy colorful blooms even in a small outdoor space.
Conclusion
Creating a flower garden doesn’t have to feel complicated. Choose a sunny spot, pick flowers suited to your climate, plan their spacing, and enrich the soil with compost. Plant at the right time, then water and mulch to help your flowers settle in. Keep caring for your garden, and you’ll enjoy blooms through the season.
Here’s a fun fact: bees can visit up to 5,000 flowers in a single day. Your garden can help give these busy pollinators a welcoming place to forage. With these simple steps, you can create a flower garden that blooms beautifully all season.