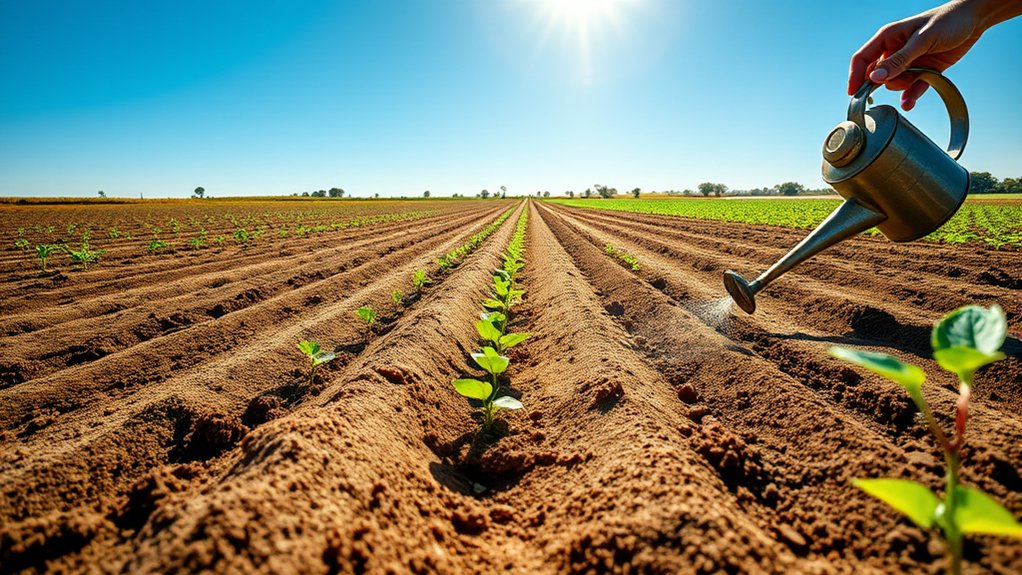
How to Cultivate Crops in 10 Essential Steps
Growing a successful garden can feel overwhelming when you’re unsure what to plant, when to water, or how to keep pests away. You’re not alone—many people struggle to turn good intentions into a healthy harvest. These 10 essential steps for how to cultivate crops can help you get started with confidence.
To cultivate crops in 10 essential steps, choose varieties suited to your climate and goals, then pick a sunny site with reliable water. Test and prepare the soil, plan planting dates and spacing, and sow seeds or set transplants at the right depth. Fertilize according to soil-test results, mulch, and remove weeds early. Inspect plants for pests and disease, monitor moisture and growth, and adjust care as needed. Harvest when crops reach the right color, size, and texture; the steps below offer practical guidance.
Key Takeaways
- Choose crops suited to your climate, growing season, available time, and harvest goals.
- Select a sunny, level site with reliable water access; group crops by light and moisture needs.
- Test and prepare the soil, adding mature compost and only the amendments your test recommends.
- Plan planting dates, spacing, depth, supports, and crop rotation; stagger sowings to extend harvests.
- Water according to soil moisture, mulch to suppress weeds, inspect plants regularly, and harvest when ready.
Choose Crops That Suit Your Climate and Goals

What you grow should match both your local climate and your reasons for cultivating crops. Start by deciding what you want from your harvest: fresh meals, preserved produce, income, or a mix. Your goals will help you choose crops that fit your available time, experience, and expected yield.
Choose crops that suit your climate and goals, whether you’re growing for fresh meals, preserved produce, income, or a mix.
Next, check your area’s growing season, typical temperatures, rainfall patterns, and frost dates. Compare those conditions with each crop’s requirements to assess climate compatibility. Local extension services and seed catalogs can help you identify varieties suited to your region. Choose crops with realistic maturity dates so they can finish growing before cold weather arrives.
Consider your soil, too. Soil testing reveals its pH and nutrient levels, helping you select crops that can thrive or plan amendments before planting. If you’re new to cultivation, begin with a few dependable crops rather than a long list.
Match each choice to your goals and conditions, then note its planting window and expected harvest. This thoughtful selection gives your growing effort a practical, rewarding start.
Pick a Sunny Site With Reliable Water

Choose a sunny spot that gets at least six hours of direct sunlight each day. You’ll also want to make sure you can water your crops reliably throughout the growing season. With enough light and water, your plants can thrive.
Choose a Sunny Location
Before planting, check how much sunlight your site gets and whether water is easy to access. For this step, focus on sunlight: most fruiting crops need at least six hours of direct light daily.
Track sun exposure across the plot, since trees, fences, and buildings can cast shifting shade. Choose a level spot with consistent light, and group crops by their needs.
Leafy greens often tolerate partial shade, while tomatoes and peppers thrive in brighter areas. Note soil moisture in shaded and sunny patches; sunlight affects how quickly the ground dries.
| Crop group | Light preference | Site clue |
|---|---|---|
| Tomatoes | Full sun | Open, bright area |
| Leafy greens | Partial shade | Gentle morning light |
| Root crops | Full sun to partial shade | Evenly lit bed |
Recheck the plot during different seasons, because the sun’s path changes and can alter your planting choices.
Ensure Reliable Water
Reliable water is essential for healthy crops, so check that a dependable source is close to your sunny site. Before planting, test your well, tap, or other supply for consistent flow and suitable quality. Make sure you can reach every bed with a hose, drip line, or irrigation system without wasting water.
Plan crop water management around your soil, climate, and plants’ needs. Check moisture regularly, then water deeply when the topsoil begins to dry. Frequent, shallow watering can weaken roots. Mulch beds to slow evaporation, and group crops with similar water requirements.
Prepare for dry spells with drought mitigation measures, such as storing rainwater in covered barrels or tanks. Confirm that local rules allow collection and use. A reliable supply and efficient delivery help you protect crops through changing weather and avoid planting more than you can water.
Test and Prepare Your Soil
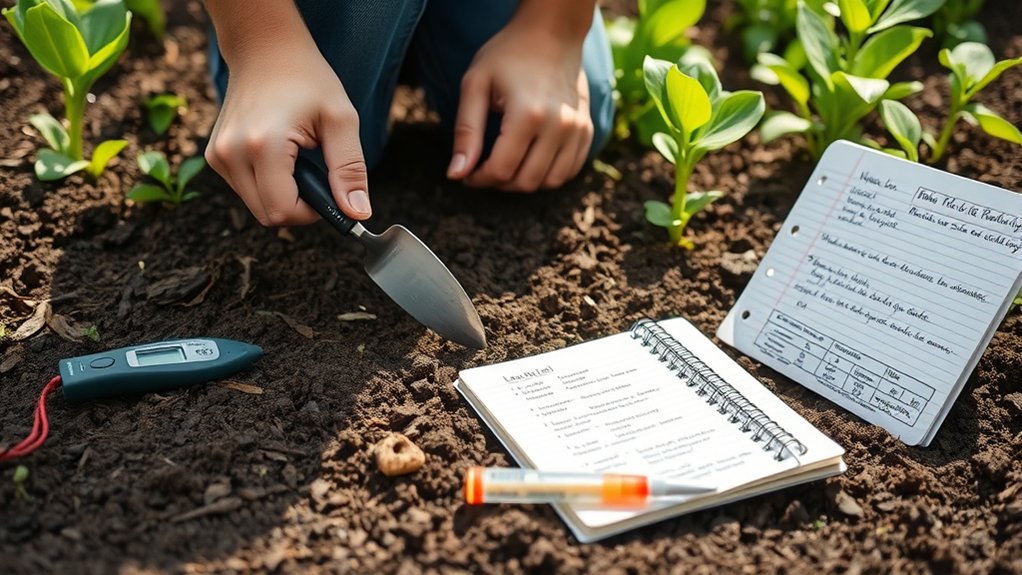
Healthy crops start with well-prepared soil, so test its pH and nutrient levels before planting. Use a soil testing kit or send a sample to a local extension service. Follow the results to learn whether your soil needs adjustments; don’t guess or add amendments without a clear reason.
Check the recommended pH range for the crops you intend to grow, and use suitable materials to correct imbalances gradually.
Next, improve soil structure and fertility with mature compost. Check compost quality before adding it: it should smell earthy, feel crumbly, and contain no recognizable food scraps or harmful contaminants.
Spread a suitable layer over the soil, then work it into the top few inches without compacting the ground. If your soil drains poorly or feels dense, add organic matter to support airflow and water movement.
Remove rocks, weeds, and debris, and break up large clumps with a fork. Keep the surface loose and level so roots can establish easily. Retest periodically to track changes and guide future amendments.
Plan Crop Spacing and Planting Dates
With your soil prepared, plan when and where each crop will grow. Check your local frost dates and each crop’s days to maturity to choose suitable planting windows. Cool-season vegetables can often grow in early spring or fall, while warm-season crops need reliably mild nights.
Use a calendar to stagger plantings, extend harvests, and avoid crowding every task into one week. If you’ve kept notes from soil testing, consider how your soil’s condition may affect timing, especially after amendments.
Next, map your beds and match spacing to each crop’s mature size. Follow seed-packet or nursery guidance for distances between plants and rows, allowing room for airflow, sunlight, and access for weeding.
Plan bed spacing wide enough for comfortable paths, but keep beds narrow enough to reach their centers without stepping on the soil. Group crops with similar light, water, and timing needs.
Leave room for supports or spreading vines, and rotate crop families between beds each season to reduce pest and disease pressure. Mark your plan before planting.
Plant Seeds or Transplants at the Right Depth
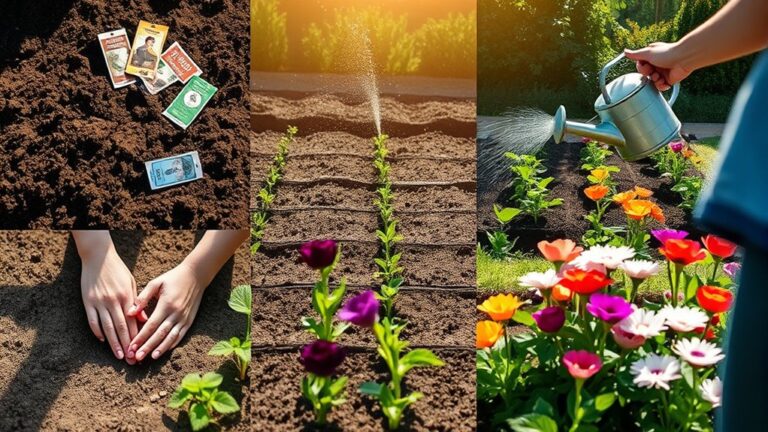
Check each crop’s recommended planting depth before sowing or transplanting. Then plant seeds at the right depth and gently cover them with soil.
Check Recommended Planting Depth
Planting depth can make or break a crop’s start: sow seeds too deep, and they may not reach the surface; plant them too shallow, and they can dry out. Check each crop’s seed packet or a trusted growing guide before planting.
Recommended seed depth varies by species, seed size, and soil conditions, so don’t rely on a single rule for every bed. As a general guide, many seeds do best when planted about two to three times as deep as their width, but follow crop-specific directions instead.
If you’re transplanting seedlings, set them at the depth they grew in their pots, unless the crop’s instructions say otherwise. Consider soil testing and local guidance, too; heavy or sandy soil can affect how moisture moves around seeds. Measure carefully, and adjust depth to suit each crop.
Cover Seeds Gently
After sowing, cover seeds gently with the recommended amount of soil, then press lightly to ensure good contact without compacting the surface. A firm but loose covering helps seeds absorb moisture while allowing emerging shoots to reach the light.
Check each crop’s depth instructions, since tiny seeds may need only a dusting, while larger seeds often require a deeper layer. Don’t bury seeds too deeply; they may struggle to sprout or fail to emerge.
Water with a gentle spray so you don’t wash seeds away or expose them. Keep the soil evenly moist, and consider germination timing when planning care and checking for sprouts.
Once seedlings appear, thin or transplant them according to recommended seedling spacing. For transplants, set roots at the proper depth and firm soil lightly around them.
Water Crops for Healthy Growth
Water crops deeply and consistently to support strong roots and healthy growth. Check soil moisture before watering: press a finger into the top inch, and water when it feels dry.
Apply water slowly at the base so it reaches the root zone instead of running off leaves or paths. Early morning watering limits evaporation and gives foliage time to dry.
| Crop sign | Watering response |
|---|---|
| Dry surface soil | Check below the surface |
| Wilting at midday | Recheck soil before watering |
| Water pooling | Slow the flow |
| Seedlings emerging | Use a gentle stream |
| Hot, windy weather | Check moisture more often |
Adjust water usage to your soil and weather. Sandy soil drains quickly, while clay holds moisture longer, so tailor your schedule rather than following a rigid routine.
Rain may meet your crops’ needs; use a rain gauge to track it. Mulching practices can reduce evaporation, but keep mulch away from stems.
Watch plants and soil regularly, then adapt your watering to support steady growth without leaving roots waterlogged.
Fertilize Crops and Control Weeds
Feed your crops the nutrients they need, but avoid overfertilizing. Choose weed controls that suit your crops and growing conditions, and take care to protect crop roots when removing weeds or applying treatments.
Apply Nutrients Wisely
Healthy crops need the right nutrients, but too much fertilizer can harm plants and pollute waterways. Start by testing your soil so you know which nutrients your crops need.
Use the results to choose suitable soil amendments and apply fertilizer at the recommended rate and time. For seedling nutrition, follow crop-specific guidance; young plants often need less fertilizer than mature crops.
Spread nutrients evenly, keep them away from stems, and water as directed to help roots absorb them. Don’t fertilize before heavy rain, which can wash nutrients into streams.
Keep a simple record of products, amounts, and dates, then watch for signs of deficiency or excess, such as yellowing leaves or scorched edges. Adjust future applications based on plant growth and updated soil tests, rather than guessing or adding more.
Choose Weed Controls
Weeds compete with crops for light, water, and nutrients, so control them before they take hold. Choose a weed control approach that fits your crop, field conditions, and production goals.
You can pull or hoe small infestations, mow weeds before they set seed, or use mulch to block sunlight. Rotate crops and plant cover crops to disrupt weed growth while supporting soil health.
If you use herbicides, identify the weed species, follow label directions, and apply products at the recommended time and rate. Combine methods rather than relying on one tactic; this reduces the chance that weeds will adapt.
Check your fields regularly, especially after rain or irrigation, and act while weeds are young. Keep records of problem areas and results so you can refine your plan next season. Don’t let weeds produce seeds.
Protect Crop Roots
Protect crop roots by supplying the nutrients plants need and keeping weeds from competing for water and food. Start with a soil test so you can match fertilizer to your crop’s needs instead of guessing. Apply nutrients at the recommended rate and time; excess fertilizer can damage roots, waste money, and pollute waterways.
Add compost to support soil biology and improve soil structure, but don’t assume it replaces every nutrient your plants need.
Control weeds early, while they’re small and easier to remove. Hoe shallowly or pull them by hand, taking care not to disturb crop roots. Mulch between rows to block weed growth and conserve moisture.
Avoid deep cultivation near plants, since it can cause root pruning and expose roots to drying. Check beds regularly, and remove weeds before they set seed.
Protect Crops From Pests and Disease
How can you keep pests and disease from undermining your hard work? Build pest prevention into your routine before problems take hold. Choose crop varieties suited to your climate and resistant to common diseases. Give plants enough space for airflow, and water at the soil level to keep leaves dry. Clear weeds and remove dead plant material, which can shelter insects and pathogens.
Inspect your crops regularly, checking leaf surfaces, stems, and fruit for eggs, spots, holes, or unusual growth. If you find a problem, identify it before choosing a response. Handpick larger pests, use barriers, or encourage beneficial insects to limit damage.
For disease management, remove infected plants or plant parts promptly, and clean tools between uses to avoid spreading pathogens. Apply pesticides only when necessary, following label directions and protecting pollinators. Rotate crop families between seasons to reduce soilborne pests and disease. These practical steps help you protect healthy plants while limiting harm to the surrounding garden ecosystem.
Monitor Crop Growth and Adjust Care
As crops grow, monitor their progress and adjust care to meet changing needs. Walk your rows regularly, noting leaf color, stem strength, and new growth.
Compare plants across the plot; uneven development can signal a problem before it spreads. Check soil moisture near roots, not just at the surface, and water when conditions call for it.
Keep pest monitoring in your routine, even after earlier prevention, and look for fresh damage or unusual spots.
| What you observe | How you can respond |
|---|---|
| Dry soil | Water deeply, then recheck |
| Yellowing leaves | Review watering and nutrients |
| Wilting plants | Check roots, heat, and moisture |
| New leaf damage | Inspect plants and adjust protection |
Use your notes to track changes over time. If growth slows, adjust watering, feeding, or support gradually, then watch how plants respond.
Avoid changing several practices at once; small, measured adjustments help you identify what works and keep crops developing steadily.
Harvest Crops at the Right Time
Once your crops show steady growth, watch for signs that they’re ready to harvest. Check seed packets or reliable growing guides for maturity dates, but let each plant’s appearance guide your final decision.
Good harvest timing protects flavor, texture, and yield. If you pick too early, produce may taste bland; wait too long, and it can become tough, overripe, or vulnerable to pests.
Use these three checks to decide when to gather your crops:
- Color: Look for the mature shade described for each variety. Tomatoes should reach their full color, while leafy greens should look fresh and firm.
- Size and texture: Harvest vegetables when they’ve reached a useful size and feel crisp or tender, not woody.
- Easy separation: Ripe fruits often detach with a gentle twist. Don’t pull hard; use clean shears for stubborn stems.
Your discovery season can bring surprises, so check plants often as harvest approaches. Pick in the cool morning, handle produce gently, and store it promptly to keep it fresh.
Frequently Asked Questions
What Tools Are Essential for Starting a Small Crop Garden?
You’ll need a hand trowel, garden fork, hoe, watering can or hose, pruning shears, and sturdy gloves to start a small crop garden. Essential tools also include a measuring tape and labels to space and identify your plants.
For seed-starting essentials, gather seed trays or small pots, seed-starting mix, and a spray bottle. A simple garden notebook helps you track planting dates, watering, and growth throughout the season.
Can I Grow Crops Successfully in Containers or Raised Beds?
Yes, you can grow crops successfully in containers or raised beds. A single tomato plant can produce several pounds of fruit, making even a small space worthwhile.
With container gardening, choose pots with drainage holes and match their size to each crop’s roots. Raised beds give you control over soil quality and improve drainage.
Place either setup where plants get enough sunlight, water consistently, and select varieties suited to your climate and available space.
How Much Does It Typically Cost to Start Growing Crops?
You can start growing crops for about $50–$300 in containers or a small raised bed, while larger plots may cost several hundred dollars or more.
Your cost considerations include seeds, soil, containers, tools, water, and any fencing or supports you need. Check local market pricing for supplies, since prices vary by region and quality.
You can keep expenses low by reusing containers, starting with a few crops, and buying only essential tools.
Are There Regulations for Selling Crops Grown at Home?
Yes, you may face regulations when selling crops grown at home. Check home-based vs. market-based regulations, confirm local farming permits and registrations, and ask your city or county about zoning, business licenses, and sales taxes.
Selling directly to neighbors may involve fewer requirements than supplying stores or markets. If you sell processed foods, you’ll likely need extra permits and inspections. Rules vary by location, so contact your local agriculture department before selling.
How Can I Preserve Surplus Crops for Long-Term Storage?
You can preserve surplus crops by choosing preservation methods suited to each crop: freeze blanched vegetables, dry herbs and fruit, ferment cabbage, or can high-acid produce using tested recipes. Cure onions, garlic, potatoes, and winter squash before storing them in cool, dark, well-ventilated conditions.
Check produce regularly and remove anything spoiled. For safe storage durability, follow current food-safety guidance, label containers with dates, and use suitable airtight packaging to prevent moisture and contamination.
Conclusion
Cultivating crops is a season-long conversation with your land: you choose, plant, observe, and respond. When a dry spell arrives, a quick watering can turn drooping leaves into a fresh start, much like small, timely choices keep a larger plan on track.
Keep notes on what thrives, learn from what doesn’t, and adjust next season. You won’t control every storm or pest, but with patience and steady care, you’ll give your crops the best chance to flourish. These are essential steps in cultivating crops.