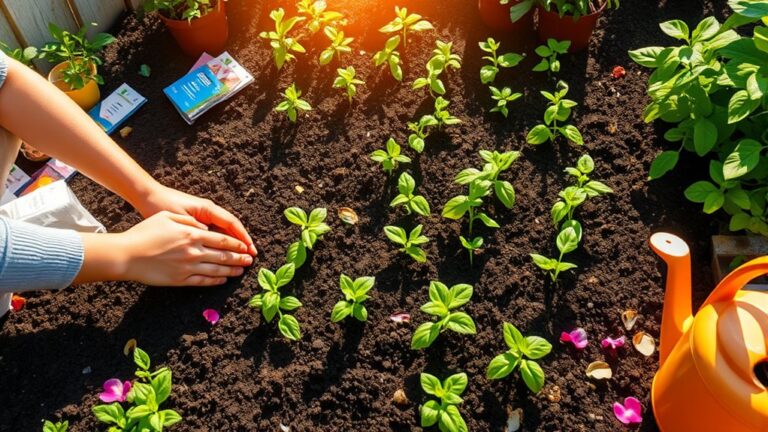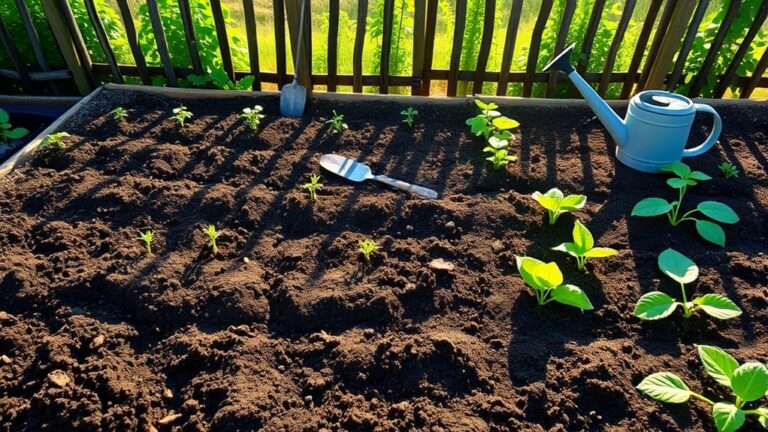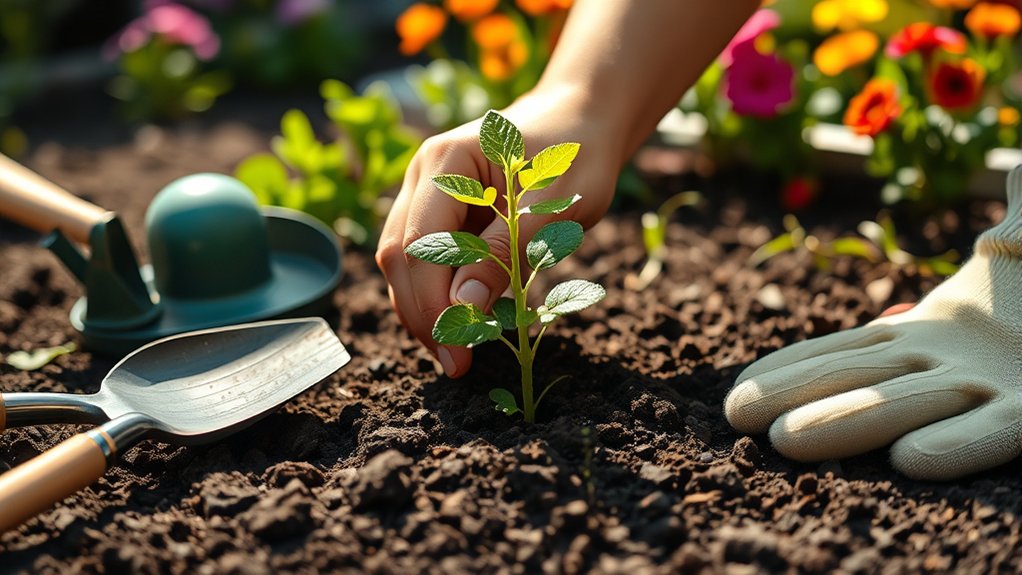
How Do You Plant Plants Outside in 7 Easy Steps?
Choosing the right plants and supplies can make planting outdoors feel overwhelming, especially if you’re unsure where to start. You’re not alone—many people struggle to get plants settled and growing well. These seven easy steps explain how to plant plants outside and help you get started with confidence.
To plant outside in seven easy steps, choose a spot with sunlight suited to your plant, then clear weeds and loosen the soil with compost. Gather a trowel, gloves, and water, and moisten a dry root ball. Dig a hole two to three times wider than the roots, but no deeper. Set the plant at its original depth, backfill gently, and water slowly. Finish with a thin mulch layer, keeping it away from the stem. A few helpful details can make each step easier.
Key Takeaways
- Choose a spot that matches your plant’s sunlight needs, checking light throughout the day.
- Remove weeds and stones, loosen the soil, and mix in finished compost.
- Gather a trowel, gloves, and water; plant during a cool part of the day.
- Dig a hole two to three times wider than the root ball, but no deeper.
- Set the plant at its original depth, backfill gently, water slowly, and add mulch.
Choose a Sunny Spot for Your Plant
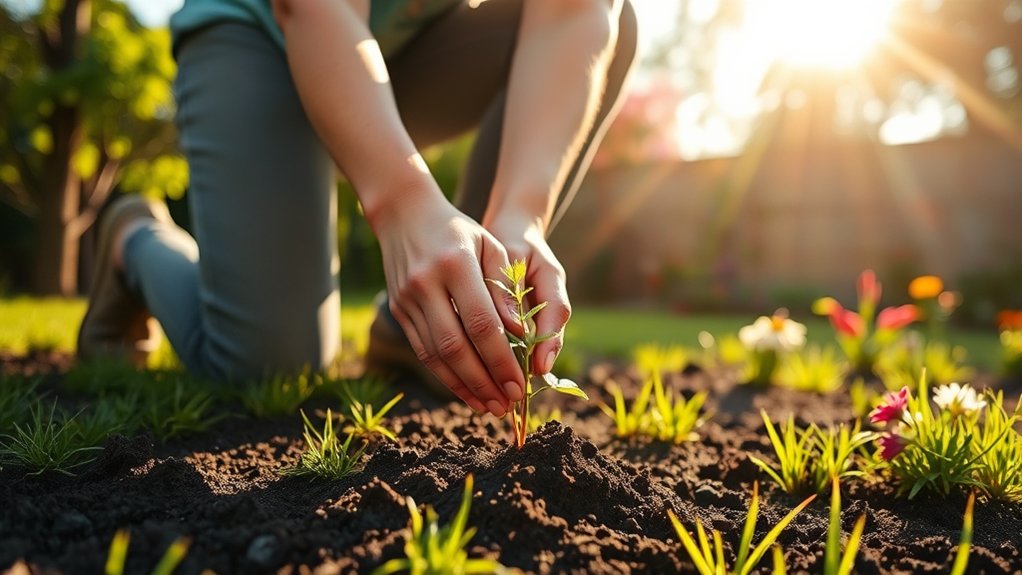
Before you plant, check how much sunlight the spot gets throughout the day. Watch the area from morning to evening, noting when buildings, fences, or trees cast shade. A location that looks bright at noon may receive little direct light during other hours.
Next, match the site to your plant’s needs. Read its label or look up whether it prefers full sun, partial sun, or shade. Full-sun plants generally need at least six hours of direct light daily, while partial-sun varieties do better with less. These plant exposure concepts help you avoid choosing a spot based only on appearance.
Use practical sunny spot ideas to compare possible locations: an open border, a bright patio edge, or a gap beside a low fence. Consider how nearby plants may grow and block light later. If you’re unsure, track sunlight for a few days before deciding. Choose a spot that suits the plant’s light needs and gives it room to grow without competing for sunshine.
Prepare the Soil for Planting
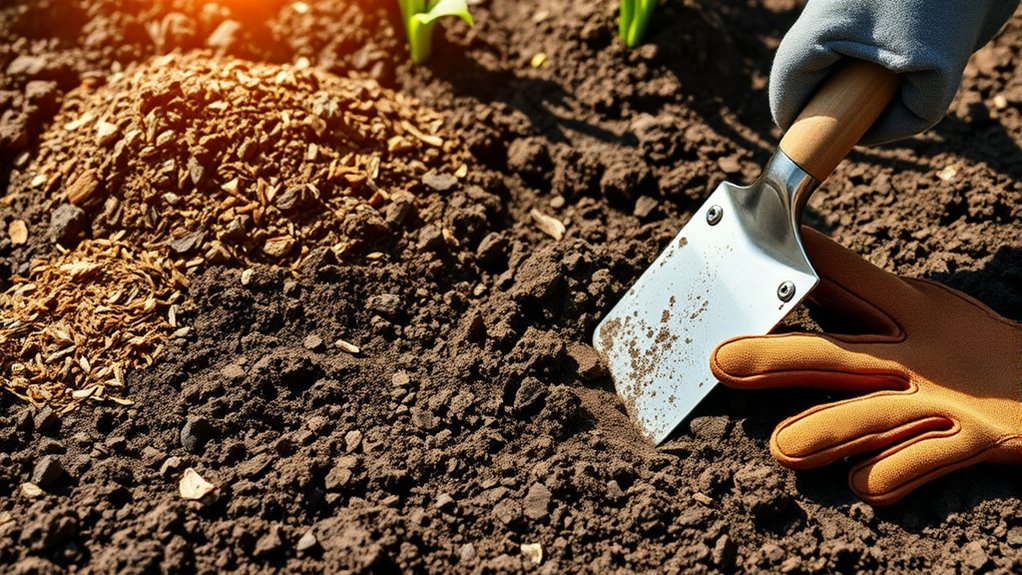
How can you give new plants a strong start? Prepare the ground before planting so roots can spread through loose, fertile soil. Remove weeds, grass, stones, and old roots from the chosen spot.
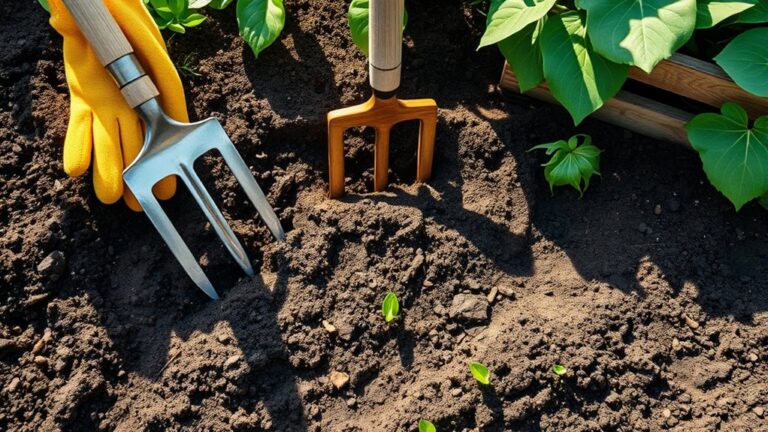
Break up compacted earth with a garden fork, loosening it several inches deep without turning the soil more than necessary.
Check soil drainage by observing how quickly water moves through the ground after rain. If the soil stays soggy, mix in organic matter or choose a raised planting area. If it dries too quickly, compost can help it hold moisture.
Avoid working wet soil, which can form hard clumps and restrict root growth.
Spread a layer of finished compost over the surface, then blend it into the loosened soil. Compost nutrients improve soil structure and support healthy growth.
Match any amendments to your plant’s needs, since too much fertilizer or the wrong soil pH can harm roots. Aim for an even, crumbly planting bed.
Gather Tools and Water the Plant
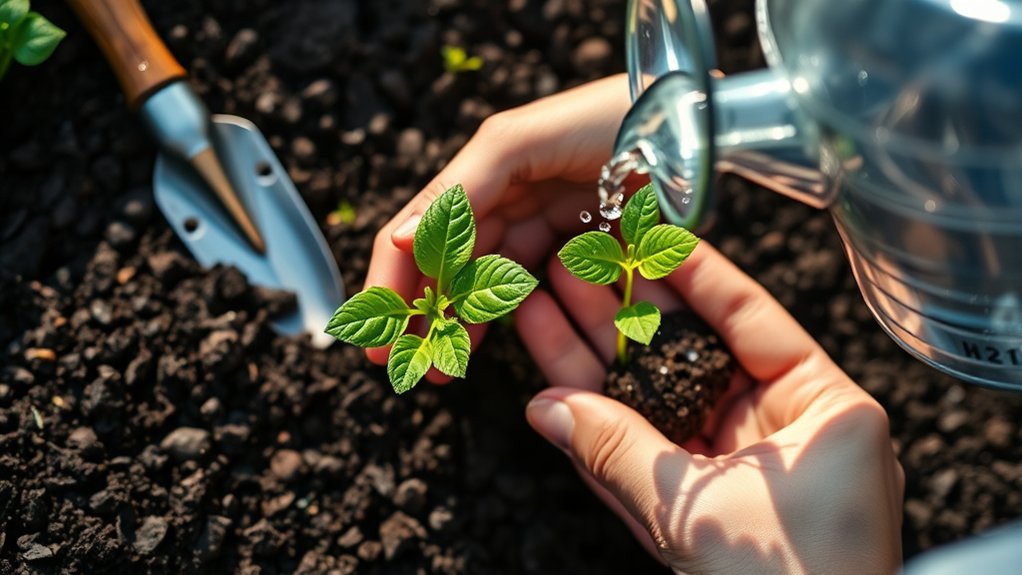
Gather a trowel, gloves, and a watering can or hose before you begin. Gather tools that match your plant’s size and your garden’s conditions.
Keep a hand fork nearby for loosening compacted soil, and use clean, sharp pruners to remove damaged leaves if needed. Set everything within reach so you won’t have to interrupt your work.
Check the plant’s care label and the weather before you water the plant. If its root ball feels dry, moisten it gently until the soil is evenly damp, not soggy. This helps the roots stay hydrated while you work.
If the plant is already moist, wait; excess water can make handling difficult and may contribute to poor soil drainage after planting.
Consider transplant timing, too. Plant during a cool part of the day, such as morning or late afternoon, to reduce stress. Avoid working in strong sun, high winds, or heavy rain.
Once your supplies are ready and the plant is hydrated, you can move on confidently.
Dig a Hole Wider Than the Root Ball
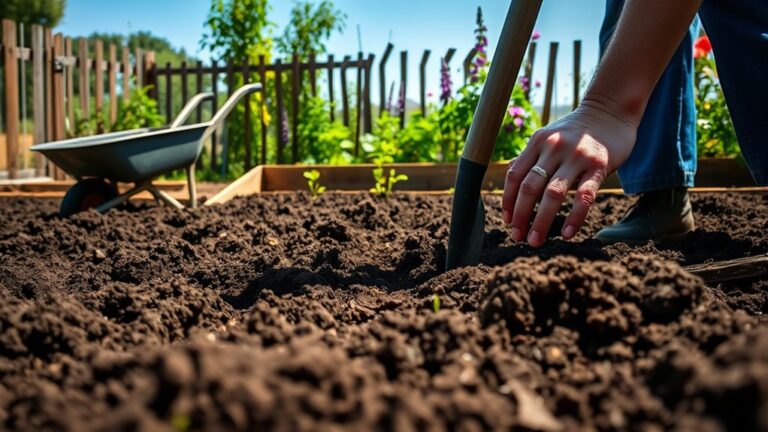
Dig a hole two to three times wider than the root ball, but no deeper than its height. This gives roots loose soil to spread into while keeping your digging technique focused on a broad, shallow space. First, measure the root ball size, then mark the hole’s width with your shovel or a stick.
| Root ball width | Hole width | Helpful check |
|---|---|---|
| 6 inches | 12–18 inches | Use a ruler |
| 10 inches | 20–30 inches | Measure across |
| 14 inches | 28–42 inches | Mark the edge |
Remove grass and weeds from the marked area. Dig straight down around the outline, then loosen the soil inside with your shovel. Keep the excavated soil nearby so you can use it later. If the ground feels compacted, roughen the sides and bottom with a hand tool; smooth walls can make it harder for roots to move into surrounding soil. Check the hole’s width against the root ball before you finish, and widen it if needed. Don’t dig deeper than the root ball’s height.
Plant at the Correct Depth
Set the plant at the same depth it grew in its pot or nursery container. Find the original soil line on the stem or trunk, then align it with the surrounding ground. For a depth check, rest a straight stick across the hole and compare the soil line with the stick. This simple guide helps you avoid planting too high or too low.
Keep the root flare visible on trees and shrubs; it’s where the trunk widens into the roots. Covering this area can trap moisture against the bark and stress the plant. For perennials, position the crown, the point where stems meet roots, at ground level unless the plant’s label recommends otherwise. Check the planting instructions, since some species need a slightly different position.
Before settling the plant in place, inspect root spacing and make sure the roots aren’t cramped or bent sharply. Adjust the hole’s depth or shape as needed so the plant sits upright at its proper level.
Backfill and Firm the Soil Gently
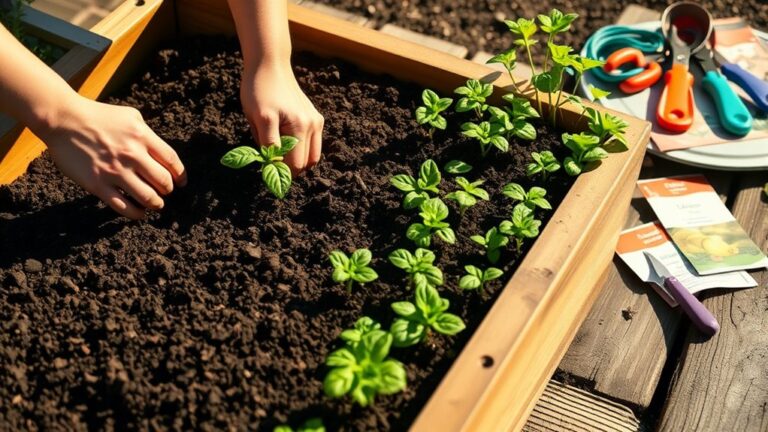
Once the plant sits at the right depth, backfill the hole with the soil you removed, breaking up large clumps as you go. Keep the plant upright, and guide soil around the roots so you don’t leave large air pockets.
These backfill considerations help support the roots without burying the stem or crown.
- Add soil in small layers, working evenly around the root ball.
- Check the plant’s position as you fill; gently straighten it if needed.
- Use your fingertips to settle soil into gaps, taking care not to tug the roots.
- Press the surface lightly with your palms to stabilize the plant.
Aim for firm, not hard. Excessive pressure causes soil compaction, which can restrict air movement and make it harder for roots to grow.
Don’t stomp or lean your full weight on the planting area. Leave the finished soil level even with the surrounding ground, unless the plant’s specific needs call for otherwise.
Water Your Plant and Add Mulch
After gently firming the soil, water the plant slowly to settle the roots and help close small air gaps. Direct water at the base, not the leaves, and stop when the surrounding soil feels evenly moist. Check moisture again the next day; don’t let the root ball dry out while the plant establishes.
Use this guide to choose mulch types that suit your garden:
| Mulch type | Main benefit |
|---|---|
| Shredded bark | Lasts longer around shrubs |
| Straw | Keeps vegetable beds cool |
| Compost | Adds nutrients as it breaks down |
| Leaf mold | Improves soil structure |
Spread a two- to three-inch layer over the soil, leaving a few inches clear around the stem. Mulch helps retain moisture, moderate soil temperature, and suppress weeds. Keep it loose; don’t pile it against the plant, where trapped moisture can encourage rot.
Set a watering schedule based on rainfall, soil, and plant needs. Check the soil before watering, and adjust during hot, dry weather. Your plant needs consistent moisture, not soggy ground.
Frequently Asked Questions
When Is the Best Season to Plant Outdoors?
The best season for outdoor planting is usually spring, when mild temperatures and regular rain help roots establish. You can also plant in early fall, especially in warm regions, so plants settle in before winter.
Your local climate and each plant’s needs matter: check frost dates and soil conditions before choosing outdoor planting timing. Avoid extreme heat, frozen ground, and periods when your area faces drought, since these conditions can stress young plants.
How Far Apart Should I Space Plants?
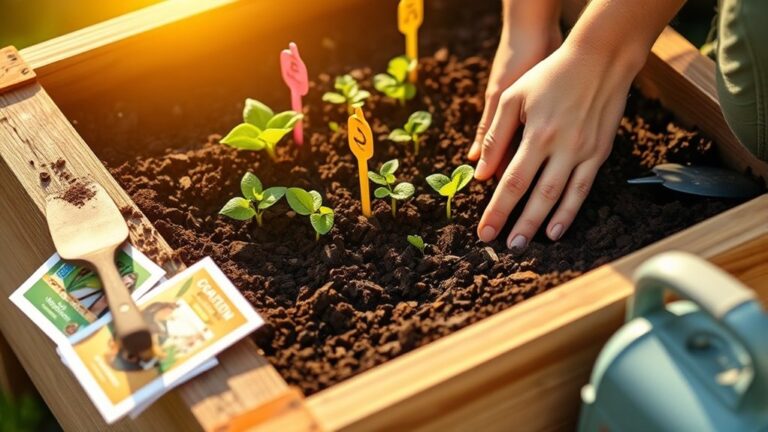
Space plants according to their mature width, not their size at planting. Check the plant tag or seed packet for recommended spacing, then measure between plant centers. Give larger plants more room, and leave enough space for airflow and sunlight.
Your spacing density should also account for the root zone depth: deep-rooted plants may need more room below ground. If you’re unsure, space plants slightly farther apart; you can fill gaps later.
Which Plants Grow Best in My Climate?
The plants that grow best in your climate depend on your region’s hardiness zone, seasonal temperatures, rainfall, and sunlight. Check your USDA hardiness zone, then compare each plant’s requirements with your local conditions.
For how to choose plant varieties, prioritize climate compatibility and select plants labeled for your zone. Ask a local nursery or extension service for recommendations, too; they can suggest reliable varieties suited to your soil and typical weather patterns.
How Can I Protect New Plants From Pests?
Guard your young plants like a small kingdom: build gentle defenses before pests arrive. Cover the soil with protective mulches, such as straw or shredded leaves, to discourage crawling insects and keep moisture steady.
Invite natural predators, including ladybugs and birds, by planting flowers and providing water. Check leaves often, remove pests by hand, and use row covers when needed. You’ll catch trouble early and help new growth thrive without harsh chemicals.
Should I Harden off Seedlings Before Transplanting?
Yes, you should harden off seedlings before transplanting them outdoors. Seedling hardening helps your young plants adjust to direct sunlight, wind, and temperature changes, reducing transplant shock.
Start transplant acclimation about a week before planting: set seedlings outside in a sheltered, shady spot for an hour or two, then gradually increase their outdoor time and sun exposure each day.
Bring them inside during harsh weather, and transplant them once they can stay outdoors all day comfortably.
Conclusion
Planting outdoors doesn’t have to be complicated. Choose a sunny spot, prepare the soil, and gather your tools before digging a hole wider than the root ball. Set your plant at the right depth, gently firm the soil, then water well and add mulch. Take your time, and keep an eye on your plant as it settles in.
Remember, “Mighty oaks from little acorns grow.” With steady care, you’ll learn how to plant plants outside and help your new plant thrive.