10 Essential Tips to Take Care of Perennial Flowers
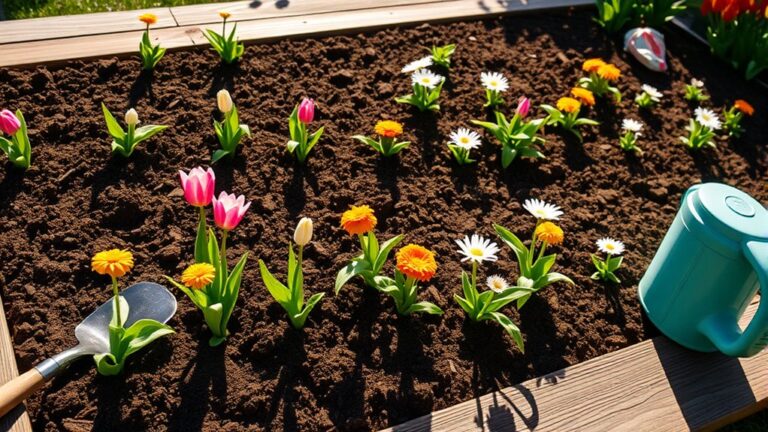
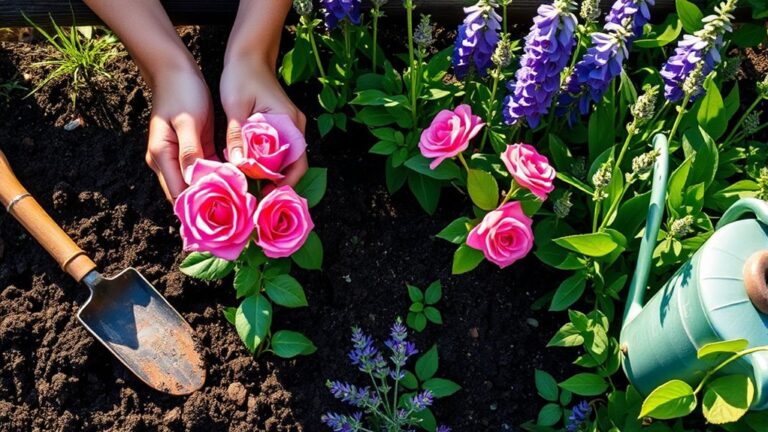
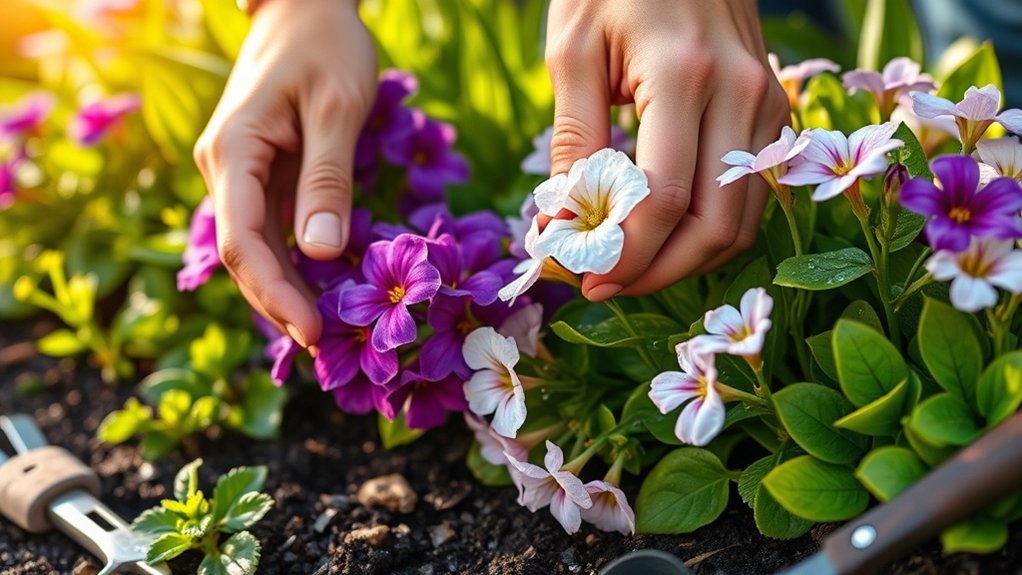
Keeping perennial flowers healthy year after year can feel like a lot to manage, especially when you’re unsure what each plant needs. You’re not alone—many gardeners struggle to balance watering, feeding, pruning, and winter care. These 10 essential tips to take care of perennial flowers can help you build a garden that thrives season after season.
Choose perennials suited to your climate, hardiness zone, and local rainfall. Track sunlight, then match each plant to the right spot and leave room for airflow. Prepare soil by removing weeds, loosening it, and adding compost.
Water deeply when the soil feels dry, especially while plants establish. Apply mulch without covering crowns or stems, and feed only when needed.
Check regularly for pests and disease, deadhead faded blooms, divide crowded plants, and protect roots through winter. These simple habits help your garden thrive year after year.
Key Takeaways
- Choose perennials suited to your climate, hardiness zone, rainfall, and seasonal temperatures.
- Track sunlight throughout the day and match each plant’s light needs to its location.
- Prepare soil by removing weeds, loosening it, testing it, and adding compost as needed.
- Water deeply when soil is dry, especially while plants establish, and mulch without covering stems.
- Monitor for pests and disease, deadhead faded blooms, divide crowded plants, and prepare them for winter.
Choose Perennials That Suit Your Climate
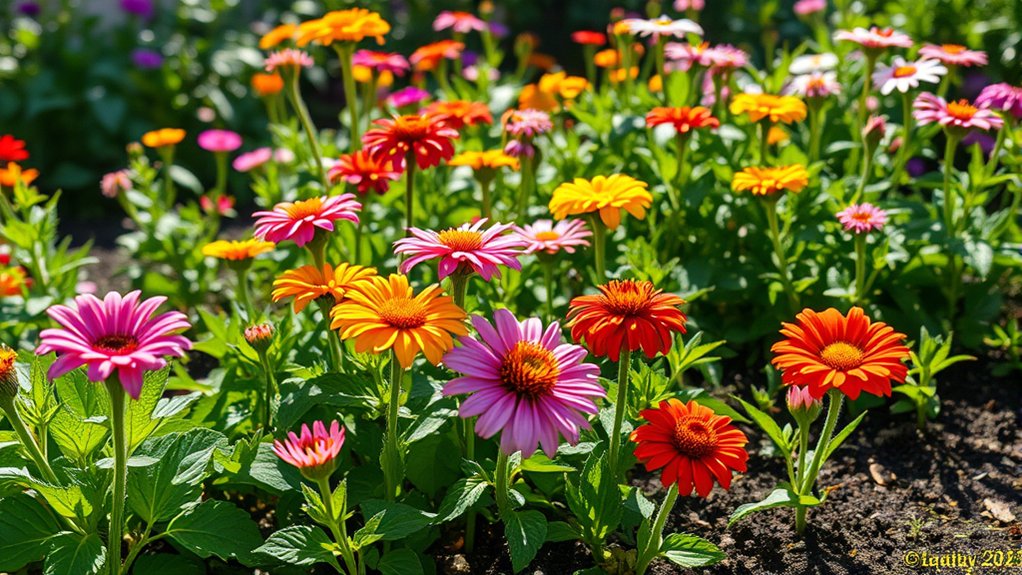
Start with your climate, not just a flower’s looks. Check your region’s hardiness zone and compare it with each perennial’s needs before you buy. A plant suited to your winters and summers is more likely to return reliably, while a poor match may struggle or die despite careful attention.
Consider how your local weather changes through the year. If you face long freezes, choose varieties rated for cold conditions. In hot regions, favor perennials that tolerate heat and dry spells. For areas with frequent rain or humidity, look for plants that handle those conditions well. Regional garden guides and nearby nurseries can help you narrow your choices.
Then select a mix with different bloom times. You’ll enjoy seasonal color from spring through fall, and you can provide pollinator benefits by choosing flowers that attract bees, butterflies, or other local visitors. Check plant labels for bloom periods and wildlife value. A climate-ready selection gives you dependable flowers and a garden that supports life across the seasons.
Find the Right Sun and Space for Perennials
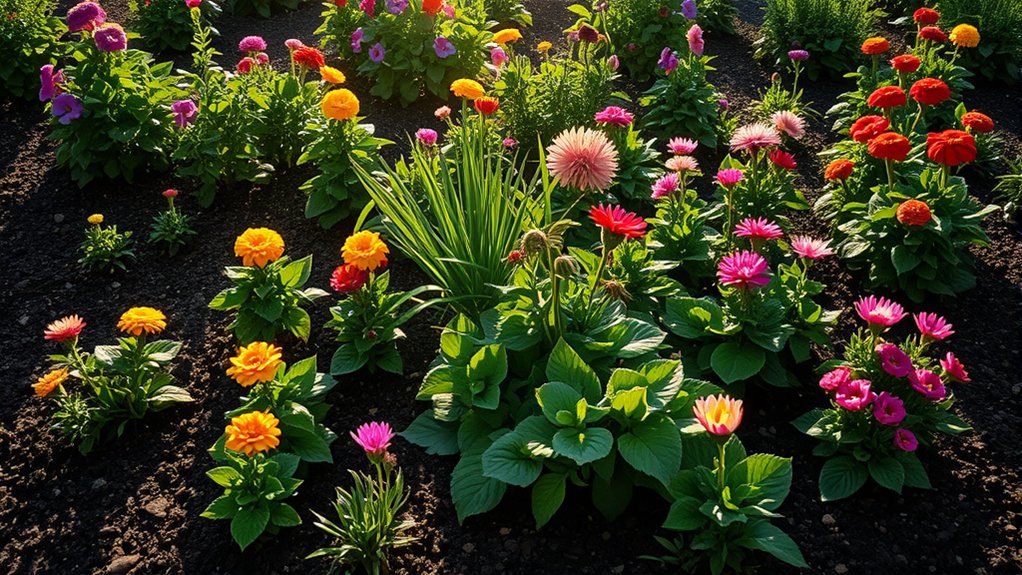
Track how many hours of sunlight each spot gets throughout the day. Then choose perennials that suit those light conditions, and give each plant enough room to grow.
Assess Daily Sunlight
Before choosing a spot for your perennials, notice how many hours of direct sunlight it gets each day. To assess daily sunlight accurately, check the area at several times, from morning through late afternoon. Count only the hours when sunlight reaches the ground directly; bright, open shade doesn’t count as direct sun.
Observe the spot on more than one day, since clouds and seasonal changes can affect what you see. You can also monitor shade patterns caused by trees, fences, buildings, or other structures.
Note when shadows move across the garden and how long each area stays sunny. A simple sketch or written log can help you compare locations and avoid relying on a quick glance.
Keep these observations handy as you plan your planting space and decide where each perennial will have room to grow.
Match Plants to Light
Once you know how much sun each spot receives, match perennials to those conditions. Check plant labels for light preferences, then compare them with your notes on sunlight duration. Full-sun varieties generally need at least six hours of direct light, while partial-sun plants do best with fewer hours or gentler morning rays.
Shade lovers can scorch or wilt when exposed to intense afternoon sun, so place them beneath trees or near structures that filter the light.
Consider how light shifts through the seasons, too. A spot that’s bright in spring may become shaded once nearby trees leaf out. Choose plants suited to the changing shading balance, and observe how existing foliage affects each bed.
When a perennial’s leaves look pale, scorched, or leggy, reassess its light exposure and move it if needed.
Allow Room to Grow
Give each perennial enough space to reach its mature size without crowding its neighbors. Check the plant label for its expected width, then use that measurement to guide plant spacing. When you allow room for airflow and growth, you’ll reduce competition for light, water, and nutrients while making maintenance easier.
- Measure the planting area before you buy, so you can plan how many plants will fit.
- Space spreading varieties farther apart than compact, upright cultivars.
- Consider mature height, too; taller flowers may shade shorter neighbors.
- Leave access paths where you’ll need to weed, prune, or divide plants.
- Fill temporary gaps with annuals rather than crowding perennials together.
Your garden may look sparse at first, but patience pays off. As plants mature, their foliage and blooms will fill the space without restricting healthy growth.
Prepare Soil Before Planting Perennials
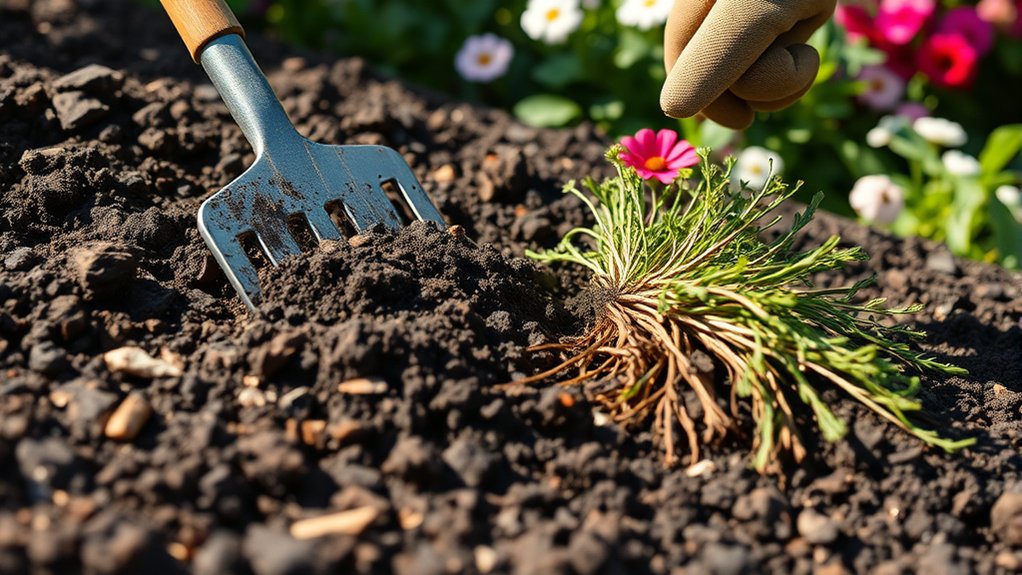
Healthy perennial flowers start with well-prepared soil. Before you plant, clear away weeds, rocks, and old roots so your flowers won’t compete for space and nutrients. Loosen the ground with a garden fork or spade, working about 12 inches deep. This helps roots spread through the bed and reach the nutrients they need.
Start with soil testing to learn your soil’s pH and nutrient levels. Follow the test results to adjust conditions; for example, add lime or sulfur only when recommended.
Most perennials thrive in soil that drains well and contains plenty of organic matter. If your soil feels heavy or sandy, improve its structure through compost mixing. Spread a layer of finished compost over the bed, then blend it evenly into the loosened soil.
Avoid adding fresh manure, which can damage roots or introduce weed seeds. Rake the surface smooth before planting, and remove any remaining clumps. A prepared bed gives each perennial a strong start and room to establish.
Water Perennials for Healthy Growth
Water perennials deeply to encourage roots to grow down into the soil. Give water at the base of each plant so it reaches the root zone instead of wetting foliage. Your watering routines should reflect each flower’s needs, the weather, and your soil type.
Check soil moisture by feeling the soil a few inches below the surface. Water when it feels dry, not simply because the calendar says so.
- Water slowly, allowing soil to absorb moisture without runoff.
- Check plants more often during hot, windy, or dry spells.
- Reduce watering after rainfall, but verify that the root zone is damp.
- Use a watering can or hose nozzle to direct water beneath leaves.
- Watch for wilting and yellowing, then adjust your schedule as needed.
Newly planted perennials need closer attention while their roots establish. Once plants settle in, less frequent, thorough watering often works better than shallow, daily sprinkling. Keep notes on rainfall and plant responses to refine your routine.
Mulch Perennials to Keep Roots Moist
After watering deeply, add a layer of mulch around your perennials to slow evaporation and keep roots moist. Spread two to three inches of shredded bark, leaf mold, or straw over the soil, keeping mulch a few inches from each stem. This gap helps prevent rot and discourages pests. Mulching moisture retention also limits weeds, so your flowers face less competition for water.
| Mulch type | Best use | Watch for |
|---|---|---|
| Shredded bark | Long-lasting beds | Keep off stems |
| Leaf mold | Moisture-loving plants | Replenish as it settles |
Check the layer after heavy rain or wind, and top it up when it thins. In hot weather, mulch shields shallow roots from drying; in cold regions, it can provide root warmth through temperature swings. Don’t pile on extra mulch each season without checking the existing depth. A steady, breathable cover protects soil while letting water reach roots. Choose a material that suits your garden and local conditions.
Feed Perennials Without Overdoing It
How much fertilizer do perennials need? Usually, less than you might think. Too much nitrogen can produce lush leaves but fewer flowers, while excess fertilizer may harm roots. Start with a soil test, then follow its recommendations instead of feeding on a fixed schedule. These care tips help you match nutrients to your garden’s needs.
- Choose a balanced, slow-release fertilizer when your soil test indicates it’s needed.
- Apply fertilizer in early spring as new growth appears.
- Scatter granules around the plant’s drip line, keeping them off stems and leaves.
- Water after application to help nutrients reach the root zone.
- Skip feeding newly planted perennials if you enriched the bed during soil preparation.
Check the product label for the correct rate, and measure carefully; more isn’t better. If your soil is fertile and plants bloom well, you may not need fertilizer at all.
Compost can improve soil gradually, but don’t pile it against crowns. Reassess your approach each season and adjust based on growth and blooms.
Check Perennials for Pests and Disease
Even with careful feeding, perennials can develop pest or disease problems, so inspect them regularly. Check leaves, stems, and buds, including their undersides, for holes, spots, sticky residue, webbing, or clusters of insects.
Look closely at new growth, where pests often gather, and note any unusual discoloration or wilting.
Make pest surveillance part of your routine, especially during warm, humid weather when insects and fungal problems can spread quickly. Disease monitoring helps you catch trouble early: compare affected plants with healthy ones and watch for powdery coatings, dark lesions, or distorted leaves.
Keep a simple record of what you find and when symptoms appear, so you can spot recurring patterns.
If you identify a problem, confirm the cause before choosing a treatment. Remove heavily infested or diseased material, clean tools between plants, and improve airflow by spacing plants appropriately.
Follow label directions for any product you use, and avoid spraying beneficial insects. Check nearby perennials, too, since problems can spread.
Prune and Deadhead Perennials for More Blooms
Deadhead spent flowers to keep your perennials tidy and encourage fresh growth. And prune each plant at the right time to protect its health. With regular care, you can enjoy more blooms throughout the season.
Deadhead Spent Flowers
As perennial blooms fade, remove them promptly to keep plants tidy and, for many varieties, encourage another flush of flowers. Use clean, sharp snips or pinch soft stems just above a healthy leaf or bud.
Your deadheading techniques should suit each plant’s growth habit and avoid damaging nearby shoots. For effective seasonal deadflower removal, check your garden regularly and focus on flowers that have wilted or lost their color.
- Cut off individual spent blooms before they form seed heads.
- Remove an entire flower stalk when all its blossoms have faded.
- Leave attractive seed heads if you want food for birds or winter interest.
- Skip deadheading plants grown for seed collection or natural reseeding.
- Gather and discard diseased flowers rather than leaving them among healthy plants.
Work gently, and you’ll help your perennials look cared for while directing energy toward fresh growth.
Prune at the Right Time
Prune perennials at the right time to shape their growth, remove damaged stems, and encourage more blooms. Your pruning timing depends on when each plant flowers and how it handles winter. Cut spring-blooming varieties after their flowers fade, since fall or early-spring cuts may remove buds formed the previous year.
Prune summer- and fall-blooming perennials in early spring, before new growth gets tall. Remove dead, broken, or diseased stems whenever you spot them, using clean, sharp shears to limit damage and disease spread.
Check plant labels or reliable local guidance for timing considerations, especially if you’re unsure whether a perennial blooms on old or new growth. Avoid cutting back healthy stems in fall when they provide winter shelter or visual interest. Make each cut just above a leaf node or healthy bud.
Encourage New Blooms
Once you’ve timed your pruning well, remove spent flowers to encourage many perennials to bloom again. Deadheading redirects energy from seed production into fresh buds, extending color and keeping your garden tidy. Use clean, sharp snips, and cut just above a healthy leaf or new side shoot.
- Pinch off faded blooms on plants like salvia and coreopsis.
- Trim flower stalks after each flush to prompt another round.
- Leave attractive seed heads if you want winter interest or food for birds.
- Avoid cutting foliage that’s still feeding roots after flowering.
- Check each plant’s needs; some varieties won’t rebloom after deadheading.
Match your approach to each perennial’s growth habit. A deciduous bloom may benefit from careful cleanup, while evergreen persistence depends on retaining healthy leaves. With regular checks, you’ll catch spent flowers early and encourage more color without stressing your plants.
Divide Overcrowded Perennials
When perennial flowers grow crowded, dividing them gives each plant more room to thrive. You’ll know it’s time when blooms decline, the center of a clump dies back, or stems compete for light and nutrients. Dividing crowded perennials also lets you expand your garden or share healthy plants with friends.
Choose a cool, cloudy day in spring or early fall, when soil is moist and plants aren’t flowering. Water the clump first, then loosen the soil around it with a garden fork. Lift the root ball carefully, keeping as many roots intact as possible.
Divide perennials on a cool, cloudy day. Water first, then lift the clump gently to protect its roots.
Pull or cut it into smaller sections, making sure each division has healthy roots and several shoots. Discard any dead or diseased portions.
Replant divisions promptly at their original depth, spacing them according to their mature size. Firm soil around the roots, water thoroughly, and keep the ground evenly moist while plants establish. This simple task supports vigorous growth by rejuvenating overgrown clumps.
Protect Perennials Through Winter
As temperatures drop, protect your perennials from harsh winter conditions. Apply a layer of mulch to insulate the roots and help the soil retain moisture. When a freeze is in the forecast, cover any frost-sensitive plants.
Apply Winter Mulch
A layer of winter mulch helps protect perennial roots from freezing temperatures and repeated freeze-thaw cycles. First, wait until the ground cools after several hard frosts, then spread winter mulch around your plants.
Keep it loose and breathable so moisture can escape, and don’t pile it against stems or crowns. Choose a material that suits your garden:
- Shredded leaves add insulation and break down into organic matter.
- Clean straw offers lightweight coverage for many perennials.
- Pine needles allow airflow and resist matting.
- Bark chips provide durable coverage around established plants.
- Compost enriches soil while moderating temperature changes.
Apply a layer about two to four inches deep, adjusting for your climate and material. Second, treat mulch as root-level frost protection, not a substitute for sound planting or drainage.
In spring, pull it back gradually as growth resumes.
Protect Against Frost
Even hardy perennials can suffer frost damage, especially during sudden cold snaps or when late-season growth remains exposed. For reliable frost protection, check local forecasts and cover vulnerable plants before temperatures drop.
Use breathable fabric, burlap, or frost cloth, draping it loosely over the foliage and securing the edges to the ground. Remove covers during the day when temperatures rise, so plants receive light and air.
Water your perennials before a freeze if the soil is dry; moist soil holds heat better than dry soil. Don’t prune healthy stems in fall, since they can shield crowns from cold and catch insulating snow.
In exposed areas, add evergreen boughs after the ground freezes. Combine these winterizing techniques with your mulch, and inspect plants after severe weather to spot damage early.
Frequently Asked Questions
How Can I Arrange Perennial Flowers for Continuous Color Throughout the Growing Season?
Arrange perennials by bloom time, grouping early-, mid-, and late-season varieties so fresh color appears as earlier flowers fade. Choose plants with overlapping bloom periods, and repeat each group through your beds for a cohesive display.
Use seasonal strategies by placing spring bulbs and early bloomers near summer favorites, then adding fall asters or sedums. Include varied heights and foliage textures, and check plant labels to plan two word discussion ideas that suit your climate and sunlight.
Which Perennial Flowers Are Safe to Plant Around Pets?
You can plant pet-friendly perennials such as roses, snapdragons, coneflowers, and bee balm, bringing bright petals and gentle color to your garden. For safe pet friendly beds, choose verified toxic free varieties and check each plant’s botanical name before buying, since common names can mislead.
Non toxic choices still deserve thoughtful placement: curious pets may chew leaves or flowers, so supervise them outdoors and contact your veterinarian if you notice unusual symptoms after nibbling.
Can Perennial Flowers Be Grown Successfully in Containers?
Yes, you can grow perennial flowers successfully in containers. Choose compact varieties, and give each plant a pot with drainage holes and enough room for its roots. Use quality potting mix, then water whenever the top inch feels dry. Place the container where your flowers get the sunlight they need. If pets share your space, select pet safe perennials. With suitable care, perennial containers can bring color back year after year.
How Do I Attract Pollinators With Perennial Flowers?
You’ll attract pollinators by planting diverse, nectar-rich perennials; one native bee can visit thousands of flowers in a day, so steady blooms matter. Use pollinator friendly strategies: choose flowers in varied shapes and colors, plant them in clusters, and avoid pesticides.
Plan perennial bloom timing so something flowers from spring through fall, giving bees, butterflies, and hummingbirds a reliable food source. Add a shallow water dish and leave some stems for nesting and shelter.
What Should I Consider When Choosing Perennial Flowers for Cut Arrangements?
Choose perennials that combine long, sturdy stems, reliable bloom times, and good vase life. Match flower shapes and heights to your preferred arrangements, and consider how easily you can harvest without leaving gaps in the garden.
Plan perennial color palettes that suit your home and bloom across the season. Include vase worthy textures, such as airy foliage, bold petals, and seed heads. Favor varieties that keep their color and form after cutting.
Conclusion
Your perennials don’t need constant attention—just the right care at the right time. Match plants to your climate, give them suitable sun and soil, and keep up with watering, mulching, and quick checks for trouble. Deadhead spent blooms, divide crowded clumps, and protect roots before winter arrives. These small habits can reward you with healthier plants and brighter flowers year after year.
But don’t overlook one final task: a quiet check today could reveal what your perennial flowers need next.