How to Plant in the Ground in 10 Essential Steps
Planting in the ground can feel tricky when you’re unsure about sunlight, soil, or how deep to dig. You’re not alone—many people struggle to give new plants the right start. These 10 essential steps for how to plant in the ground can help you plant with confidence.
Assess sunlight, soil, and drainage, then choose a sheltered spot with room for mature growth. Clear weeds and debris, loosen the soil, and mix in finished compost.
Water the plant, ease it from its container, and gently loosen circling roots. Dig a wide, shallow hole and set the root ball level with the soil.
Backfill, firm gently, and water well. Add mulch, keeping it from the stem. Follow these steps for a healthy start—and discover helpful details ahead.
Key Takeaways
- Choose a site with suitable sunlight, well-drained soil, shelter from strong winds, and enough room for mature growth.
- Clear weeds, grass, rocks, and debris; loosen compacted soil and blend finished compost into the top few inches.
- Water the plant, gently loosen circling roots, and keep the root ball intact.
- Dig a hole two to three times wider than the root ball, no deeper, and set the plant upright with its root flare visible.
- Backfill and gently firm the soil, water deeply, then spread two to three inches of mulch away from the stem.
Check Sunlight, Soil, and Drainage

Before you plant, check how much sunlight the spot gets, what kind of soil it has, and how well water drains. A careful Sunlight assessment helps you match plants to the conditions they need. Track direct sun throughout the day, noting when shade falls and how long the area stays bright. Morning and afternoon exposure can differ, so observe the site at several times.
Next, inspect the soil. Pick up a handful when it’s slightly moist: sandy soil feels gritty, clay feels sticky, and loam crumbles easily. Check whether the ground seems compacted, too, since tight soil can limit root growth. A simple soil test can reveal pH and nutrient levels, helping you decide whether amendments may be needed.
Complete a Drainage evaluation after rain or watering. Notice whether puddles linger or water disappears quickly. Either extreme can stress roots. These checks give you useful facts about the growing conditions before you decide what to plant and prepare the soil.
Choose a Spot for Ground Planting
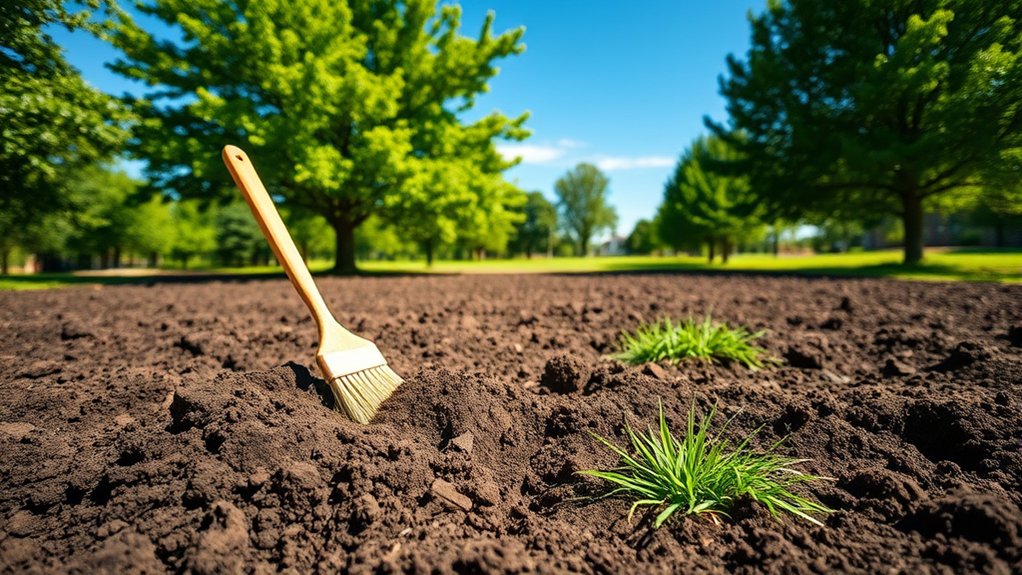
Choose a spot that matches the plant’s needs and gives it room to grow. Use what you learned about its light, soil, and drainage preferences to compare possible locations. As you evaluate sunlight, consider how much direct light reaches each area throughout the day, not just at one moment. Nearby trees, buildings, and fences can cast changing shadows.
Think about the plant’s mature size, too. Leave enough space for its roots, branches, and foliage without crowding nearby plants or blocking paths. Check whether the location offers suitable shelter from strong winds while still allowing good air circulation. Avoid spots where roof runoff or foot traffic could cause problems.
If you’re planting several specimens, arrange them so each can access the light and space it needs. You can mark your preferred location temporarily and observe it over a day or two. When you choose spot, prioritize the plant’s long-term needs and your garden’s practical layout.
Clear and Prepare the Planting Area
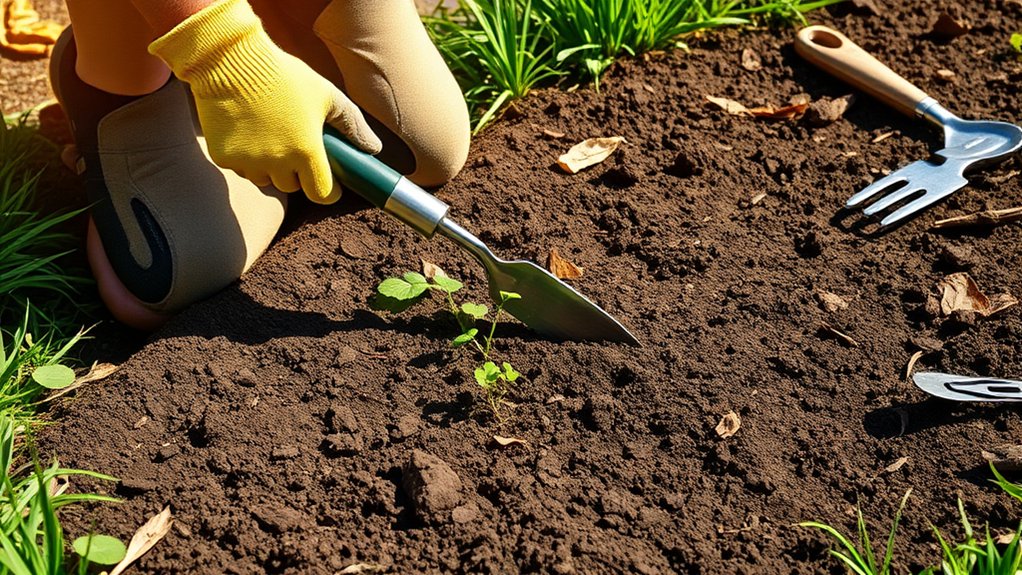
Once you’ve chosen a spot, clear the area of weeds, grass, rocks, and other debris. Removing competing growth gives your plants room and reduces hiding places for insect pests. Work carefully so you don’t disturb nearby plants or damage buried irrigation lines.
- Pull weeds by the roots, especially perennial ones that could regrow. Use a hand tool for stubborn roots.
- Cut back unwanted grass and remove its roots or sod. Don’t leave clippings that may contain weed seeds.
- Pick out rocks, sticks, and litter. Check the ground for sharp objects before you kneel or dig.
- Inspect the cleared soil for compacted patches, standing water, and signs of pests. Note the soil texture and how quickly the ground drains; these clues can guide your planting choices.
Rake the surface level, then mark the planting boundaries with stakes or string. Keep the area accessible, and avoid walking over it unnecessarily, since foot traffic can compact the soil again.
Mix Compost Into the Soil
Spread a layer of finished compost over the cleared area and mix it into the top few inches of soil. Use a shovel or garden fork to turn the soil, breaking up clumps as you work. Blend the compost evenly rather than leaving a thick layer on the surface. This helps roots reach nutrients throughout the planting area.
Mix finished compost into the top few inches of soil, blending it evenly to help roots access nutrients throughout the planting area.
Check the soil texture as you mix. If it feels dense or forms hard clods, compost can help loosen it and improve drainage. If it’s sandy and gritty, compost can help it hold moisture and nutrients. These compost benefits support healthier root growth and create a more balanced growing environment.
Avoid adding fresh manure or unfinished compost, which may harm plants or introduce weed seeds. Follow the compost label if you’re using a bagged product, and don’t overdo the amount; too much can upset soil balance. Once you’ve blended it in, rake the surface smooth and remove any large stones or remaining debris before moving on.
Water the Plant Before Planting
Water your plant before transplanting to help reduce stress. Make sure the entire root ball is moist, then let any excess water drain before planting.
Water Before Transplanting
Before you transplant, give the plant a thorough drink so its root ball is evenly moist. Watering ahead of time helps reduce stress and keeps the soil around the roots together as you move the plant. Choose a calm moment, and follow these steps:
- Check the soil first; water if it feels dry, but don’t leave the plant sitting in runoff.
- Use water temperature close to the surrounding air, avoiding extremes that could shock the roots.
- Pour slowly over the soil, not the leaves, so moisture reaches the root zone without washing it away.
- Wait briefly for excess water to drain, then lift the plant carefully and continue transplanting.
Skip root pruning at this stage unless your planting plan specifically calls for it. Handle the plant gently to protect its roots.
Moisten the Root Ball
A thorough drink helps the root ball stay intact and reduces transplant stress. Before planting, check whether the soil feels dry. If it does, water slowly until the root ball feels evenly damp, not soggy.
You want enough root ball moisture to support the roots as they settle into their new home. This simple care helps your plant face the move with less shock.
| What you notice | What you can do |
|---|---|
| Dry, crumbly soil | Water gently |
| Damp, cohesive soil | Prepare to plant |
| A fragile root ball | Handle it with care |
To moisten rootball soil evenly, aim water at the base rather than splashing leaves. Give the water time to reach the center, then feel the soil again.
Treat the roots gently; they’re the beginning of your plant’s new growth.
Let Excess Water Drain
Once the root ball is evenly moist, let the pot drain until excess water stops dripping. This pause helps you avoid carrying a soggy plant to its planting spot, where excess moisture can make the root ball heavy and messy. Set the container on a stable surface, and keep it out of harsh sun while it drains.
Use this brief wait to prepare for planting:
- Check that water flows freely from the pot’s drainage holes.
- Keep the plant upright so soil stays around its roots.
- Clear loose soil from the container’s rim.
- Review your garden planning, including the hole’s size and location.
When dripping stops, lift the pot carefully. Don’t squeeze the container or pull the plant by its stem. These simple discussion ideas help you stay organized and protect the moist root ball before planting.
Dig a Hole for the Root Ball
Dig a hole two to three times wider than the root ball and no deeper than its height. This gives roots room to spread while keeping the plant at the proper level.
Measure the root ball before you dig, then mark the hole’s width with a spade or trowel. If the soil is hard, water the area lightly to make digging easier, but don’t turn the hole into mud.
Set the excavated soil beside the hole so you can use it to backfill later. Break up large clumps and remove stones, weeds, and debris.
Keep the bottom firm and level; loose soil there can settle and sink the plant. Check the depth with a straight stick laid across the opening, and adjust the base until it matches the root ball’s height.
These discussion ideas support careful root ball care: prepare a stable, roomy planting space, and avoid digging deeper than necessary.
Remove the Plant and Loosen Its Roots
With the hole ready, slide the plant gently from its container, supporting the root ball rather than pulling on the stem. If it resists, squeeze the pot’s sides or tap its base to release the roots without tearing them. For a plant in a nursery wrap, cut the wrapping away carefully.
Support the root ball as you remove the plant, easing it free without pulling the stem or tearing roots.
Check the roots before you set the plant aside:
- Look for roots circling tightly around the root ball; these can keep growing in circles instead of spreading into nearby soil.
- Tease apart loose roots gently with your fingers, starting at the bottom and working outward.
- If roots form a dense mat, make a few shallow vertical cuts with clean pruners, then loosen the edges.
- Keep the root ball intact, and don’t shake off its soil; that can stress the plant and expose roots.
Handle roots gently to avoid replanting mistakes. Loosening them helps prevent soil compaction around the root ball and encourages roots to grow outward.
Plant at the Right Depth
Set the plant so the top of its root ball sits level with the surrounding soil. Check the planting hole’s soil depth before you position the plant. If the hole’s too deep, add soil beneath the root ball; if it’s too shallow, remove a little soil from the bottom.
Keep the plant upright as you make these adjustments, and use the surrounding ground as your guide. Don’t bury the stem or trunk, since excess soil can trap moisture and encourage rot. For grafted plants, keep the graft union above the soil line unless the plant’s instructions say otherwise.
Look at the roots and confirm they’re spread naturally, not folded or crowded. Maintain suitable root spacing by centering the plant in its hole and leaving room for roots to extend outward.
Check the plant from several angles to ensure it stands straight and at the correct height. Once its position looks right, hold it steady as you prepare for the next planting step.
Backfill the Hole and Water Well
Once the plant is upright and at the correct depth, backfill the hole with the soil you removed. Break up large clumps first, then return the soil around the roots in layers. Keep the stem or trunk centered, and check that the root flare remains visible.
As you fill, gently firm the soil with your hands to remove large air pockets. Don’t press hard; compacted soil can restrict root growth.
Use these steps to finish filling the backfill hole and help your plant settle:
- Add soil evenly around the root ball, keeping the plant upright.
- Pause halfway to check its depth and position.
- Finish filling, then lightly firm the surface with your palms.
- Water well and slowly, directing water over the filled area.
Let the water soak in rather than run off. If the soil sinks and exposes roots, add a little more soil and water again. Stop when the ground feels evenly moist, not soggy.
Mulch and Water Your New Plant
Spread a layer of mulch around your plant, but keep it away from the stem. Then water deeply to moisten the root zone. Check the soil regularly to see when your plant needs more water.
Apply Mulch Properly
To help your new plant retain moisture, spread a 2- to 3-inch layer of mulch around it, keeping the mulch a few inches away from the stem or trunk. Choose a material that suits your garden and plant, such as shredded bark, compost, or leaf mold. Consider mulch color and mulch texture, too: a natural shade can blend into your landscape, while a coarse texture may last longer.
- Clear weeds and grass from the planting area before you spread mulch.
- Distribute it evenly across the soil, extending toward the plant’s drip line.
- Keep the layer loose; don’t pack it down or pile it against the plant.
- Check the depth occasionally and replenish mulch as it breaks down.
Proper placement helps limit weeds and protects roots without trapping excess moisture against the stem.
Water Deeply
After applying mulch, water your new plant deeply to settle the soil around its roots and help it recover from planting. Direct a gentle stream at the base, moving it around the root zone so water reaches the entire planting area.
Avoid blasting the soil, which can expose roots or wash mulch away. Apply enough water to moisten the soil deeply without leaving the area flooded. A slow, steady flow helps water soak in rather than run off, especially in compacted ground.
Your mulch supports water retention, but it shouldn’t block water from reaching the soil. Keep the layer loose and away from the stem to preserve root aeration and reduce the risk of rot.
Watering thoroughly now gives your plant a strong start as its roots settle into the ground.
Check Soil Moisture
Check the soil moisture after watering to confirm the root zone is damp but not soggy. Wait a few minutes, then test near the plant rather than judging by the surface alone.
Your soil texture affects how quickly water drains: sandy soil dries faster, while clay holds moisture longer. Check at the root depth, where the new roots need steady access to water.
- Push a finger or wooden stick into the soil beside the plant.
- Feel whether the soil is cool and lightly moist; don’t water if it’s muddy.
- Add water slowly if the root zone feels dry, then check again.
- Spread a thin mulch layer, keeping it clear of the stem.
Recheck moisture regularly as the plant settles in. Adjust watering for rainfall, temperature, and drainage, and avoid letting the roots sit in saturated soil.
Frequently Asked Questions
What Is the Best Time of Year to Plant in the Ground?
The best time to plant in the ground is usually spring or fall, when temperatures are mild and soil holds moisture. Your ideal planting season depends on the plant and your local climate.
For most perennials, trees, and shrubs, choose fall in warm regions or spring in colder areas. To decide how to schedule planting, check your plant’s needs, frost dates, and soil conditions. Good seasonal timing helps roots establish before heat or freezing weather arrives.
How Far Apart Should I Space Plants?
Give each plant enough room to stretch its leaves without crowding its neighbors. Check the seed packet or plant tag for spacing guidelines, since needs vary by type and mature size.
You’ll often leave 6–18 inches between small plants and 2–3 feet between larger ones. Consider root depth, too: deep-rooted plants need more space belowground.
When you’re unsure, start with the recommended distance, then adjust for your garden’s conditions and airflow.
Which Plants Grow Best in My Climate Zone?
Which plants grow best in your climate zone depends on your region’s temperature range, frost dates, rainfall, and sunlight. Check your USDA hardiness zone, then choose plants rated for that zone; native species often thrive with less care. You’ll also want to match each plant to your soil and garden conditions. For tailored recommendations, share your city or zone and whether you’re choosing flowers, vegetables, shrubs, or trees.
Should I Use Fertilizer After Planting?
Yes, you can fertilize after planting—but don’t rush; too much can burn tender roots. Check your plant’s needs and soil compatibility first, since some plants thrive without extra nutrients.
For fertilizer timing, follow the product label and your plant’s growing season; many plants benefit from a light application once they’re established, not immediately after planting. Water thoroughly, and avoid fertilizing stressed or dormant plants. A soil test can help you choose the right product and amount.
How Can I Protect New Plants From Pests and Frost?
Protect new plants by combining pest barriers with frost protection. For protecting seedlings, cover them with fine mesh or row covers to block insects, and inspect leaves regularly so you can remove pests early. Water at the plant’s base, clear nearby weeds, and avoid overcrowding. When frost threatens, drape breathable fabric over plants before sunset, securing it without crushing foliage. Remove covers during the day so plants receive sunlight and airflow.
Conclusion
Planting in the ground is simple when you prepare the site, protect the roots, and water your new plant well. Keep checking soil moisture as it settles in, and adjust care for your plant’s needs.
A useful reminder: the U.S. Environmental Protection Agency estimates that outdoor water use accounts for about 30% of household water use nationwide, much of it for lawns and gardens. Mulch can help you conserve water while giving your plant a healthy start. With these steps, planting in the ground can give your plant a strong start.