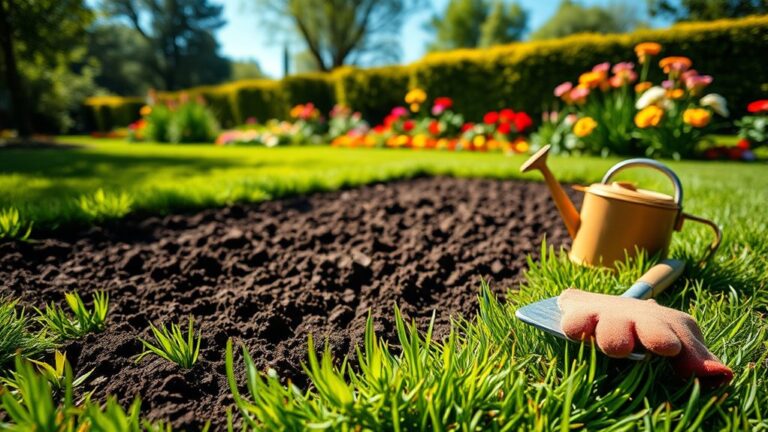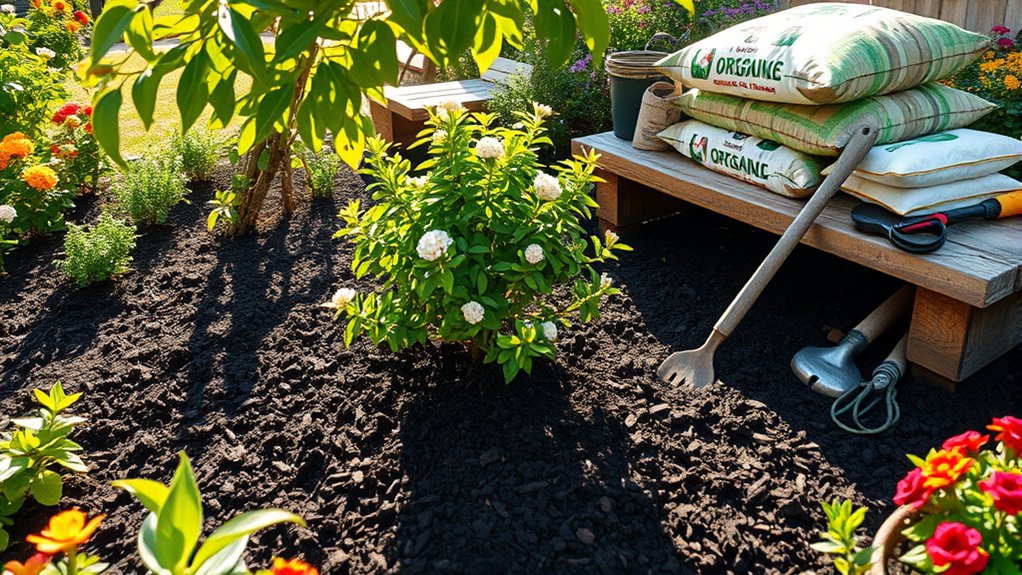
How Do You Make a Mulch Bed in 10 Easy Steps
Creating a mulch bed can feel like a big project, especially when you’re unsure where to start or which materials to choose. You’re not alone—many gardeners struggle to get a neat, healthy bed that keeps weeds down and helps plants thrive. This guide to how to make a mulch bed in 10 easy steps will help you get started.
To make a mulch bed, choose a spot with suitable sunlight and drainage, then mark its shape and size. Remove grass, weeds, and debris, and edge the outline. Test the soil and improve it if needed; decide whether to use a weed barrier. Choose mulch suited to your plants, calculate how much you’ll need, and spread it 2 to 3 inches deep. Keep mulch clear of stems and trunks, water thoroughly, and check the bed regularly. These steps help your garden thrive.
Key Takeaways
- Choose a well-drained spot with suitable sunlight, away from walkways and areas where tree roots compete with plants.
- Plan the bed’s size and shape around mature plant growth, then mark the outline with a hose, stakes, or landscape paint.
- Remove grass, weeds, and debris; edge the bed, assess the soil, and decide whether to install a weed barrier.
- Select plant-compatible mulch, calculate the amount needed, and spread it evenly about 2–3 inches deep.
- Keep mulch several inches from stems and trunks, water thoroughly, and check regularly for weeds, dryness, or pooling.
Choose the Right Spot for Your Mulch Bed
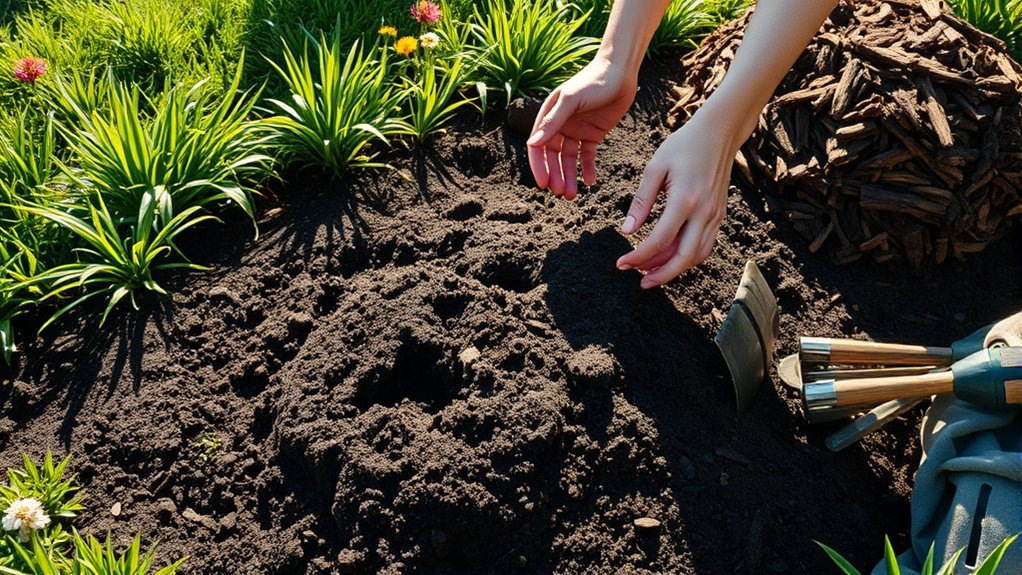
Start by choosing a spot where a mulch bed will improve your yard without blocking paths or crowding plants. Look for an area that needs a cleaner appearance, helps define a garden, or could benefit from moisture protection. Keep the bed away from walkways, driveways, and places where people need clear access.
Consider what you plan to grow there. Check the site’s sun exposure throughout the day, then match it to plants that thrive in full sun, partial shade, or shade. Notice how water moves across the ground after rain. Avoid low spots where water pools unless your plants tolerate soggy soil. Check nearby trees, too, since their roots may compete with new plants for water and nutrients.
Examine the soil color and texture to understand the site’s conditions. Pale, dry-looking soil may need more organic matter, while dark, damp soil could signal poor drainage. Choose a location that suits your plants and won’t create extra maintenance.
Mark the Bed’s Shape and Size
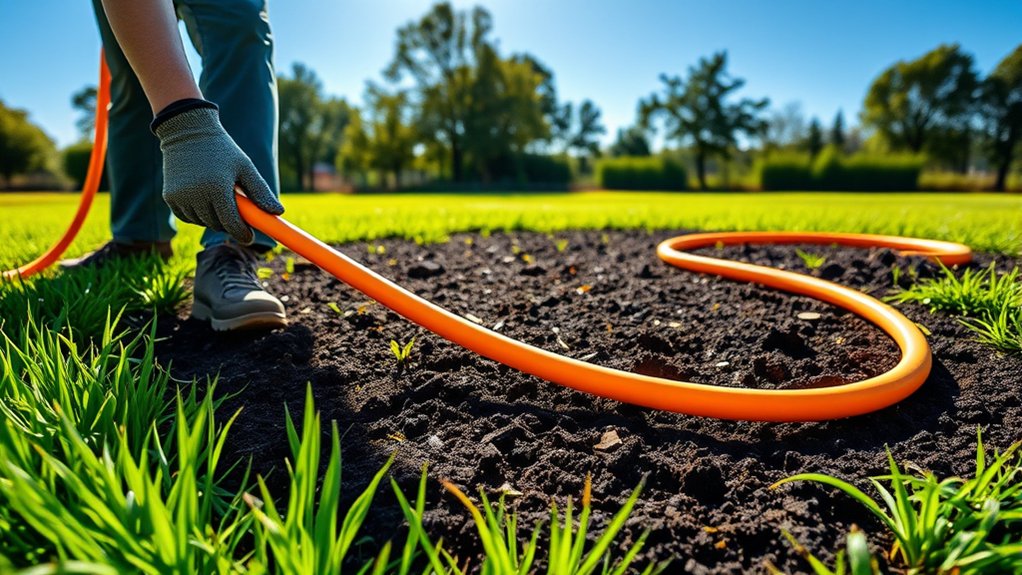
Once you’ve chosen a spot, decide how large the mulch bed should be and mark its outline. Let the plants’ mature size guide the width, and leave room for growth without crowding paths or structures. For a smooth curve, lay a garden hose on the ground; use stakes and string for straight edges.
Step back and adjust the line until it looks balanced from several viewpoints. This planning supports Mulch aesthetics and Plant compatibility.
| Bed shape | Marking tool | Best fit |
|---|---|---|
| Curved | Garden hose | Natural borders |
| Circular | Stakes and string | Single focal plant |
| Rectangular | Stakes and string | Formal layouts |
| Irregular | Rope | Mixed planting areas |
Keep the outline simple enough to maintain, and make the bed wide enough to group plants attractively. Check that its shape complements nearby features and doesn’t block access.
Once you’re satisfied, mark the perimeter with landscape paint or small stakes so you can follow the planned dimensions in the next step.
Remove Grass, Weeds, and Debris
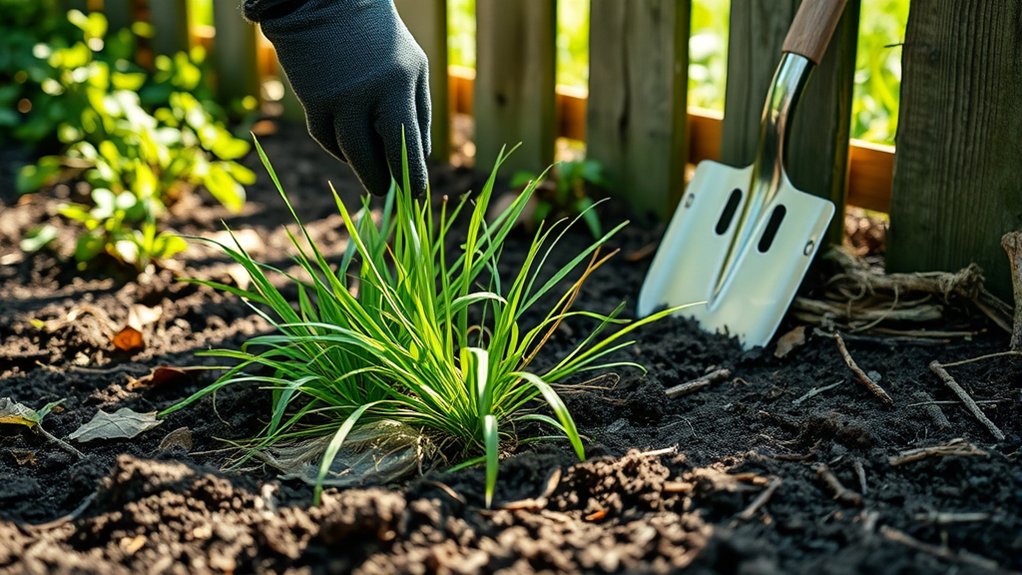
Clear the grass and other vegetation from inside your marked bed. Pull out weeds, making sure to remove their roots so they don’t grow back through the mulch. Then rake away leaves, sticks, and other debris to leave a clean surface.
Clear Existing Vegetation
Before laying mulch, remove grass, weeds, and debris so they won’t grow through the bed or get trapped beneath the mulch. Start by marking the bed’s shape, then clear the surface with these weed control strategies:
- Pull up loose grass and weeds by hand.
- Rake away fallen leaves, twigs, and dead plants.
- Cut back overhanging stems along the bed’s edge.
- Lift stones, litter, and other visible debris.
- Bag unwanted plant material for disposal.
Use a spade or half-moon edger to define a crisp boundary. These edging techniques keep lawn grass from creeping into the bed and give your finished area a neat outline.
Work across the whole surface, checking corners and narrow spaces where debris can hide. Keep the cleared material out of the planting area before you spread mulch.
Remove Weeds and Roots
After clearing loose debris, remove persistent weeds and roots so they don’t regrow beneath the mulch. Pull young weeds by hand, gripping each one close to the soil and easing it out slowly.
For stubborn growth, loosen the ground around the base with a hand fork, then lift the plant and its roots. Thorough root removal matters most for spreading weeds, such as bindweed or quackgrass; dig out their underground runners wherever possible.
If grass covers the bed, cut it away with a spade, removing the roots and sod rather than leaving living patches underneath. Wear gloves to protect your hands, and avoid disturbing nearby plants you want to keep.
For lasting weed control, inspect the area carefully and remove any remaining shoots before you proceed. Don’t rely on mulch alone to smother established weeds.
Rake Away Debris
Rake the bed to gather loose grass, weeds, leaves, and other debris, then remove the pile so it won’t get trapped beneath the mulch. Use a sturdy garden rake and work across the soil in smooth, overlapping strokes. This raking debris step leaves a clean surface and helps you spot anything you missed while removing weeds and roots.
- Pull out clumps of grass tangled in the rake’s teeth.
- Collect dry leaves that could mat beneath the mulch.
- Lift small sticks and stones from the bed.
- Remove seed heads before they scatter.
- Check corners for hidden scraps and weeds.
Bag or compost suitable plant material, but discard diseased weeds. Don’t rake deeply; you want to clear the surface without disturbing prepared soil. A debris-free bed supports even mulch coverage and makes future mulch maintenance easier. Now you’re ready to spread mulch.
Edge the Mulch Bed
Edge the mulch bed with a spade or half-moon edger to create a clean boundary between the bed and the lawn. Follow the shape you’ve planned, whether it’s a straight line or a gentle curve. For a curved edge, lay a garden hose along the outline first, then adjust it until the shape looks balanced.
Cut down about three to four inches, keeping the blade vertical as you work. Move slowly and make short cuts around curves so you don’t create jagged corners. If the soil is firm, step on the tool’s top edge to drive it in, but keep your hands clear of the blade.
Lift out the cut strip of grass and soil, then use a spade to refine uneven spots. These edging tools help define the bed and keep lawn grass from creeping into it. Clean, consistent edging mulch lines give your finished bed a crisp, polished appearance.
Test and Prepare the Soil
Before adding mulch, test the soil’s pH and nutrient levels so you can address any issues that might affect plant growth. Soil testing helps you choose amendments based on real results, rather than guesswork.
Collect samples from several spots in the bed, following your test kit’s instructions, and send them to a lab or use a home kit. While you wait, prepare the surface carefully:
- Pull out visible weeds, including their roots.
- Remove stones, sticks, and leftover plant debris.
- Loosen compacted soil with a garden fork.
- Break large clumps into smaller, crumbly pieces.
- Blend in only the amendments your test recommends.
Keep the soil level slightly below the edging so mulch won’t spill over. Don’t dig deeply around established plants; shallow cultivation protects root health and avoids disturbing delicate roots.
If the soil feels dry, water it lightly, then let excess moisture drain before you continue. A smooth, clear surface makes it easier to spread mulch evenly and gives plants a healthier start.
Decide Whether to Add a Weed Barrier
With the soil prepared, decide whether a weed barrier suits the bed. You can use landscape fabric to suppress weeds, but it isn’t right for every planting. Consider what you’ll grow, how often you’ll disturb the soil, and whether you can maintain the bed.
| Factor | What to consider |
|---|---|
| Existing weeds | Remove them before covering the soil. |
| Planting plans | Choose fabric with openings for planned plants. |
| Soil access | Fabric can make future digging harder. |
| Water flow | Check that water can pass through the material. |
The weed barrier pros include fewer weeds and less frequent hand-pulling. The weed barrier cons include restricted soil access and possible interference with plants that spread or need dividing. Organic matter also won’t reach the soil as easily through fabric.
If you prefer a simpler, flexible bed, skip the barrier and stay on top of weeding. If you install one, secure it flat and cut only the openings you need. Either choice works when you match it to your garden’s needs.
Choose the Right Mulch for Your Yard
Mulch comes in organic and inorganic materials, each with its own cost, lifespan, and upkeep needs. Compare your options to find one that works for your yard. Then choose a mulch that suits your plants’ moisture and soil needs.
Compare Mulch Materials
Choosing the right mulch depends on your garden’s needs, your budget, and how much upkeep you’re willing to do. When comparing mulch types, consider their appearance, lifespan, and maintenance. A mulch cost comparison can help you balance upfront price with how often you’ll need to replace it.
- Shredded bark: Creates a natural, dark layer and breaks down gradually.
- Wood chips: Add chunky texture and last longer, but can shift on slopes.
- Straw: Offers a light, golden cover that’s easy to spread and replace.
- Compost: Looks rich and earthy, while improving soil as it decomposes.
- Stone: Provides a crisp, lasting finish, though it costs more to install.
Check local prices and availability before buying. Choose a material you can spread comfortably and maintain without stretching your budget. Consider how its color and texture will look beside paths, borders, and other yard features.
Match Mulch to Plants
Match mulch to the plants in your yard, since different materials suit different growing conditions. For acid-loving plants, such as blueberries and azaleas, choose pine needles or bark, which can gradually lower soil pH. Around vegetables and annuals, use compost or shredded leaves to add nutrients as they break down.
Perennials and shrubs often do well with shredded bark, which holds moisture and suppresses weeds. In wet areas, avoid thick, moisture-retaining mulch that could encourage rot; choose a lighter layer instead.
Check Mulch compatibility with your soil, climate, and watering habits before spreading it. Plant pairing also matters: keep coarse wood chips away from delicate seedlings, and don’t pile any mulch against stems or trunks.
Match texture and depth to each bed, then adjust as your plants grow and conditions change.
Calculate How Much Mulch You Need
Before buying mulch, measure the bed’s length and width, then multiply them to find its area in square feet. For an irregular bed, divide it into simple shapes, calculate each area, and add the results. Then choose a coverage rate based on the bag label or supplier’s guidance.
Measure your bed, calculate its area, and check the product’s coverage guidance before buying mulch.
Use these examples to picture common bed sizes:
- A 4-by-8-foot bed covers 32 square feet.
- A 5-by-10-foot bed covers 50 square feet.
- A 6-by-12-foot bed covers 72 square feet.
- A circular bed 6 feet across covers about 28 square feet.
- Two 3-by-8-foot beds cover 48 square feet combined.
Check whether the product lists coverage in square feet or volume, such as cubic feet. If it gives volume, multiply your area by the planned depth to estimate cubic feet; convert to cubic yards by dividing by 27. Round up to the next bag or delivery amount so you don’t run short. Accurate estimates help you budget and enjoy mulching benefits while protecting soil structure.
Spread Mulch at the Right Depth
Spread mulch 2 to 3 inches deep to help suppress weeds and retain moisture. Keep it a few inches away from stems and tree trunks to prevent rot, and avoid piling it into a volcano around plants.
Choose the Right Depth
How deep should your mulch be? Choose a layer that protects the soil without smothering it. For most beds, spread 2 to 3 inches of organic mulch. If you’re using fine materials, such as shredded leaves, keep the layer closer to 2 inches; coarse bark can reach 3 inches. Check your mulch’s texture and let the material guide your choice.
- Picture a thin blanket that shades soil while letting rain pass through.
- Keep fine mulch shallow so air and water can reach the ground.
- Use a deeper layer of coarse bark to cover bare patches.
- Measure depth with a ruler in several spots for even coverage.
- Refresh settled mulch lightly, considering dispersal timing and nutrient value as it breaks down.
A consistent depth helps conserve moisture, limit weeds, and give your bed a neat, finished look.
Keep Mulch Away From Stems
Once you’ve chosen the right depth, keep mulch a few inches away from plant stems and tree trunks. This gap lets air circulate and keeps bark dry, reducing rot, pests, and disease.
For healthy mulch placement, spread material evenly, then pull it back by hand around each plant. Don’t pile mulch into a volcano against a trunk; that traps moisture and can harm roots.
| Plant | Clearance | Check |
|---|---|---|
| Perennials | 2–3 inches | Keep stems clear |
| Shrubs | 3–6 inches | Expose the base |
| Trees | 3–6 inches | Leave trunk visible |
Use these distances as a guide, adjusting for plant size and mulch type. Check the bed after watering or wind, and restore the gap if mulch shifts. This simple habit supports stem protection throughout the growing season.
Water and Maintain Your Mulch Bed
Water your new mulch bed thoroughly to help settle the mulch and hydrate the soil, but keep the layer from becoming soggy. Check moisture beneath the mulch before watering again; your plants’ water needs depend on their type, the weather, and soil drainage. A drip irrigation line can deliver water slowly without washing mulch away. As you maintain the bed, use these quick checks:
- Look for dry soil under the mulch, especially during hot spells.
- Pull weeds while they’re small, before they spread through the bed.
- Rake scattered mulch back into an even, two- to three-inch layer.
- Add fresh mulch when the old layer thins, but don’t pile it higher.
- Keep mulch clear of stems and trunks to prevent rot and pests.
After heavy rain, check for pooling water and improve drainage if needed. Each season, inspect the bed’s edges and remove leaves or debris that smother plants. A few minutes of routine care helps your mulch protect the soil, conserve moisture, and keep the planting area neat.
Frequently Asked Questions
When Is the Best Time of Year to Create a Mulch Bed?
The best time to create a mulch bed is spring or fall, when temperatures are mild and soil retains moisture. In spring, wait until the soil has warmed and seasonal planting is underway; in fall, mulch after plants have settled and before the ground freezes.
You can prepare a bed in summer or winter, too, but avoid working waterlogged or frozen soil. Check local weather and plant needs before you begin.
Can Mulch Beds Attract Termites or Other Pests?
Yes, your mulch bed can attract pests—termites may even treat it like a tiny welcome mat. The termite risk is usually low because termites prefer wood in contact with soil, but thick, damp mulch can invite them and other insects.
To limit mulch bed pests, keep mulch a few inches from your home’s foundation, use a thin layer, and fix moisture problems. You don’t need to panic; just don’t offer bugs a luxury buffet.
Is Dyed Mulch Safe for Pets and Children?
Dyed mulch is generally low-risk once you choose a reputable product, but its safety depends on the ingredients and source. Check the label, avoid mulch made from recycled construction wood, and keep children and pets from eating or handling it.
Water-based dyes are typically safer than unknown colorants, though dyes can stain paws or clothing. For a pet friendly mulch, consider untreated bark or natural wood chips, and supervise play near any mulch bed.
How Often Should an Established Mulch Bed Be Refreshed?
Refresh an established mulch bed once a year, usually in spring, though you may only need a light top-up. Think of mulch like a cozy blanket: after a year outdoors, it can look thin and worn, just as your favorite blanket loses its fluff.
How often to refresh depends on its material, weather, and depth. For effective mulch bed renewal, check that the layer stays about 2–3 inches deep, and avoid piling mulch against trunks or stems.
Can I Plant Flowers or Shrubs Directly in a Mulch Bed?
Yes, you can plant flowers or shrubs in a mulch bed, but don’t plant them in the mulch itself. Pull mulch aside, dig into the soil, and set each plant at the proper depth.
Check plant compatibility with your soil, sunlight, and moisture conditions. Keep mulch a few inches from stems and trunks to prevent rot.
Also consider pest considerations: thick, damp mulch can shelter slugs, rodents, or insects, so keep it tidy and appropriately shallow.
Conclusion
A well-planned mulch bed can make your yard easier to care for and more inviting. Choose the right spot, prepare the soil, and spread mulch evenly without piling it against plants or tree trunks. You’ll help conserve moisture, suppress weeds, and protect roots through changing seasons.
That matters: the U.S. Environmental Protection Agency estimates that yard trimmings and food scraps made up 30% of U.S. municipal solid waste in 2018. Put yard waste to work, and enjoy your refreshed landscape with a well-made mulch bed.