10 Steps to Make a Flower Bed Without Digging
Starting a flower bed can feel like a big project, especially when digging up grass and weeds sounds like more work than you have time for. You’re not alone—many people want a beautiful garden without the backbreaking labor. These 10 steps to make a flower bed without digging can help you get started more easily.
To make a flower bed without digging, choose a sunny spot, mark its shape, and cut back tall weeds. Edge the outline, then cover grass with overlapping, uncoated cardboard and soak it thoroughly.
Add compost and topsoil, choosing flowers suited to your light and soil. Plant through the layers, keeping crowns above the soil, then spread mulch away from stems.
Water well, check moisture, pull weeds, and refresh compost or mulch as needed. A few extra details can help your bed thrive.
Key Takeaways
- Choose a sunny location, mark a reachable bed outline, and remove debris and tall weeds without digging.
- Edge the outline, then cover the area with overlapping, uncoated cardboard; wet it thoroughly to hold it in place.
- Add two to three inches of finished compost, then topsoil as needed; check drainage and soil conditions.
- Arrange flowers for mature size and airflow, then plant through the layers without turning the soil.
- Water thoroughly, apply two to three inches of suitable mulch away from stems, and maintain moisture and weed control.
Choose a Sunny Spot for Your No-Dig Flower Bed
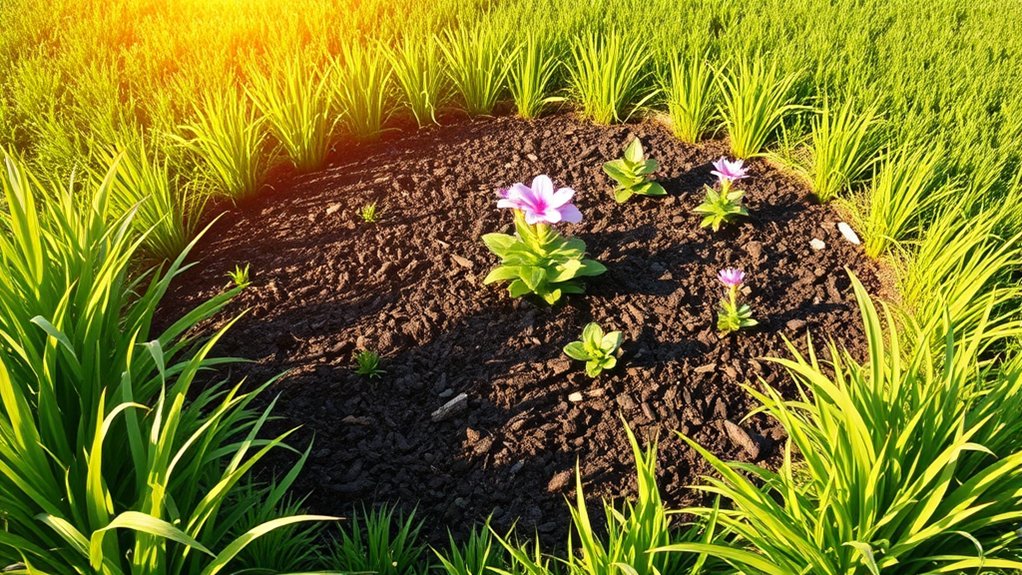
Choose a sunny spot for your no-dig flower bed, ideally one that gets at least six hours of direct sunlight each day. The right location helps your flowers thrive and makes your new bed easier to maintain.
Watch how sunlight moves across your yard before you decide. A place that looks bright in the morning may fall into shade by afternoon, so check it at different times.
Consider nearby trees, fences, buildings, and shrubs, which can block light or compete with flowers for water and nutrients.
Match the location to the plants you want to grow. Sun-loving flowers need several hours of direct light, while shade-tolerant varieties suit areas with less exposure.
If you’re unsure, choose a flexible mix of plants suited to the conditions you observe.
Think about access, too. You’ll want to reach the bed easily for watering and care. These no dig basics start with choosing a sunny spot that fits your flowers and your yard.
Mark the Bed and Cut Back Tall Weeds

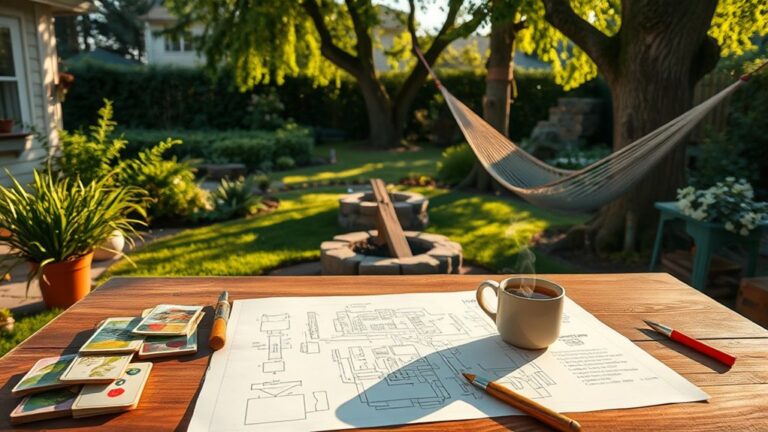
Once you’ve picked a sunny spot, mark the bed’s outline with a garden hose, string, or stakes. Adjust the shape until it fits your space and leaves room to reach every plant. Careful measuring layout helps you estimate materials and keep the bed proportional to nearby paths, trees, and structures.
Before you add cardboard or other layers, cut back tall weeds and grasses. You don’t need to dig out their roots; the no-dig layers will smother them later. Use hand pruners, shears, or a string trimmer, and gather the cut growth so it won’t mat over the bed.
- Check the outline from several angles, including a window or doorway.
- Measure the length and width, then note the dimensions.
- Remove sticks, stones, and other debris from inside the marked area.
- Wear gloves and eye protection while pruning weeds, especially around thorny or brittle stems.
Leave short weeds in place, and avoid disturbing the soil. Keep your marks visible as you prepare for the next step.
Edge the Bed to Mark Its Shape

With the weeds cut back, edge the bed to make its outline clear and keep the mulch layers in place. Choose a line that suits your yard and the plants you plan to grow.
You can follow a gentle curve for a natural look or use straight lines for a formal layout. If you’re unsure, arrange a garden hose or rope on the ground to test different design ideas before cutting.
Use a half-moon edger, spade, or flat shovel to cut along your chosen line. Keep the tool vertical and work in short sections, following the curve or straight edge carefully.
Aim for a trench about 3 to 4 inches deep and a few inches wide. Remove loose soil and grass from the cut so the outline stays visible.
For a neat finish, smooth the bed side of the trench and leave a crisp edge between the bed and lawn. Check the shape from several angles, then adjust uneven spots while the soil is easy to work.
Cover Grass and Weeds With Cardboard
To smother the grass and weeds without digging, cover the bed with plain, uncoated cardboard. Remove tape, labels, and staples, then flatten the sheets. This simple cardboard usage blocks light, helping you suppress existing growth while preparing the soil for planting.
- Start at the bed’s edge and overlap cardboard pieces by at least six inches. Overlaps prevent grass and weeds from finding gaps.
- Extend the sheets slightly beyond the marked border to cover stray growth along the edges.
- Use several layers where persistent weeds grow, but avoid thick stacks that could slow decomposition.
- Cut small openings around established plants you’re keeping, and leave their crowns uncovered.
Choose plain brown cardboard without glossy coatings or heavy printing. You can use large boxes or smaller pieces, as long as you overlap every seam. This layer supports weed suppression by blocking sunlight and creating a barrier that gradually breaks down.
Check the entire bed for exposed soil before moving on.
Soak the Cardboard to Keep It in Place
Soak the cardboard with a hose until it’s thoroughly damp. Start at one end and move the spray slowly across each sheet, paying special attention to dry edges and overlapping seams. Even moisture helps the layers settle against the ground instead of curling or shifting in the breeze.
You don’t need to create puddles; stop once the cardboard feels wet throughout. As you work, press the sheets down with your hands or shoes to help them lie flat. Check corners and gaps, then give any lifted areas another brief spray.
If the cardboard starts to float or slide, pause and let the water drain before adjusting it. Gentle cardboard soaking keeps the barrier in place while you finish covering the area. These simple discussion ideas can guide your approach: use a steady spray, work in manageable sections, and watch how the sheets respond.
Keep the cardboard damp as you move around the bed, especially on a dry, windy day.
Add Compost and Soil to Build the Bed
Once the cardboard is damp and settled, spread a layer of compost over it, then add enough soil to create the bed’s desired depth. Build the bed in manageable layers so you can distribute materials evenly without disturbing the ground beneath.
Use these four steps to prepare a stable, nourishing base:
- Spread compost: Add two to three inches of finished compost across the cardboard. Its compost benefits include adding organic matter and supporting soil health.
- Check the material: Choose mature compost that smells earthy, not sour or rotten.
- Add topsoil: Layer quality topsoil over the compost until the bed reaches your preferred depth. A deeper bed gives roots more room to grow.
- Blend the surface: Lightly rake the top few inches to combine the materials, keeping the cardboard intact.
Don’t compact the layers by walking on them; gentle settling preserves air spaces. If the bed looks uneven, add soil where needed, then level the surface with a rake.
Choose Flowers for Your Sun and Soil
Choose flowers that suit the amount of sun your garden bed gets each day. Also, check your soil’s texture, drainage, and pH before planting. That way, you can pick flowers that’ll thrive in your garden.
Match Flowers to Sunlight
Before planting, match each flower to the light and soil conditions in your no-dig bed. Track how many hours of direct sun each spot receives, then choose blooms that fit. This sunlight pairing helps flowers thrive without extra work. Check plant labels or reliable guides for light needs, and remember that shade tolerance varies: some flowers handle dappled light, while others need deep shade.
- Full sun: Choose zinnias, cosmos, or coneflowers for spots with six or more hours of direct sunlight.
- Part sun: Try impatiens or begonias where plants get three to six hours, often in the morning.
- Partial shade: Pick astilbe or foxglove for filtered light and limited direct sun.
- Full shade: Select hostas or hellebores for areas receiving little direct sunlight.
Group flowers with similar light needs so you can care for each bed section consistently.
Check Soil Conditions
How well does your soil drain, and is it sandy, loamy, or clay-heavy? Before you layer compost and cardboard, check what your flowers will face beneath the surface. A simple soil testing kit can reveal nutrient levels and pH balance, helping you avoid plants that struggle in your conditions. Match drainage and acidity to each flower’s needs.
| Soil condition | Flower choices |
|---|---|
| Sandy, fast-draining | Yarrow, lavender |
| Loamy, balanced | Coneflower, zinnia |
| Clay-heavy, slow-draining | Joe-Pye weed, aster |
| Acidic soil | Azalea, bleeding heart |
If you don’t know your soil’s pH, use a home kit or send a sample to a local extension service. Choose flowers suited to your results, or amend the bed gradually with compost. Don’t assume new layers will correct poor drainage or unsuitable acidity.
Plant Flowers Through the No-Dig Layers
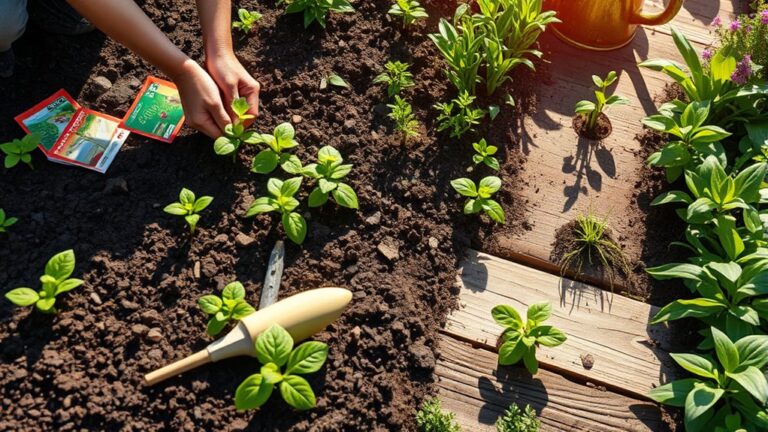
Once the no-dig layers are in place, plant flowers through them without turning the soil. Choose young plants with roots small enough to fit through the layers, and space them according to their mature size. You’ll preserve the soil structure while enjoying key no dig benefits, including weed suppression.
Plant young flowers through the no-dig layers, spacing them for mature growth while preserving soil structure and suppressing weeds.
- Mark each spot: Arrange pots on the bed first, leaving room for growth and airflow.
- Cut a planting hole: Use a trowel to open a small hole through the top layers until you reach the soil beneath. Keep the opening just wide enough for the root ball.
- Set the plant: Loosen tangled roots gently, place the plant at its original depth, and backfill around it with soil from the hole. Don’t bury the crown.
- Firm and water: Press lightly around the base to remove large air gaps, then water the root zone so roots settle into contact with the soil.
Repeat for each flower, taking care not to disturb nearby layers.
Mulch the Bed to Hold Moisture and Block Weeds
Choose a mulch that suits your flowers and helps the soil retain moisture. Spread it evenly over the bed, but keep it away from plant stems to reduce the risk of rot.
Choose the Right Mulch
A layer of mulch helps your no-dig flower bed retain moisture, suppress weeds, and protect the soil as it settles. To choose the right mulch, consider your plants, budget, and preferred look.
Different mulch materials offer distinct benefits, so match your choice to the bed’s needs:
- Shredded bark: Lasts well and suits shrubs and perennials.
- Straw: Lightweight and affordable, it works well in vegetable beds.
- Leaf mold: Adds organic matter and blends naturally into garden soil.
- Compost: Feeds plants as it breaks down, but may need more frequent replacement.
Check that your mulch is free of weed seeds, chemical residues, and diseased plant matter. Fine textures create a neat finish, while coarser options allow airflow.
Consider mulch depths when comparing materials, since some break down faster than others. Choose a type you can replenish easily and that complements your garden’s style.
Apply an Effective Layer
After selecting a mulch that suits your bed, spread it evenly over the soil to hold moisture and block weeds. Aim for a two- to three-inch layer; keep mulch away from stems and crowns to prevent rot.
Check coverage after settling, then top up thin spots.
| Mulch | Layer | Benefit |
|---|---|---|
| Shredded bark | 2–3 inches | Holds moisture |
| Straw | 2–3 inches | Blocks weeds |
| Leaf mold | 2 inches | Enriches soil |
| Compost | 1–2 inches | Feeds plants |
For effective weed suppression, overlap cardboard beneath the mulch where persistent weeds grow. Don’t pile material against bed edges, where it can spill onto paths.
Use simple edging techniques, such as a shallow trench or stone border, to keep the layer neat. Water the bed gently after spreading mulch so it settles without washing away.
Water, Weed, and Top Up Your Flower Bed
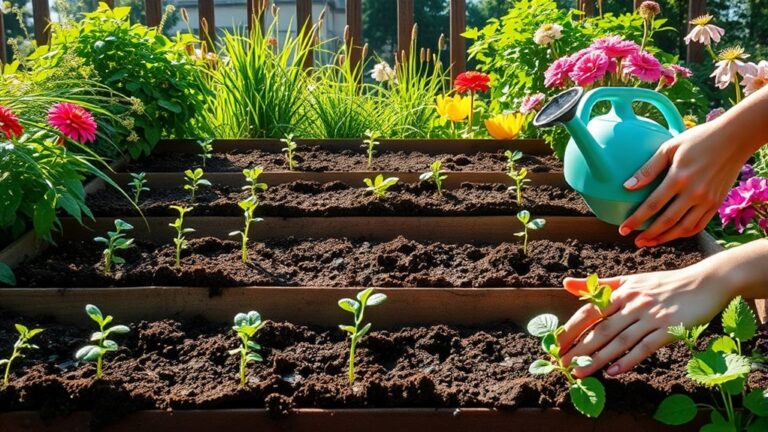
Once you’ve planted your flower bed, water it thoroughly to help the roots settle and the soil stay moist. Then follow these simple steps to support healthy growth and keep your no-dig bed tidy:
- Check moisture by pressing a finger into the soil. If the top inch feels dry, water slowly at the base of your plants.
- Adjust your water management to suit the weather and your soil. Water deeply during dry spells, but avoid soaking the bed after rain.
- Pull weeds as soon as you spot them, while their roots remain shallow. Keep mulch clear of plant stems to reduce rot.
- Refresh the bed’s top layer when it thins. Add compost for nutrients, then restore a light mulch cover for weed suppression and moisture retention.
As plants establish, inspect the bed weekly and remove spent leaves. Don’t disturb the layers beneath the surface; simply add compost or mulch on top. Your steady care will help flowers thrive without digging.
Frequently Asked Questions
When Is the Best Time of Year to Create a No-Dig Flower Bed?
The best time to create a no-dig flower bed is autumn, when warm soil, regular rain, and falling leaves help materials settle and break down before spring planting. You can also build one in early spring, giving the bed time to settle before you add flowers.
For smart no dig timing, consider your local climate and planting plans. Careful seasonal planning helps you prepare the bed when conditions are mild and moisture is reliable.
How Long Does a No-Dig Flower Bed Take to Settle?
Your no-dig flower bed usually settles within a few weeks, though it may take a few months to fully sink into place. Think of it as a new home finding its footing. Your no dig timeline depends on how thick your layers are, the materials you use, and the weather. Keep settling patience: rain and natural decomposition help the bed compact. Top it up with compost if the surface drops more than expected.
Can Pets Safely Use a Garden With Cardboard Beneath the Soil?
Yes, your pets can usually use the garden safely if you choose plain, uncoated cardboard and cover it completely with soil or mulch. For No dig safety, remove tape, staples, glossy coatings, and printed sections that may contain unwanted chemicals.
Cardboard pests can include insects attracted to damp layers, so avoid excessive watering and check for nesting. Keep pets from chewing or eating the cardboard, and contact your veterinarian if they ingest a large amount.
What Should You Do if the Cardboard Layer Contains Tape or Staples?
Remove every staple before you cover the cardboard; pull off tape whenever you can, too. One small metal staple can remain sharp for years, so careful staple removal protects paws, hands, and garden tools.
For safe cardboard preparation, peel away plastic or glossy tape, then inspect both sides and seams. If tape won’t come off cleanly, cut out that section and replace it with plain, untreated cardboard before laying the sheets down.
Can You Create a No-Dig Flower Bed on a Slope?
Yes, you can create a no dig slope flower bed, but you’ll need to control runoff and keep materials from sliding downhill. Shape shallow terraces with stones or untreated logs, then secure cardboard mulch beneath compost and soil.
Overlap cardboard edges and weigh them down well. Choose deep-rooted plants suited to your slope, and water gently while they establish. Check after heavy rain, replacing any displaced mulch or soil to prevent erosion.
Conclusion
You don’t need to dig to make room for beauty. Choose the right spot, layer cardboard, plant flowers, and mulch well, and you’ll create a flower bed without digging that works with your soil, not against it.
Water it, watch it grow, and top up the mulch when needed. With a little patience, you’ll turn a patch of grass into a place to pause, a corner to enjoy, and a garden you can be proud of.