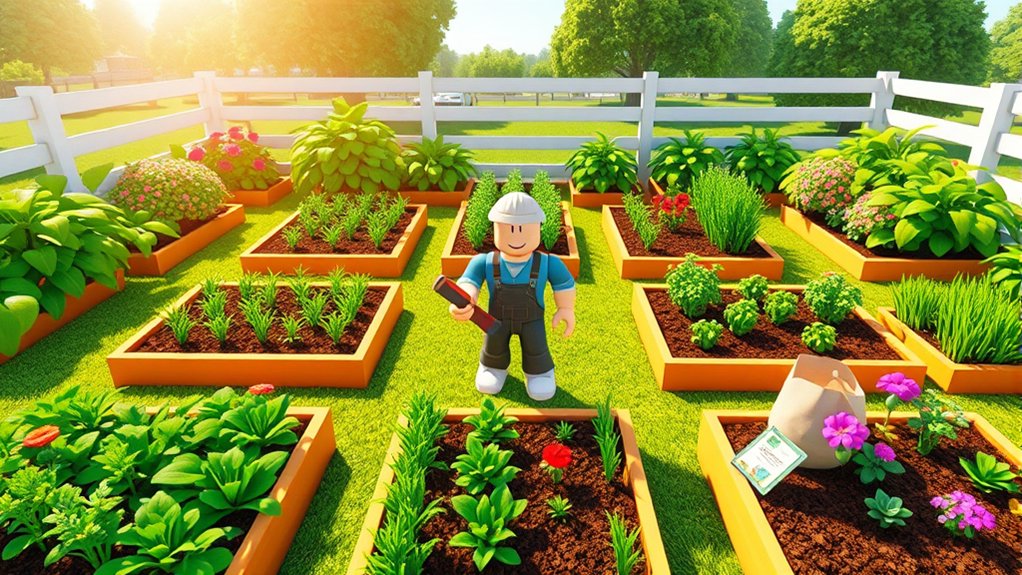
7 Steps to Organize Your Garden in Grow A Garden Roblox
It’s easy to feel overwhelmed when your Grow a Garden plot gets crowded, and you’re not alone—many players struggle to keep crops, tools, and paths organized.
These seven steps can help you create a garden that’s easier to care for and ready to grow.
Organize your Grow a Garden plot in seven steps: plan your layout, group crops by watering and harvesting needs, and keep seeds and tools nearby.
Arrange clear rows for quick picking, then add simple paths and decorations without blocking access.
Place pets near the edges, away from crops and walkways.
Finally, walk through your garden, check for cramped paths or wasted space, and adjust as needed.
These small changes keep daily care smooth and leave room for future growth.
Key Takeaways
- Sketch your garden before planting, marking crop plots, paths, storage, and useful structures.
- Group crops by watering, growth, and harvesting needs to make routine care more efficient.
- Keep clear walkways between plots so you can reach every plant without stepping over crops.
- Place labeled seeds and frequently used tools near the garden, storing extras together.
- Add decorations and pets along the edges, then review paths and adjust crowded areas as your garden grows.
Plan Your Grow A Garden Layout

Start by deciding how you want your garden to work before you plant. Choose a layout that fits your goals, whether you want quick access to every plot, room for decorations, or a clear path between areas. In Grow A Garden, a little planning can save you from rearranging everything later.
Look over your available space and mark where you’ll place plots, paths, and useful structures. Leave enough room to move around without blocking access to crops or equipment. You can sketch your design on paper or use simple planning tools to test different arrangements before building. Keep the layout easy to adjust as your garden grows.
Think about convenience, too. Position watering systems where they can reach the areas you intend to use, and avoid placing objects where they’ll interrupt movement. Start with a practical arrangement, then add decorative touches once the basic setup works. A flexible plan helps you expand without making your garden feel crowded or difficult to manage.
Group Grow A Garden Crops by Need

Group crops by their growing needs so you can care for them efficiently. In Grow A Garden, sort plants by how often you need to water, harvest, or replant them.
Group crops by watering, harvesting, and replanting needs to make garden care more efficient.
Place crops with similar routines in nearby plots, and you’ll spend less time moving between areas. Keep fast-growing plants together so you can check them often, while slower crops can occupy a separate section.
Consider each plant’s space and growth pattern, too. Give larger crops room to spread, and put smaller ones where they won’t get crowded.
If you’re arranging crops that benefit from being near one another, plan for crop companionability; otherwise, separate plants with different needs. You can also cluster plots that call for similar watering, creating compact irrigation routes through your garden.
This setup helps you avoid overlooking thirsty plants or wasting effort on areas that don’t need attention. Adjust your groups as you unlock new seeds, so your layout continues to match the crops you grow.
Keep Seeds and Tools Close at Hand
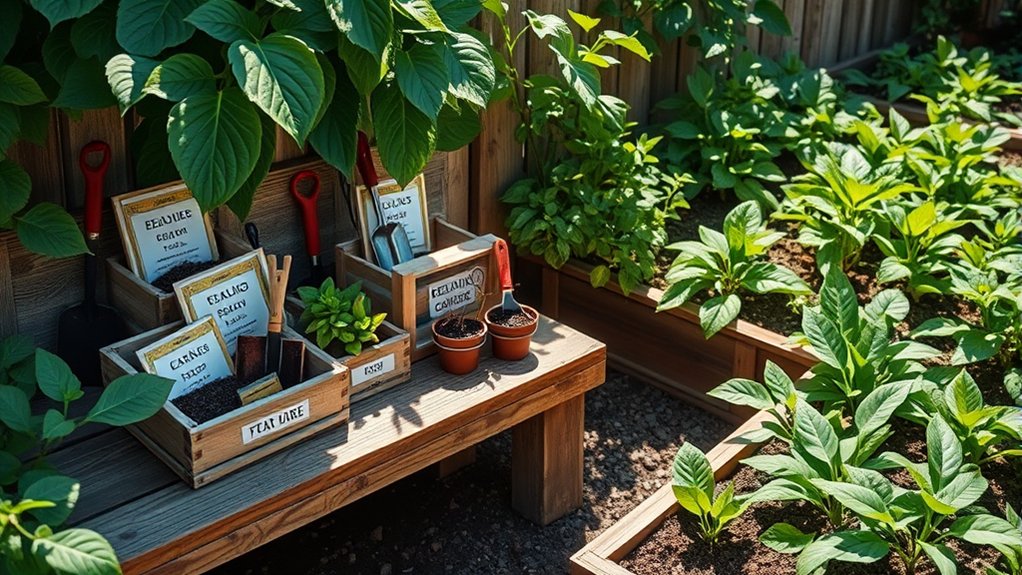
Keep seeds and tools near the plots where you use them most. Set up seed storage in a small, clearly labeled area beside your garden. Group seeds by crop type or growing needs so you can quickly find the right option when you’re ready to plant. Keep only the varieties you use often within easy reach, and store extras together to reduce clutter.
Place your watering can, shovel, and other frequently used items in a nearby spot. This tool accessibility saves time between tasks and helps you keep your routine organized. If you use different tools for specific crops, arrange them by purpose so you won’t need to search through a pile.
Return each item to its place after use, and check your supplies regularly. Restock seeds and replace missing tools before you begin another session. A tidy, convenient setup lets you focus on planting and caring for crops without unnecessary interruptions. Don’t let storage block paths or crowd your workspace.
Arrange Plots for Easy Harvesting
Group similar crops together so you can harvest them in one quick pass. Leave clear paths between plots so you can reach every plant easily. A tidy layout means less time spent moving around.
Group Similar Crops
Harvesting is easier when similar crops grow together. Grouping crops by type helps you spot what’s ready and collect it without searching through mixed plantings. Place matching seeds in the same plot or nearby plots, then keep each group consistent as you expand your garden. These simple grouping techniques make your layout easier to understand, especially when you grow many varieties.
You can also use color coded rows to distinguish crop groups at a glance. For example, dedicate one row to quick-growing crops and another to plants that take longer to mature. If your garden includes several colors or sizes, arrange similar ones together so each section feels organized. Check your groupings after planting new seeds, and adjust them when needed. A clear pattern helps you remember where each crop grows and makes routine harvesting more efficient.
Leave Clear Paths
Clear paths make it easier to reach every plot and collect ripe crops without stepping around obstacles. Arrange your garden so you can move directly between planting areas, storage, and useful tools. Leave paths wide enough for easy movement, and avoid placing decorations or crops where they block your route. You’ll harvest faster when you can reach each plant without weaving through crowded rows.
Plan your layout before adding new plots. Keep a main walkway through the garden, then add smaller paths that lead to grouped crops. This setup improves Garden accessibility and helps you spot ripe plants at a glance. If a path feels cramped, move nearby items rather than squeezing through. Leave paths clear as your garden grows, and you’ll spend less time navigating and more time planting, harvesting, and organizing.
Add Paths and Decorations Without Blocking Crops
Add paths and decorations after you’ve planned your crop layout so they don’t block planting or harvesting. Keep your path design simple, using narrow routes along garden edges or between crop sections. Leave enough room to reach every plant, and avoid laying paths over soil you’ll need for future planting. Before placing an item, check whether it covers a crop tile or interrupts your route.
Use decorations to frame your garden, not crowd it. Put small ornaments near corners, borders, or open spaces that don’t serve as access points. Taller items can add visual interest, but position them where they won’t hide crops or make it harder to click on plants. If an object blocks a tile, move it rather than squeezing crops around it.
After each change, walk through your garden and test your usual planting and harvesting routes. Adjust anything that slows you down, then keep open space for new crops and seasonal changes. A tidy layout can look appealing while staying practical.
Place Pets Without Blocking Your Crops
Place your pets near the garden’s edges to keep them out of the way. Leave the crop rows clear so you can reach and tend to every plant. This keeps your garden organized and easy to manage.
Keep Pets Near Edges
Keep pets near the garden’s edges so they stay close without blocking your crops. Choose a perimeter spot where each pet can remain visible and easy to reach. This simple edge containment keeps your garden organized while giving pets room to move.
Before placing a pet, check how much space it occupies and how it behaves. Set it beside a boundary, path, or decorative feature, then view the garden from different angles.
If it wanders inward or covers a planting spot, move it farther toward the edge. You can keep pets near edges without clustering them all in one corner; spread them around the perimeter to make access convenient.
Leave enough space between pets and nearby objects so you can interact with them easily. A quick check after rearranging your garden helps you spot misplaced pets and maintain a neat layout.
Leave Crop Rows Clear
With pets settled near the edges, keep the crop rows open so you can plant, harvest, and move through your garden without obstruction. Clear paths help you reach every crop quickly and avoid bumping into pets while you work.
Place pets beside fences or in unused corners, then check that their positions don’t cover planting spots.
| Garden area | Keep clear for | Quick check |
|---|---|---|
| Crop rows | Planting and harvesting | Can you reach each crop? |
| Main path | Easy movement | Can you walk straight through? |
| Pet corners | Unblocked crops | Are pets outside the rows? |
Use open rows for watering drills, and gather leaves compost away from your crops so neither task blocks access. After moving a pet, walk each path once. If you must detour, shift the pet farther toward the edge.
Review and Adjust Your Garden Layout
Review your layout after planting to spot crowded paths, hard-to-reach crops, or wasted space. Walk through each row and check whether you can reach every crop without stepping over plants or blocking a route.
If a path feels cramped, move nearby crops or widen the walkway. Keep the previous step in mind: clear rows make harvesting easier and protect your garden from accidental damage.
Look for empty patches you could use for new crops, decorations, or useful equipment. Don’t fill every gap, though; open space helps you move around and plan future changes.
Check that sprinklers and other tools cover the right areas. Tidy irrigation can save time, while soil testing may help you decide where particular crops will grow best.
As your garden changes, review it again. Move items that obstruct access, group crops that need similar care, and adjust paths when needed.
Small, regular changes can keep your layout practical, attractive, and ready for each new planting. You’ll notice problems sooner and avoid a major redesign later.
Frequently Asked Questions
How Do I Unlock Additional Garden Space in Grow a Garden?
You can unlock additional garden space by progressing through the game and purchasing available expansions from the garden’s upgrade or shop interface. Check for unlockable expansions, since requirements may include reaching a certain level, earning enough Sheckles, or completing tasks.
Seasonal plots may appear during limited-time events, so watch event announcements and claim them before they disappear. If no expansion is available, keep playing, meet the displayed requirements, and check the interface again.
Can I Move My Garden to a Different Location?
Yes, you can move your garden, but your options depend on the game’s current features. Think of your plot as a little patch of sunshine: check your garden or settings menu for a relocation option, then follow the prompts to relocate the plot.
If you don’t see that option, the game may not support moving gardens yet. You can still rearrange your plants and decorations within your existing space to create a fresh layout.
How Do I Trade Crops With Other Players?
You can trade crops by meeting another player and agreeing on what each of you will exchange. Trading crops usually works through direct player-to-player exchanges, so check the items carefully before confirming.
If the game offers a Farm barter feature or Crop marketplace, use its prompts to list crops and accept offers. Don’t share account details, and avoid deals that ask you to pay outside the game.
What Happens to My Garden When I Leave the Game?
When you leave Grow A Garden, your garden usually stays put—your plants don’t stage a dramatic walkout. The game’s autosave behavior typically preserves your progress, including crops and garden changes, so you can return later.
Still, don’t treat a connection drop like a signed contract: recent actions may not save instantly. To reduce leaving consequences, wait for changes to register before exiting, and check your garden after rejoining.
How Can I Earn More Sheckles Quickly?
Earn Sheckles quickly by planting high-value crops, harvesting them as soon as they’re ready, and selling your produce regularly. Focus on rare or event crops when available, and use sprinklers or other gear to speed growth and boost value. For how to optimize earnings, reinvest profits in better seeds and upgrades. Keep maximizing in game currency opportunities by completing quests, checking shop stock, and harvesting before you leave. Don’t let ripe crops sit unsold.
Conclusion
With a little planning, you can turn your Grow A Garden plot into a well-tended engine for steady progress. Group crops by their needs, keep seeds and tools nearby, and leave clear routes for planting and harvesting.
Add paths, decorations, and pets where they won’t crowd your crops. Then review your layout as your garden grows and adjust what isn’t working.
Think of each plot as a piece in a living puzzle: when everything fits, tending your garden feels easier and more rewarding. These tips can help you organize your garden in Grow A Garden Roblox for steady progress.