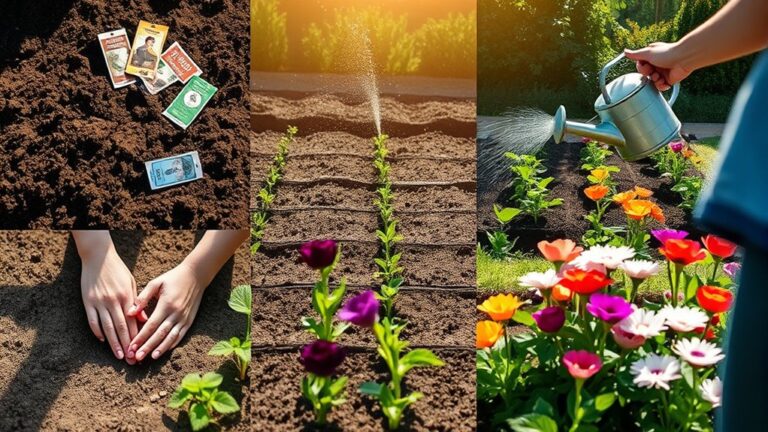
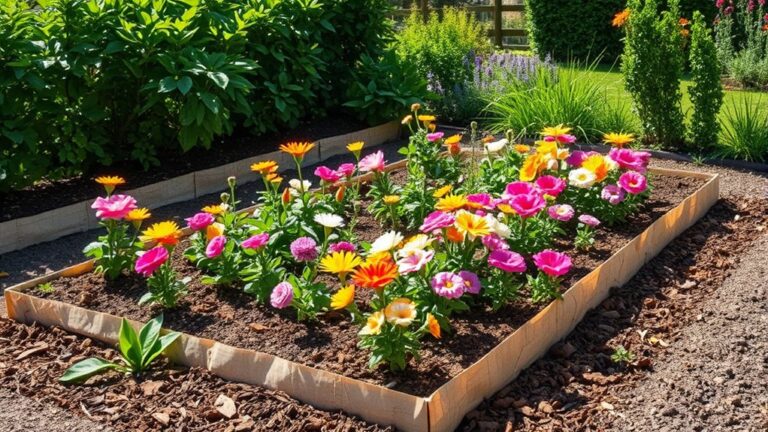
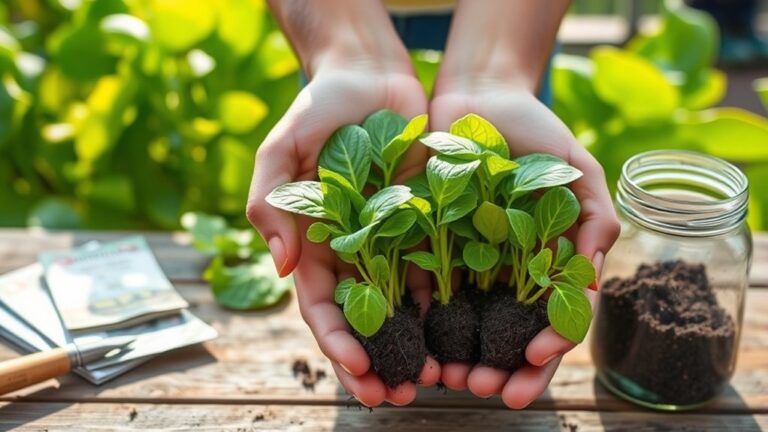
How to Build a Garden in 10 Essential Steps
Starting a garden can feel overwhelming when you’re unsure where to begin or what tools and supplies you’ll need. You’re not alone—many people struggle to turn a patch of yard or a few containers into a thriving garden. This guide to how to build a garden in 10 essential steps will help you get started with confidence.
To build a garden in 10 essential steps, choose a sunny, accessible site and check your climate, goals, and growing season. Plan a manageable layout with clear paths, then gather basic tools and set a budget. Clear weeds and debris, improve soil with compost, or fill containers with potting mix. Check frost dates before planting suitable seeds or seedlings. Water deeply, add mulch, and inspect plants regularly for pests or stress. A few smart choices can make every next step easier.
Key Takeaways
- Choose a level, accessible site with several hours of direct sunlight, and observe how shadows change throughout the day.
- Match plants to your climate, growing season, sunlight, available space, and garden goals.
- Plan a manageable layout with reachable beds, clear paths, and convenient access to water.
- Remove weeds and debris, then prepare the soil with compost or fill containers with potting mix.
- Plant at the right time, water deeply, mulch, and check regularly for weeds, pests, and plant health.
Choose a Sunny Spot for Your Garden
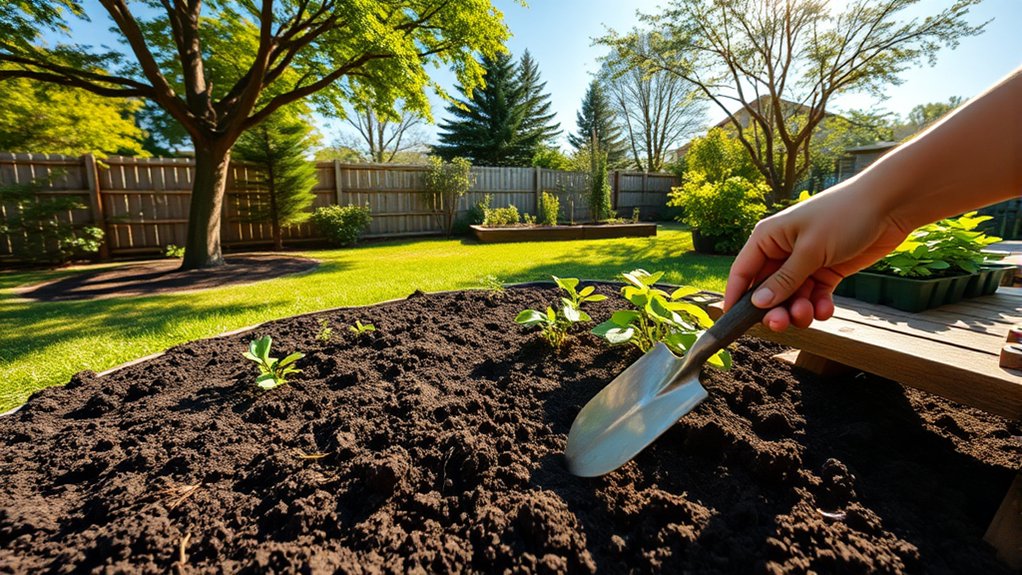
Where does your garden get the best light? Spend a day observing your yard before you choose a location. Notice where sunlight falls in the morning, at midday, and late afternoon.
Observe your yard throughout the day to find where sunlight falls in the morning, midday, and late afternoon.
Track how nearby trees, fences, and buildings cast shadows as the sun moves. A Sunny spot usually receives several hours of direct light, but the amount varies across your space.
Check the area at different times, because a bright morning can give way to afternoon shade. If you’re unsure, take photos or mark sunny and shaded patches on a simple sketch.
This quick survey helps you place your garden where it can receive consistent light. Use Shade avoidance to guide your choice: keep the garden clear of spots shaded for much of the day, and account for shadows that change with the seasons.
Look up, too; overhanging branches can block light even when the ground seems open. Choose an accessible, level site with steady sun, and you’ll make daily care easier.
Pick Plants That Suit Your Climate and Goals
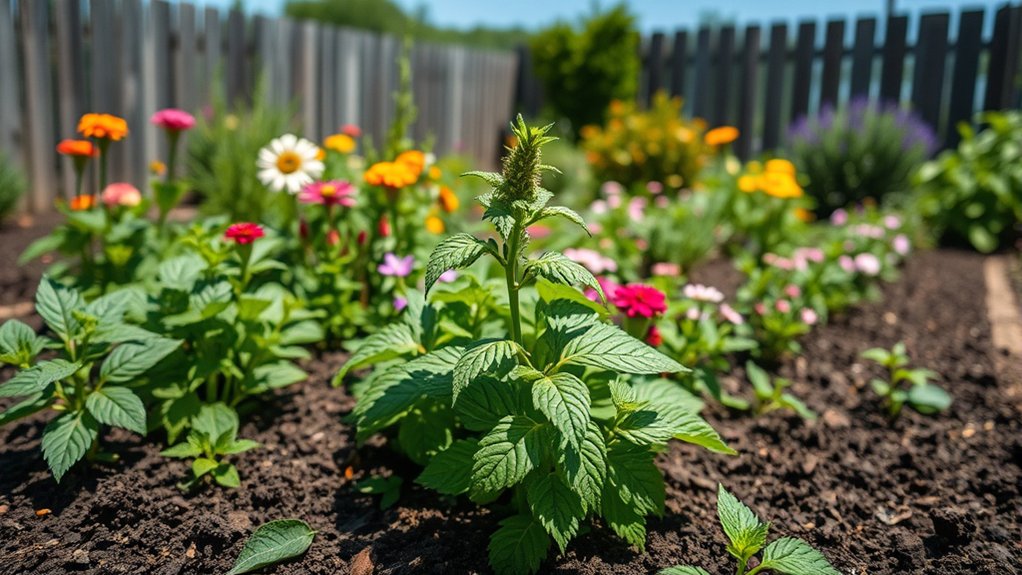
Choose plants that thrive in your local climate to give your garden a better chance of success. Then pick ones that fit your goals, whether you’re hoping to grow fresh produce, enjoy colorful blooms, or create a low-maintenance space. That way, your garden will suit both your space and your needs.
Match Plants to Climate
Match plants to your climate and gardening goals so they can thrive with less effort. Start by learning your area’s hardiness zone, which indicates the coldest temperatures plants can tolerate. Then consider heat, rainfall, humidity, wind, and seasonal changes. These conditions shape plant adaptation, so choose varieties suited to your local weather rather than relying on appearance alone.
- Check your zone: Use a regional map to identify plants that can survive your winters.
- Assess your site: Notice sun exposure, drainage, and sheltered or windy spots; conditions can vary across your yard.
- Compare local options: Ask a nearby nursery or extension service which plants perform well in your area.
When you match climate to each planting spot, you’ll reduce stress, watering, and replacement. Read plant labels carefully, since hardiness ratings and heat tolerance aren’t always the same.
Align Plants With Goals
Once you’ve considered your climate, let your garden’s purpose guide your plant choices. Decide what you want the space to provide: fresh food, colorful blooms, privacy, wildlife habitat, or a peaceful place to relax. Your goals will shape your plant selection and help you avoid buying varieties that don’t serve your needs.
If you want harvests, choose vegetables, herbs, or fruit suited to your available sunlight and growing season. For low-maintenance beauty, favor hardy perennials and shrubs that thrive in your conditions.
To attract pollinators, include nectar-rich flowers that bloom at different times. For screening, select plants that reach the height and density you need.
Check each plant’s mature size, care requirements, and water needs before planting. This alignment goals approach helps you create a garden that fits your lifestyle and remains rewarding throughout the season.
Plan Your First Garden’s Layout and Size
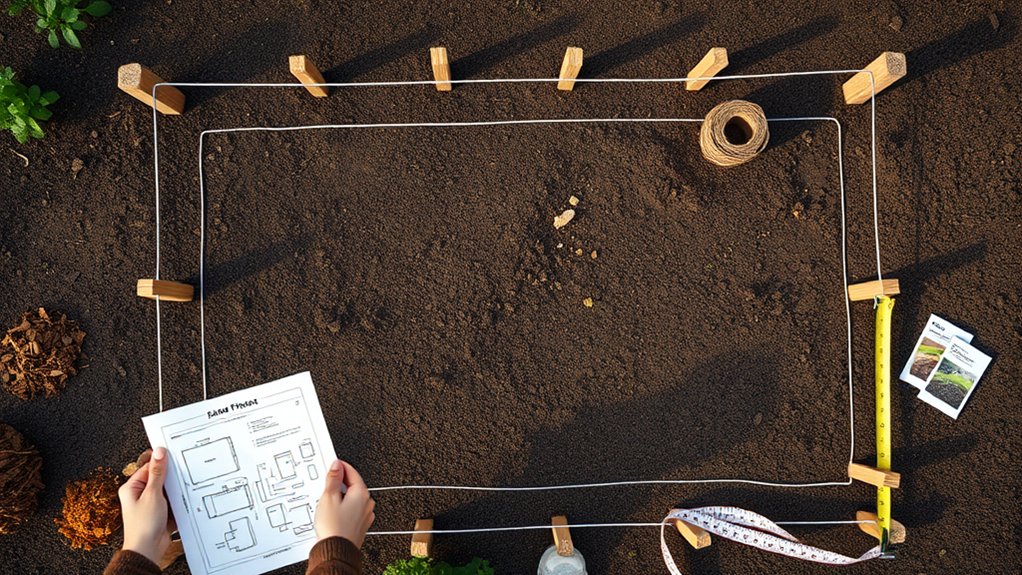
Before you buy seeds or break ground, plan where your garden will go and how much space you can manage. Choose a spot that gets enough sunlight and sits near a water source. Check how rain drains, too; soggy ground can damage roots.
Let your layout goals reflect what you want to grow and how much time you’ll spend tending it. If you’re still weighing topic ideas, start with herbs, salad greens, or a few favorite flowers.
Sketch a simple plan before you plant:
- Compact bed: Mark a four-by-four-foot square for greens and herbs, with paths around every side.
- Border garden: Trace a narrow strip along a sunny fence for flowers or climbing beans.
- Container corner: Group pots on a patio, keeping taller plants behind shorter ones.
Keep beds narrow enough to reach the center without stepping on soil. Leave clear paths for easy access, and start smaller than you think you need. You can expand next season once you learn what thrives.
Gather Basic Tools and Set a Garden Budget
With your layout in mind, gather a few basic tools and set a budget before shopping. Start with essentials: a hand trowel, garden fork, pruning shears, gloves, watering can, and a sturdy bucket. Choose tools that feel comfortable and suit your garden’s size; you can add specialized items later if a specific task calls for them.
To set budget limits, list what you already own, then estimate costs for missing tools, seeds or plants, containers, and other supplies. Check local garden centers, hardware stores, and online sellers to compare prices. You don’t need premium equipment to begin, but durable tools can save money over time. Consider borrowing or buying secondhand for items you’ll use only occasionally.
Keep a small reserve for unexpected purchases, and track each expense as you shop. A clear spending plan helps you prioritize essentials without overspending. Once you’ve gathered tools and supplies, you’ll be ready to move on to the next stage of building your garden.
Clear Your Garden Space and Prepare the Soil
Start by clearing away weeds, rocks, and garden debris so your plants have room to grow. Walk the area and remove anything that could block roots or harbor pests.
For effective weed removal, pull weeds by the roots, especially before they set seed. Wear gloves, and check beneath leaves and along the edges for insects or hiding spots.
Next, loosen the clear soil with a garden fork or shovel. Break up compacted clumps, but avoid digging when the ground is soggy; wet soil can become packed and difficult to work. Remove large stones and leftover roots as you go.
- Spread two to three inches of finished compost across the surface. Choose a reliable compost source, such as your own mature pile or a trusted local supplier.
- Work the compost gently into the top several inches of soil.
- Rake the surface smooth, then inspect it again for weeds and pests.
These steps improve drainage, add nutrients, and support pest prevention before planting begins.
Choose Between Garden Beds and Containers
Once the soil is ready, choose whether to plant directly in garden beds or use containers. Your space, mobility needs, and preferred plants can guide the decision.
A bed suits you if you have room and want a stable, spacious growing area. Containers work well on patios, balconies, or other hard surfaces, and you can move them to follow sunlight.
| Option | Best fit |
|---|---|
| Garden beds | You have yard space and want room for spreading plants. |
| Containers | You need portability or have limited outdoor space. |
Garden beds give roots more room and let you grow larger crops in one place. However, they’re less portable and require a suitable patch of ground.
Containers have limited root space, need frequent watering, and may need to be moved when conditions change. Choose containers if flexibility matters most, or a bed if you want a permanent, roomy planting area.
You can also combine both approaches to suit different plants and make the most of your space.
Add Compost and Fill Beds or Containers
Now that you’ve chosen where to grow, add compost to enrich the soil and fill beds or containers with a suitable growing mix. Good compost quality matters: choose finished compost that smells earthy, feels crumbly, and contains no obvious plastic or fresh manure.
Choose finished, earthy-smelling compost with a crumbly texture, and blend it into soil or a suitable growing mix.
Blend it into garden soil rather than using it alone. For containers, select a lightweight potting mix made for growing plants; garden soil can compact and restrict roots.
Use these steps to prepare your growing space:
- For garden beds: Spread a layer of compost over the surface, then mix it into the top several inches of soil.
- For raised beds: Combine compost with quality topsoil and other suitable ingredients to create a balanced, loose fill.
- For containers: Check container drainage holes, cover the bottom with mesh if needed, and fill with potting mix, leaving room at the rim.
Level the surface gently, but don’t pack the mix tightly. Water it lightly to settle the material and reveal any low spots.
Plant Seeds or Seedlings at the Right Time
Check your local planting dates to find the right season for each crop. Then choose seeds or seedlings that suit your climate, space, and experience. Planting at the right time gives your garden a stronger start.
Check Planting Dates
Plant seeds and seedlings at the right time, and they’ll have a better chance to thrive. To check planting dates, use your local frost calendar and seed packet guidance, then adjust for your region’s seasonal timing.
A warm spell doesn’t always mean winter has passed; a late frost can damage tender growth. Your garden’s conditions matter, too: sunny, sheltered beds may warm sooner than shady, exposed spots.
- Find your average last spring frost date and first fall frost date through a local extension service.
- Check each crop’s recommended planting window, noting whether it tolerates frost or needs warmer soil.
- Count backward from your target harvest date when a crop needs a specific number of growing days.
Keep a simple calendar, and update it as weather patterns shift. You’ll avoid rushed planting and protect young plants.
Choose Seeds or Seedlings
Once you’ve set your planting dates, decide whether to start each crop from seed or buy seedlings. Your seed selection depends on your climate, space, budget, and patience.
Direct-sow crops that dislike transplanting, such as carrots and beans. Choose seedlings for slow-growing plants or when you want an earlier harvest. Check labels for days to maturity and suitable planting conditions.
| Option | Best for |
|---|---|
| Seeds | Broad crop variety |
| Seedlings | Faster harvests |
| Direct sowing | Root crops |
| Transplants | Tomatoes and peppers |
If you start seeds indoors, use clean containers, adequate light, and consistent moisture. Learn basic propagation techniques, and harden seedlings outdoors gradually before planting.
Follow your dates and local frost guidance; don’t rush tender plants into cold soil. Buy sturdy, disease-free seedlings, then water them well after transplanting.
Water Your Garden and Add Mulch
Water your garden deeply after planting, then add a layer of mulch to help the soil retain moisture and suppress weeds. Aim water at the soil around each plant, not its leaves, and let it soak into the root zone.
Your watering frequency depends on rainfall, soil type, and weather. Check the soil before watering, and water when the top inch feels dry. Give new plants steady moisture while avoiding soggy ground.
Choose a mulch that suits your garden and spread it evenly, keeping it away from stems.
- Straw: A light, airy option for vegetable beds that breaks down over time.
- Shredded leaves: A natural choice that enriches soil as it decomposes.
- Wood chips: A longer-lasting cover for paths or established beds.
Consider mulch composition when selecting a material, since different options decompose at different rates. Apply a layer about two to three inches deep, and leave a small gap around each plant’s base.
Maintain Your Garden and Spot Problems Early
Check your plants regularly for changes in color, growth, or leaves. Catching problems early helps protect healthy growth, so remove pests promptly before they spread.
Check Plants Regularly
A few minutes of regular observation can help you catch garden problems before they spread. When you check plants, look closely at their leaves, stems, and soil.
As you regularly monitor each bed, you’ll learn what healthy growth looks like and notice changes sooner. Make your rounds at a consistent time, such as after watering, and move slowly enough to inspect each plant.
- Study the leaves: Notice yellowing, spots, curling, holes, or unusual growth.
- Check stems and flowers: Look for drooping, discoloration, broken branches, or blooms that fade unexpectedly.
- Feel the soil: Check whether it’s too dry, waterlogged, or compacted, then note any change.
Keep a simple garden journal with dates and observations. Comparing notes helps you spot patterns, adjust care, and decide when a plant needs attention.
Prevent Pests Early
Catch pests early, and you can often protect your plants before damage spreads. During your regular garden checks, look beneath leaves, along stems, and around new growth for eggs, holes, sticky residue, or discolored patches. Note changes so you can spot patterns and act promptly.
Make early pest prevention part of your routine. Remove weeds and fallen leaves that shelter insects, space plants for good airflow, and water at the soil level to keep foliage dry. Encourage helpful predators by growing diverse flowers and avoiding unnecessary pesticides.
For season long monitoring, inspect plants at least once a week, especially after warm, wet weather. If you find pests, identify them before choosing a response. Handpick larger insects, prune affected leaves, or use a targeted treatment as directed. Recheck the plant to confirm the problem has eased.
Frequently Asked Questions
How Can I Keep Rabbits and Deer Out of My Garden?
Keep rabbits and deer out by combining sturdy barriers with deterrents. Install rabbit fencing with small mesh openings, burying its bottom several inches to block digging. For deer, build a fence at least eight feet tall or angle two shorter fences outward.
Apply deer repellents regularly, especially after rain, and rotate products to discourage habituation. Protect young plants with individual cages, remove fallen fruit, and choose less appealing plants around vulnerable garden beds.
What Are the Best Ways to Attract Pollinators to My Garden?
You can attract pollinators by planting varied flowers, providing water, and avoiding pesticides. A single bee colony can visit millions of flowers in one day, showing how much pollinators rely on abundant blooms.
Try these pollinator friendly strategies: choose native plants that flower across spring, summer, and fall; group each type together; and leave some bare soil for ground-nesting bees. Greater plant diversity supports more pollinator species, while shallow water and sheltered spots help them thrive.
Can I Grow Vegetables Indoors During Winter?
Yes, you can grow vegetables indoors during winter. Choose compact crops like lettuce, spinach, kale, herbs, or dwarf tomatoes, and place them near a sunny window.
For reliable indoor winter greens, use containers with drainage holes and quality potting mix. Keep the soil evenly moist, but don’t let roots sit in water.
Follow grow lights care by positioning lights close to plants and running them 12–16 hours daily. Check leaves regularly for pests and adjust watering as needed.
How Do I Save Seeds From My Plants for Next Year?
To save seeds for next year, choose healthy, mature plants and let their seeds fully ripen before harvesting. For seed saving basics, collect dry seeds on a rain-free day, remove any pulp, and spread them out to dry thoroughly.
Your variety selection matters: save seeds from open-pollinated plants, not hybrids, if you want similar offspring. Label each batch with the plant name and date, then store it in a cool, dark, dry place.
What Should I Do With Garden Waste at the End of the Season?
At season’s end, let your garden’s fallen leaves and spent stems become tomorrow’s soil: compost healthy plant material, mulch leaves, and dispose of diseased plants separately. For effective Garden waste disposal, remove weeds before they seed, and check local rules for branches or other debris.
Seasonal composting turns your garden’s final chapter into nourishment for the next one. Keep compost balanced with dry leaves and fresh greens, and avoid adding diseased plants or invasive weeds.
Conclusion
Your first garden doesn’t need to be perfect—it needs a sunny spot, suitable plants, healthy soil, and steady care. Start small, water consistently, mulch, and watch for pests before they spread. You’ll learn what works each season and build confidence as you go.
Here’s a motivating fact: one tomato plant can produce 10 pounds or more of fruit in a season, depending on its variety and growing conditions. With patience and a little effort, you can turn a patch of ground into a rewarding harvest. Follow these 10 essential steps to build a garden you’ll love.