How to Olant in 7 Easy Steps
Getting started with planting can feel overwhelming, especially when you’re unsure what to do first. You’re not alone—many people struggle to choose the right spot, prepare the soil, and give a new plant the care it needs. This simple guide to how to plant in 7 easy steps will help you get started with confidence.
To plant in seven easy steps, first check your local planting dates and gather your tools. Choose a spot that matches your plant’s sunlight needs and drains well.
Prepare the soil by removing weeds and loosening compacted areas, adding compost only if needed. Dig a hole wide enough for the roots.
Set the plant upright, with its root ball level with the soil. Backfill gently, then water slowly until roots are moist.
Keep checking moisture, light, and growth in the weeks ahead for helpful care tips.
Key Takeaways
- Check your local frost date and seed packet or plant label to choose the right planting time.
- Select a suitable spot by checking sunlight, drainage, and soil; add compost or amendments only as needed.
- Remove weeds and stones, loosen compacted soil, and dig a hole wide enough for the roots.
- Set the plant upright at the correct depth, then backfill gently and shape a shallow watering basin.
- Water slowly until the root zone is moist; monitor soil, light, growth, and pests during the first weeks.
Check When to Plant and Gather Tools
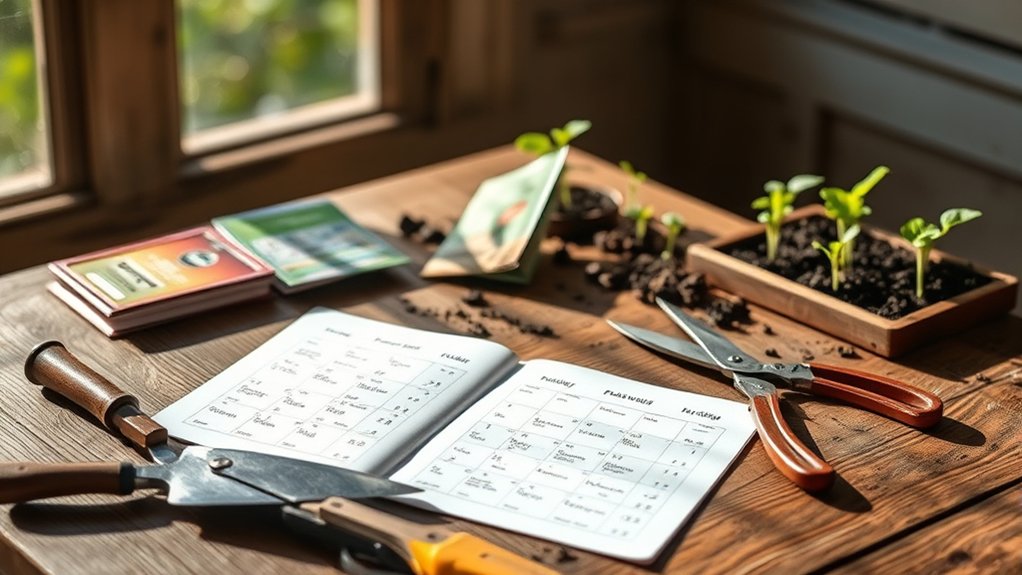
Before you plant, check your area’s last frost date and the timing recommended for your crop; planting too early can damage young seedlings. Use a local gardening calendar or your region’s extension service to check dates, then compare them with the seed packet or plant label.
Some crops thrive in cool weather, while others need warm soil and settled temperatures. If you’re growing several plant varieties, note each one’s planting window so you can prepare in the right order.
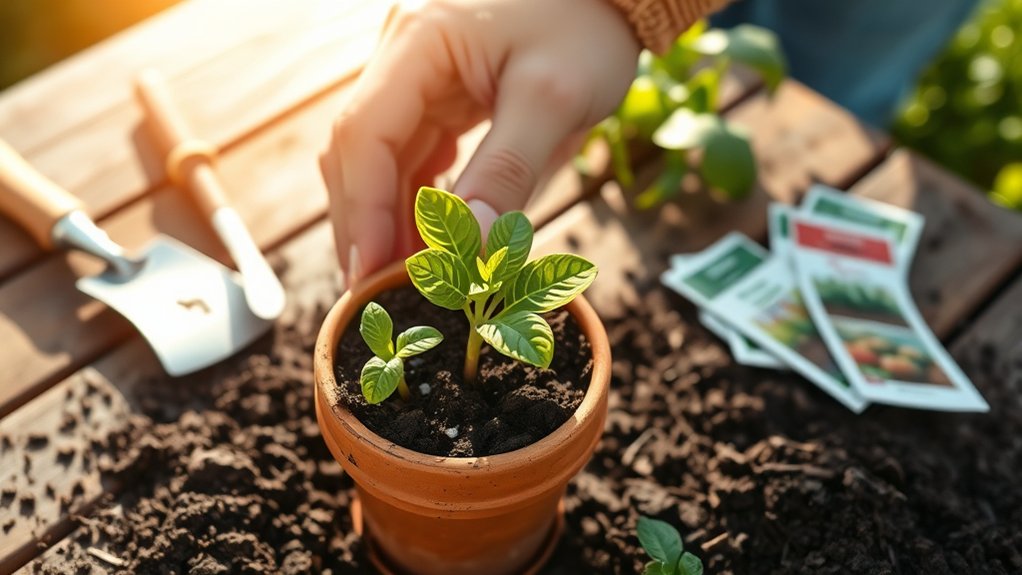
Gather your tools before planting day. You’ll usually need a hand trowel, gardening gloves, a watering can or hose, and a measuring tape for spacing and depth. Keep seed packets, labels, and a pencil nearby so you can track what you’ve planted.
Clean and sharpen tools, and make sure your watering equipment works. If you’re planting seeds, check whether they need soaking or other preparation. A little planning helps you work efficiently and gives each plant a better start.
Choose the Right Spot for Your Plant
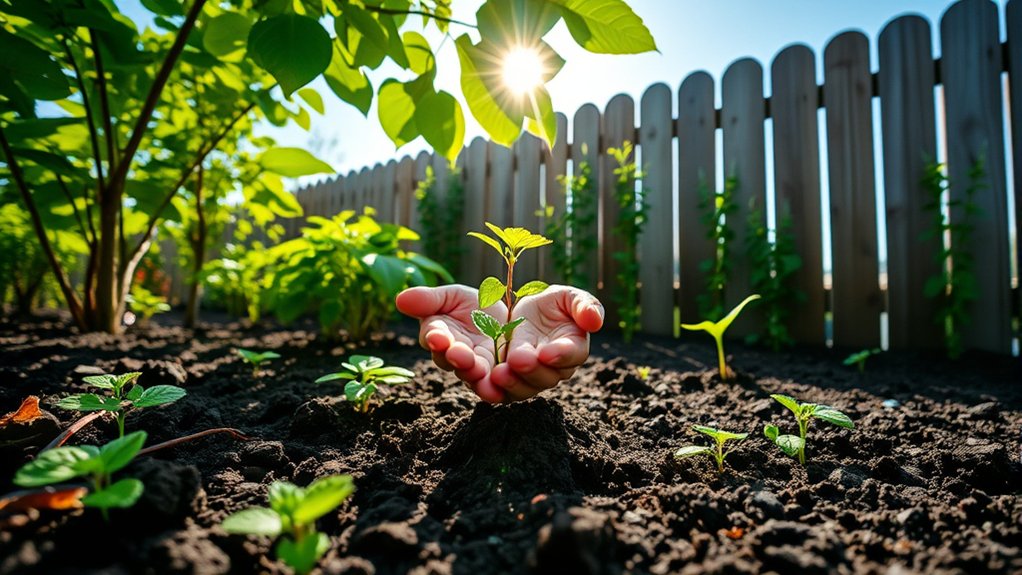
Choose a spot that gets the sunlight your plant needs. Before planting, check the soil quality, too. And make sure the water drains well so the roots don’t sit in soggy soil.
Check Sunlight Levels
Check how much sunlight your planting spot receives throughout the day, since most plants need specific light conditions to thrive. Track sunlight duration by noting when direct rays reach the area and how long they stay. Then match those hours to your plant’s needs.
| Light level | Direct sun daily | Typical match |
|---|---|---|
| Full sun | 6+ hours | Sun-loving plants |
| Partial sun | 3–6 hours | Flexible growers |
Watch for shade from buildings, fences, and trees as the sun moves. Your spot may be bright in the morning but shaded later. Check it on a clear day, and repeat if nearby foliage changes seasonally. Compare your observations with the plant label, including its shade tolerance. If the light doesn’t fit, choose another location or a plant suited to those conditions.
Consider Soil Quality
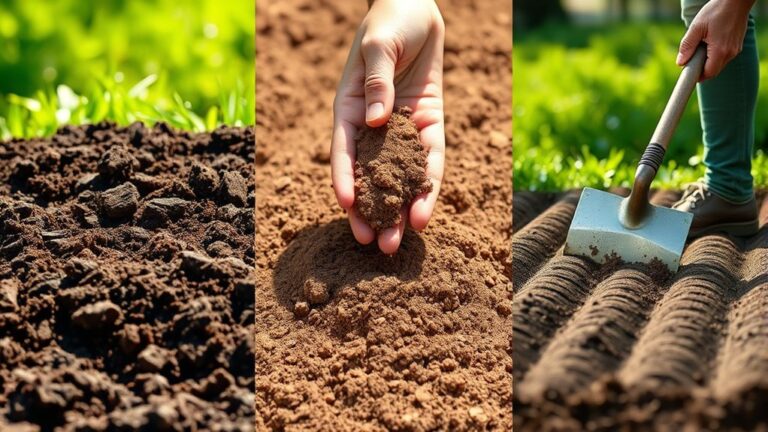
After evaluating sunlight, examine the soil where you plan to plant. Your soil’s texture and nutrient content can affect how well your plant grows. Check the ground before choosing a spot, and match its qualities to your plant’s needs. A simple soil test can reveal pH and nutrient levels, helping you make informed improvements.
- Assess texture: Pick up a small handful of moist soil. Notice whether it feels sandy, crumbly, or sticky, then compare that texture with what your plant prefers.
- Check soil fertility: Use a home test kit or local extension service to identify nutrient gaps. Don’t add fertilizer without a clear need.
- Plan compost requirements: If the soil lacks organic matter, mix in finished compost. Follow your plant’s needs, since too much can disrupt nutrient balance and growth.
Ensure Proper Drainage
Good drainage keeps roots healthy by preventing water from pooling around them. When choosing a spot, check how quickly rainwater disappears after a storm. Avoid low areas where puddles linger, and don’t plant near downspouts unless you redirect the flow.
If your garden soil stays soggy, choose a raised bed or a gentle slope to help water move away from roots.
You can also improve moisture control by mixing compost into compacted soil, but don’t rely on amendments alone when the site floods regularly. Consider drainage alternatives, such as planting in a container with open drainage holes or building a mound above wet ground.
Before planting, water the area and watch where runoff travels. Pick a location that drains steadily while retaining enough moisture for your plant’s needs.
Prepare the Soil for Healthy Roots
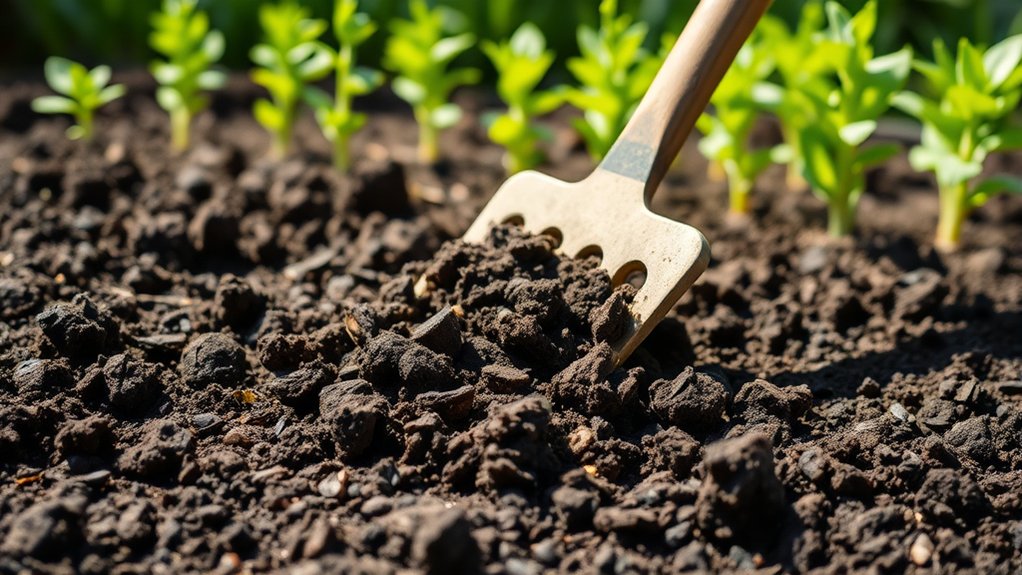
Healthy roots start with well-prepared soil. After confirming that water drains properly, focus on soil preparation to give your plant a balanced, supportive growing environment. You don’t need to make the soil rich; you need to make it suitable for the plant. Check its texture and condition, then improve it gently before planting.
- Remove debris. Pick out weeds, stones, and old roots so they won’t compete with your plant for water and nutrients.
- Loosen compacted soil. Use a garden fork to break up dense areas. Work carefully, since excessive digging can disturb soil structure and beneficial organisms.
- Add suitable amendments. Mix in finished compost if the soil lacks organic matter. For heavy clay or sandy soil, choose amendments that address its texture, and follow guidance for your plant type.
Avoid adding fertilizer automatically; too much can harm root health. Keep the soil evenly moist, not waterlogged, as you work. A crumbly, well-aerated texture helps roots access air, moisture, and nutrients as they establish.
Dig a Hole That Fits Your Plant
Dig a hole that gives your plant’s roots room to spread. Make it about as wide as the root ball, and check the depth before planting. If it’s too deep, the stem may end up buried.
Match Hole Size
Before planting, measure the root ball so you can dig a hole that fits. Match the hole size to the plant’s roots, not the container it came in. A hole that’s too narrow can crowd roots, while an overly wide one wastes effort and may loosen the surrounding soil. Keep the opening broad enough to let roots spread naturally, and make the sides gently sloped rather than perfectly vertical.
- Remove the plant from its pot carefully, supporting the root ball.
- Measure its width across the widest point; use that measurement to guide the hole size.
- Compare the opening with the root ball, widening it if needed.
You can use a match box as a simple visual reference for small measurements, but a ruler gives you a more accurate fit. Check the opening before planting.
Check Hole Depth
How deep should you dig? Check your plant’s roots before setting it in the hole. For most plants, dig just deep enough to keep the root ball’s top level with the surrounding soil.
If you bury the stem or crown, you may invite rot; if roots sit too high, they can dry out. Measure the root ball, then adjust the hole’s depth to match.
For deep rooting plants, loosen soil below the root ball so roots can grow downward without hitting a compacted layer. Set the plant in place and check its height from several angles.
Add or remove soil until it sits correctly, then backfill and water. Keep mulch management in mind: spread mulch around the plant, but leave a clear gap around its stem or trunk.
Set Your Plant at the Right Depth
Set the plant at the same depth it grew in its nursery pot, with the top of the root ball level with the surrounding soil. Correct depth placement helps your plant adjust to its new home and supports healthy growth.
If you bury the stem too deeply, it may stay damp and become vulnerable to rot. If you leave too much of the root ball exposed, roots can dry out.
Before you position the plant, check these details:
- Find the root flare on a tree or shrub, where the trunk widens into the roots. Keep this point at soil level.
- Measure the root ball’s height and compare it with the hole. Adjust the hole so the plant sits at the proper root depth.
- Set the plant upright in the center, then view it from several angles. Make sure it isn’t tilted, and confirm the root ball’s top remains level with the surrounding ground.
Handle the plant gently as you position it, and avoid pulling it by the stem.
Backfill the Hole and Water Thoroughly
Once the plant is upright at the correct depth, backfill the hole with the excavated soil, gently firming it around the roots to remove large air pockets without compacting it. Break up clods as you work, and keep the stem or trunk clear of piled soil.
If you amended the soil based on soil testing, blend those materials evenly rather than creating a rich pocket around the roots. This supports planting ethics by helping you use resources responsibly and avoid unnecessary fertilizers.
When the hole is full, shape a shallow basin around the plant to direct water toward its roots. Pour water slowly over the backfilled area, allowing it to soak in instead of running off.
Add more water if the soil settles, then lightly level the surface without pressing it down. Check that the plant remains upright and at the same depth.
Proper backfilling and thorough watering settle soil around the roots and give the plant a sound start.
Care for Your Plant After Planting
After planting, help your plant settle in with steady care. Your first weeks matter: check the soil often, watch for stress, and adjust your care routines to your plant’s needs. Don’t assume that wilting always means thirst; soggy soil can cause similar symptoms.
- Water thoughtfully. Feel the soil before watering. If the top inch feels dry, water slowly at the base until the root zone is moist. Empty standing water from containers, and reduce watering after rain.
- Check light and growth. Make sure your plant gets the sunlight its label recommends. Look for drooping, yellow leaves, or scorched edges, then adjust its position gradually. Remove damaged leaves with clean shears so you can spot new growth.
- Practice pest prevention. Inspect leaves, stems, and nearby soil every few days. Clear weeds and fallen debris, and look for insects or bite marks. If you find pests, identify them before choosing a treatment. Keep notes on watering, weather, and changes; these simple observations help you catch problems early and maintain healthy growth.
Frequently Asked Questions
How Often Should I Fertilize My Plant?
You’ll usually fertilize your plant every two to four weeks during active growth, but check its label because needs vary by species. Reduce or stop feeding in winter, when growth slows.
Follow a fertilization schedule that suits your plant, and don’t apply extra fertilizer to fix yellow leaves; start by diagnosing watering and checking for pests. Good pest prevention, appropriate pruning timing, and plant protection from harsh conditions also help your plant thrive.
How Can I Tell if My Plant Is Getting Too Much Water?
Soggy soil, drooping leaves, and yellowing growth can signal that you’re overwatering your plant. Check for soft stems, a sour smell, or dark, mushy roots—these are signs of root rot.
To learn how to test soil moisture, push a finger about two inches into the soil; if it feels damp, wait before watering. You can also lift the pot: unusually heavy soil may still hold excess water. Ensure drainage holes aren’t blocked.
What Are Common Signs of Plant Diseases?
Common signs of plant diseases include yellowing leaves, dark or powdery spots, wilting, stunted growth, and rotting stems. Check whether symptoms affect one area or spread across the plant; this gives you useful diagnosis tips.
Inspect leaf undersides and stems, and compare changes with your plant’s usual appearance. For prevention methods, remove infected foliage, clean your tools, provide good airflow, and avoid wetting leaves. Don’t treat your plant until you’ve identified the likely cause.
How Do I Protect My Plant From Pests?
Protect your plant by checking it regularly for insects, eggs, and leaf damage. Rinse pests off with a gentle stream of water, and remove heavily infested leaves.
Keep the area clean, avoid overcrowding, and water appropriately to reduce stress. For protecting leaves, try pest deterrents such as insecticidal soap or neem oil, following label directions.
Test products on a small area first, and repeat treatment as needed. Encourage beneficial insects when possible.
When Should I Prune My Plant?
Prune your plant during its active growing season, usually in spring or early summer, when it can recover quickly. For most flowering plants, wait until blooms fade; pruning too early may remove developing flowers.
You can remove dead, damaged, or diseased growth whenever you spot it. Use clean, sharp tools, and check your plant’s specific needs, since some species bloom on old wood and need pruning at different times.
Conclusion
Planting isn’t a one-day task; it’s the start of a relationship. I once tucked a small seedling into a sunny corner, watered it well, and watched it grow new leaves within weeks. Like that first green shoot, your care—choosing the right spot, planting at the proper depth, and watering consistently—gives roots a chance to thrive. Keep checking your plant as it settles in.
With patience and attention, you’ll turn a simple hole in the ground into lasting growth. These seven easy steps to plant will help your garden thrive.