How to Prepare a Garden Bed for Planting in 5 Simple Steps
Starting a garden bed can feel overwhelming when weeds, compacted soil, and poor drainage get in the way. You’re not alone—many gardeners struggle to create the right conditions for healthy plants. This guide to how to prepare a garden bed for planting walks you through five simple steps to get your space ready.
To prepare a garden bed in five simple steps, choose a spot with at least six hours of sun, good airflow, and no standing water. Remove weeds, grass, and debris, pulling roots as you go.
Test soil from several areas and check drainage with a one-foot hole filled with water. Loosen moist soil, remove rocks, and shape the bed.
Mix in compost based on your soil test, then check that the surface is level and ready for planting. Continue for practical tips at every step.
Key Takeaways
- Choose a spot with at least six hours of direct sunlight, good airflow, and protection from strong winds.
- Check for shadows, standing water, and drainage problems; avoid low spots and keep the bed accessible.
- Remove weeds, grass, and debris, pulling weeds by their roots and lifting turf in manageable sections.
- Test soil from several locations, then use the results to guide compost, lime, or fertilizer additions.
- Loosen moist soil with a garden fork, remove rocks and roots, and shape a level or slightly crowned bed.
Choose a Sunny Location for Your Garden Bed
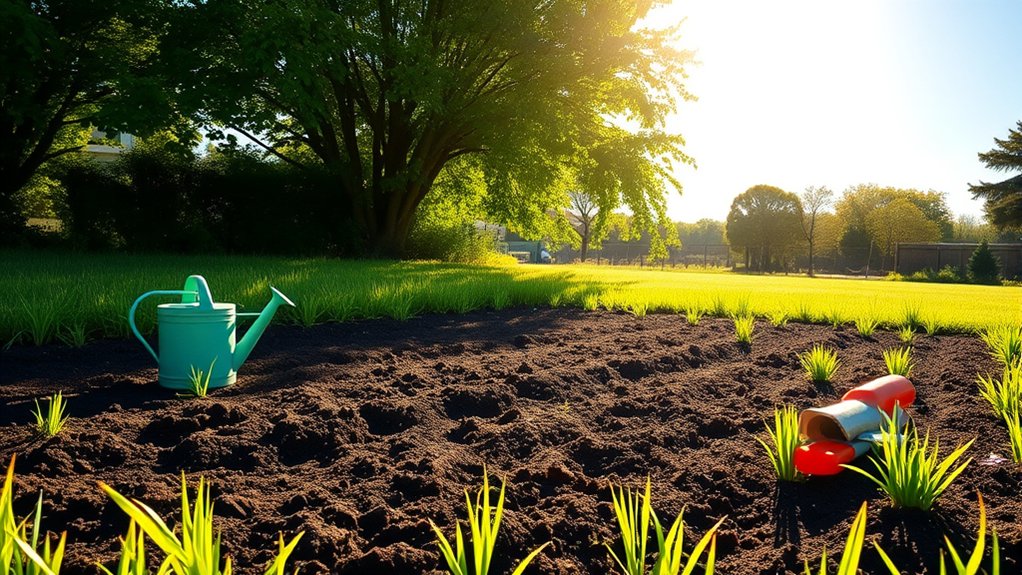
Choose a spot that gets at least six hours of direct sunlight each day, since most vegetables and flowers thrive in full sun. Watch the area throughout the day to confirm that nearby trees, fences, or buildings don’t cast long shadows over your future bed.
Choose a sunny spot with at least six hours of direct light, free from long shadows cast by nearby trees, fences, or buildings.
If you plan to grow leafy greens or other plants that tolerate partial shade, you can choose a spot with less intense afternoon sun. Consider how wind moves through your yard. Strong gusts can damage tall plants, dry out soil, and make watering less effective, so look for natural wind protection near a hedge, fence, or wall.
Keep enough distance from barriers to prevent them from blocking sunlight or restricting airflow. Check the location after rain, too. Avoid low spots where water tends to collect, and choose level ground that’s easy to reach with a hose or watering can.
A convenient, sunny location makes it easier for you to care for plants consistently and enjoy your garden throughout the growing season.
Clear Weeds, Grass, and Debris
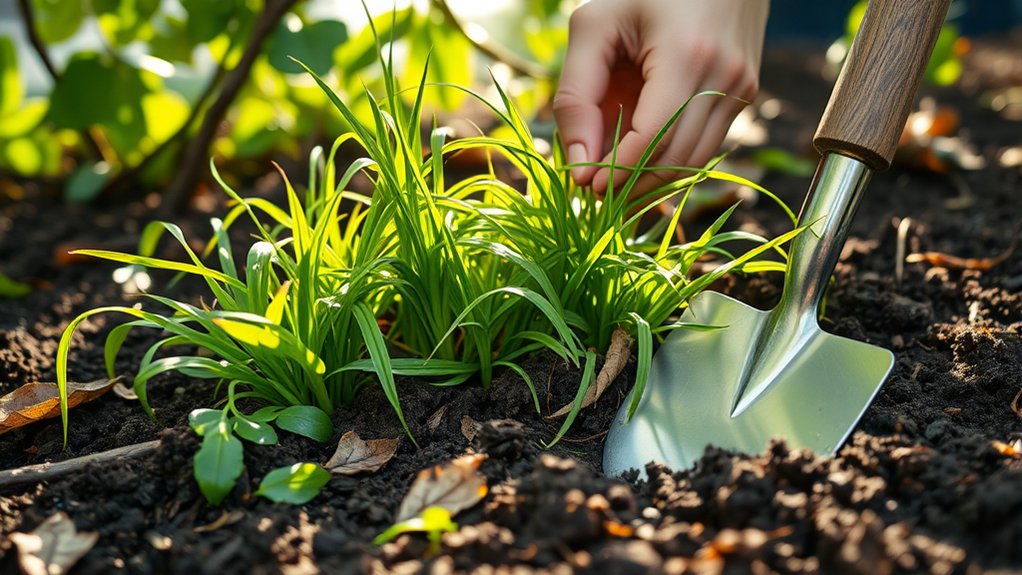
Before preparing the soil, clear the bed of weeds, grass, rocks, and fallen branches. Pull small weeds by hand, gripping each plant near its base so you remove the roots instead of snapping the stems. For stubborn weeds, loosen the soil around the roots with a hand fork, then lift them out.
Don’t leave pulled weeds and debris on the bed; collect them in a bucket or tarp and dispose of them appropriately.
For grass removal, cut a narrow edge around the bed with a spade, then slice beneath the turf to lift it in manageable sections. Shake loose soil back onto the bed, and move the grass elsewhere or add it to a compost pile only if it’s free of seeds and persistent roots.
Rake away remaining leaves, twigs, and stones. Clearing thoroughly now reduces competition for water and space, and gives you an uncluttered area to work with as you prepare the planting bed.
Test Your Soil and Check Drainage
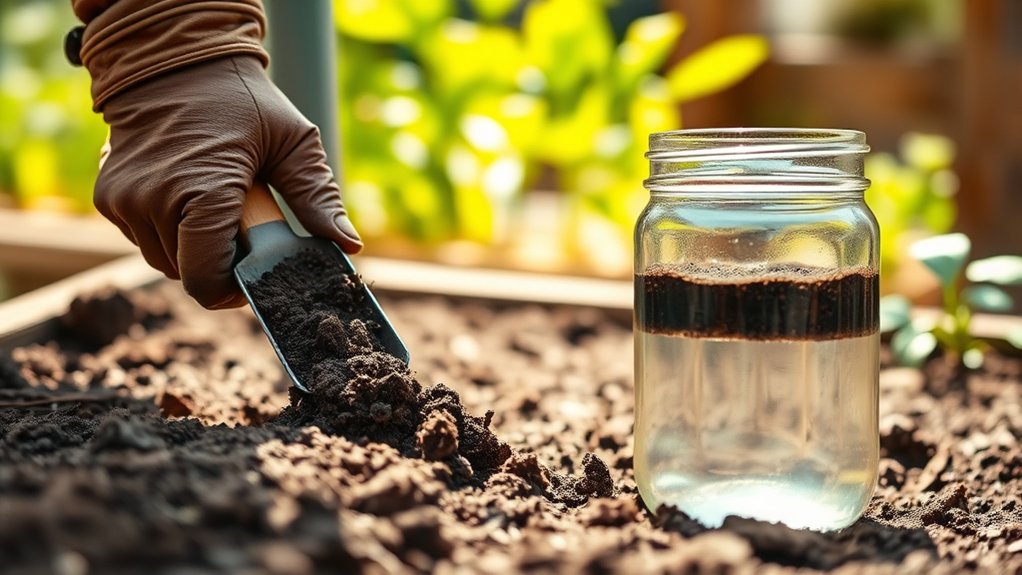
Once the bed is clear, test your soil to learn its pH and nutrient levels, which can guide you in choosing amendments. Collect samples from several spots in the garden bed, mix them in a clean container, and follow your soil test kit’s directions.
You can also send a sample to a local extension service for a detailed report. Check the results before adding lime, compost, or fertilizer; the right choice depends on your soil and the plants you plan to grow.
Next, assess drainage so you know whether water moves through the site properly. Dig a hole about a foot deep, fill it with water, and let it drain. Refill it, then check the level after an hour.
If water remains, your soil may drain slowly; if it disappears quickly, the site may dry out fast. These checks help you plan suitable amendments and plant choices. Test soil and assess drainage before preparing the bed further.
Loosen and Shape Your Garden Bed
With your soil test and drainage results in hand, loosen the soil to help roots spread and water move through the bed. Work when the ground is moist but not wet; soggy soil clumps, while dry soil resists digging.
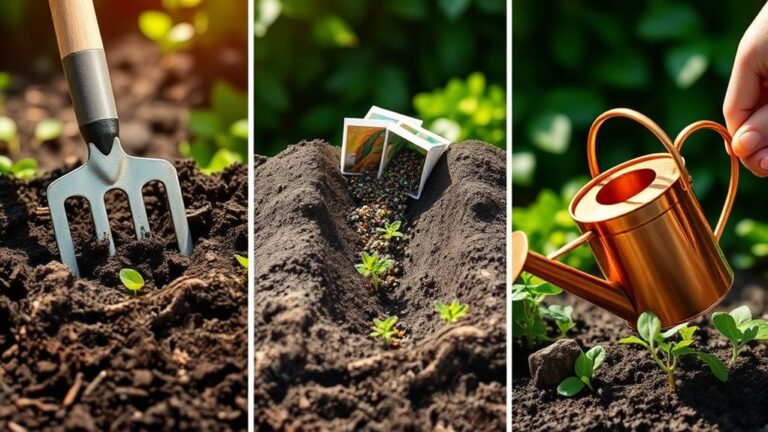
Use a garden fork or broadfork to break compacted layers, pushing the tines down and rocking them gently. Lift the soil without turning it over completely, which helps preserve its structure. Remove rocks, roots, and large clods as you go.
For a small bed, a hand fork may be enough; for a larger area, work in manageable sections so you don’t compact loosened ground by stepping on it.
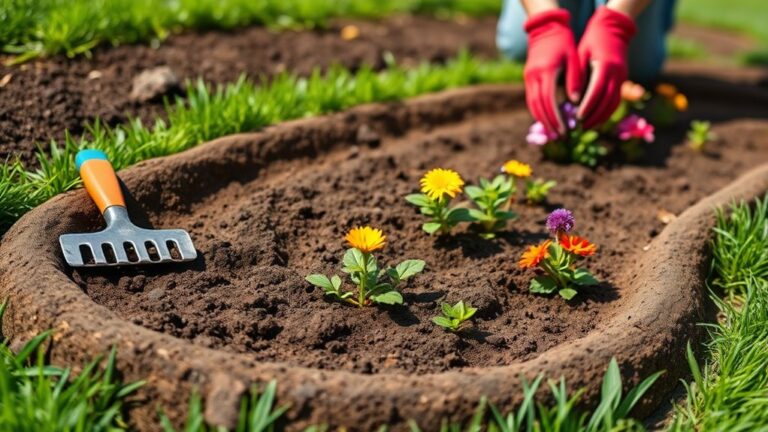
Next, shape bed edges with a spade, creating straight lines or gentle curves that suit your space. Keep the surface level, or make a slight crown if the site holds water.
Leave paths clear for access and avoid steep sides that can erode. Rake out high spots and fill shallow dips with nearby soil.
Add Compost and Check Soil Readiness
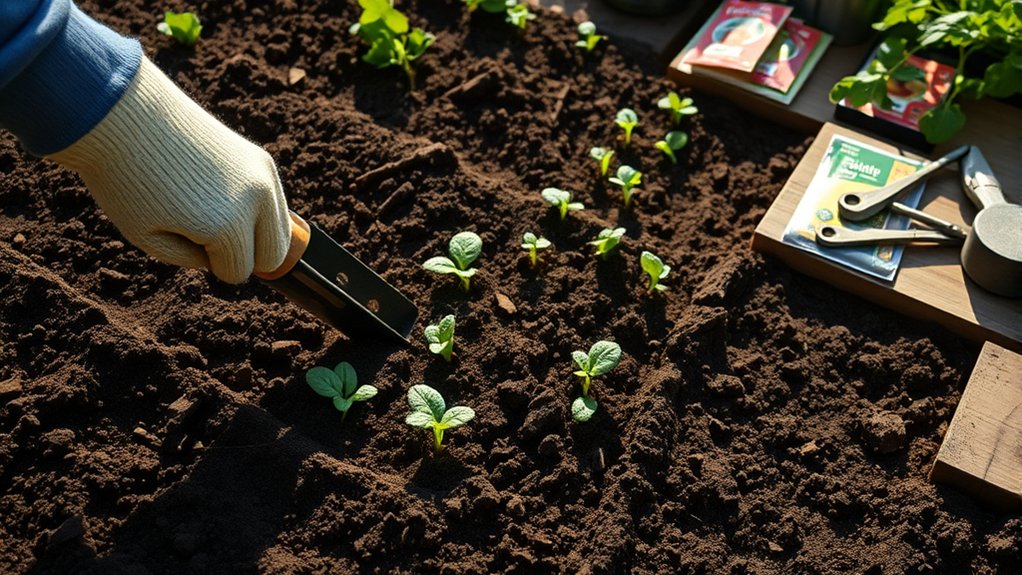
Spread a 1- to 2-inch layer of finished compost over the loosened bed, then rake it in lightly. This compost addition improves soil structure, supports beneficial organisms, and supplies nutrients gradually. Use mature compost that smells earthy and looks dark and crumbly; unfinished material can tie up nitrogen as it decomposes.
Finished compost enriches the bed gradually, improves soil structure, and supports beneficial organisms.
Mix the compost into the top few inches, or leave it near the surface if you’ll plant shallow-rooted crops.
Next, perform a soil readiness check. Squeeze a handful of soil: it should form a loose ball that crumbles when you tap it. If it sticks together in a wet clump, wait for the bed to dry before planting or working it further. If it won’t hold together at all, water lightly and test again.
Check soil pH with a home kit or a local lab, especially if you’re growing plants with specific needs. Adjust only when results indicate a problem, and follow product directions. Your bed is ready when soil feels workable and drains well.
Frequently Asked Questions
When Is the Best Time of Year to Prepare a Garden Bed?
The best time to prepare a garden bed is usually a few weeks before you plan to plant, often in early spring or fall. Choose a day when the soil is workable, not soggy or frozen; squeezing a handful shouldn’t produce a wet clump.
Check your local planting calendar, since climate and crops affect timing. Good soil readiness helps roots establish, while preparing in fall gives amendments time to settle before spring planting.
What Tools Do I Need to Prepare a Garden Bed?
You’ll need a spade, garden fork, rake, hoe, gloves, and a wheelbarrow. Think of these tools as your garden’s opening band: each plays a part in turning stubborn ground into a welcoming stage for plants.
Your tools checklist may also include pruning shears, a trowel, and a soil thermometer. For soil preparation, use a compost scoop or bucket to add amendments, and keep a watering can or hose nearby to moisten the bed.
How Wide Should a Garden Bed Be?
Make your garden bed 3 to 4 feet wide if you’ll reach it from both sides; keep it about 2 feet wide if you can access only one side. This wide bed planning lets you weed, water, and harvest without stepping on the soil.
Choose a length that suits your space, and leave paths wide enough to walk comfortably. For border options, use wood, stone, metal, or no edging at all.
Should I Use Raised Beds or Plant Directly in the Ground?
Choose based on your site, budget, and mobility. Raised beds give you greater control over soil texture, drainage, and access, making them useful if your native soil is compacted, rocky, or contaminated. You’ll pay more upfront and need to refill them over time.
Plant directly in the ground if your soil drains well and you want a lower-cost option. You can improve either setup with compost and other organic matter.
How Can I Protect a Newly Prepared Bed From Pests?
Protect your newly prepared bed by covering it with fine insect netting or row covers, securing every edge so pests can’t crawl underneath. Add protective mulch, such as straw or shredded leaves, to discourage weeds and shield the soil, but keep it away from plant stems.
Check the bed often, remove pests by hand, and use predator traps for slugs or other invaders. Avoid broad pesticides that could harm helpful insects and pollinators.
Conclusion
Your garden bed is more than a patch of soil; it’s a promise of what’s to come. Choose a sunny spot, clear away weeds and debris, test your soil and drainage, then loosen and shape the earth. Mix in compost and check that the bed is ready to welcome roots.
With each step, you’re setting the stage for new growth. Prepare your garden bed with confidence, tend your garden with care, and watch your small beginning bloom into something beautiful.