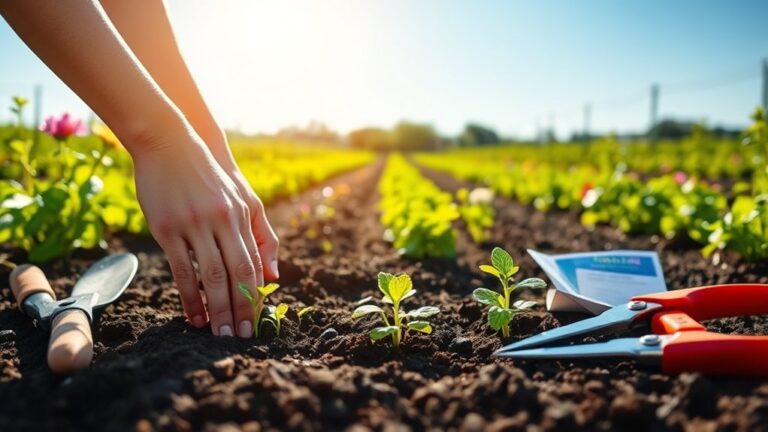
How to Start a Garden in the Ground in 5 Easy Steps
Starting an in-ground garden can feel overwhelming when you’re unsure where to begin or worried your plants won’t thrive. You’re not alone—many people struggle to choose the right spot and prepare the soil. These five easy steps will help you start a garden in the ground with confidence.
To start an in-ground garden, choose a sunny spot that gets at least six hours of direct light and drains well. Pick plants suited to your climate, available space, and sunlight.
Clear the bed, loosen the soil 8–12 inches deep, and add finished compost if needed. Sow seeds at the recommended depth or set seedlings at root-ball level.
Water gently to keep soil moist, then adjust as roots grow. These five steps will help you get your garden off to a strong start.
Key Takeaways
- Choose a sunny, well-drained spot that gets at least six hours of direct sunlight daily.
- Select plants suited to your climate, available space, sunlight, and watering conditions.
- Clear the bed, loosen soil 8–12 inches deep, and improve it with compost if needed.
- Sow seeds at packet-recommended depths and plant seedlings at the root-ball level.
- Keep soil evenly moist as plants establish, then water deeply as needed and mulch to conserve moisture.
Choose a Sunny, Well-Drained Garden Spot
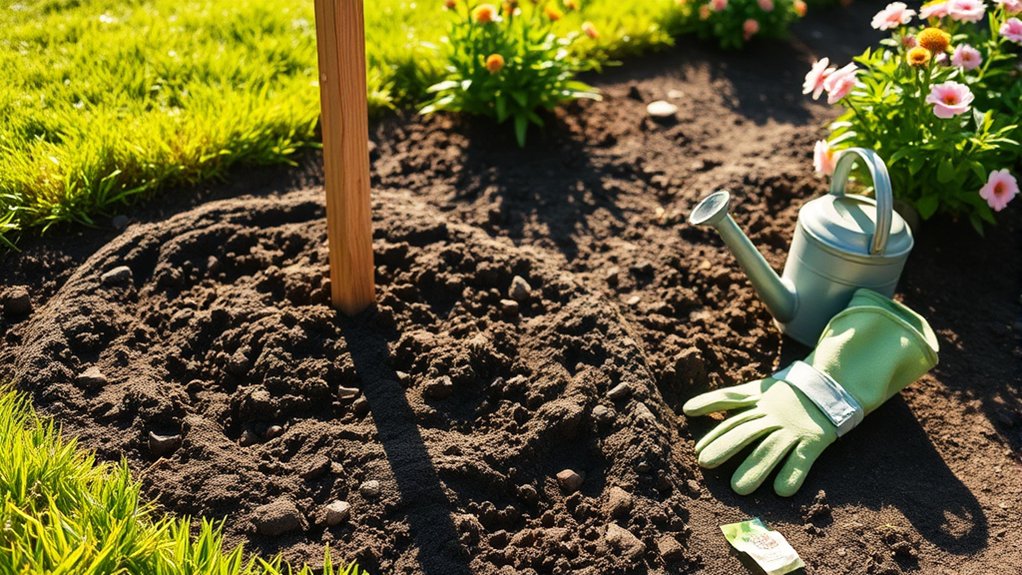
Choose a spot that gets at least six hours of direct sunlight each day and drains well after rain. Watch the area during a storm: if water pools or lingers, you’ve found drainage issues that could suffocate roots. Avoid low spots and places where downspouts send runoff.
Check the soil texture by squeezing a handful of moist earth. Sandy soil crumbles quickly, while clay feels sticky; loam holds together but breaks apart with a light touch. You can improve the ground with compost, but don’t use amendments to mask a site that stays soggy.
Keep the bed convenient to reach with a hose and easy to visit for routine care. Leave enough room to walk around it without stepping on the growing area. Plan mulch timing, too: wait until the soil warms before spreading a layer. You can consider companion planting later, but first choose a sunny spot with sound drainage and accessible water.
Pick Plants That Fit Your Space and Climate
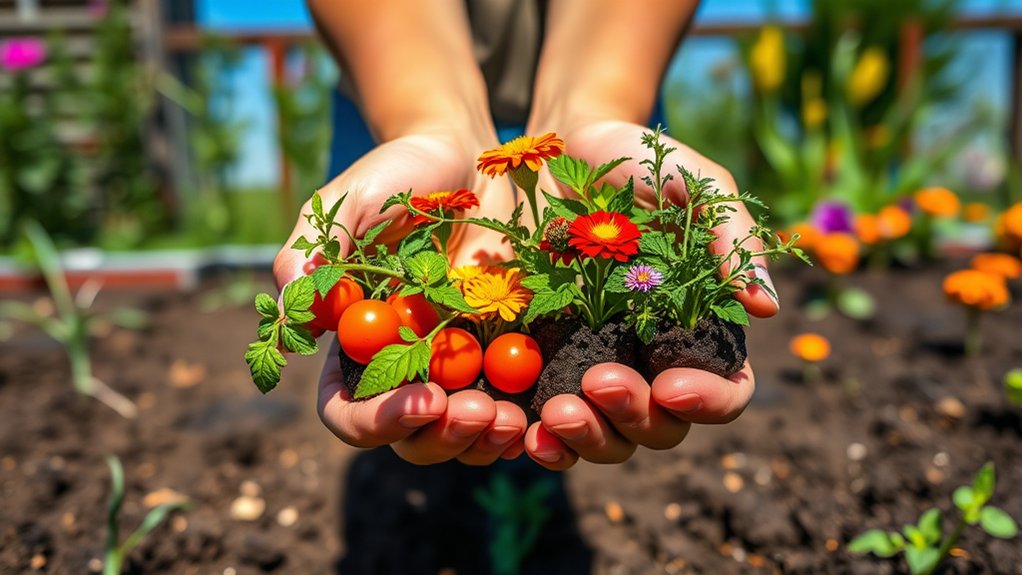
Start with plants suited to your climate and the space you have. Check your region’s hardiness zone and typical rainfall, then compare those conditions with each plant’s needs. Choose varieties that can handle your summers, winters, and available sunlight.
| Garden goal | Plant choice |
|---|---|
| Reliable color | Climate-hardy perennials |
| Local wildlife | Native flowers and grasses |
When choosing perennials, consider mature height and spread, not just the size of young plants. Give each variety enough room, and group plants with similar water and light needs.
For a compact bed, look for dwarf cultivars or plants that grow upright rather than wide. If you want a longer display, select species with different bloom times.
Selecting natives can make your garden a better fit for local conditions and provide food or shelter for beneficial wildlife. Read plant labels or consult a local nursery to confirm a species suits your area.
Make a short list before you buy, balancing colors, textures, bloom seasons, and the space each plant will occupy.
Prepare the Soil for an In-Ground Garden
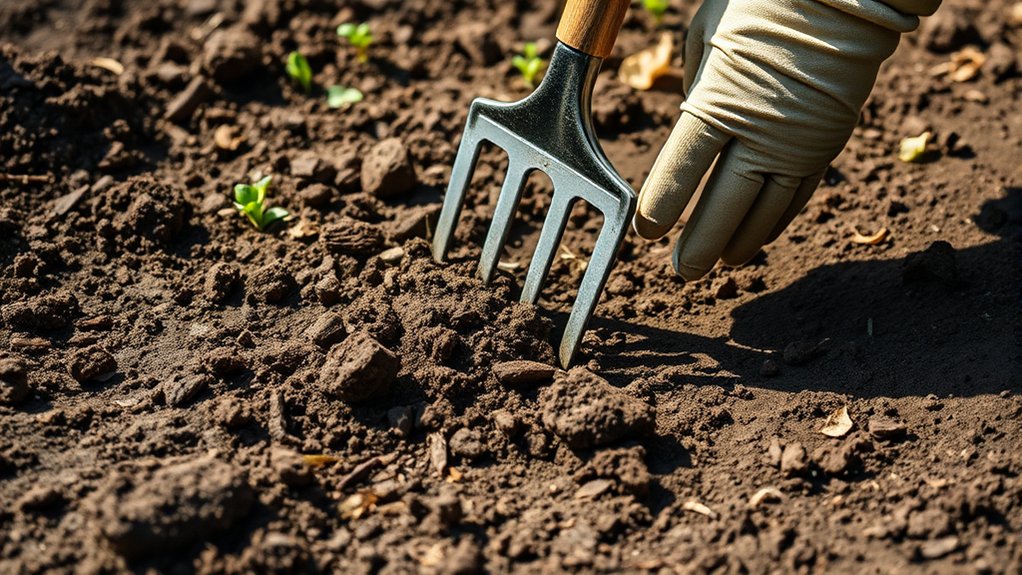
Before planting, prepare the soil so roots can access air, water, and nutrients. Start by clearing grass, weeds, rocks, and debris from your chosen bed. Loosen the ground with a garden fork or shovel, working about 8 to 12 inches deep. Avoid digging when soil is wet; handling it then can compact the structure.
Check your soil composition with a simple test kit or a sample sent to a local extension service. The results can reveal pH and nutrient levels, helping you decide what amendments your garden needs. If the soil feels dense or drains poorly, mix in finished compost to improve its texture. Sandy soil can also benefit from compost, which helps it hold moisture and nutrients.
Add a modest layer of compost and blend it into the top several inches. Set a steady composting rhythm by replenishing organic matter each season. Rake the surface smooth, then water lightly to settle the bed before planting.
Plant Seeds and Seedlings at the Right Depth
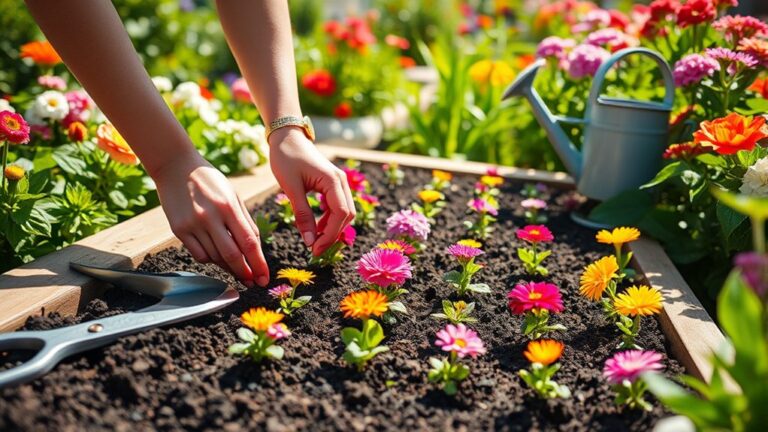
How deep should you plant? Check each seed packet for its recommended seed depth, since seeds vary in size and germination needs. As a general guide, cover a seed with soil about twice as deep as the seed is wide. Tiny seeds often need light to germinate, so press them onto the surface or cover them only lightly. Larger seeds can go deeper, but don’t bury them beyond the packet’s instructions. Mark each row so you’ll know what you’ve planted.
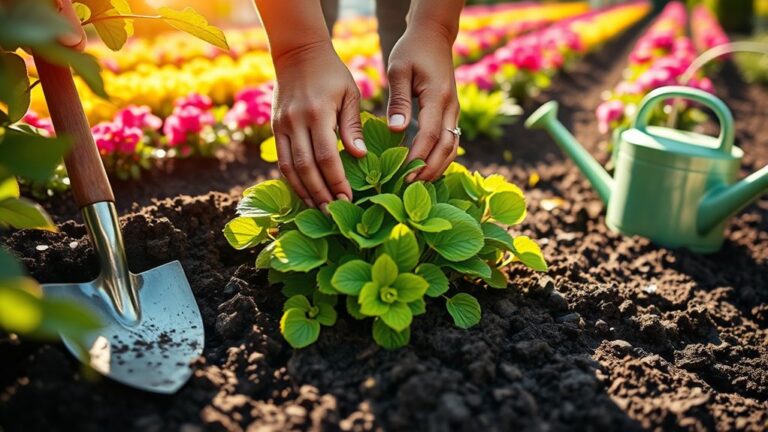
For seedlings, make a hole deep enough to hold the root ball, and follow the plant’s preferred seedling depth. Set most seedlings at the same soil level they had in their pots. Tomatoes are an exception: you can bury part of the stem, which may form extra roots. Keep leaves above the soil, and gently firm the soil around the roots. Space seeds and seedlings according to packet or label directions, leaving room for mature plants to grow without crowding.
Water and Care for Your New Garden
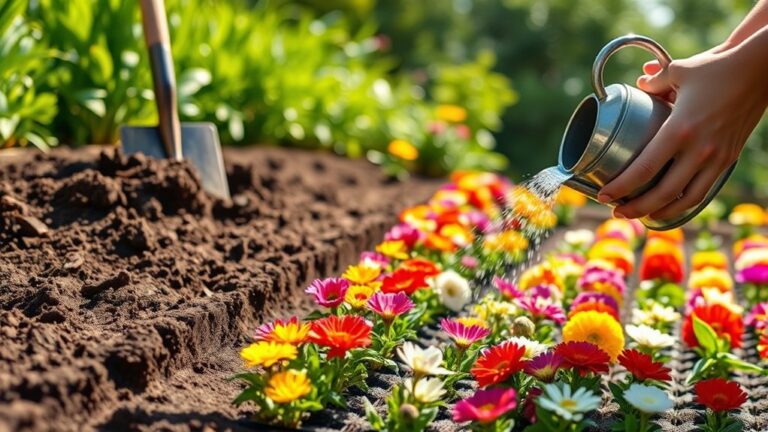
Water your new garden gently and often enough to keep the soil evenly moist while seeds germinate and seedlings take root. Use a watering can or a hose with a soft spray to avoid washing seeds away or damaging tender stems. Check the soil daily by touching it; if the top inch feels dry, water slowly at the base of your plants.
As roots grow deeper, adjust your watering frequency to encourage strong growth. Water less often but more thoroughly, aiming to moisten the root zone without leaving the ground soggy. Early morning is usually best because plants can absorb water before the day heats up, and leaves have time to dry.
Spread a layer of organic mulch around plants to conserve moisture, suppress weeds, and moderate soil temperature. Keep mulch a few inches from stems to prevent rot. Check it regularly, replenish thin spots, and practice mulch maintenance by removing compacted or moldy material. Inspect plants for pests, weeds, and signs of stress, and respond promptly.
Frequently Asked Questions
When Is the Best Time of Year to Start an In-Ground Garden?
The best time to start an in-ground garden is spring, after your soil has thawed and you can work it without creating clumps. Check your region’s last frost date, then plant warm-season crops once frost danger has passed.
For cool-season vegetables, you can often start earlier in spring or plant again in fall. Your best planting timing depends on crop and climate, so plan seasonal soil preparation around local weather and soil conditions.
How Can I Keep Rabbits and Deer Out of My Garden?
Keep rabbits and deer out by surrounding your garden with sturdy fencing. Use deer fencing at least eight feet tall, since deer can jump lower barriers, and bury the bottom several inches or bend it outward to block rabbits.
Add rabbit deterrents, such as motion-activated sprinklers, scent repellents, or wire cages around vulnerable plants. Remove fallen fruit and hiding places, and reapply repellents after rain. Check fences regularly for gaps, damage, or loose sections.
Should I Rotate Crops Each Year in an In-Ground Garden?
Yes, you should rotate crops each year—even if your garden’s small. It may seem like extra work, but a simple plan can reduce soil-borne diseases, discourage pests, and balance nutrient use. These crop rotation benefits make plants healthier over time.
Group vegetables by family, then move each group to a different bed next season. If space limits rotation, try containers or resistant varieties, and use annual soil testing to guide amendments and track soil health.
How Do I Test My Garden Soil for Contaminants?
To test your garden soil for contaminants, contact your local health department or cooperative extension for an accredited laboratory’s instructions. Collect samples from several spots using clean tools, avoid painted or treated areas, and follow the lab’s directions for packaging and delivery.
Request tests for lead and other likely contaminants based on your property’s history. Don’t grow food in suspect soil until you get results. Use raised beds with clean soil if needed; follow pesticide residue controls.
What Tools Are Essential for Maintaining an In-Ground Garden?
Essential tools for maintaining an in-ground garden include a hand trowel, pruning shears, a sturdy hoe, a garden fork, a watering can or hose, and gloves. You’ll use the trowel for planting and weeding, shears for trimming, and the hoe and fork to loosen soil and manage weeds.
Maintenance basics also call for a wheelbarrow to move compost or mulch. Choose durable, comfortable tools, and clean them after each use to keep them working well.
Conclusion
Your in-ground garden’s five easy steps are done: you’ve chosen a sunny spot, matched plants to your climate, prepared the soil, planted at the right depth, and watered well. Now comes the “easy” part: keeping an eye on weeds, moisture, and hungry pests.
Check your plants regularly, and adjust care as the weather changes. With a little patience, you’ll soon enjoy the harvest and discover that starting a garden in the ground is surprisingly rewarding for something you can’t hurry.