How Do You Plant Perennials in 10 Easy Steps?
Planting perennials can feel overwhelming when you’re unsure which varieties will thrive or how to get them established. You’re not alone—many gardeners struggle with choosing the right plants and giving them a healthy start. This guide to how to plant perennials in 10 easy steps will help you prepare your garden and plant with confidence.
Choose varieties suited to your climate, then match them to your garden’s sunlight and soil. Check mature sizes, gather healthy plants and tools, clear weeds and debris, and loosen the bed. Test soil and add compost only if needed.
Water plants in their pots, remove them, and loosen crowded roots. Set each at its original depth, backfill, and firm gently. Water deeply, add mulch, and watch for stress; the steps below offer more guidance.
Key Takeaways
- Choose healthy perennials suited to your hardiness zone, sunlight, soil, and local climate.
- Check mature plant sizes and bloom times, then space plants to allow airflow and prevent crowding.
- Test soil drainage and pH, remove weeds and debris, and loosen the bed about 12 inches deep.
- Improve soil with compost only when needed, and water plants in their pots until root balls are evenly moist.
- Remove pots, loosen crowded roots, plant at the original depth, backfill and firm gently, then mulch and water deeply.
Choose Perennials for Your Climate and Garden
Choose perennials that suit your climate, soil, and sunlight so they can thrive with less effort. Check your region’s hardiness zone to find plants that can handle your typical winter temperatures. Then consider your local growing season, rainfall, and summer heat. These factors help you narrow your choices before you buy.
Choose perennials suited to your climate, soil, and sunlight for a garden that thrives with less effort.
Selecting varieties that match your garden’s conditions can also reduce maintenance. Look for disease-resistant plants and cultivars suited to your region. Read plant labels or consult a local nursery, extension service, or experienced gardener for reliable recommendations.
Choose a mix of bloom times if you want color across several seasons, and account for each plant’s mature height and spread when planning your layout.
Give microclimates consideration, too. A sheltered spot near a wall may stay warmer, while an exposed corner may face stronger wind or colder temperatures. Observe these small differences in your yard, then choose plants that can handle them. Your selections will have a better chance to establish and return each year.
2. Match Sun and Soil to Your Plants
Check how much sun each planting spot gets throughout the day. Then test your soil’s drainage and pH to see what conditions you’re working with. Once you know what your garden offers, choose perennials that will thrive in it.
Assess Sun Exposure
Before planting, observe how many hours of direct sunlight each spot gets and note when the shade falls. Check your garden at different times of day, since nearby trees, fences, and buildings can change sun exposure as the seasons shift.
Most perennials grow best when you match their light needs to the conditions you’ve observed. Full-sun plants generally need at least six hours of direct light; partial-sun varieties prefer about four to six hours, while shade-loving types thrive with less.
Read plant labels or catalog descriptions, and consider each plant’s shade tolerance before choosing its location. If a spot gets intense afternoon sun, select plants that can handle heat, or place more delicate varieties where they’ll receive gentler morning light.
Group plants with similar light needs so each gets suitable conditions throughout the growing season.
Test Soil Conditions
How well will your perennials grow in the soil you have? Start with soil testing to learn its pH and nutrient levels. You can use a home test kit or send a sample to your local extension service for more detailed results. Check the soil’s texture, too: squeeze a handful of damp earth. Sandy soil feels gritty, while clay soil forms a sticky clump; loam crumbles gently.
Use your results to improve the ground before planting. Add organic matter, such as finished compost, to support drainage and soil structure. Avoid adding amendments without a clear need, since too much can upset the compost balance and nutrient levels.
If water pools or drains too quickly, adjust the bed with suitable organic material. Retest after changes so you know whether the soil conditions have improved.
Match Plant Requirements
Once you know your soil’s conditions, choose perennials that suit both the light and soil in your planting spot. Check each plant’s label for sun exposure, drainage, and preferred soil type. Match those needs to your test results and observe how sunlight moves across the bed during the day.
| Plant need | What to check | Suitable site |
|---|---|---|
| Full sun | Six or more hours | Open, bright bed |
| Part shade | Three to six hours | Dappled afternoon light |
| Moist soil | Consistent dampness | Low, well-watered area |
| Dry soil | Fast drainage | Raised or sandy bed |
Use this guide to refine your revised design before buying plants. Avoid common pitfalls, such as placing shade lovers in hot afternoon sun or moisture-loving perennials in dry, sandy soil. If conditions vary, group plants with similar needs together. You’ll simplify watering and help each perennial thrive.
3. Space Plants for Their Mature Size
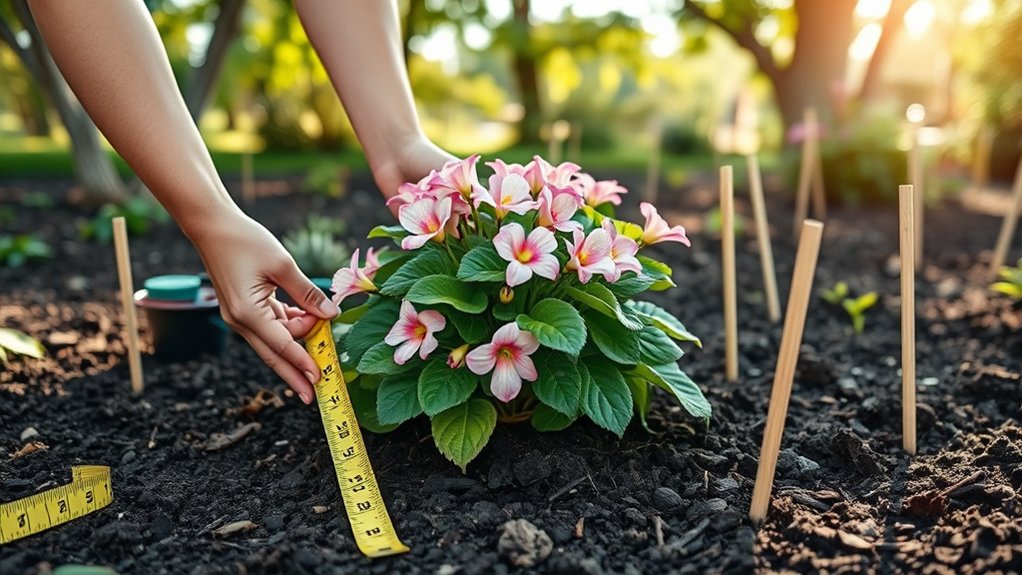
Check each perennial’s mature width before choosing a spot, then follow the recommended spacing to give it room to grow. This also improves airflow and reduces crowding.
Check Mature Plant Width
Before planting, check each perennial’s mature width on its plant tag or in a reliable guide. That measurement tells you how much room a plant may eventually occupy—not how wide it looks in its pot today. Picture each perennial at full size so you can plan a balanced bed and avoid crowding.
- A wide hosta may cover neighboring low-growing flowers.
- A spreading groundcover can reach beyond its original spot.
- Tall, broad plants may shade smaller sun-loving perennials.
- Crowded foliage can limit airflow and make maintenance harder.
- Oversized gaps may remain while young plants grow.
Consider nearby paths, walls, and existing plants as you assess each plant’s mature width. These spacing consequences affect how your garden looks and functions over time. Use the listed width to visualize the finished planting, then choose locations that leave each perennial room to develop without blocking access or overwhelming its neighbors.
Follow Spacing Recommendations
Follow the spacing recommendations on each plant tag, using the mature width you’ve noted to set distances between perennials. Measure from the center of each plant, not from the edges of its nursery pot. This gives roots and foliage room to grow without crowding, while helping you avoid bare gaps as the garden fills in.
If you want a fuller look sooner, you can space plants slightly closer, but don’t ignore their mature size or airflow needs. Crowded perennials compete for light, nutrients, and moisture, and they’re more vulnerable to disease. Leave enough room to reach each plant for pruning and dividing.
Good spacing also supports water management by reducing competition and improving airflow. When adding mulch, follow simple mulching tips: keep it a few inches from stems and crowns.
4. Gather Plants, Tools, and Needed Supplies
Gather your perennials, tools, and supplies before you begin planting so everything’s within reach. Check your plan and gather seedlings or nursery-grown plants suited to your chosen locations.
> Gather your plants and tools before you begin, so everything is ready and within reach.
Choose healthy specimens with firm stems, fresh foliage, and no visible pests. If you’re planting later, give each plant appropriate container care: keep its root ball moist, provide suitable light, and protect it from harsh weather.
Set out these tools and supplies:
- Hand trowel for lifting and placing smaller plants
- Garden fork or spade for handling larger root balls
- Watering can or hose with a gentle spray setting
- Gardening gloves to protect your hands
- Plant labels and a waterproof marker to identify varieties
Keep everything nearby, but don’t crowd your plants or leave them exposed to drying sun and wind while you organize. Check that your tools are clean and in good working order.
Bring the plants to the planting area only when you’re ready to use them, and keep their labels handy so you can confirm each variety as you work.
5. Prepare the Bed and Improve Soil if Needed
Clear weeds, rocks, and debris from the planting area. Then loosen the soil so perennial roots can spread easily. If the soil needs a boost, mix in compost or another amendment.
Clear the Planting Area
Before planting, remove weeds, grass, rocks, and leftover roots so your perennials won’t compete for space or nutrients. Clear the entire bed, including its edges, and check for hidden debris that could interfere with planting.
Pull weeds by hand when the soil is moist, taking care to remove as much of each root as possible. For persistent weeds, use a suitable removal method and follow product directions. Keep these practical points in mind:
- Remove grass and its roots from the planting area.
- Pull weeds before they produce seeds.
- Collect stones, sticks, and other debris.
- Dispose of invasive plants responsibly.
- Keep desirable plants you plan to retain.
Your approach may depend on local rules, so treat this as general disclaimer context. Good gardening ethics means avoiding harmful chemicals when safer options work and disposing of weeds responsibly.
Loosen the Soil
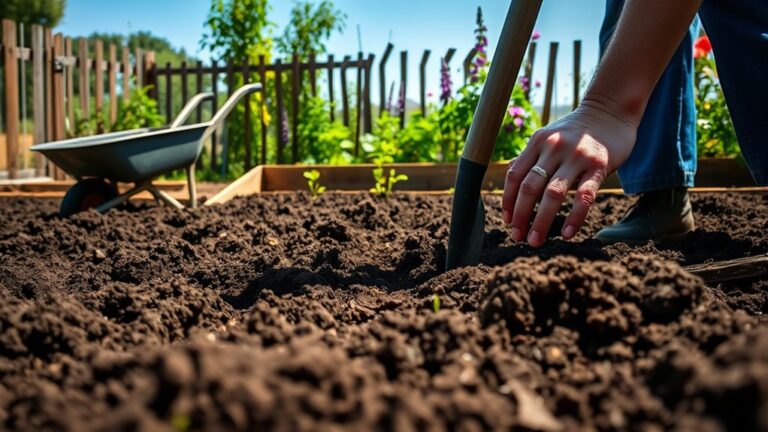
Loosen the soil with a garden fork or spade to help perennial roots spread. Work across the planting bed, breaking up compacted areas without turning the soil too deeply. Aim to loosen soil to a depth of about 12 inches, especially where roots will grow. Remove stones, leftover roots, and other debris as you work, and rake the surface level.
Check the soil’s texture and drainage before planting. If it feels dense or stays soggy, note where you may need to improve the bed; don’t add a soil amendment yet. Avoid digging when the ground is wet, since working it then can compact the soil and damage its structure. When you finish, the bed should be loose and even, ready for the next planting step.
Add Soil Amendments
Amend the bed only if your soil test or drainage check shows a need. Choose materials that address a specific problem, since unnecessary additions can upset nutrient management and harm plants.
Spread amendments evenly across the prepared bed, then mix them into the loosened soil at the depth recommended for your perennial roots.
- Add compost to improve soil structure and support beneficial organisms.
- Use aged manure only when your test indicates a need for added nutrients.
- Mix in sand cautiously; small amounts may worsen heavy clay.
- Apply lime or sulfur only to correct measured pH.
- Follow product labels for rates and handling.
Avoid fresh manure and concentrated fertilizer, which can burn roots. If drainage remains poor, consider a raised bed rather than repeatedly amending the soil. Rake the surface level before planting.
6. Water Perennials Before You Plant
Give each perennial a thorough drink while it’s still in its pot, so the root ball is evenly moist when you plant it. Water slowly at the soil surface, letting moisture soak in rather than run off. If the potting mix has dried out, water once, wait a few minutes, then water again. This helps hydrate the entire root ball.
Check moisture by touching the mix; it should feel damp, not soggy. Don’t leave pots standing in water, since saturated soil can limit oxygen and harm root health. Good water management before planting helps your perennials handle the transition and settle into garden soil.
Water plants shortly before you’re ready to plant, rather than days in advance. If you’ve already watered and the mix remains moist, don’t add more. Keep the plants in a shaded spot while you prepare the planting area, and avoid letting the pots dry out in sun or wind. A well-hydrated plant is easier to establish after planting.
7. Remove Pots and Loosen Crowded Roots
Once the root ball is moist, gently slide the perennial out of its pot, supporting the base of the plant rather than pulling on its stems. If it sticks, squeeze the container or tap its sides to loosen the soil. For a rigid pot, run a clean knife around the inside edge, then ease the plant free.
Examine the roots before plant relocation. Healthy roots should look firm and pale; trim only damaged or rotting sections with clean shears. If roots circle tightly around the root ball, tease them apart with your fingers.
For a dense mat, make a few shallow vertical cuts, then gently spread the roots outward. This careful root pruning encourages new growth without removing too much.
- Loosen tangled roots gently, starting at the outer edges.
- Untangle circling roots so they don’t keep growing in a loop.
- Trim broken, mushy, or dead roots with sanitized tools.
- Keep the root ball intact where roots aren’t crowded.
- Work promptly, and keep exposed roots shaded and moist.
8. Plant Perennials at the Right Depth
Set each perennial at the same depth it grew in its nursery pot, with the crown—the point where stems meet roots—level with the surrounding soil. This depth suits most perennials and helps you avoid burying vulnerable stems or exposing roots. Check the plant’s original soil line before placing it in the hole; a visible change in stem color or texture can help you find it.
Plant perennials at their original nursery depth, keeping the crown level with the surrounding soil.
Some plants need a slight adjustment. Peonies, for example, bloom best when you position their eyes close to the surface, while certain moisture-loving plants tolerate a deeper setting. Check the plant tag or a reliable growing guide if you’re unsure. Don’t assume every perennial follows the same rule.
Set the plant upright and compare its crown with the surrounding ground from several angles. A level crown supports root health and helps the plant settle into its new location. Take a moment to correct the height now, before you move on to the next planting step.
9. Backfill, Firm the Soil, and Water Well
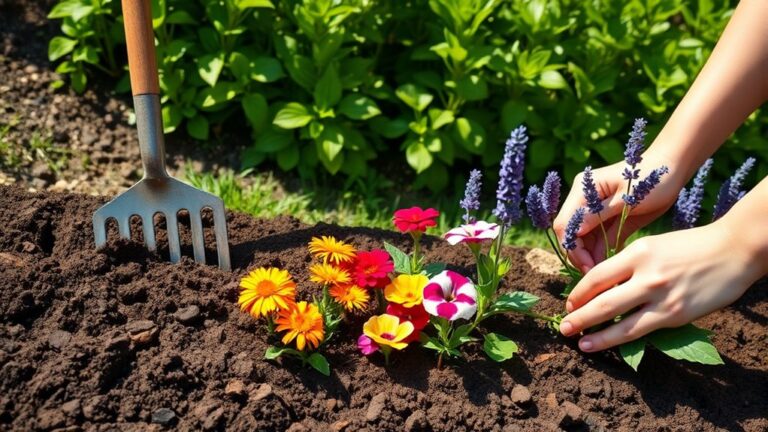
With the perennial at the right depth, backfill the hole with the excavated soil, working it around the roots to fill air pockets. Use the soil you removed unless it’s heavy clay or poor quality; don’t add concentrated fertilizer, which can damage roots.
As you fill, gently firm the soil with your hands to support the plant without compacting it. Keep the crown at its original level, and make sure the plant stands upright.
- Add soil in layers, guiding it between the roots.
- Press lightly around the root ball; avoid stomping.
- Leave the surrounding ground level, not piled against the stems.
- Shape a shallow basin around the plant to direct water toward the roots.
- Water slowly and thoroughly until the root zone is evenly moist.
A steady soak settles the backfill and helps roots make contact with surrounding soil. If the soil sinks after watering, add a little more and firm the soil gently.
Don’t let water pool for long.
10. Mulch and Watch for Signs of Plant Stress
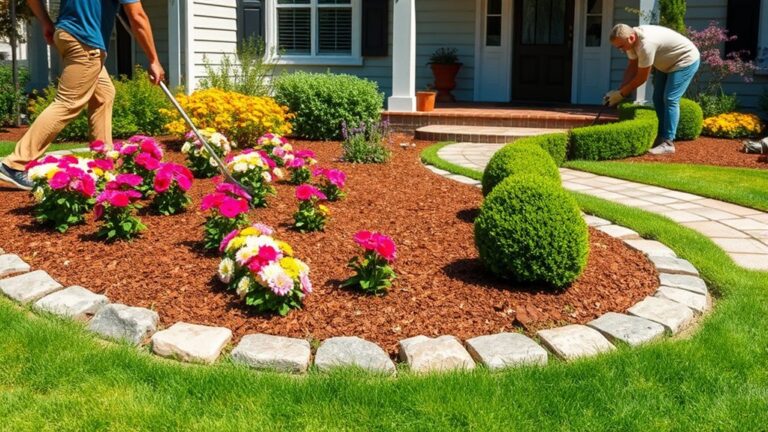
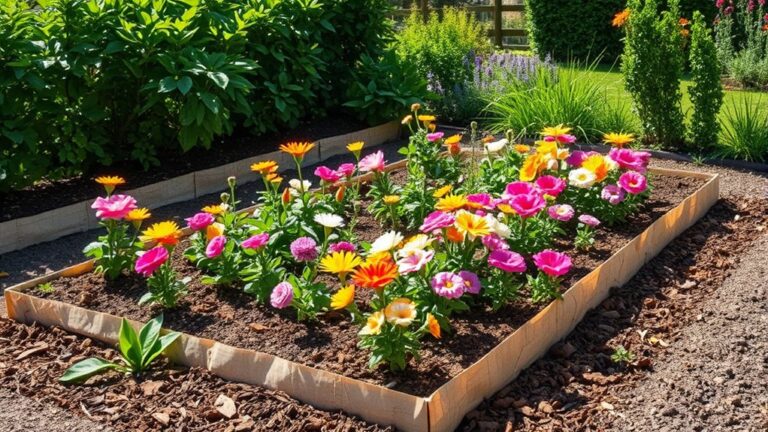
After the water drains, spread a 2-inch layer of mulch around the perennial to conserve moisture and moderate soil temperature, keeping it a few inches away from the stems and crown. These mulch benefits help roots settle in and reduce weed competition.
Choose shredded bark, compost, or leaf mold, and replenish the layer as it breaks down. Don’t pile mulch against the plant, since trapped moisture can encourage rot and pests.
Check your perennial regularly during its first few weeks. Wilting, yellowing leaves, scorched edges, or drooping stems can be signs of stress.
Feel the soil before watering: if it’s dry below the surface, water deeply; if it’s soggy, let it drain and check for poor drainage. A little transplant shock is normal, but worsening symptoms may signal too much sun, too little water, or root damage.
Adjust care gradually, and remove damaged foliage only when it’s clearly dead. Keep observing as new growth appears, and give the plant time to establish.
Frequently Asked Questions
When Is the Best Time of Year to Divide Established Perennials?
The best time to divide established perennials is usually early spring or early fall, when mild temperatures and moist soil help roots recover. Choose spring for summer- and fall-blooming plants; divide spring bloomers after they finish flowering.
Your local climate and each plant’s needs can shift the best division timing, so check specific guidance before digging. Add division to your annual maintenance schedule, and water new divisions well until they establish.
How Often Should Perennials Be Divided?
As a rule of thumb, divide most perennials every three to five years, but check each plant’s needs. Fast-spreading varieties may need dividing every two or three years, while slow-growing types can go longer.
Watch for crowded clumps, fewer blooms, or bare centers; these signs tell you it’s time. Regular division supports healthy growth and simplifies perennial maintenance.
When you split pollinator friendly varieties, replant healthy sections promptly and water them well to help them thrive.
Which Perennials Attract Pollinators to the Garden?
Choose coneflowers, bee balm, salvia, asters, catmint, and black-eyed Susans to attract bees, butterflies, and hummingbirds. These pollinator friendly choices offer nectar rich blooms across different seasons, giving visiting insects a steady food source.
You can also plant milkweed to support monarch caterpillars and butterflies. Select varieties suited to your climate, and group several plants together so pollinators can spot and visit your garden more easily.
How Should Perennials Be Protected Over Winter?
Protect perennials over winter by watering them before the ground freezes, then adding mulch after the soil cools. A 2- to 4-inch mulch layer can help insulate roots and limit freeze-thaw damage.
For effective winter protection, use shredded leaves, straw, or bark, and keep mulch away from plant crowns to prevent rot. Cut back diseased foliage, but leave healthy seed heads for wildlife. Your protecting perennials routine should suit each plant’s hardiness and local climate.
Can Perennials Grow Successfully in Containers?
Yes, you can grow perennials successfully in containers when you choose suitable plants and provide consistent care. Select a pot with drainage holes and enough room for roots, then fill it with quality potting mix.
Perennial containers dry out faster than garden beds, so check moisture regularly and water when the top layer feels dry. Choose Pollinator friendly perennials suited to your climate, give them appropriate sunlight, and protect pots from harsh winter temperatures.
Conclusion
Planting perennials well is an investment in years of color, texture, and enjoyment. Choose plants suited to your climate, give them the right space and growing conditions, and keep an eye on them as they settle in.
For example, if you plant a sun-loving coneflower in a sunny, well-drained spot, it’s more likely to thrive and return each season. With thoughtful preparation and simple aftercare, you’ll be ready to plant perennials and help your garden grow stronger year after year.