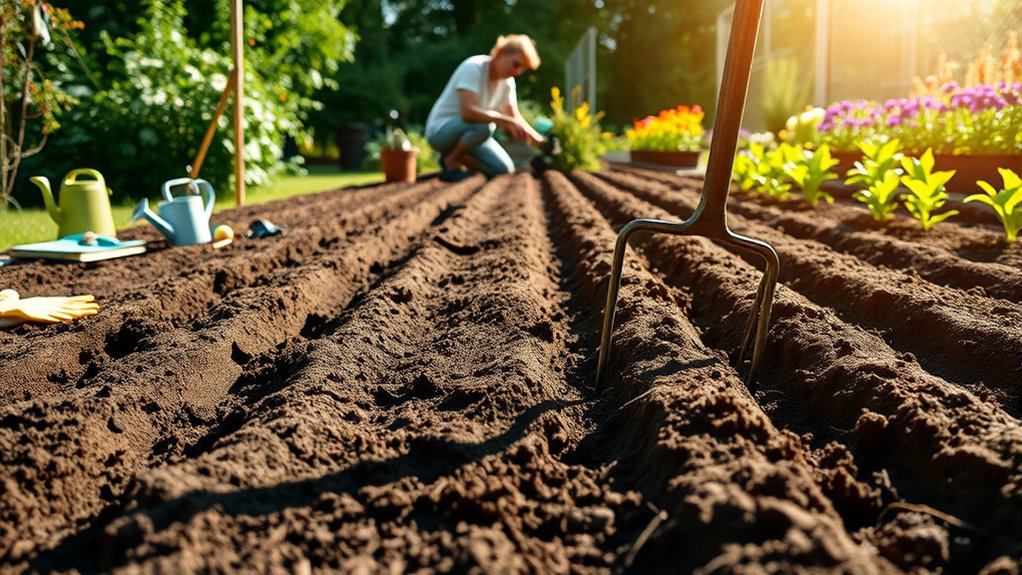
How to Prepare Ground for Planting in 10 Easy Steps
Getting a garden bed ready can feel like a lot of work, especially when you’re unsure where to start. You’re not alone—many people struggle with poor drainage, stubborn weeds, or soil that isn’t ready for planting.
This guide to how to prepare ground for planting in 10 easy steps will help you get your garden bed ready. Choose a spot with at least six hours of sun and check drainage, soil texture, and pH. Mark the bed, then remove grass, weeds, rocks, and roots.
Loosen the top 6–8 inches without working soggy soil. Mix in finished compost and only the amendments your soil test recommends. Rake the bed level, shape rows, and water gently.
Let the soil settle before making planting holes or furrows. You’ll find helpful details for each step below.
Key Takeaways
- Choose a sunny, accessible location with at least six hours of direct sunlight and convenient access to water.
- Test drainage by filling a 12-inch hole twice; check for pooling and repeat in several areas.
- Test soil texture, pH, and nutrients, then follow results to select appropriate amendments.
- Mark the bed, remove grass and weeds, clear debris, and loosen damp soil 6–8 inches deep.
- Mix in finished compost as needed, rake the bed level, water gently, and prepare planting rows or holes.
Choose a Sunny Spot for Your Garden Bed

Before you prepare the ground, choose a spot that gets at least six hours of direct sunlight each day. Watch how light moves across your yard, noting shade from buildings, fences, and trees. If you’re unsure, check the area at different times over a few days. This sunny placement helps you choose a location that suits sun-loving vegetables and flowers.
Think about how you’ll reach the bed, too. Pick a spot near a path or water source so you can tend your plants without trampling other areas. Keep the bed away from heavy foot traffic, where people or pets might disturb it.
If your yard gets strong gusts, look for natural wind protection, such as a hedge or fence. Avoid placing the bed where a structure blocks sunlight, and leave enough room to work around it. Once you’ve chosen a practical, bright location, mark its boundaries so you can prepare the ground in the next steps. Don’t start digging until you’ve settled on the bed’s position.
Check Sunlight, Drainage, and Soil
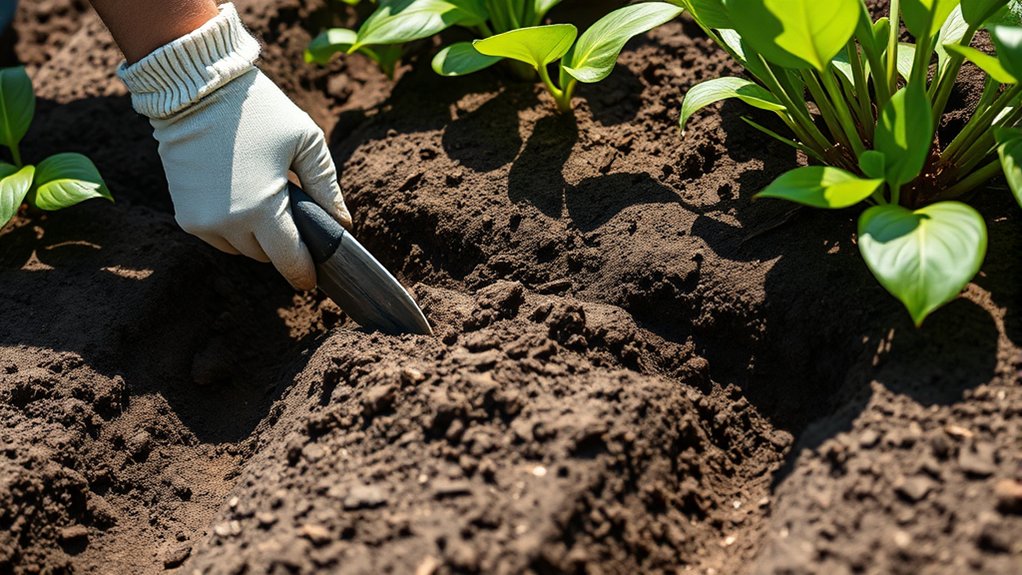
Track how sunlight moves across your garden bed throughout the day. Then check how quickly water drains and test your soil to see what it needs.
Track Sunlight Exposure
Where does the sun linger, and where do shadows fall? Track sunlight across your planting area before you choose a spot. Observe it in the morning, midday, and late afternoon, since nearby trees, fences, and buildings shift shadows as the day progresses.
Note the sunlight timing and estimate how many hours each section receives direct light. Repeat your observations on a clear day, and check again as seasons change; the sun’s path won’t stay the same year-round.
Match your notes to the plants you want to grow. Fruiting vegetables often need several hours of direct sun, while leafy greens and some herbs can thrive with less. Check each plant’s shade tolerance, then group plants with similar light needs.
Mark suitable areas on a simple sketch so you can plan your beds confidently.
Test Soil Drainage
Once you’ve mapped the sunlight, check how quickly water drains from each planting area. Dig a hole about 12 inches deep and wide, then fill it with water. Let the water drain completely; this pre-wets the ground. Refill the hole and measure the water level. Check it after an hour. If water remains or drops slowly, drainage may be poor. If it disappears quickly, the ground may dry out too fast.
Repeat the test in several spots, since soil texture and drainage can vary across your yard. Note any puddles after rain, too. These simple checks give you useful discussion ideas when choosing plants suited to each area. For now, focus on water movement, not soil nutrients or pH; you’ll assess soil quality separately.
Check Soil Quality
With sunlight and drainage mapped, check the soil itself to see what your plants will be growing in. Take a handful of moist soil and squeeze it; sandy soil crumbles, while clay holds its shape. Loam forms a loose ball that breaks apart easily.
| Check | What to look for |
|---|---|
| Texture | A crumbly, workable feel |
| Soil pH | A reading suited to your plants |
| Nutrient balance | Healthy growth without excess |
Use a home test kit or send a sample to a local extension service to measure soil pH and nutrient balance. Follow the results before adding amendments; too much fertilizer can harm roots or wash into waterways.
If the soil feels compacted or low in organic matter, mix in finished compost. Retest after changes, and choose plants suited to the conditions you can’t readily improve.
Mark the Bed and Remove Existing Growth
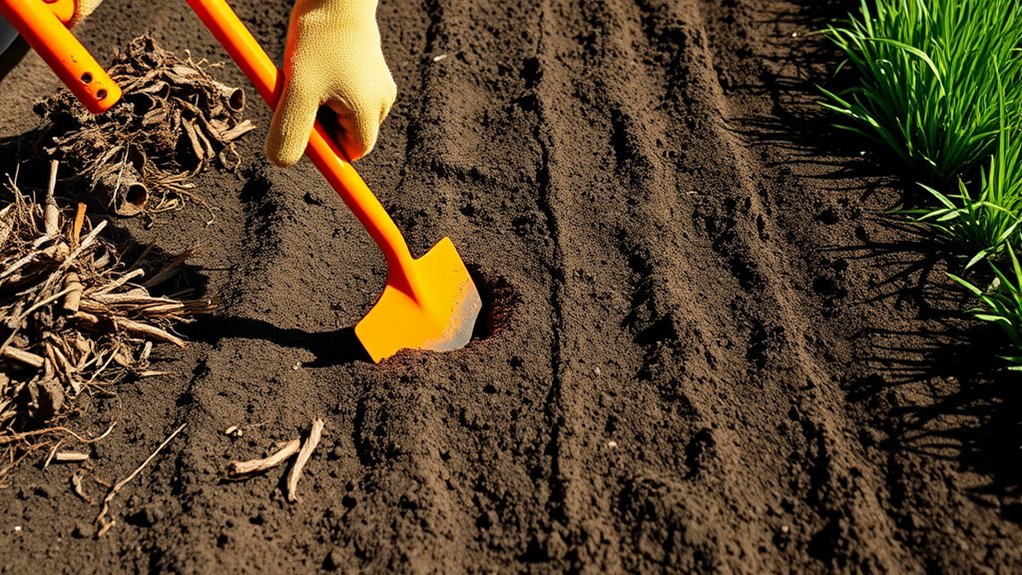
Before you clear the area, mark the bed’s boundaries with stakes and string so you can see exactly where to work. Keep the outline simple, adjusting its shape to fit your planting plan and the space available. Clear growth only inside the marked area; leave nearby plants undisturbed.
For effective bed preparation, remove grass, weeds, and unwanted seedlings before they spread or compete with your crops. Choose a method suited to the growth and your garden’s needs:
- For a small patch, pull weeds by hand, gripping each plant near its base to lift out the roots.
- For dense grass, slice beneath the sod with a spade, then roll it up and set it aside.
- For tall, leafy growth, cut stems close to the ground with shears, then remove the cut plants.
Work when the soil’s slightly moist, not soggy, so roots release more easily. Consistent weed control now gives your future plants a cleaner start.
Clear Rocks, Roots, and Garden Debris
Remove rocks and stones that could get in the way of roots or tools. Pull out any stubborn roots, then clear away garden debris, such as leaves and stems. With the bed cleared, it’ll be easier to work and ready for soil preparation.
Remove Rocks and Stones
Clear rocks, roots, and garden debris from the soil so they won’t obstruct roots or tools. To remove rocks efficiently, work across a small section at a time and check the surface and shallow soil.
You’ll improve soil texture and create a more even bed for planting. Use these simple steps:
- Scan the surface: Pick up visible stones, gravel, twigs, and dry leaves. Keep a bucket nearby so you can collect debris as you go.
- Loosen compacted spots: Use a hand fork to lift the top few inches of soil. Watch for buried rocks, and remove them without disturbing the bed more than necessary.
- Sort what you find: Set aside large rocks for edging, and discard sharp fragments safely.
This task focuses on stones and debris; save root removal for its own step.
Pull Out Roots
Pull out old roots and weeds so they don’t compete with new plants or snag your tools. Start by loosening the soil around each root with a garden fork or hand trowel. Grasp the plant near its base and pull steadily, aiming to remove as much of the root system as possible. For deep or stubborn roots, work around them from several angles rather than yanking, which can break them off underground.
As you pull weeds, sort out living roots from loose soil and discard them so they won’t regrow. Check the bed for thick roots from past plants, especially where you plan to dig or sow. If a root resists, cut it into manageable sections and lift each piece carefully. Once the area is clear, you can spread a mulch layer after planting.
Clear Garden Debris
Once the roots are out, scan the bed for rocks, sticks, and other debris that could obstruct planting or tools. Work across the soil in small sections, lifting anything that might snag a rake or crowd young roots. As you clear the surface, picture how each object could affect your garden:
- Rocks: Remove large stones that block digging, and set aside small ones for a path.
- Sticks and leaves: Gather branches and dead foliage; compost healthy material, but discard anything diseased.
- Hidden scraps: Pick out plastic, wire, and old labels that could interfere with planting.
Clearing debris gives you a smoother bed and helps you see the soil’s condition before seed selection. Removing decaying material also supports pest prevention by taking away hiding places for insects and slugs. Dispose of waste responsibly, then rake the bed level.
Test the Soil and Read the Results
Before you add amendments, test your soil to find out what it needs. Soil testing gives you a clear picture of conditions below the surface, while nutrient analysis shows which elements your plants can access. Collect a sample from several spots in the planting area, following your test kit or laboratory’s instructions.
Use clean tools, remove stones and plant debris, and mix the soil samples in a clean container. Don’t sample right after applying fertilizer or compost, since recent additions can skew results.
Read the report carefully. Check the soil’s pH first: it affects how well plants absorb nutrients. Then review nutrient levels and compare them with the needs of the crops you plan to grow.
Your results may recommend lime to raise pH, sulfur to lower it, or specific nutrients to correct a deficiency. Follow the report’s rates rather than guessing, and choose amendments suited to your plants. Keep the results handy as you plan your next steps.
Loosen the Soil for Strong Roots
Check the soil’s moisture before you start. It should be damp, not soggy. Then loosen it with a garden fork or tiller to give roots room to grow. Work only as deep as needed to avoid overworking the soil.
Check Soil Moisture
Test the soil’s moisture before loosening it: grab a handful and squeeze. The soil should feel cool and form a loose ball that breaks apart when you tap it. If it crumbles like dust, it’s too dry; if water glistens or your fingers leave a slick smear, it’s too wet.
Wait for a better texture before you work the bed, since soggy ground can compact under pressure. Use these simple clues to guide your next step:
- Dry soil puffs into a pale cloud and won’t hold its shape.
- Moist soil gathers into a soft clump, like damp cake crumbs.
- Wet soil sticks to your palm and shines like clay.
Check several spots, especially near the edges. Tracking soil moisture also supports irrigation planning, so you’ll know when the bed needs water.
Loosen Without Overworking
Once the soil is moist but not soggy, loosen it to give roots room to grow. Use a garden fork or broadfork, working gently through the top 6 to 8 inches.
Lift and crack compacted areas rather than turning every clod; excessive digging can damage soil structure and bring buried weed seeds to the surface. Let soil texture guide your effort: sandy ground needs little disturbance, while dense clay may need careful loosening.
| Tool | Best use | Gentle approach |
|---|---|---|
| Garden fork | Small beds | Lift, then release |
| Broadfork | Larger plots | Rock handles slightly |
| Hand cultivator | Tight spaces | Scratch the surface |
Stop when roots can penetrate easily. Add compost, then use mulching techniques to protect the loosened soil, retain moisture, and limit compaction.
Avoid walking on prepared beds; step onto paths instead.
Add Compost and Needed Amendments
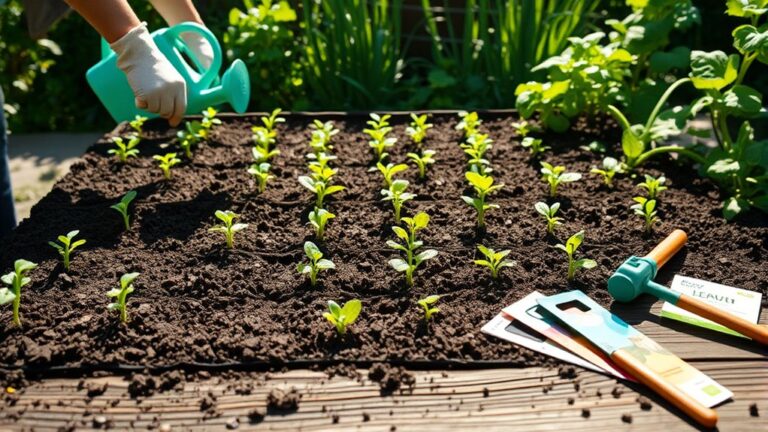
Improve your soil by mixing in finished compost, which adds organic matter and helps retain moisture. For even compost addition, spread a thin layer across the loosened ground, then work it gently into the top few inches. You’ll create a crumbly, darker bed without burying the compost too deeply.
Before adding other soil amendments, check a soil test so you know what your garden actually needs. Follow the test’s rates, since too much fertilizer or lime can harm plants and disrupt soil balance. Picture these useful additions:
- Aged manure: Blend it in well to enrich hungry soil, but avoid fresh manure, which can burn roots.
- Garden lime: Apply it only if your test shows acidic soil and recommends raising the pH.
- Sulfur: Use it when the test calls for a lower pH, measuring carefully.
Choose amendments suited to your planned crops, and mix them evenly through the soil. Don’t add several products just in case; targeted changes support healthier roots and steady growth.
Level the Bed and Shape Planting Rows
After mixing in compost and amendments, rake the bed smooth to create an even surface for planting. Break up clods and remove stones, roots, and other debris as you work. Pull soil from high spots into low areas, then check the surface with a straight board or rake handle. A level bed helps you plant at consistent depths and makes efficient use of space.
Next, plan your bed orientation around sunlight, slope, and access. On level ground, rows running north to south often give plants balanced light; adjust for nearby shade or your garden layout. On a slope, run rows across it to help limit soil movement.
Check seed packets or plant labels for spacing guidance, then mark straight rows with a string, board, or shallow furrow. Shape raised rows only when your crops or soil conditions call for them, keeping their height and width consistent. Your compost timing matters, too: finish shaping after amendments are mixed in, so you won’t disturb the prepared bed later.
Water the Ground and Let It Settle
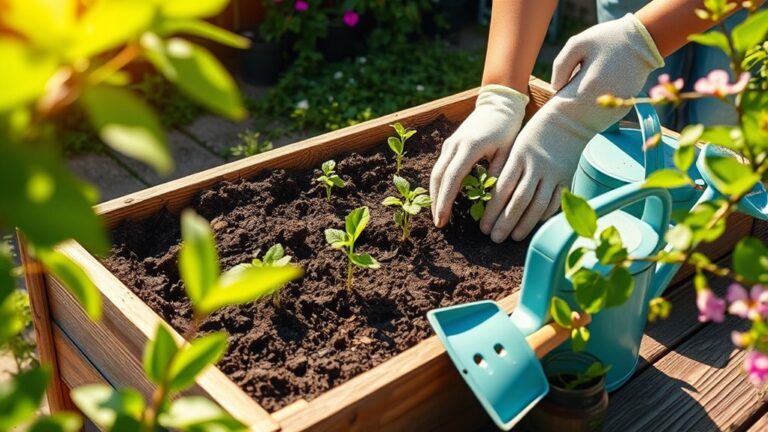
Water the prepared bed gently to moisten the soil without washing away your rows or creating puddles. Use a watering can with a rose head or a hose set to a soft spray.
Work evenly across the surface, and pause if water begins to collect. Your aim is to dampen the bed, not saturate it.
Watch how your soil responds as you water:
- Sandy soil absorbs water quickly, so apply it in light passes and check for dry patches.
- Clay soil may puddle or shed water; slow down and let each pass soak in.
- Loamy soil usually takes water evenly, leaving a dark, moist surface without standing water.
Good water management helps you avoid runoff and keeps the bed uniformly damp. Feel the soil texture with your fingers: it should feel moist and crumbly, not muddy or sticky.
Let the bed rest for a few hours, or overnight, so the moisture settles through the top layer. Check it again before continuing; add a little water if it has dried, but don’t disturb the level rows.
Make Planting Holes or Furrows
With the bed evenly moist and settled, mark where each plant will go. Check seed packets or plant labels for spacing and depth, then use a ruler or garden string to keep rows straight. Proper soil preparation makes planting easier and gives roots room to grow.
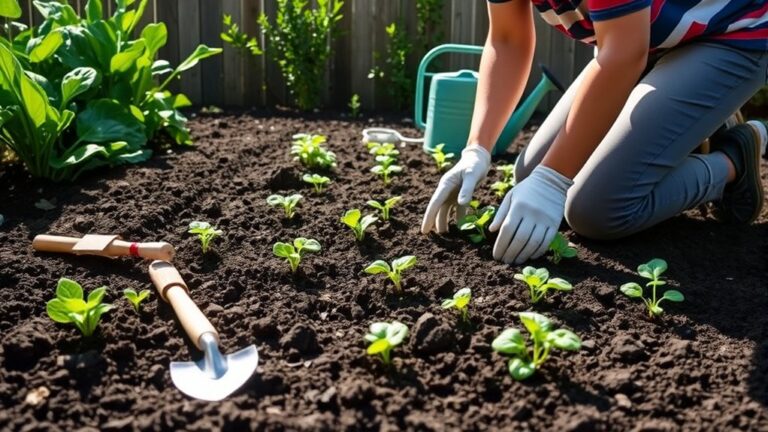
For seedlings, dig holes slightly wider than each root ball and just deep enough to keep the crown level with the soil. Set each plant in place, backfill gently, and firm the soil without packing it tightly.
For seeds, make shallow furrows with a hoe handle or your finger. Follow the packet’s depth and spacing directions. Keep furrows narrow and consistent so seeds don’t wash together when you water.
Think about compost timing before you plant. If you’ve already mixed mature compost into the bed, you usually don’t need to add more to each hole. Avoid fresh manure or concentrated fertilizer, which can damage roots.
Label rows, then water gently to settle soil around seeds or transplants.
Frequently Asked Questions
What Tools Are Best for Preparing a Garden Bed?
The best tools for preparing a garden bed are a spade, garden fork, rake, hoe, and wheelbarrow. Use a spade to edge or remove sod, then loosen soil with a fork; it helps reduce soil compaction without overworking the bed. Rake the surface smooth, and use a hoe to clear weeds. A wheelbarrow moves compost and mulch easily, letting you enjoy mulching benefits such as moisture retention and fewer weeds.
When Is the Best Time of Year to Prepare Ground for Planting?
When should you prepare your planting ground? Aim for early spring, as soon as the soil’s workable, or fall for next year’s garden. Your season timing depends on your climate and what you’ll plant.
Check soil readiness by squeezing a handful: if it crumbles easily, you can work it; if it clumps or feels soggy, wait. You’ll avoid compacting wet soil and give amendments time to settle before planting.
How Long Should You Wait to Plant After Preparing the Ground?
You can usually plant as soon as you’ve prepared the ground, provided the soil is workable and your plants are ready for the season. If you’ve added fresh manure or a concentrated fertilizer, check its label; you may need to wait or let it settle before planting.
Wondering how long to wait after planting? You don’t need to delay planting itself, but give newly planted seeds and seedlings time to establish before disturbing the soil.
Can You Prepare Garden Ground Without Digging?
Yes, you can prepare garden ground without digging. Use no-dig techniques: mow or cut back existing growth, cover the soil with cardboard, then layer compost and mulch on top. The covering smothers weeds while organic matter enriches the soil.
You can plant into the compost layer or wait for it to settle. Raised beds offer easier access and more control over soil quality. Fill a bed with compost and suitable topsoil instead of turning the ground.
How Often Should You Prepare Garden Ground for New Plantings?
Prepare your garden ground before each new planting, but don’t rebuild or deeply disturb it every time. Check soil health at least once a year, and add compost or other amendments only when your soil needs them.
Seasonal timing matters: prepare cool-season beds in early spring or fall, and warm-season beds after frost danger passes. Between plantings, remove weeds, replenish mulch, and lightly loosen compacted areas to keep soil productive without disrupting its structure.
Conclusion
Prepare your garden bed with care, and you’ll give every seed a stronger start. Choose the right spot, clear the ground, and check your soil. Add what it needs, shape the rows, and water the bed. Then make room for each seedling to grow.
You don’t need perfect soil or fancy tools, just a thoughtful plan and steady effort. Start with a sunny patch, work one step at a time, and watch your garden take root, thrive, and reward you. Follow these steps to prepare ground for planting and give your garden a strong start.