How to Start a Flower Bed in 3 Simple Steps
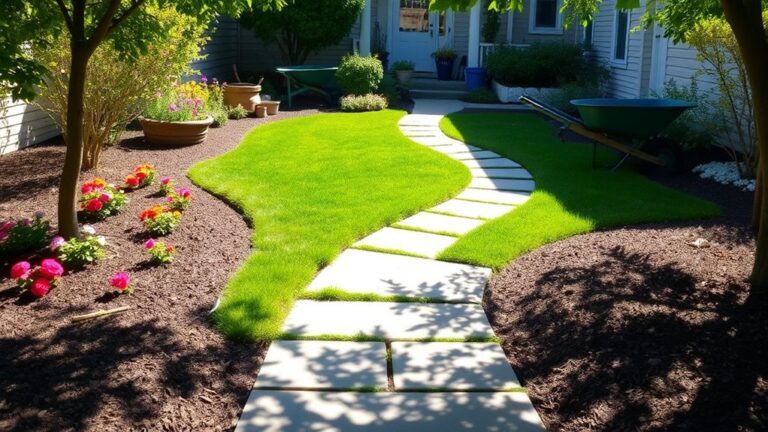
Starting a flower bed can feel overwhelming when you’re unsure where to begin or which supplies you’ll need. You’re not alone—many gardeners struggle to choose the right spot, prepare the soil, and get their plants off to a healthy start. These simple steps can help you start a flower bed with confidence.
To start a flower bed, first choose a visible, accessible spot with enough sunlight for your flowers, convenient water access, and good drainage. Next, mark the bed, remove grass, weeds, rocks, and persistent roots, then loosen the soil and mix in finished compost; use a soil test to guide other amendments. Finally, arrange plants for spacing and balance, set each at its nursery-pot depth, and water slowly and deeply. A few extra planning tips can help your bed thrive.
Key Takeaways
- Choose a visible, accessible spot with suitable sunlight, nearby water, good drainage, and clear paths.
- Mark the bed’s shape, then remove grass, weeds, rocks, and persistent roots.
- Loosen the soil when it’s dry enough to work, and test it before adding amendments.
- Mix finished compost into the soil, using test results to guide any other amendments.
- Arrange and plant flowers according to mature size and light needs, then water deeply.
Choose a Spot for Your Flower Bed
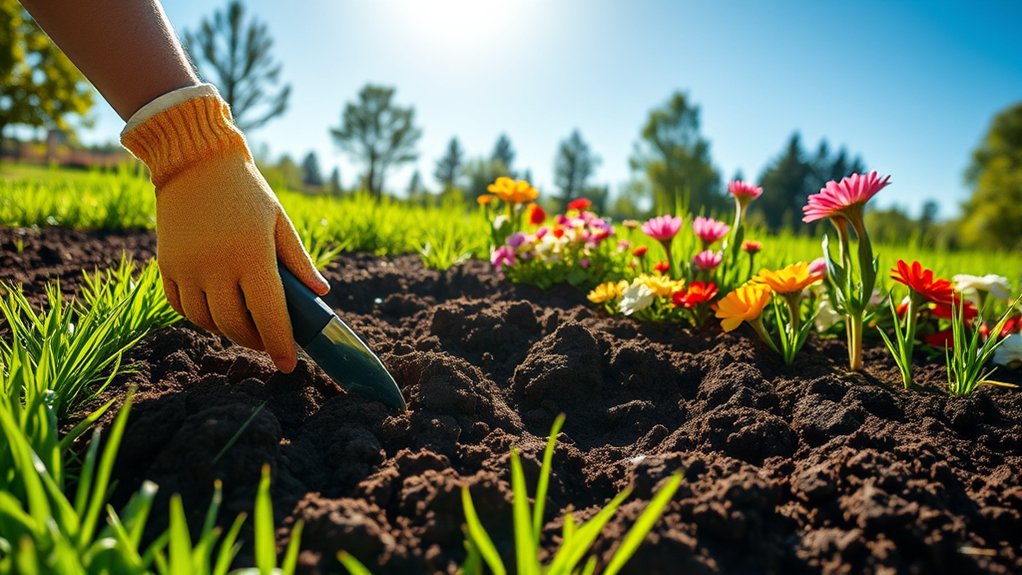
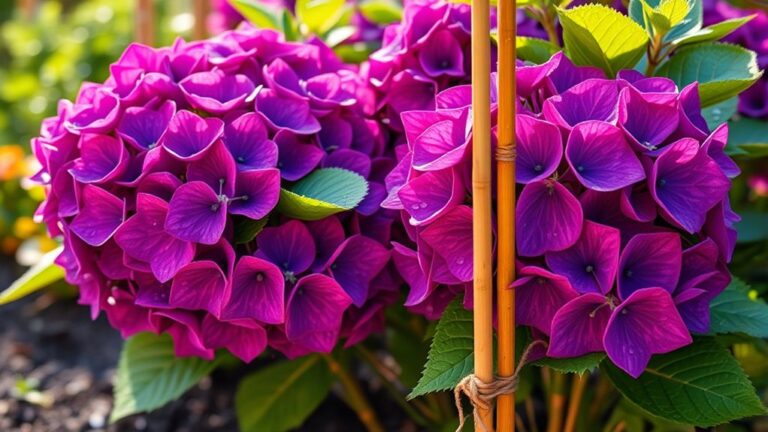
Start by choosing a spot that gets the right amount of sunlight for the flowers you want to grow. Check the area at different times of day, since nearby trees, fences, or buildings can change its sun exposure. Full-sun flowers usually need at least six hours of direct light, while shade-loving varieties prefer less. Match the site to the plants you have in mind, or choose flowers suited to the light your yard already offers.
Next, consider how you’ll see and reach the bed. A place near a patio, entry, or window lets you enjoy the blooms, and sidewalk borders can add color along a walkway. Keep enough room to move comfortably and avoid blocking paths, doors, or views.
Look for a spot with convenient access to water, too. Notice whether rain collects there or runs away quickly, and avoid locations where standing water is common. Finally, check for overhead branches and utility lines so your chosen site can accommodate the flowers’ mature height and spread.
Clear the Bed and Improve the Soil
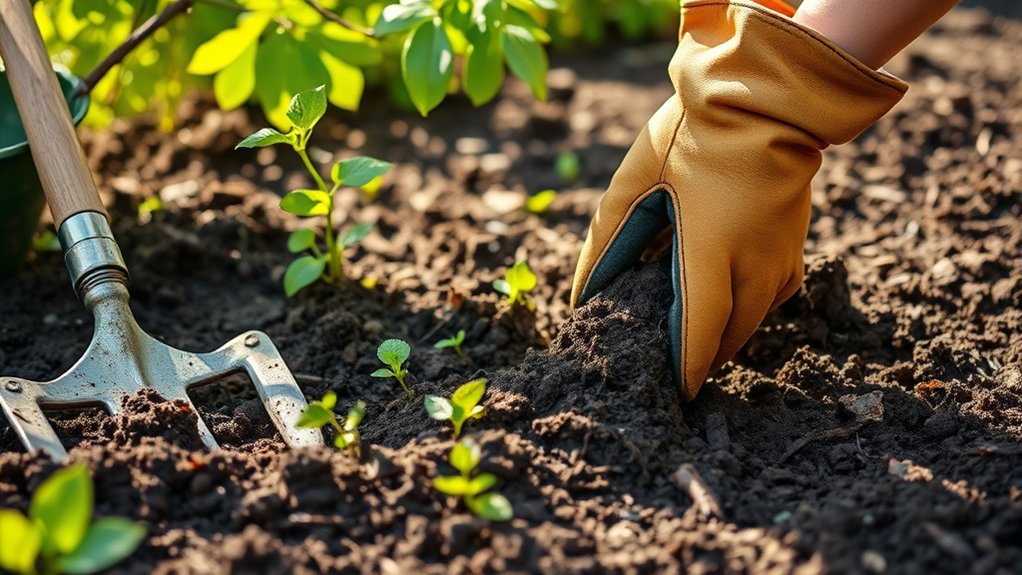
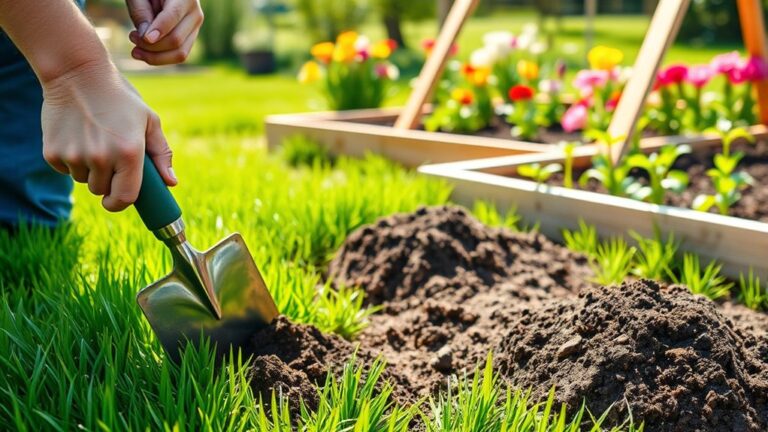
Once you’ve chosen a spot, mark the bed’s outline and remove grass, weeds, rocks, and other debris. Dig out persistent roots so they won’t return.
Loosen the top several inches of soil with a garden fork, breaking up compacted clumps without working wet ground.
Before adding amendments, consider soil testing. A test reveals pH and nutrient levels, helping you choose improvements your bed actually needs. Use this quick guide:
| Check | What to look for | Next step |
|---|---|---|
| Soil test | pH and nutrients | Follow results |
| Texture | Sand, silt, or clay | Add organic matter |
| Drainage | Standing water | Improve soil structure |
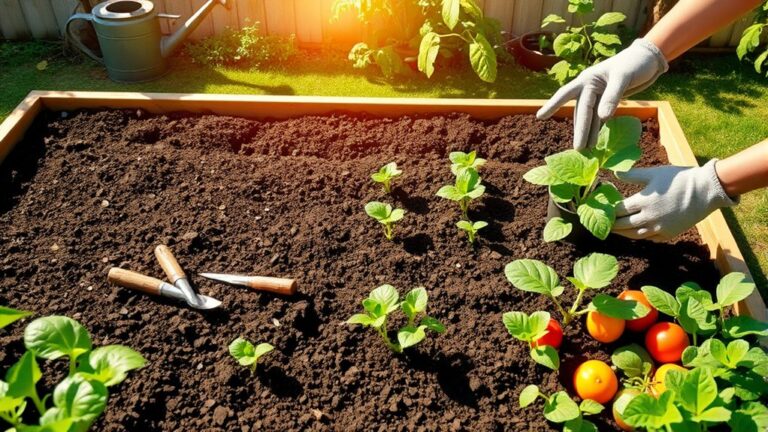
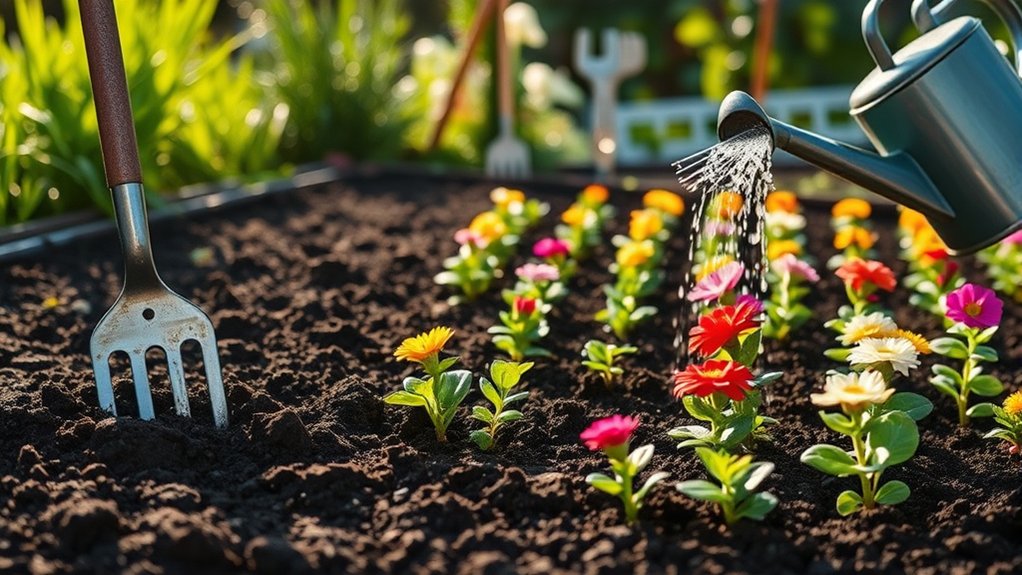
For compost enrichment, spread a layer of finished compost over the surface and mix it into the loosened soil. Compost boosts organic matter and supports a healthier soil structure.
Add only amendments recommended by your test; too much fertilizer or lime can create problems. Rake the surface smooth, remove any remaining debris, and leave the prepared bed ready for planting.
Plant Your Flowers and Water Them Well
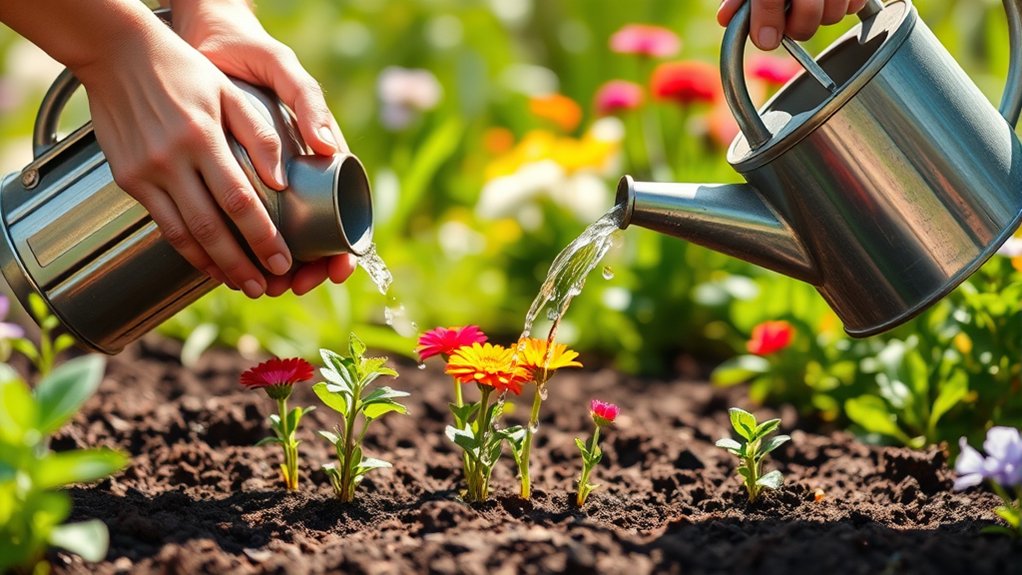
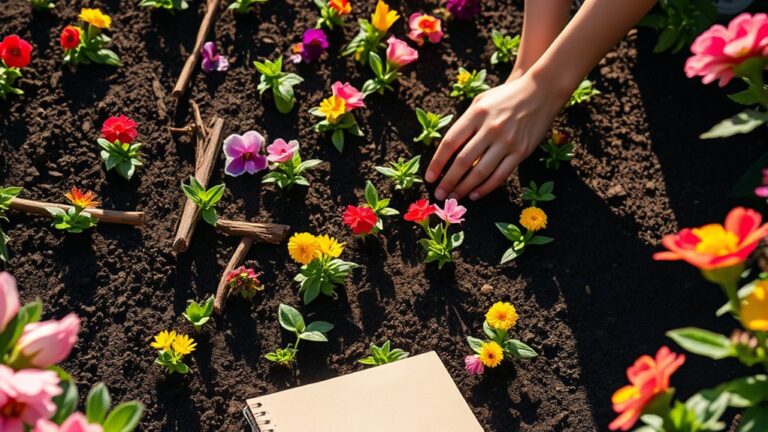
With the bed prepared, arrange your flowers while they’re still in their pots to check spacing and balance. Consider each plant’s mature size, sunlight needs, and bloom time as you refine your flower selection. Your soil testing results can also guide choices, helping you match plants to the bed’s pH and nutrient levels.
When the layout looks right, plant each flower at the depth it grew in its nursery pot. Check the label for specific spacing, then follow these steps:
- Water each pot before planting so its root ball stays together.
- Loosen circling roots gently, and set the plant into a hole wide enough to spread them.
- Backfill with soil, then press lightly around the base to remove air pockets.
- Leave room between plants for airflow and future growth.
Water the bed slowly and deeply after planting, aiming at the soil rather than the leaves. Keep the soil evenly moist while roots establish, checking it often during warm, dry weather. Avoid waterlogged ground, which can stress roots and invite disease.
Frequently Asked Questions
What Flowers Bloom Throughout the Year?
No single flower blooms everywhere all year, but you can enjoy flowers year round by combining plants suited to your climate and staggered perennial bloom cycles.
Choose hellebores, pansies, coneflowers, asters, and winter jasmine for successive seasons. Plan a color coordinated bed design with seasonal color schemes, butterfly friendly blooms, and bee attracting varieties.
Add pest resistant species, use organic pest control, and include drought tolerant options and low maintenance perennials.
How Do I Design a Flower Bed With Different Colors?
You can design a colorful flower bed by choosing a simple palette and repeating blooms for balance. Imagine a sunny border where purple salvia, yellow coreopsis, and white daisies create a lively, coordinated display.
Use color harmony by pairing complementary shades or grouping similar hues, then add seasonal contrasts with flowers that bloom at different times. Place taller plants behind shorter ones, and repeat each color throughout the bed so your design feels intentional, not scattered.
Which Flowers Attract Butterflies and Bees?
Choose flowers rich in butterfly-friendly nectar and bee-friendly pollen, such as coneflowers, black-eyed Susans, zinnias, lavender, and salvia. Butterflies also love milkweed, asters, and lantana, while bees flock to borage, bee balm, and sunflowers.
Plant several varieties that bloom at different times, so you’ll offer food throughout the growing season. Pick single-petal blooms when possible, and skip pesticides to keep visiting pollinators safe. Native flowers are especially helpful.
How Can I Protect Flowers From Pests?
Protect your flowers by checking them often, removing pests by hand, and encouraging helpful insects. Just as a ladybug appears when aphids arrive, you can get lucky—but don’t rely on chance.
Use protective netting to block larger pests, and practice integrated pest management: identify the culprit, choose the least harmful control, and apply it carefully. Keep plants healthy with suitable watering and spacing, since vigorous flowers can better withstand damage.
What Flowers Are Best for a Low-Maintenance Garden?
For a low-maintenance garden, choose hardy flowers that thrive in your climate with little care. You can plant coneflowers, black-eyed Susans, sedum, daylilies, and lavender; these low maintenance perennials return each year and usually need minimal watering once established.
Add drought tolerant shrubs, such as spirea or potentilla, for structure and seasonal color. Pick varieties suited to your soil and sunlight, then mulch around them to conserve moisture and reduce weeds.
Conclusion
Starting a flower bed doesn’t have to feel like a quest through a medieval garden. Choose a sunny spot, clear away grass and weeds, and enrich the soil with compost.
Then plant flowers suited to your light and climate, giving each enough room to grow. Water them thoroughly after planting and keep the soil evenly moist as they settle in.
With these simple steps, you’ll create a colorful flower bed that rewards your care all season long. Your garden awaits!