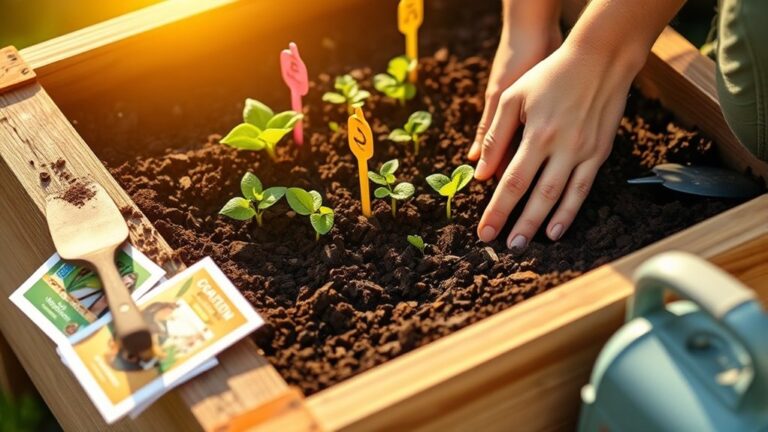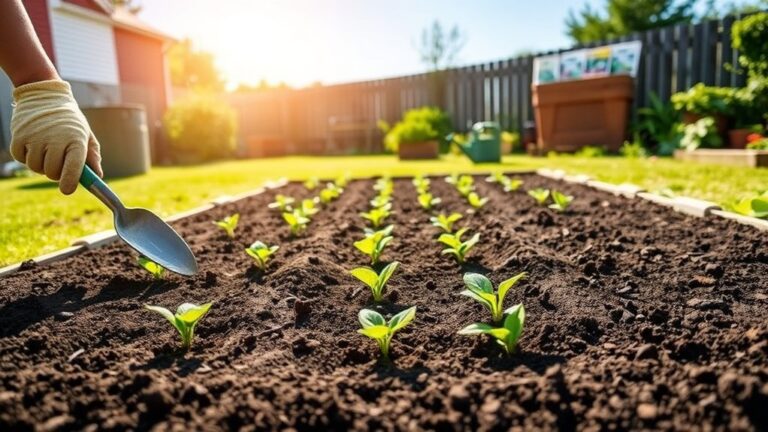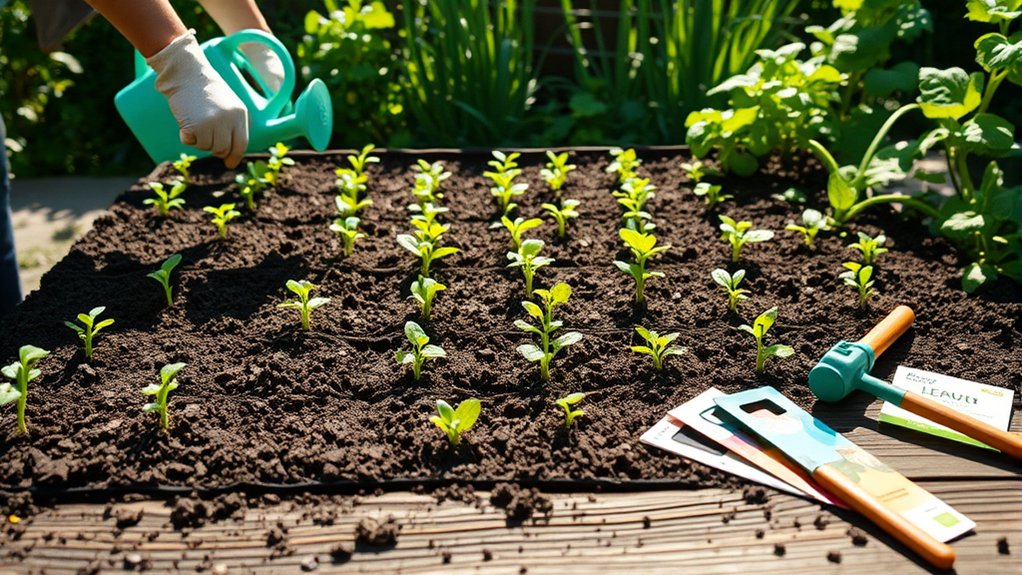
How to Make a Vegetable Garden in 10 Easy Steps
Starting a vegetable garden can feel overwhelming when you’re unsure what to plant, where to put it, or which supplies you need. You’re not alone—many new gardeners face the same questions. This guide to how to make a vegetable garden in 10 easy steps will help you get started with confidence.
To make a vegetable garden in 10 easy steps, choose a spot with six to eight hours of sunlight, then decide between garden beds and containers. Check your frost dates and growing season, and pick vegetables suited to your space and climate. Gather basic tools, test and prepare the soil with finished compost, then plant seeds or transplants at the right time. Water consistently, add mulch, and protect plants from frost. Harvest produce when it’s young and tender; the steps below make getting started even easier.
Key Takeaways
- Choose a sunny, well-drained spot that receives six to eight hours of direct sunlight daily.
- Decide between garden beds and containers based on your space, crops, and watering capacity.
- Check local frost dates, choose suitable vegetables, and plan planting around their maturity times.
- Test and prepare the soil by removing debris and mixing in finished compost.
- Sketch your layout, gather basic tools and watering supplies, then plant seeds or transplants at recommended spacing.
Choose a Sunny Spot for Your Vegetable Garden
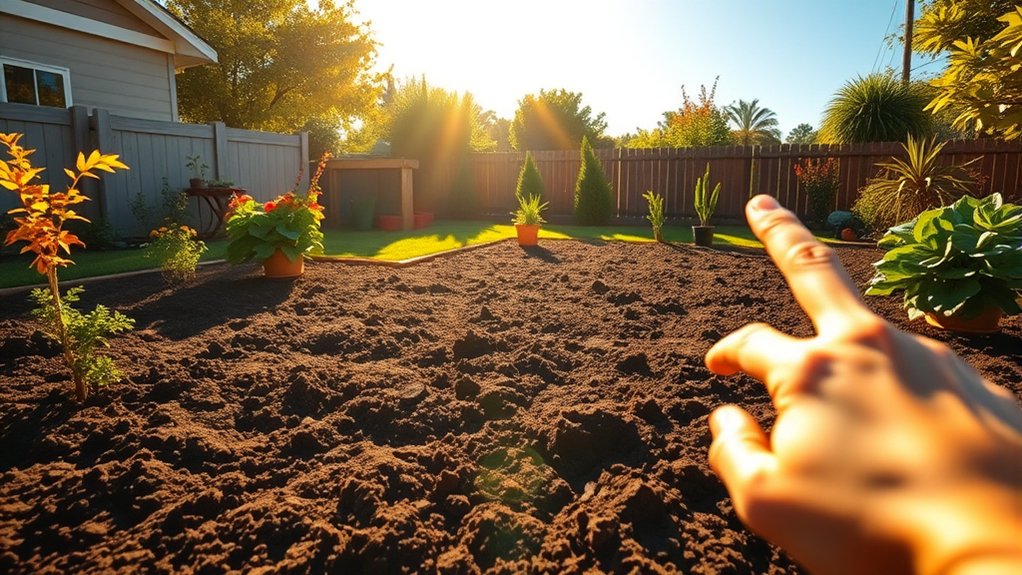
Choose a spot that gets at least six to eight hours of direct sunlight each day, since most vegetables grow best in full sun. A sunny spot helps your plants produce healthy leaves, flowers, and fruit.
Before you settle on a location, observe how sunlight moves across your yard from morning to evening. Trees, fences, buildings, and other obstacles can cast shadows that shift throughout the day, so check the area at different times.
Consider the aspect sunlight reaches most consistently. South-facing areas often receive the longest exposure, while east-facing spots get gentle morning light and west-facing ones receive stronger afternoon sun.
Match the location to the vegetables you want to grow: tomatoes, peppers, and squash need abundant light, while leafy greens can tolerate some shade. If your yard gets uneven sunlight, note which sections stay bright and which become shaded.
Choose the most reliably lit area, and avoid spots where nearby structures block the sun during peak growing hours. This simple check can prevent weak growth and disappointing harvests.
Choose Between Garden Beds and Containers
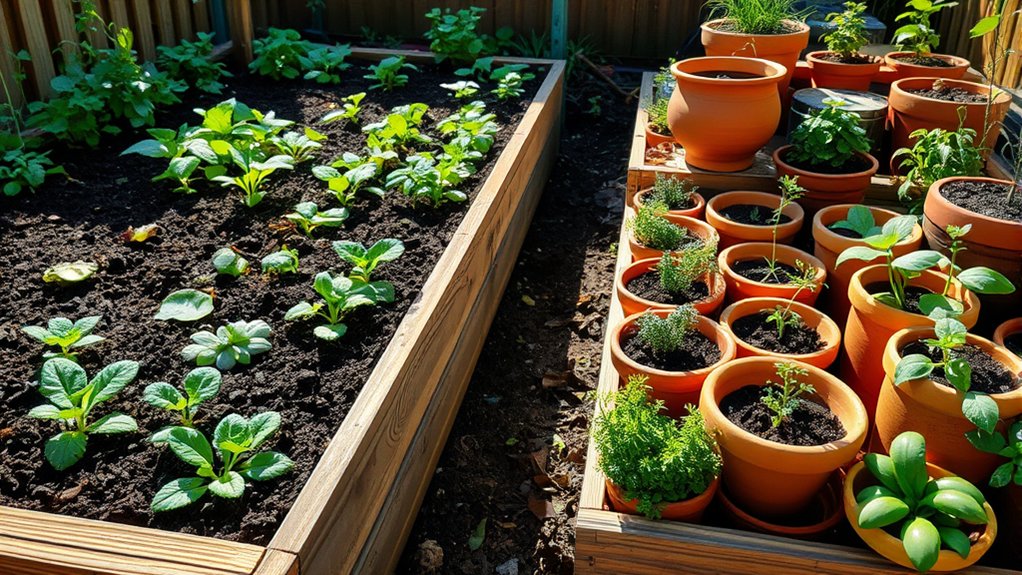
Once you’ve picked a sunny spot, decide whether to grow your vegetables in garden beds or containers. Your choice depends on your space, budget, and how much control you want over the growing environment. Both options can produce healthy crops when you provide suitable soil and consistent care.
- Choose garden beds if you have yard space. Beds give roots room to spread, and you can improve soil health by adding compost and other organic matter.
- Choose containers if you have a patio, balcony, or limited space. Pots let you move plants and manage their growing medium, but they need regular watering.
- Check drainage before planting. Garden beds shouldn’t collect water, while containers need drainage holes and good container aeration to keep roots from staying soggy.
- Match the setup to your needs. Consider how many vegetables you’ll grow, how much room they require, and how much maintenance you can manage.
You don’t need to build a large garden. Start with a few beds or pots, then expand as you gain experience.
Check Your Growing Season and Frost Dates
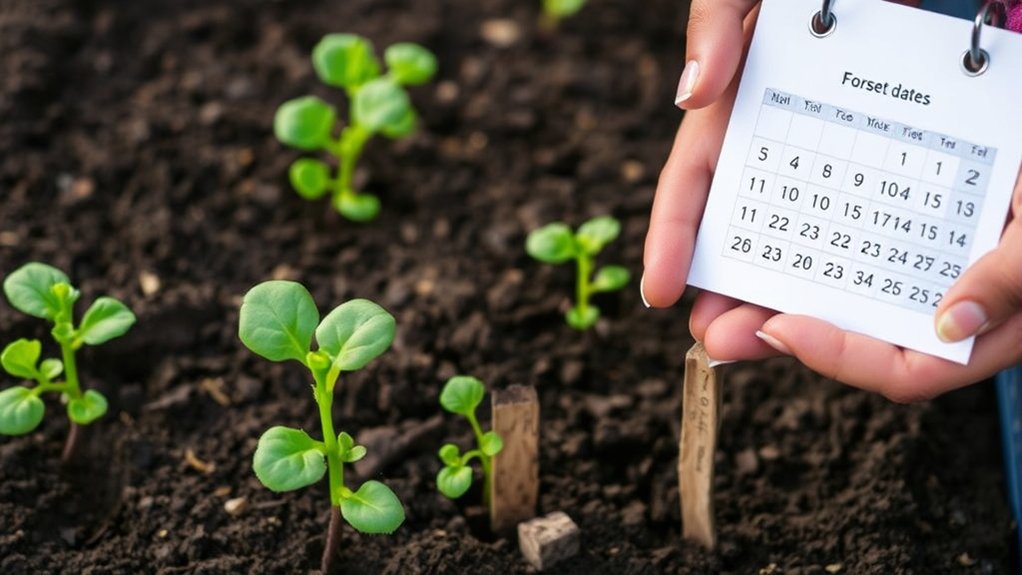
Find your area’s last spring frost and first fall frost dates to get a sense of your growing season. Then check how many frost-free days you’ll have. Use those dates to choose crops and plan when to plant, keeping frost risk in mind.
Find Your Frost Dates
Check your local average last and first frost dates before planting to see how long your growing season lasts. These dates give you a useful starting point, but they’re estimates, not guarantees. Find dates for your exact location, since nearby towns can have different frost patterns.
- Enter your ZIP code on a trusted local extension service or gardening website.
- Check your region’s average spring last frost and fall first frost dates.
- Compare dates from more than one source if they differ.
- Note the dates on your calendar, then watch local forecasts as planting time approaches.
Use frost dates to plan when you’ll start tender vegetables outdoors and when you’ll protect or harvest plants in fall. Your actual conditions may vary with elevation, wind, and garden exposure. Keep the dates handy as you prepare your planting schedule.
Know Your Growing Season
Knowing your growing season helps you choose vegetables that have enough time to mature. Compare each crop’s days to maturity with the frost dates you found earlier.
Count the frost-free days between your area’s last spring frost and first fall frost. Use a local gardening guide or extension service for reliable dates.
Then check seed packets or plant labels to see whether a variety fits your available time.
| Growing-season detail | What to check |
|---|---|
| Frost-free days | Your area’s typical interval |
| Days to maturity | Time listed for each crop |
| Local conditions | Shade, heat, and soil testing |
Your actual season may differ from regional averages because your garden’s location affects warmth and sunlight. Choose quick-maturing varieties if your season is short, and note your results to guide next year’s selections.
Don’t assume every vegetable will thrive locally.
Plan Around Frost Risk
Frost dates help you decide when to plant tender vegetables and when to protect them. Check your local average last spring frost and first fall frost, but remember these dates are estimates, not guarantees. For frost safe planning, use your growing season to schedule planting and harvest.
- Find reliable frost-date estimates from a local extension service or weather resource.
- Check each vegetable’s days to maturity and count backward from your expected fall frost.
- Wait until after the last spring frost to plant warm-season crops like tomatoes, peppers, and beans.
- Prepare early season protection, such as row covers or cloches, if a cold snap threatens.
Watch forecasts as planting time approaches. If frost is predicted, cover plants before sunset and remove covers when temperatures rise. Keep a few extra days in your schedule for unpredictable weather.
Pick Vegetables for Your Space and Climate
Choose vegetables that fit both your growing space and local climate. If you have a sunny yard, you can grow sprawling crops such as squash, cucumbers, and pumpkins. For a small plot, choose compact varieties or plants that grow upward, including tomatoes, pole beans, and peas. In containers, try lettuce, herbs, radishes, or dwarf peppers.
Check how much direct sunlight your chosen spot receives, then match crops to those conditions. Fruiting vegetables usually need full sun, while leafy greens can tolerate some shade. Select varieties suited to your region’s typical temperatures and growing season; local planting guides can help you narrow down options.
If summers run hot, choose heat-tolerant greens and slow-bolting varieties. In cooler areas, favor crops that mature quickly.
Grow foods you enjoy eating, but start with a manageable number of plants. Group crops with similar needs, and plan for crop rotation to support pest management and healthier soil. You’ll get more from a garden tailored to your space.
Gather Your Gardening Tools and Supplies
Gather essential hand tools, like a trowel and pruners, to make planting and upkeep easier. You’ll also want quality soil and compost to nourish your vegetables. And don’t forget a watering can or hose to keep your garden hydrated.
Choose Essential Hand Tools
A few reliable hand tools will make planting and tending your vegetable garden easier. Choose essential gear that feels comfortable in your hands and suits the size of your plot. You don’t need a large collection; start with these four basics:
- Hand trowel: Use it to dig small planting holes, transplant seedlings, and loosen soil around young plants.
- Garden fork: Break up compacted ground and lift weeds without disturbing nearby crops.
- Pruning shears: Trim damaged leaves, harvest herbs, and cut stems cleanly. Keep the blades sharp for easier work.
- Garden gloves: Protect your hands from thorns, rough stems, and blisters while you plant and weed.
Clean your hand tools after each use, dry them before storage, and keep them somewhere easy to reach. This simple routine helps them last longer.
Gather Soil And Compost
Healthy soil gives vegetables the nutrients and structure they need to grow. Before you buy supplies, use soil testing to check your garden bed’s pH and nutrient levels. Then choose amendments that address the results, rather than guessing.
| Supply | Purpose |
|---|---|
| Topsoil | Adds planting depth |
| Finished compost | Enriches soil |
| Soil test kit | Checks pH and nutrients |
| Leaf mold | Improves soil texture |
Select finished compost from a trusted source, or make your own with suitable composting methods, such as layering green scraps and dry leaves. Avoid fresh manure, which can harm plants.
For compacted or poor soil, mix in compost and topsoil as needed; don’t overwork the bed. Keep supplies clean and covered until you’re ready to prepare the planting area. A little planning helps you build a fertile foundation for healthy vegetables.
Prepare Watering Supplies
Before planting, decide how you’ll deliver water to your garden. Choose supplies that suit your plot’s size, your water source, and the time you can spend watering. Keep everything accessible so you can respond quickly when soil dries out or seedlings need gentle care.
- Choose a watering can: Use one with a comfortable handle and a removable rose to water seedlings without washing them away.
- Consider a hose: Pick a length that reaches every bed, and add an adjustable nozzle for a gentle spray.
- Explore drip irrigation: Set up tubing and emitters to deliver water slowly at plant roots, reducing waste and wet leaves.
- Gather small essentials: Keep a bucket, hose connectors, and a rain gauge nearby to carry water, fix leaks, and track rainfall.
Check your setup before planting, and make sure each bed receives water evenly.
Plan Your Vegetable Garden Layout
How you arrange your garden can make planting and harvesting easier. Start by measuring your available space, then sketch its shape on paper. Mark paths, gates, and nearby structures so you can plan around them. An eye catching layout can also be practical: group crops by height, placing taller plants where they won’t shade shorter ones.
Choose a space efficient design that suits your garden. Straight rows work well in larger plots, while raised beds or compact blocks can help you use a small area wisely. Leave enough room between beds for comfortable access, and make paths wide enough to carry your watering supplies.
Next, decide where each vegetable will grow. Check the seed packets or plant labels for mature size and spacing, then avoid crowding. Group plants with similar light needs together, and keep frequently harvested crops close to your usual entry point. If you plan to grow climbing vegetables, assign them a spot where a trellis won’t block access. Keep your sketch handy as you plant.
Prepare the Soil for Healthy Growth
Clear your garden bed of weeds, rocks, and debris. Then test your soil to find out which nutrients it needs. Once you know, add compost and other amendments to give your vegetables a healthy foundation.
Clear the Garden Bed
A clean garden bed gives vegetables room to grow and helps reduce competition from weeds and pests. Before you prepare the soil for healthy growth, clear the space carefully. Gather these simple tools: gloves, a rake, pruning shears, and a bucket.
- Pull weeds by their roots so they won’t quickly return. Remove invasive plants and seed heads, too.
- Cut back dead stems and trim overhanging branches that block sunlight or crowd the bed.
- Pick up stones, litter, and old plant labels. Remove diseased plants rather than adding them to your compost.
- Rake away leaves and debris, then set aside healthy organic matter for composting.
Keep pathways clear as you work, and avoid disturbing the soil more than necessary. You’ll have a tidy bed ready for soil testing and nutrient amendments later.
Test Soil Nutrients
Before adding compost or fertilizer, test your soil to find out which nutrients your vegetables need. A soil test also checks pH, which affects how well plants absorb nutrients.
Collect samples from several spots in your cleared garden bed, taking soil from the same depth each time. Remove stones, roots, and debris, then mix the samples in a clean container.
Follow your test kit’s instructions, or send a sample to a local extension service for a detailed report. The results will show whether your soil nutrients are balanced and identify any deficiencies or excesses.
Check the report’s test capacity to understand which nutrients and soil conditions it measures. Keep the results handy as you plan your garden, and test again periodically to track changes in soil health.
Add Compost and Amendments
Once you have your soil test results, add compost to improve soil structure and support healthy growth. Compost benefits include better moisture retention, improved drainage, and a steady supply of nutrients. Use your test results to choose any additional soil amendments; avoid adding nutrients your soil already has in excess.
- Spread one to two inches of finished compost over the garden bed.
- Mix it into the top six to eight inches of soil with a shovel or garden fork.
- Add only the amendments your test recommends, following package directions for amounts.
- Rake the bed smooth, then water lightly to help the materials settle.
Choose mature compost that smells earthy, not sour, and contains no visible food scraps. Work gently when soil is moist but not soggy to protect its structure. Your prepared bed will give vegetable roots a healthier start.
Plant Seeds and Transplants at the Right Time
Timing matters: plant each vegetable when the weather and soil suit it. Check your seed packets or local planting calendar for frost dates, soil temperatures, and recommended planting windows. Cool-season crops, such as peas, lettuce, and spinach, can go in early, while tomatoes, peppers, and beans need warmer conditions. You’ll get better results when you match each crop to your region’s growing season.
Sow some vegetables directly in the garden, following the packet’s depth and spacing instructions. For crops that benefit from an early start, begin seeds indoors and use seedling timing to plan when you’ll move them outside.
Harden seedlings off by gradually exposing them to outdoor conditions over several days. Then transplant them on a mild, calm day, keeping roots intact and setting each plant at the depth it grew in its container. Follow spacing guidance so mature plants have room to grow. Good transplant care helps young plants settle into their new home. Check labels before planting unfamiliar varieties.
Water, Mulch, and Protect Your Vegetable Garden
After planting, keep the soil evenly moist so seeds can sprout and young plants can establish roots. Water at the base of each plant to reach the roots and keep foliage dry, which helps limit disease. Check soil moisture with your finger; if the top inch feels dry, water deeply. Adjust your routine after rain or during hot, windy weather.
- Water early in the morning to reduce evaporation and support water conservation.
- Apply a two- to three-inch layer of straw, shredded leaves, or untreated grass clippings. Leave space around stems to prevent rot.
- Refresh mulch as it thins, and pull weeds before they compete for water and nutrients.
- Protect plants from pests and harsh weather with row covers, cages, or sturdy stakes.
A thoughtful mulch application steadies soil moisture, suppresses weeds, and moderates temperature. Secure covers against wind, but remove or open them when plants need airflow or pollinators need access. Check your garden regularly, and respond promptly to dry soil, damaged supports, or signs of pests.
Harvest Vegetables at Their Peak
Harvest vegetables at their peak for the best flavor and texture—let ripeness, not the calendar, guide your picking.
Harvest vegetables when they’re ripe to enjoy their best flavor and texture. Check your plants often, since harvest timing can change quickly as fruits and leaves mature. Use seed packets or plant labels to learn each crop’s usual ripening window, then look for visible signs of readiness.
Pick tomatoes when they’re fully colored and slightly soft, and harvest cucumbers while they’re firm and young. Gather leafy greens before they turn bitter, and pull root vegetables when their shoulders reach the size you want.
Beans taste best when their pods feel crisp and seeds remain small. These flavor peaks don’t always match a calendar date, so let appearance and texture guide you.
Use clean scissors or garden shears to cut produce without damaging stems. Handle each vegetable gently, and harvest in the cool morning when possible.
Regular picking encourages many plants to keep producing. If you’re unsure, try one vegetable first; taste it, then adjust your routine to suit your preferences.
Frequently Asked Questions
How Can I Keep Pests Out of My Vegetable Garden Without Using Chemicals?
You can keep pests out with prevention, barriers, and natural remedies. Cover young plants with lightweight row fabric, and use collars around stems to deter cutworms.
Handpick larger insects and remove damaged leaves regularly. Encourage beneficial insects by planting flowers such as marigolds and dill.
Rotate crops each season, clear garden debris, and water at soil level. For targeted pest control, try insecticidal soap or neem oil, following label directions carefully.
What Vegetables Grow Well Together in a Companion Planting Arrangement?
You can pair tomatoes with basil, carrots with onions, and corn with beans and squash for effective companion planting. In one classic crop pairing, corn supports climbing beans while squash shades the soil—a trio sometimes called the “Three Sisters.”
You’ll also find that lettuce grows well beside radishes, since they mature at different speeds. Choose combinations that suit your climate, spacing, and sunlight, and rotate crops each season to help keep pests and soil problems in check.
How Often Should I Rotate Crops to Prevent Soil-Borne Diseases?
Rotate crops every year, and avoid planting the same plant family in a bed for at least three to four years. This crop rotation schedule helps reduce soil diseases by interrupting pathogens’ access to their preferred hosts. Keep a simple map or journal so you can track where each family grows. Include pest prevention in your plan, too: remove infected plants, clear crop debris, and choose resistant varieties when available.
Can I Grow Vegetables Indoors During Winter?
Yes, you can grow vegetables indoors during winter—your tomatoes won’t need to brave the snow in tiny scarves. For successful indoor winter gardening, choose compact crops such as lettuce, spinach, herbs, and cherry tomatoes.
Give them a sunny window or use indoor grow lights for 12–16 hours daily. Keep containers well-drained, water when the soil feels dry, and ensure good airflow. You’ll harvest fresh greens while winter sulks outside.
How Do I Compost Kitchen Scraps for My Vegetable Garden?
You can compost kitchen scraps by layering fruit and vegetable peels, coffee grounds, and crushed eggshells with dry leaves or shredded cardboard. Keep the pile damp, turn it weekly, and skip meat, dairy, and oily foods to prevent pests and odors.
For a small space, learn worm bin basics and let worms process scraps. Once finished, mix the dark compost into your garden soil. You can also steep mature compost in water to make compost tea.
Conclusion
Your vegetable garden won’t transform overnight, but every sunny day brings you closer to a first harvest. Keep watering, watch for pests, and check your plants often; small changes can make a big difference.
Soon, you’ll spot the first ripe tomato or crisp bean hiding among the leaves. Pick it at the right moment, and you’ll taste the reward of your work. But don’t stop there; your next surprise may be growing just out of sight in your vegetable garden.