How Do You Prepare a Garden Bed: 10 Essential Steps
Starting a garden can feel overwhelming, especially when you’re unsure how to turn patchy, compacted ground into a thriving growing space. You’re not alone—many people struggle to know where to begin. The right tools and supplies can make it easier to prepare a garden bed and set your plants up for success.
To prepare a garden bed, choose a sunny, well-drained spot and decide what you’ll plant. Test the soil, then mark a bed size you can reach from both sides. Remove grass, weeds, and debris, and gently loosen the soil without turning it over. Add finished compost or other amendments only as needed. Shape the bed to drain well and leave room to work. Water it gently before planting, then add mulch. These steps create a strong start for a productive garden.
Key Takeaways
- Choose a sunny, well-drained location with at least six hours of direct sunlight, and plan crops suited to your climate and space.
- Mark a bed size and shape that allows easy access, fits mature plants, and leaves room for paths and watering.
- Test soil pH and nutrients, then remove grass, weeds, and debris before preparing the ground.
- Loosen compacted soil gently without turning it over, and add mature compost or other amendments only as needed.
- Shape the bed for drainage, raise it if soil stays soggy, then water evenly and mulch after planting.
Choose a Sunny, Well-Drained Garden Spot
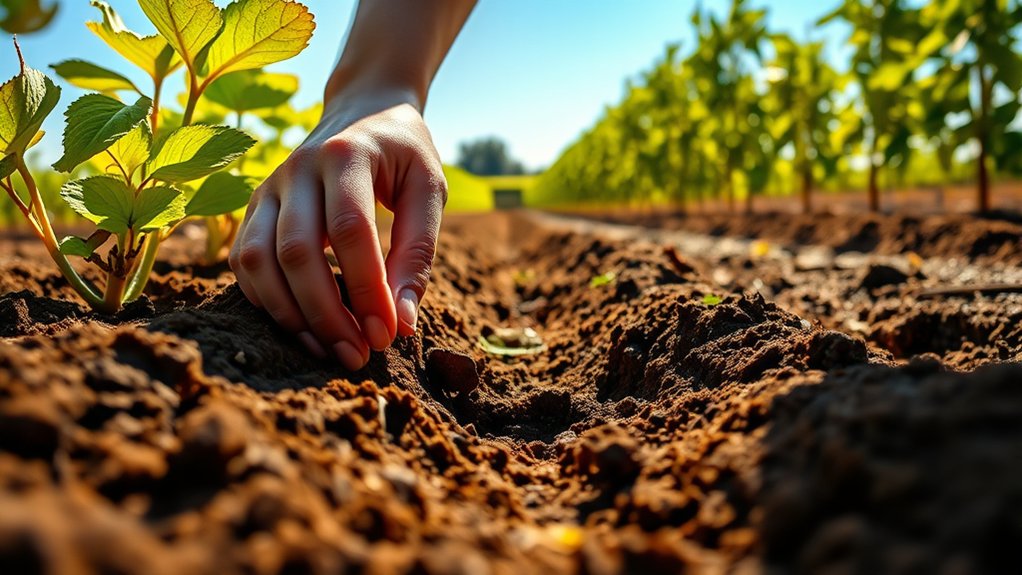
Start by choosing a spot that gets at least six hours of direct sunlight a day, since most vegetables and flowering plants need plenty of light to thrive. Watch how shadows move across your yard, and avoid areas shaded by buildings, fences, or mature trees. A sunny spot helps plants grow strong and produce well.
Next, check how water moves through the area after rain. Choose ground that’s well drained, so roots won’t sit in soggy soil and rot. Avoid low spots where puddles linger, and don’t place your bed beneath roof runoff. If the ground stays wet, consider another location or plan to improve drainage before building.
Look at the soil’s texture and condition, too. Soil testing can reveal its pH and nutrient levels, helping you understand what amendments the site may need. Test before you prepare the bed, and follow the kit’s instructions for a useful sample. A little observation now can save you time and trouble later.
Decide What to Plant in the Bed
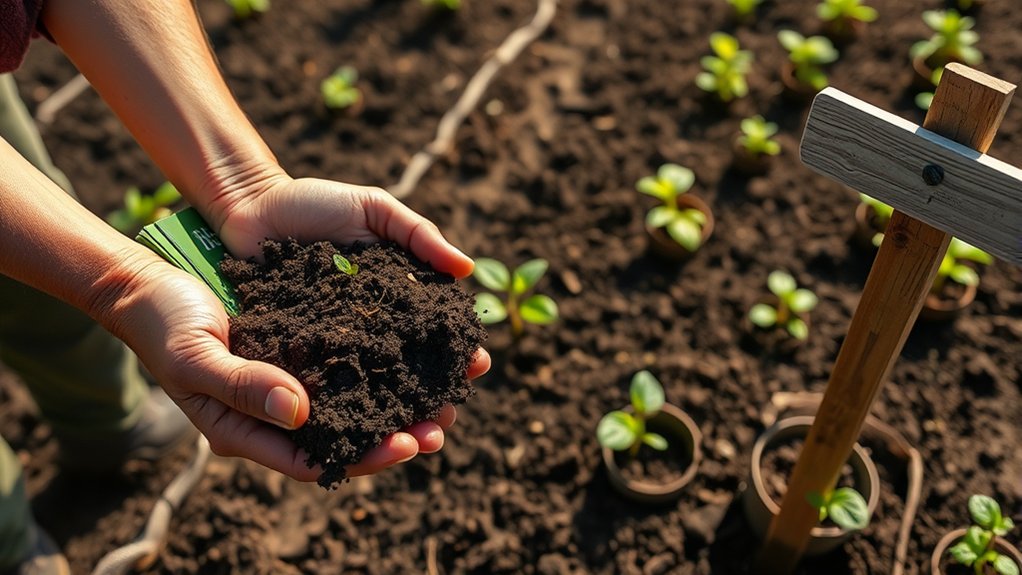
What you plant depends on your climate, available space, and how much time you can give the bed. Start by deciding crops you enjoy eating or flowers you’d like to see, then check which varieties suit your region and growing season. Local planting calendars can help you choose crops that thrive when you plan to sow them.
Consider how much room each plant needs. Tall crops may shade shorter ones, while sprawling varieties can crowd neighboring plants. Match your choices to the bed’s dimensions, and leave enough space for you to water, weed, and harvest comfortably. If you’re new to gardening, choose a few reliable plants rather than filling the bed with demanding varieties.
You can also use companion planting to pair plants that grow well together or attract helpful pollinators. Think about staggered harvests, too: planting varieties with different maturity dates can keep your bed productive longer. Make a simple planting plan before you begin preparing the bed.
Test Your Soil Before Preparing the Bed
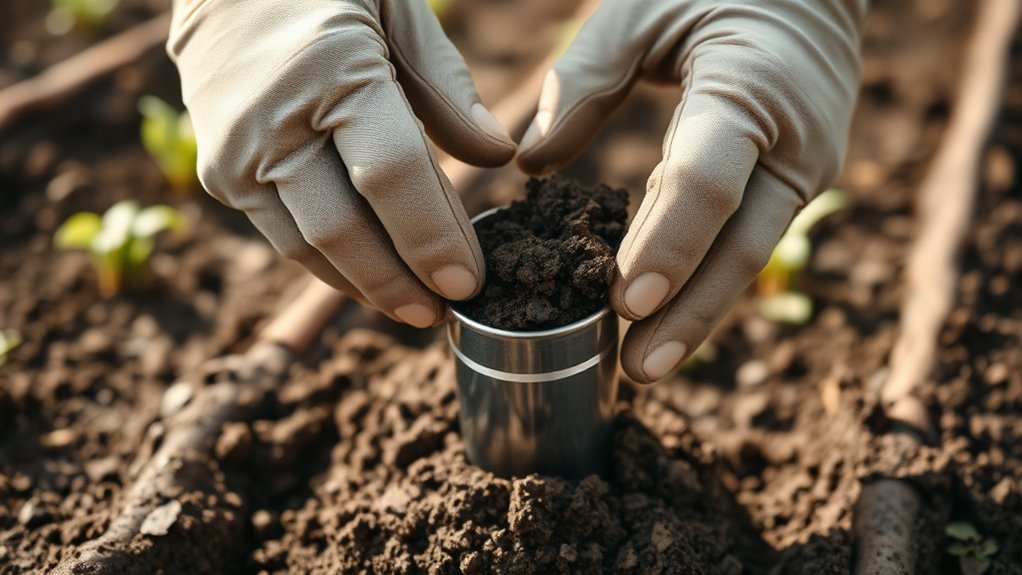
Before you amend the bed, test your soil to learn its pH and nutrient levels. A simple home test kit can give you a useful starting point, but a laboratory analysis offers more detail.
Test your soil before amending the bed to understand its pH and nutrient levels; a lab analysis provides the most detail.
Collect samples from several spots in the area you plan to plant, using a clean trowel. Remove surface debris, then mix the samples in a clean container. Follow the kit’s instructions or send the combined sample to a local extension service.
Check the results for soil pH, which affects how well plants absorb nutrients. Compare the reading with the preferred range for the crops you’ve chosen.
Your report may also show nutrient balance, including levels of nitrogen, phosphorus, and potassium. Use those findings to decide whether your soil needs amendments, and choose products suited to the specific deficiencies.
Don’t add fertilizer or lime by guesswork; too much can harm plants and disrupt soil health. Keep the results handy as you prepare the bed.
Mark the Garden Bed’s Size and Shape
Choose dimensions that fit your space and let you reach the center easily. Then outline a shape that suits your garden’s layout. Mark the edges with stakes and string so you can see the bed’s boundaries.
Choose Bed Dimensions
Mark the bed’s shape and dimensions on the ground before you dig. Choose measurements that fit your space, growing plans, and ability to reach every plant. Keep the bed narrow enough to tend from either side; about four feet works for many gardeners, while a one-sided bed should be narrower.
Set the length to suit your yard, but leave room for paths, tools, and nearby plants. Consider soil texture and drainage methods when deciding how much space to reserve for amendments, raised edges, or runoff control.
Check that the dimensions won’t block sunlight or access to water. If you’re growing vegetables, group crops with similar needs and allow enough room for their mature spread.
Adjust your measurements to accommodate mobility, maintenance, and the garden’s overall layout. Count on future growth, too.
Outline the Shape
Use stakes and string, a garden hose, or flour to outline the bed’s shape on the ground. Follow the dimensions you chose, then step back and check how the outline fits your yard.
A curved shape can soften a formal space, while straight lines may suit a neat, structured garden. Adjust the layout until you like its appearance and can reach every part without stepping into the growing area.
Consider nearby paths, fences, trees, and existing plants as you refine the outline. Leave enough room to move around the bed and tend crops comfortably. This supports Compaction prevention by keeping foot traffic off the future planting soil.
Think about Edge maintenance, too: simple curves and clear corners are easier to care for than intricate shapes. Once the outline looks right, keep it visible for the next preparation step.
Mark the Edges
Once the layout looks right, make the bed’s boundaries easy to see with stakes and string, a garden hose, or a light line of flour. Choose an option that suits your soil, weather, and bed shape.
For straight edges, stretch string tightly between stakes; for curves, bend a hose until the outline looks smooth and balanced. These edge marking ideas help you spot awkward corners before you dig.
Walk around the marked bed and check its size from several angles. Leave enough room to reach plants without stepping into the growing area, and keep paths wide enough for tools or a wheelbarrow.
Adjust the outline now if it crowds a walkway or nearby plants. These boundary marking tips can save you time and prevent a bed that’s difficult to maintain.
Remove Grass, Weeds, and Debris
Clear the bed of grass, weeds, and debris before preparing the soil. A clean space gives your plants room to grow and helps you spot problems before planting. As part of soil preparation basics, remove unwanted growth carefully so it won’t return or compete with new plants.
- Cut back growth: Trim tall weeds and grasses with shears, making them easier to handle. Wear gloves to protect your hands from thorns and irritating plants.
- Lift grass: Use a flat spade to slice beneath turf and peel it away in manageable sections. Shake off loose soil, then reuse healthy sod elsewhere or compost it.
- Pull weeds: Remove each weed by its roots, especially persistent varieties. Work when the ground is slightly moist, so roots come out more easily.
- Clear debris: Collect stones, sticks, dead leaves, and litter. Bag diseased plant material rather than composting it, and dispose of invasive weeds responsibly.
Check the cleared bed for missed roots or scraps before moving on.
Loosen the Soil Gently
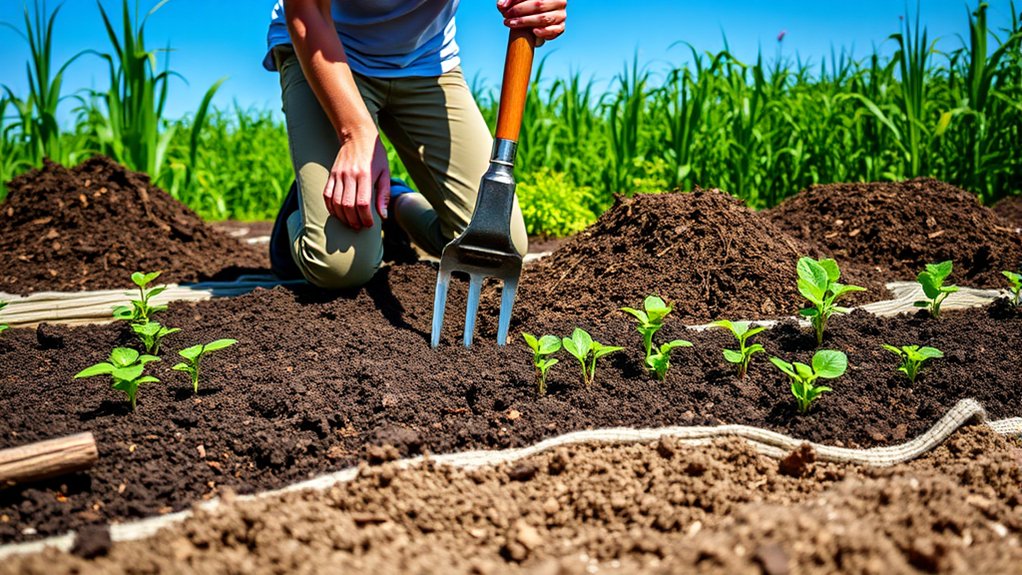
Once you’ve cleared the bed, loosen the soil to help roots grow. Use a garden fork or hand cultivator, and work gently. This helps preserve the soil structure, so avoid digging too deeply or excessively.
Use Gentle Tools
Choose a garden fork or broadfork to loosen compacted soil without turning it over. These gentle tools let you open the ground with less effort and give you control as you work. Good tool handling matters: use steady pressure, keep your back comfortable, and avoid forcing tines through stubborn spots. If the soil resists, adjust your position or try again from another angle.
- Check the ground: Work when soil is moist but not soggy; wet earth clings to tools, while dry ground can be hard to penetrate.
- Place the fork: Push the tines straight down using your foot, keeping your hands on the handle.
- Ease back: Pull the handle toward you just enough to create space for air and water.
- Move along: Repeat at regular intervals, lifting and repositioning the tool rather than dragging it.
Take your time, and let leverage do the work.
Preserve Soil Structure
As you loosen the bed, preserve its natural layers by disturbing the soil as little as possible. Work only where you’ll plant, and avoid turning the entire bed over.
Deep digging can disrupt soil structure, expose buried seeds, and damage the channels that roots, water, and air use to move through the ground.
Use a hand fork or broadfork to gently lift and crack compacted areas without flipping the soil. If the ground is wet, wait until it dries. Working soggy soil can squeeze out air pockets and create hard clumps.
Add compost on top, then mix it lightly into the upper few inches if needed. This approach helps preserve soil life and keeps beneficial organisms near the surface. Stop when the bed feels loose enough for roots to grow.
Add Compost and Soil Amendments
Add compost and soil amendments based on your soil test results and the needs of the plants you plan to grow. A soil test helps you avoid adding nutrients you don’t need.
Compost benefits your bed by adding organic matter, supporting helpful soil organisms, and improving nutrient availability. The impact of soil amendments depends on your soil’s texture and pH, so choose products that address specific test results rather than guessing.
- Choose mature compost: Use finished compost with an earthy smell, not fresh material that may harm plants.
- Select targeted amendments: Add lime, sulfur, or a nutrient source only when your test indicates a need.
- Measure carefully: Follow label rates or test recommendations; excess fertilizer can damage roots and pollute waterways.
- Blend gently: Spread compost and amendments over the bed, then work them into the upper soil without turning deeply or compacting it.
Water the amended soil lightly if it’s dry. You’ll give plants a balanced start while preserving the soil structure you’ve already protected.
Shape the Bed for Drainage and Easy Access
Shape your bed with a gentle slope so excess water can drain away. If the soil stays soggy, raise the bed to improve drainage. Be sure to leave enough room around it, too, so you can easily access and care for your plants.
Create a Gentle Slope
A gentle slope helps rain drain away without carrying soil or nutrients with it. Shape your bed so the surface falls slightly away from nearby buildings, while remaining easy to reach and plant. A gradual grade prevents puddles and reduces erosion; you don’t need steep angles or complicated tools.
- Mark the bed’s edges with stakes and string.
- Check the ground with a level, then identify the direction water should flow.
- Move soil from higher spots to lower ones, smoothing the surface as you go.
- Walk the bed and adjust any dips that could collect water.
Avoid compact soil by working when the ground is dry and loosening it gently. Keep paths clear for comfortable access, and use weed control before planting. Recheck the slope after watering; small changes now can protect your bed through heavy rain.
Raise Beds for Drainage
When poor drainage leaves roots sitting in water, raising the bed can help. Build the soil into a low mound, lifting the center a few inches above the surrounding ground. This simple shape encourages excess water to move away from plant roots while keeping the bed connected to native soil.
For heavier clay, raise the bed more or add compost to improve its structure; don’t rely on sand alone, which can make clay soil denser.
Apply raised bed theory without assuming every garden needs a framed box. A broad, gently crowned bed can provide effective drainage ideas with less construction and still support deep-rooted crops.
Shape the top so water sheds gradually rather than pooling in dips. Check the bed after rain, then adjust its height or contour where water lingers.
Leave Room for Access
As you lay out the bed, leave enough room to reach every plant without stepping on the soil. Compacted ground restricts roots and makes weeding, watering, and harvesting harder. Shape your bed so paths support tidy paths and safe access, even after rain.
- Keep beds narrow enough to reach the center from either side; about four feet works for many gardeners.
- Leave paths wide enough for your tools, wheelbarrow, or mobility needs.
- Slightly slope the bed surface or paths so water drains away rather than pooling around roots.
- Mark the layout with string before digging, then walk the route to check turning space and reach.
If you’re growing beside a wall or fence, keep the bed narrower because you can approach it from only one side. A thoughtful layout protects soil structure and makes routine care comfortable throughout the season.
Water the Bed Before Planting
Before planting, water the prepared bed to settle the soil and reveal dry spots. Apply water slowly across the surface, using a hose with a gentle spray or a watering can. A steady, light flow helps moisture soak in without washing soil away or forming puddles.
Water the prepared bed slowly before planting to settle the soil, reveal dry spots, and avoid puddles or erosion.
Wait a few minutes, then check the bed in several places. If the soil feels dry just below the surface, water those areas again. If water pools or runs off, pause and let it absorb before continuing.
Aim for evenly moist soil, not saturated ground. Overly wet soil can become compacted when you work or plant it.
This initial watering also helps you spot low areas that need leveling and supports good nutrient management by moving available nutrients into the root zone. For water conservation, water early in the day and direct it onto the bed rather than nearby paths.
Let excess moisture drain before planting so roots get air and seedlings settle into a balanced growing environment.
Mulch the Bed After Planting
After planting, spread a 2- to 3-inch layer of mulch over the bed to conserve moisture, limit weeds, and moderate soil temperature. Keep mulch a few inches away from stems and trunks so moisture doesn’t collect against them and invite rot or pests.
Your mulch timing matters: apply it after you’ve watered the bed and settled your plants, but before weeds take hold.
Choose an organic material, such as shredded leaves, straw, or bark, that suits your garden and breaks down over time. Check the mulch depth as you work; a consistent layer protects soil without smothering roots or seedlings.
Use these quick checks:
- Pull mulch back from each plant’s base.
- Leave emerging seedlings room to grow.
- Spread material evenly, avoiding thick piles.
- Replenish thin spots as the layer decomposes.
After rain or watering, inspect the bed. If soil shows through, top up lightly; if mulch mats or stays soggy, loosen or remove some.
Frequently Asked Questions
When Is the Best Time of Year to Prepare a Garden Bed?
The best time to prepare a garden bed is early spring, a few weeks before you plant, once the soil has thawed and isn’t waterlogged. You can also prepare it in late autumn, after harvesting, so winter weather helps break down added organic matter.
Choose the season that fits your climate and planting schedule. Avoid digging when soil is soggy, since you may compact it and damage its structure.
How Deep Should a Garden Bed Be for Different Plants?
Choose garden-bed depth according to what you’ll grow. You can use 6–8 inches for lettuce, herbs, and other shallow-rooted plants; aim for 12–18 inches for tomatoes, peppers, and most vegetables; and provide 18–24 inches for carrots, potatoes, and other deep-rooted crops.
Check soil depth beneath raised beds, too, since roots may extend into native ground. For strong plant compatibility, match each crop’s rooting needs to available soil and drainage.
Should I Use Raised-Bed Edging, and Which Materials Are Safe?
Like a frame around a picture, raised bed edging keeps soil in place and gives your garden a tidy boundary, but you don’t need it for every bed. Choose safe materials such as untreated cedar, redwood, stone, brick, or food-grade plastic. Avoid creosote-treated wood and old railroad ties, which can leach harmful chemicals. If you use pressure-treated lumber, check its label and local guidance before planting edible crops nearby.
How Can I Protect a Newly Prepared Bed From Pets and Wildlife?
Protect your newly prepared bed with sturdy fencing, low hoops, or mesh secured firmly at ground level. For pet protection, add a small barrier around seedlings and redirect digging or trampling with a designated play area.
Choose wildlife deterrents that suit local animals, such as motion-activated sprinklers, netting, or humane repellents. Cover exposed soil with mulch, and check barriers regularly for gaps, loose edges, or trapped creatures. Avoid harmful chemicals and sharp deterrents.
How Long Should I Wait Before Planting After Applying Fresh Manure?
Wait at least 90 days before harvesting crops that touch the soil, such as leafy greens, and 120 days for crops whose edible parts contact the ground.
For other plantings, don’t apply fresh manure directly before planting. Let it age or compost fully first, usually for several months.
Your composting timing matters: properly composted manure is safer and gentler on plants. Follow local food-safety guidance, since recommendations can vary by manure type and conditions.
Conclusion
A well-prepared garden bed gives your plants a strong start and makes your work easier throughout the growing season. Choose the right spot, understand your soil, clear the area, and add the nutrients your plants need. Shape the bed for good drainage, water it before planting, and finish with mulch to hold moisture and discourage weeds. With these steps, you’re setting the stage for healthy growth. Preparing a garden bed is the foundation for a flourishing garden.