How to Get Into Gardening in 10 Simple Steps
Starting a garden can feel overwhelming when you’re unsure what to plant, how much to water, or which tools you need. You’re not alone—many people struggle to know where to begin. These simple steps can help you get into gardening and find the right products to make your first garden easier.
To get into gardening in 10 simple steps, choose a small sunny space, check its light and your growing zone, then select two or three suitable plants. Decide between seeds and healthy starter plants. Choose pots with drainage and loose potting mix, then plant at the right time and depth. Water deeply at each plant’s base, inspect for pests, and remove weeds or diseased leaves. Track watering and growth in a notebook; a few practical tips can help your garden thrive.
Key Takeaways
- Start small with two or three plants in a sunny windowsill, balcony, patio, or garden bed.
- Check sunlight, growing-zone conditions, and soil type before choosing plants suited to your space.
- Choose suitable containers with drainage holes and use loose, well-draining potting mix.
- Decide between seeds and starter plants; follow local frost dates, planting depth, and spacing instructions.
- Water deeply at the base, check plants for pests or disease, and track care in simple notes.
Start Gardening in a Small Space
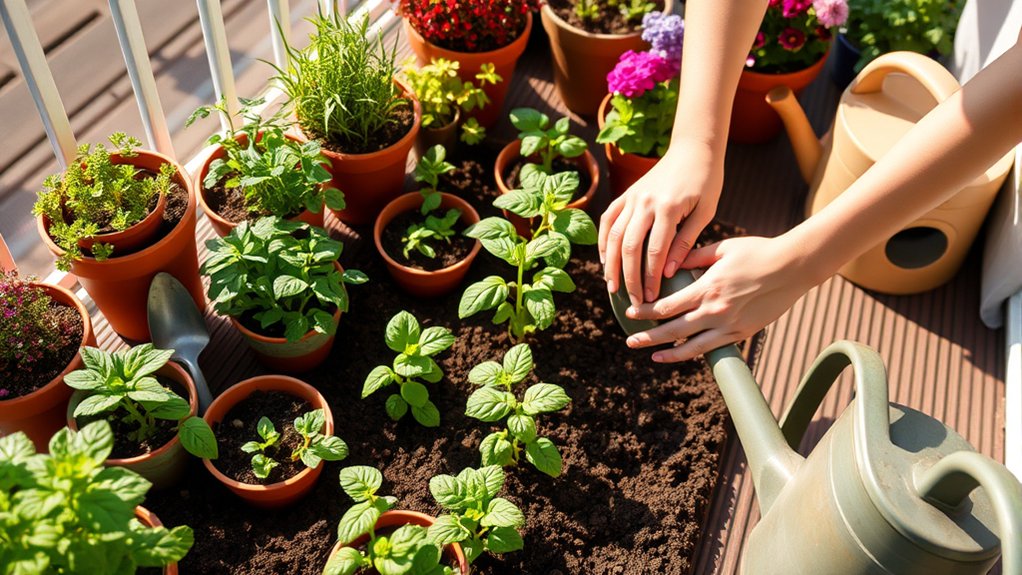
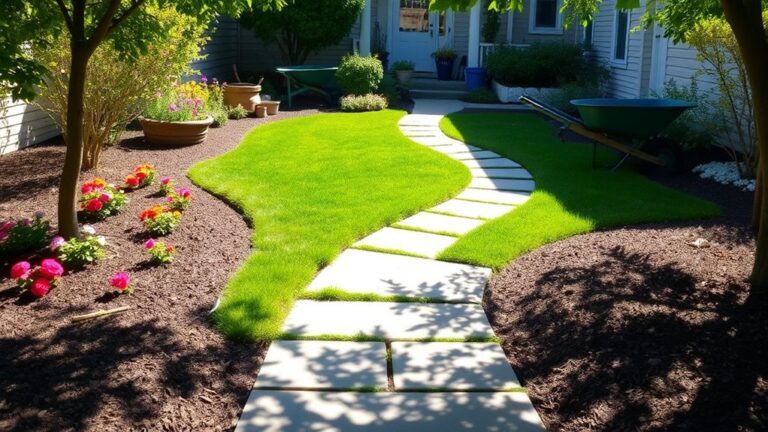
You don’t need a yard to start gardening—a sunny windowsill, balcony, or small patio can be enough. Begin with the space you have, then choose containers that fit without blocking doors or walkways.
A compact balcony can hold a few pots, a narrow railing planter, or a vertical shelf. If you have only a windowsill, grow herbs in small containers and rotate them as needed.
Match your setup to your space. Use lightweight pots if you’ll move them, and place saucers underneath to catch excess water.
A shady balcony can still support leafy greens, mint, or other plants that tolerate less direct light. Try a hanging basket or wall-mounted planter when floor space is limited, but secure it safely.
Start with just two or three plants. You’ll learn how much room, care, and equipment your garden needs before adding more.
Keep tools in a small bin nearby, and make watering easy with a compact can.
Check Sunlight and Your Growing Zone
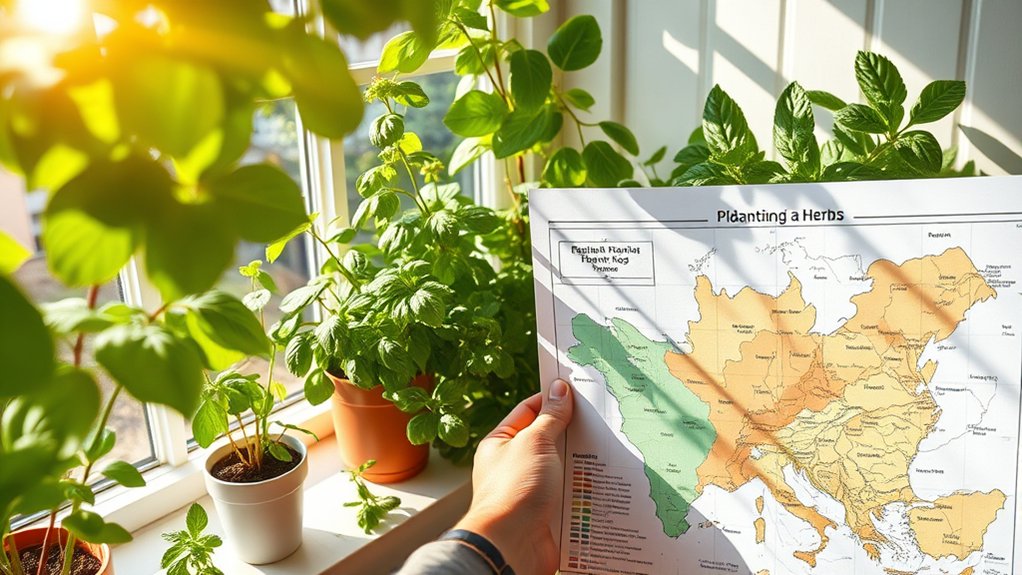
Before choosing plants, track how many hours of sunlight your space gets each day. Then check your growing zone to find plants that can thrive in your local climate. These details will help you choose plants that suit your garden.
Track Daily Sunlight
Start by tracking how many hours of direct sunlight each spot in your garden gets throughout the day. Check in the morning, around midday, and late afternoon for several days. This sunlight timing reveals how buildings, trees, and fences shift shadows across your space. Note whether each area gets full sun, partial sun, or mostly shade, then match plants to those conditions.
- Record direct-sun hours in a simple notebook or phone app.
- Mark shady patches and observe whether they stay cool and damp.
- Compare your notes with plant labels, including each plant’s shade tolerance.
Don’t assume a bright morning means a sunny garden; afternoon shade can change what grows well. If light varies by season, keep your observations and revisit them before planting. A quick daily check helps you choose suitable spots and avoid struggling plants.
Know Your Growing Zone
Knowing your growing zone helps you choose plants that can handle your region’s typical winter temperatures. Find your location on a zone mapping chart, or enter your ZIP code into a reliable online tool. The result gives you a general guide to the coldest conditions your garden may face.
Use climate guides to check each plant’s recommended zone before you buy seeds or seedlings. Choose varieties suited to your zone, especially if you’re new to gardening. Keep in mind that your zone doesn’t tell you everything: it won’t account for summer heat, rainfall, wind, or the sunlight you tracked earlier.
Your yard may also have warmer or cooler pockets. Observe slopes, walls, and shaded areas, then match plants to those spots. With these details, you can make smarter choices and avoid plants unlikely to thrive.
Choose Easy Plants for Your Space
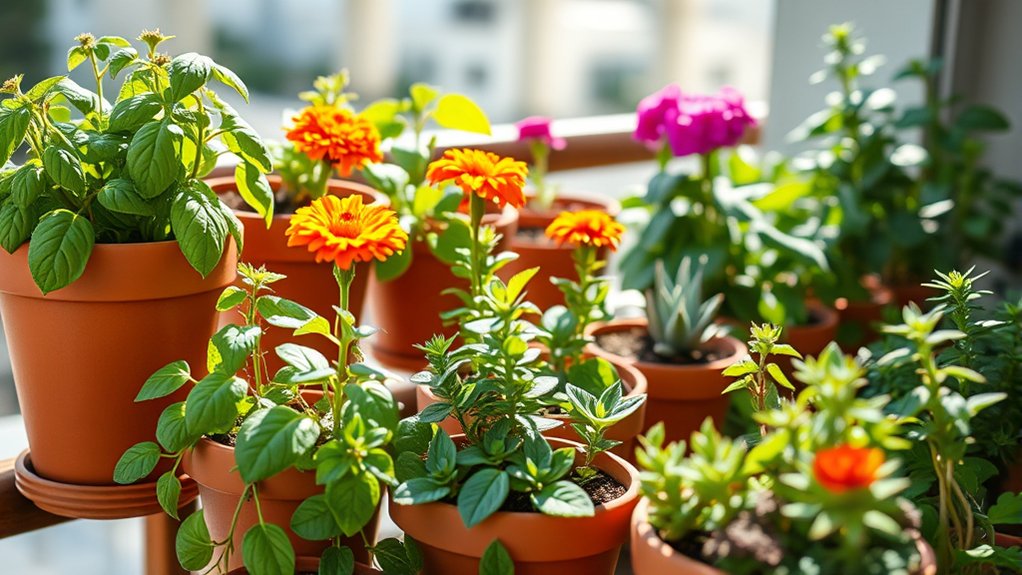
Choose plants that match your space, sunlight, and experience level. Start by observing how many hours of direct light your garden receives, then select varieties suited to those conditions.
Choose plants that suit your space, sunlight, and experience level for a garden you’ll enjoy tending.
A small balcony can support compact herbs, while a sunny yard offers room for vegetables or flowering perennials. If you’re new to gardening, favor resilient plants that tolerate occasional missed watering and don’t need frequent pruning.
- Sunny spots: Try basil, cherry tomatoes, or marigolds where plants receive six or more hours of sunlight.
- Partial shade: Choose lettuce, parsley, or impatiens for areas with a few hours of sun.
- Containers: Grow mint, chives, or dwarf peppers in pots with drainage holes.
Check your soil texture before choosing plants: sandy soil drains quickly, while clay holds moisture. Match varieties to your conditions, or improve the soil to suit them.
Consider plant pairing, too; compatible neighbors can share space and attract helpful pollinators. Keep your first selection manageable, and choose plants you genuinely enjoy tending and seeing thrive.
Decide Between Seeds and Starter Plants
You can start your garden from seeds or choose starter plants that are already growing. Seeds usually cost less, while starter plants save time and effort. So, consider your budget and schedule to find the right balance between cost and convenience.
Starting From Seeds
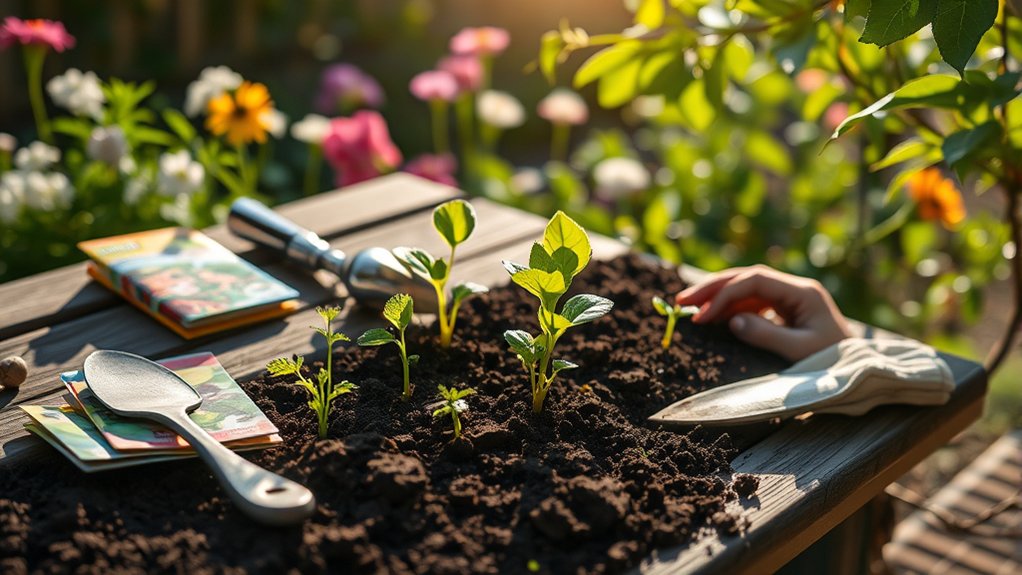
Starting a garden from seeds costs less and gives you more variety, while starter plants offer a quicker, easier path to harvest. If you choose seeds, check each packet for planting depth, spacing, and timing.
Some seeds grow best indoors before the last frost; others can go straight into your garden.
- Choose a few easy crops, such as beans, lettuce, or radishes.
- Use clean containers with drainage holes and a seed-starting mix.
- Label each container so you’ll remember what you planted.
For successful seed starting, keep the mix evenly moist and provide enough light once seedlings emerge. Follow packet instructions for temperature and timing, and don’t plant too many varieties at once.
Before moving seedlings outdoors, harden them off by gradually exposing them to outdoor conditions. Good soil preparation helps young plants settle in and grow steadily.
Start small, observe what works, and adjust your approach next season.
Choosing Starter Plants
If you want a quicker start, starter plants let you skip germination and early seedling care. Choose healthy plants with sturdy stems, vibrant leaves, and no signs of pests or disease. Check that roots look firm and aren’t circling tightly inside the pot.
Select varieties suited to your climate, sunlight, and growing space; a local nursery can recommend reliable options.
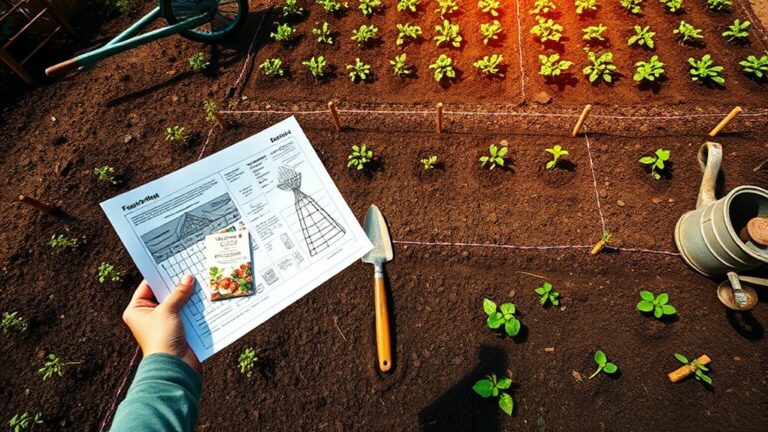
Before planting, prepare your garden bed and consider soil testing to learn whether you need to adjust its pH or nutrients. Read each plant’s care instructions, then match its needs to your conditions.
Handle seedlings gently, loosen tangled roots, and water them after transplanting. Use plant labeling to keep track of varieties and planting dates. If you’re unsure which plants will thrive, start with a few familiar choices and observe how they respond.
Balancing Cost And Convenience
Seeds usually cost less and offer more variety, but they take time and care to grow. Starter plants cost more, yet they give you a head start and can make your first season easier. Choose based on your budget, schedule, and confidence.
- Pick seeds when you want to save money, grow many varieties, and enjoy tending seedlings.
- Choose starter plants when you have limited time or want quicker, more predictable results.
- Mix both options to balance savings with convenience.
Use budget planning to set a spending limit before you shop. Include soil, containers, and other supplies, not just plants. Tool prioritization can also keep costs down: buy only essentials, such as a trowel and watering can, and borrow or reuse extras. Start small, then adjust next season based on what thrived and what you enjoyed growing.
Pick Soil and Containers for Your Plants
The right soil and container give your plants a healthy place to grow. Start by matching soil to what you want to grow. Most vegetables and flowers thrive in a loose potting mix that holds moisture while letting excess water escape.
Check the label for soil composition, and choose a blend suited to your plants rather than filling pots with dense garden soil. Garden soil can compact in containers and limit airflow around roots.
Next, pick a container that fits your space and plants. Small herbs can grow in modest pots, while larger vegetables need room for deep, spreading roots.
Make sure each pot has container drainage holes so water doesn’t collect at the bottom. If you love a decorative pot without holes, use it as an outer cover for a plain nursery pot, then remove the inner pot when you water.
Consider weight, too: a large, filled container can be hard to move. Choose sizes and materials you can manage and maintain.
Get the Gardening Tools You’ll Need
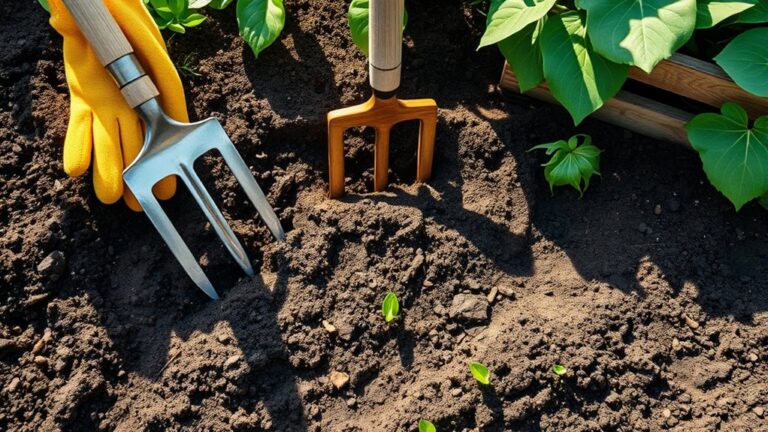
With your soil and containers ready, gather a few basic tools to make planting and upkeep easier. You don’t need a large collection; choose sturdy essentials that suit your space and the plants you plan to grow.
- Hand trowel: Use it to move soil, fill containers, and dig small holes.
- Pruning shears: Trim damaged leaves and thin stems with clean, controlled cuts.
- Watering can: Choose a comfortable size with a gentle rose to water containers evenly.
If you’re gardening on a balcony, compact tools are easier to store. For larger beds, a long-handled spade or hoe may save effort.
Make budget planning part of your shopping: compare prices, check secondhand options, and buy only what you’ll use. Durable tools can cost more upfront but often last longer.
After each use, brush off soil, dry metal parts, and store tools somewhere sheltered. This simple tool maintenance helps prevent rust, keeps blades sharp, and makes your equipment ready whenever you need it.
Add other tools only when a specific task calls for them.
Plant at the Right Time and Depth
Once your tools are ready, check when and how deeply to plant each seed or seedling. Your local frost dates and the crop’s preferred season help you choose a suitable planting window. For timing accuracy, consult seed packets and your regional planting calendar; conditions vary by location.
| Planting detail | What to check |
|---|---|
| Cool-season crops | Sow peas or lettuce in early spring or fall |
| Warm-season crops | Wait until frost risk passes for tomatoes or beans |
| Small seeds | Cover lightly, following packet directions |
| Large seeds | Plant deeper, according to packet directions |
Pay close attention to planting depth: seeds placed too deep may struggle to emerge, while shallow seeds can dry out or shift. Use the packet’s measurements rather than guessing, and label each row with the crop name and planting date.
For seedlings, set the root ball at the same level it grew in its container, unless the plant’s instructions recommend otherwise. Check spacing guidance, too, so mature plants have room to grow. If you’re unsure, start with the packet instructions and adjust for your region’s growing conditions.
Water Your Garden the Right Way
Water deeply, but less often, to encourage strong roots. Aim your hose at the base of each plant rather than its leaves. Before watering, check the soil moisture so you don’t overwater.
Water Deeply, Not Often
Give your plants a thorough soak rather than a little water every day. When you water deeply, not often, moisture reaches the root zone, encouraging stronger growth and helping plants handle dry spells.
Frequent, shallow watering can leave roots near the surface, where they dry out quickly. Check your soil before watering: push a finger a couple of inches down, and water if it feels dry.
Your garden’s needs will change with weather, soil, and plant type, so adjust your routine instead of following a rigid schedule.
- Water when the top few inches of soil feel dry.
- Soak slowly until moisture reaches the roots.
- Check soil again after hot, windy days.
Keep notes alongside sunlight tracking to spot patterns in plant growth and soil dryness. You’ll learn when your garden needs a drink without overwatering.
Water At The Base
Aim your watering can or hose at the soil around each plant’s base, not its leaves. Directing water to the roots helps your plants use it efficiently and keeps foliage drier. Wet leaves can encourage fungal diseases, especially when they stay damp overnight or crowd together without airflow.
Move the stream slowly around the plant rather than flooding one spot. For seedlings, use a gentle flow so you don’t wash away soil or damage tender stems. For established plants, water the root zone evenly, including the area beneath the outer branches, where many roots absorb moisture.
This simple habit supports good water management and helps limit waste. Keep drought considerations in mind: during dry spells, prioritize young plants and those with shallow roots, and follow any local watering restrictions.
Check Soil Moisture
Before watering, check the soil moisture a few inches below the surface. The top layer can look dry while roots still have enough water, or appear damp when deeper soil is parched.
Push a finger into the ground near your plants to judge what’s happening below. If you’re unsure, moisture meters offer a quick reading without guesswork. Use these checks to guide your routine:
- If the soil feels cool and damp, wait a day or two before watering.
- If it feels dry several inches down, water slowly at the base.
- Check again after rain, since showers may wet only the surface.
Your plants’ needs vary with weather, soil type, and growth stage. Check regularly, but don’t follow a rigid schedule. You’ll avoid overwatering and help roots grow deeper.
Protect Your Garden From Pests and Problems
Healthy gardens still face pests and problems, but a little attention can prevent small issues from spreading. Make pest prevention part of your routine by checking leaves, stems, and soil for insects, eggs, holes, or sticky residue.
Regular checks of leaves, stems, and soil help catch pests early, before small problems spread.
Look beneath leaves, where pests often hide. Remove weeds and fallen plant debris that can shelter them, and space plants so air can circulate.
Practice disease spotting by watching for yellowing leaves, unusual spots, mold, or wilting. If you find a problem, identify it before choosing a treatment; different causes need different solutions.
Prune affected parts with clean tools, and discard diseased material rather than adding it to your compost. For pests, start with simple measures such as hand-picking insects or spraying leaves with water.
If you use a garden product, follow its label and protect helpful pollinators. Encourage beneficial insects by planting flowers nearby, and avoid broad treatments that can harm them.
A quick inspection every few days helps you respond early and keep damage manageable.
Track Watering, Growth, and Garden Results
As you care for your garden, keep a simple record of when you water and how your plants grow. A notebook or phone note can help you spot patterns and make better choices.
Record each watering, rainfall, and any changes you notice, such as new leaves, flowers, or wilting.
- Note your watering schedule, including the date and amount, so you can adjust it as weather and plant needs change.
- Check soil moisture with a finger before watering. If the top layer feels damp, wait; if it feels dry, water gently.
- Track growth with brief notes or photos. Compare plants weekly and record harvests, pests, or problems.
Use your notes to see which plants thrive and where they struggle. You’ll learn whether a sunny spot dries too quickly or a container needs more frequent attention.
Don’t worry about perfect records; a few consistent observations can reveal what works. At season’s end, review your results and choose one practical improvement for next time.
Frequently Asked Questions
How Much Time Should I Set Aside for Gardening Each Week?
Set aside one to three hours each week to start, then adjust based on your garden’s size and needs. Your time commitment may rise during planting, hot weather, or harvest, while a small container garden might need only brief check-ins.
Use weekly planning to spread tasks across a few short sessions, such as watering, weeding, and pruning. Check your plants regularly; they’ll show you when you need to spend more time caring for them.
How Can I Garden Affordably on a Tight Budget?
You don’t need a king’s ransom to grow a garden; a few smart choices can make every dollar bloom. Start with budget-friendly seedlings, or swap seeds with neighbors and grow plants suited to your climate.
Reuse containers, make compost from kitchen scraps, and borrow tools instead of buying them. Try DIY irrigation with a recycled bottle or rain barrel to save water.
Focus on a few easy crops, then expand as your garden and savings grow.
What Should I Do With Extra Produce From My Garden?
Share extra produce with neighbors, friends, food banks, or community fridges. Preserve what you can by freezing, canning, drying, or making sauces and pickles; label everything with dates.
You can also swap surplus vegetables for other homegrown foods or donate them to a local shelter. If produce is bruised or spoiled, compost it instead of tossing it. Composting turns garden waste into useful soil for your next planting season.
How Can I Make Gardening a Fun Activity for Children?
Turn your garden into a playground where curiosity takes root. Give children small tools, their own planting space, and simple jobs like watering or pulling weeds. Choose kid friendly crops such as strawberries, peas, and cherry tomatoes, which reward their effort with tasty results.
Add fun familyactivities like scavenger hunts, seed races, or decorating plant markers. Let kids get messy, make choices, and celebrate every sprout—they’ll enjoy gardening more when it feels like their adventure.
When Should I Consider Composting Kitchen Scraps?
Consider composting kitchen scraps as soon as you regularly produce fruit and vegetable peels, coffee grounds, or eggshells. Good composting timing starts when you can collect scraps consistently and have a suitable bin or outdoor space. Use kitchen scrap strategies that fit your routine: freeze scraps until collection day, add them to a countertop container, or bury them in a garden trench. Avoid meat, dairy, and oily foods to prevent pests and odors.
Conclusion
You don’t need a big yard or expert skills to start gardening. Begin with a small space, choose plants suited to your sunlight and growing zone, and give them the right soil, water, and care.
Keep notes on what thrives and what needs adjusting, so each season teaches you something useful. Remember, “slow and steady wins the race”: take one step at a time, enjoy the process, and watch your confidence and garden grow as you get into gardening.