How to Layout a Garden in 5 Simple Steps
Planning a garden can feel overwhelming when you’re trying to make the most of your space, sunlight, and plant choices. You’re not alone—many people struggle to create a layout that looks good and works for their needs. These simple steps for how to lay out a garden can help you get started with confidence.
To lay out a garden in five simple steps, measure the space and sketch its boundaries, fixed features, and dimensions. Track sun and shade in the morning, midday, and afternoon, then mark each zone on your plan.
Arrange reachable beds and stable paths, and choose plants suited to each area’s light, soil, and moisture. Map mature plant sizes, watering needs, and access points before planting.
A few extra planning tips can help you refine your layout with confidence.
Key Takeaways
- Measure your garden, sketch its boundaries to scale, and mark fixed features such as trees, fences, and sheds.
- Track sunlight in the morning, midday, and late afternoon, then label each area by its light and shade.
- Test bed and path layouts on paper, keeping beds within reach and paths stable, nonslip, and easy to navigate.
- Choose plants suited to each area’s sunlight, soil, moisture, climate, and available growing season.
- Map plant locations, mature sizes, watering groups, paths, and water points before planting.
Measure Your Garden and Map Sunlight
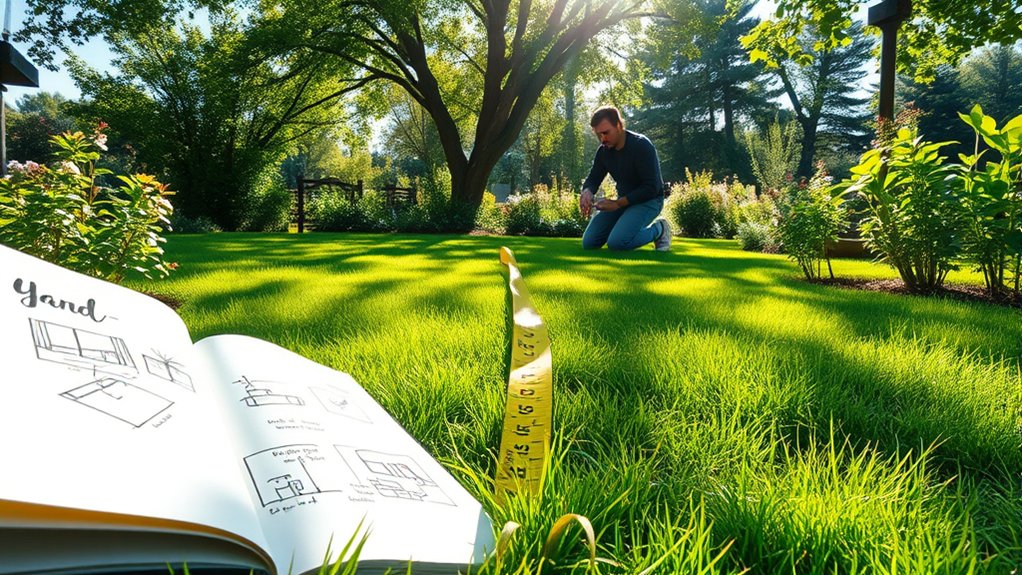
Start by measuring your garden’s length and width, then sketch its boundaries to scale. Note fixed features such as fences, trees, sheds, and existing structures so your drawing reflects the space accurately. Use a tape measure, and label each dimension clearly. If the ground has an unusual shape, divide it into simple sections and measure each one.
Next, track sunlight across the garden. Check the area in the morning, around midday, and in the late afternoon on a clear day. Record which spots receive full sun, partial sun, or little direct light, and note how long the sun reaches each area. Repeat observations if nearby trees or buildings cast changing shadows.
Add those findings to your sketch with simple labels or colors. This measurement sunlight record helps you compare conditions across the space, while mapping shade shows where light disappears during the day. Keep the notes easy to update as seasons change and plants grow.
Plan Your Garden Beds and Paths
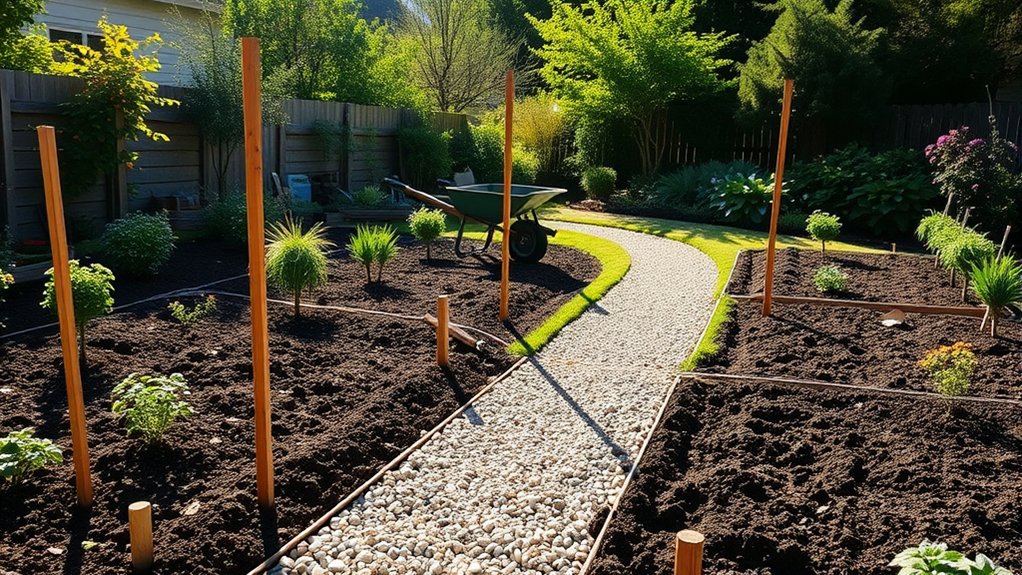
Use your measured sketch and sunlight notes to place garden beds where plants will get the light they need. Test several layouts on paper before marking the ground. Keep beds narrow enough to reach the center without stepping on soil, and group them to make watering and maintenance easier.
Plan paths that connect the entrance, beds, and work area. Leave enough width for a wheelbarrow, and choose a stable, nonslip surface. Curved paths can soften a design, but straight routes often save space and simplify access.
- Set beds away from low spots where water collects.
- Leave room to turn tools and move supplies between beds.
- Plan irrigation early so hoses or pipes can reach each bed without crossing busy paths.
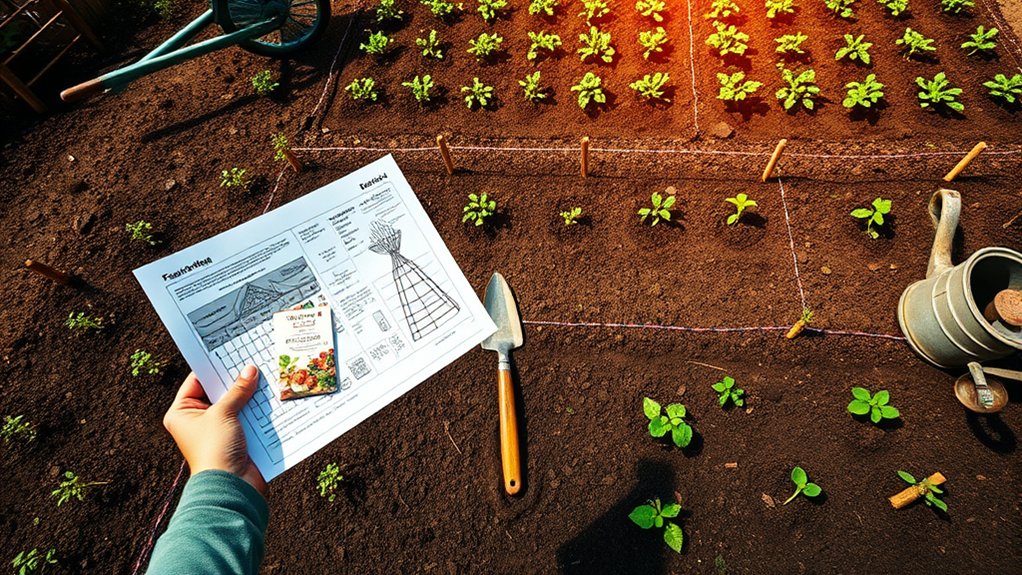
Mark your proposed edges with string or a garden hose, then walk the route. Adjust tight corners, awkward turns, or blocked access before you build. A little testing now can prevent costly changes later. Keep the layout practical for everyday care.
Choose Plants for Each Garden Zone
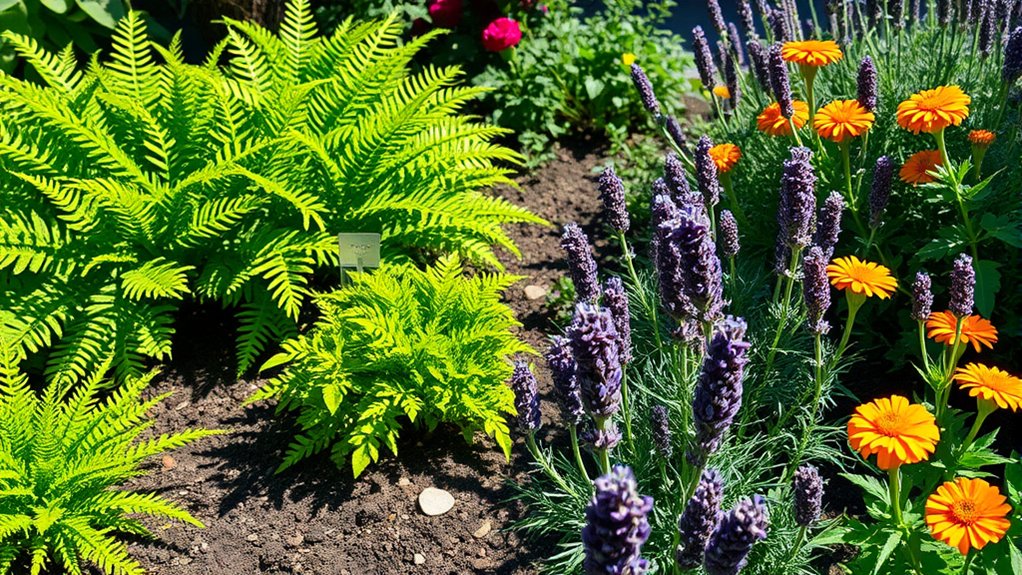
Choose plants for each garden zone based on its sunlight, soil, and moisture. Check each zone’s conditions before you buy seeds or starts. For seed selection, compare varieties by mature size, growing season, and the conditions they need.
> Match each zone’s sunlight, soil, and moisture to plants that fit, checking mature size and growing season before buying.
Choose plants that suit your local climate, and consider drought tolerance if a zone dries quickly between waterings. Match plants with similar needs so you can care for each group efficiently. Good plant compatibility also helps prevent competition for nutrients and space as plants mature.
Look at bloom times, harvest dates, and the colors or textures you want throughout the garden. Include a mix of annuals, perennials, vegetables, herbs, or shrubs that fits your goals and maintenance preferences.
If a zone has limited ground space or unsuitable soil, explore container options. Select pots large enough for mature roots and choose suitable potting mix.
Make a short list for each zone, then confirm every choice fits its conditions and your budget.
Place Plants for Sun and Easy Care
Place sun-loving plants where they’ll get the light they need, and group plants with similar watering needs to make care easier. Watch how sunlight moves across your garden before choosing final spots. Match each plant’s needs to the light available, and consider how nearby trees or structures may cast shade as seasons change.
When designing sun loving perennials, choose varieties suited to your site’s exposure and climate. Put plants that thrive in similar conditions together, so you can care for each group consistently. For simplifying irrigation strategies, arrange plants by water needs rather than appearance alone. For example, keep moisture-loving flowers together and place drought-tolerant herbs in a separate group.
- Give full-sun plants the brightest areas, away from persistent shade.
- Place partial-shade varieties where they’ll receive filtered or afternoon shade.
- Group plants with similar watering needs to avoid overwatering or underwatering.
Use plant labels or a simple sketch to track each group’s light and moisture preferences. This thoughtful placement helps your garden thrive while making routine care more manageable.
Check Garden Spacing, Water, and Access
Before settling on your layout, check that plants have enough room to reach their mature size without crowding. Use seed packets or plant labels to check spacing, then leave paths wide enough for you to weed, harvest, and carry tools. Don’t rely on young plants’ current size; allow for mature leaves and roots.
| Garden check | What to consider | Your next step |
|---|---|---|
| Plant spacing | Mature width | Leave room |
| Paths | Tool access | Keep routes clear |
| Water access | Hose reach | Place beds nearby |
| Sunlight | Daily exposure | Measure sunlight |
Plan water access before you plant. Position beds within hose reach, or map a route for irrigation that won’t cross busy paths. If you’ll use a watering can, keep a clear, convenient route from the tap.
Finally, map plant layout on paper, including paths, water points, and mature plant sizes. Review the sketch from the gate and each bed: can you reach every plant without stepping on soil? Adjust now, while changes are easy.
Frequently Asked Questions
When Is the Best Time of Year to Lay Out a Garden?
The best time to lay out a garden is fall or early spring, when you can plan before planting season begins. Your seasonal timing depends on what you’ll grow and your local climate considerations.
In mild regions, you can prepare beds in fall; in colder areas, wait until the soil thaws and dries in spring. Check your area’s frost dates, sunlight, and soil conditions so you can choose a layout that suits your plants and schedule.
Do I Need a Permit to Create a Garden?
Do you need a permit to create a garden? Usually, you don’t need one for a simple garden planted in your yard. However, permits may be required if you’re building a greenhouse, retaining wall, fence, or irrigation system.
Check local zoning restrictions, especially if you rent, live in a historic district, or plan to garden near property lines. Contact your city or county office before construction to confirm the rules and avoid costly changes or fines.
How Much Does Professional Garden Design Typically Cost?
Professional garden design typically costs $500–$5,000, though complex projects can exceed $10,000. You might pay a flat fee, an hourly rate of $50–$150, or 5%–20% of your installation budget.
Professional design fees vary with your garden’s size, location, and the services you need, such as plans, plant selection, or site visits. For effective landscape budgeting, request itemized quotes from several designers and confirm what each fee includes before you commit to a project.
What Tools Are Useful for Starting a Garden Layout?
Useful tools for starting a garden layout include a tape measure, graph paper, pencil, ruler, stakes, string, and a compass. Your tools list can also include a shovel to check soil and a phone or camera to record sunlight and existing features.
For layout basics, measure the space, mark boundaries, note sunny and shady areas, and sketch paths, beds, and structures to scale. These simple tools help you plan before digging.
How Can I Make My Garden Layout Accessible for Wheelchair Users?
How can you make your garden wheelchair-friendly? Start with firm, level, accessible pathways wide enough for your chair, and avoid loose gravel, steep slopes, and abrupt thresholds. Add turning spaces at corners and near entrances.
Place raised beds, containers, and low height features within comfortable reach, leaving room to approach them from the front or side. Choose smooth surfaces, sturdy seating, and clear routes. Keep tools and water nearby so you can garden independently.
Conclusion
A garden layout isn’t guesswork: measure your space, track sunlight, and you’ll uncover which plants can truly thrive where. As you arrange beds, paths, and plant zones, keep access and mature spacing in mind, not just how everything looks today.
Then check that water can reach each bed and that you can move through the garden comfortably. Your first plan doesn’t have to be perfect; observe how it grows, make small adjustments, and let your garden teach you what works when laying out a garden.