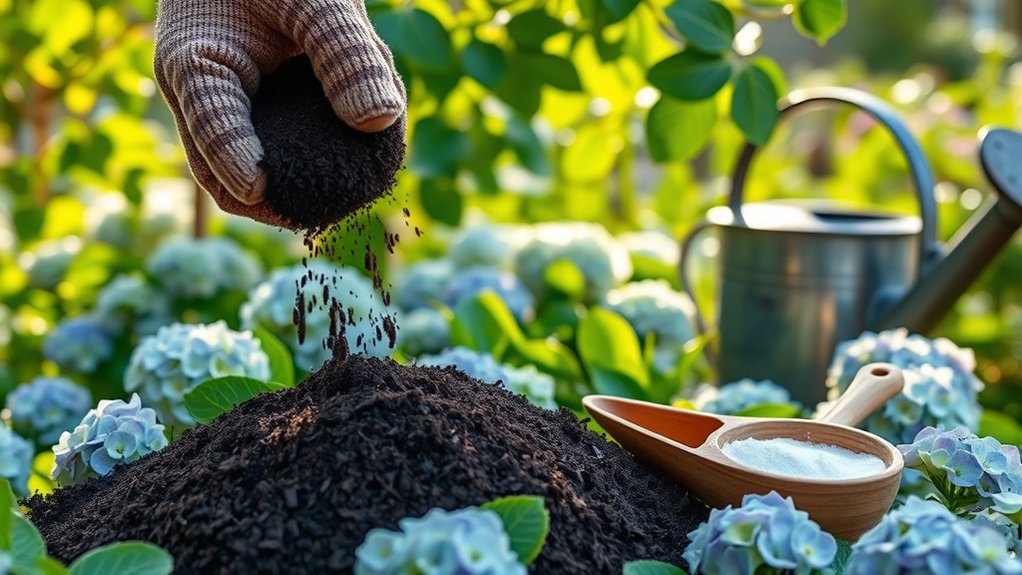
How to Make Soil Acidic for Hydrangeas in 5 Easy Steps
Many gardeners want the beautiful blue hydrangeas they see in photos, but getting the soil acidity right can be tricky. You’re not alone—many people struggle to know which soil amendment to use and how much to apply. This guide to how to make soil acidic for hydrangeas will help you choose the right approach.
Test the pH in several spots around the roots and set a target between 5.5 and 6.5 based on your variety. Choose an amendment that suits your soil and timeline: elemental sulfur works gradually, while aluminum sulfate acts faster but can harm roots if overused.
Apply the label’s measured amount, keep it away from stems, then water and mulch. Retest after the recommended interval, and you’ll find more guidance below.
Key Takeaways
- Test soil pH in several spots around hydrangeas, following your test kit’s sampling instructions.
- Choose a target pH between 5.5 and 6.5, based on the hydrangea variety and your goals.
- Select an amendment suited to your soil and timeline: sulfur acts gradually, while aluminum sulfate acts faster.
- Apply small, label-directed amounts carefully, keeping amendments away from stems and foliage.
- Water consistently, add 2–3 inches of mulch away from stems, and retest pH after the recommended interval.
Test Your Hydrangea Soil and Set a pH Goal
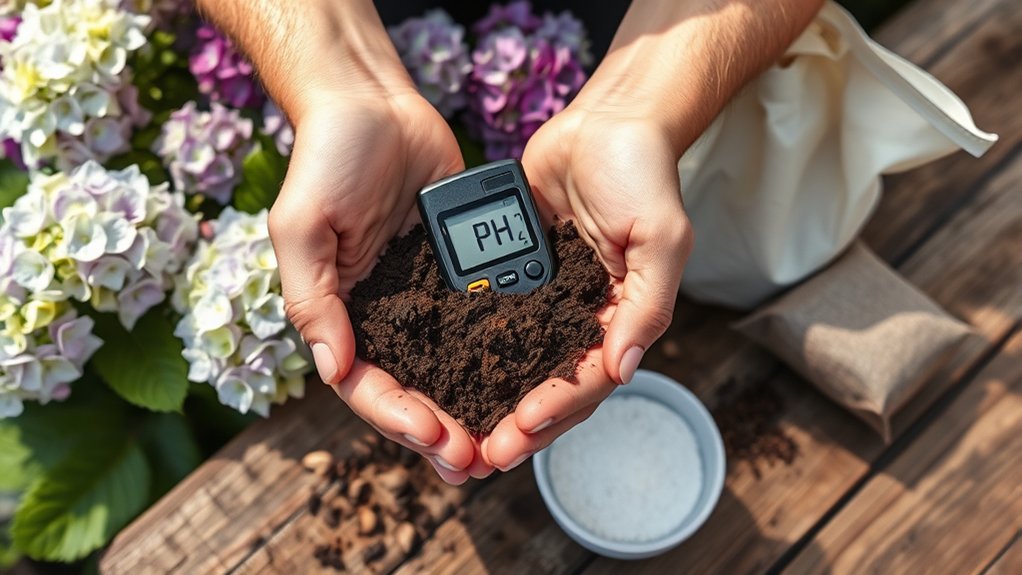
Before you try to acidify the soil, test its current pH so you know how much it needs to change. Hydrangeas generally grow well in soil with a pH between 5.5 and 6.5, though flower color also depends on variety and aluminum availability. Choose an acidity target within that range based on your plant’s needs; don’t assume every hydrangea requires the same pH.
Test your soil before acidifying, and choose a pH target based on your hydrangea’s variety and needs.
Use a home soil test kit, a digital meter, or a laboratory service. Follow the kit’s instructions closely, since each test technique may require a different soil sample or preparation. For a useful reading, collect small samples from several spots around the shrub’s root zone, avoiding surface debris and recently fertilized areas.
Mix the samples if your test method calls for it, then check the result.
Record the pH and testing date. If readings vary across the bed, test those areas separately. Retest periodically to track changes and guide your next step.
Choose an Amendment to Make Soil Acidic
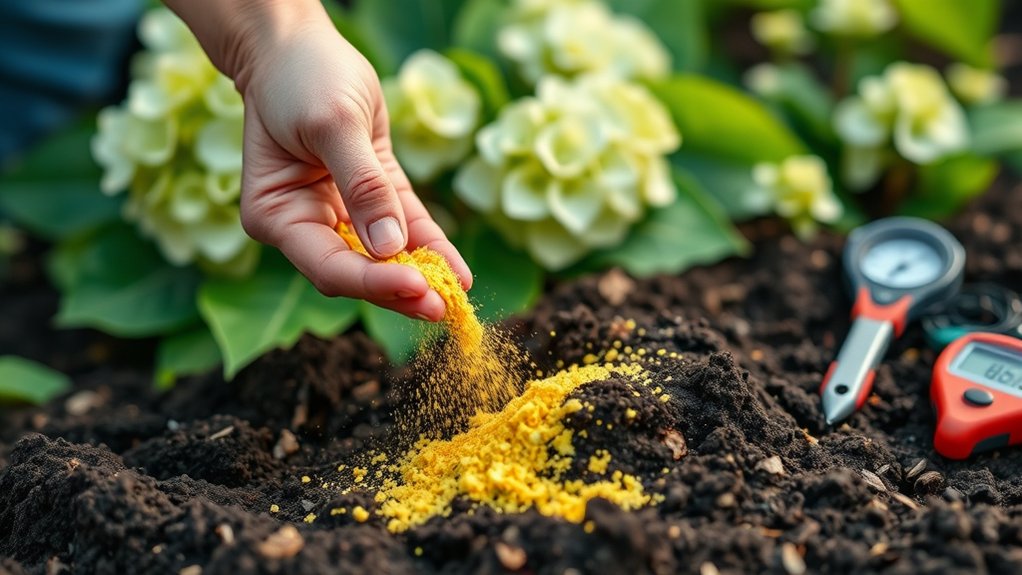
Once you know your soil’s pH and target, choose an amendment that can lower it gradually. Your choice should reflect your soil type, current pH, and how quickly you need to adjust conditions.
Hydrangeas generally prefer acidic soil, but your pH target depends on the flower color you want and the cultivar you grow. Check the product label and choose an option suited to your garden.
- Elemental sulfur: A long-lasting choice that soil microbes convert into acid. It works best when you plan ahead, especially in warm, biologically active soil.
- Aluminum sulfate: A faster-acting option that can lower pH, but it may harm roots if you use too much. Consider it only when the label and soil test support it.
- Acidifying organic matter: Pine bark or composted materials can help improve soil structure while supporting mildly acidic conditions. Their effect varies, so they may not meet a large pH change alone.
Match the amendment to your test results and growing conditions.
Add Soil Acidifiers Safely and Gradually
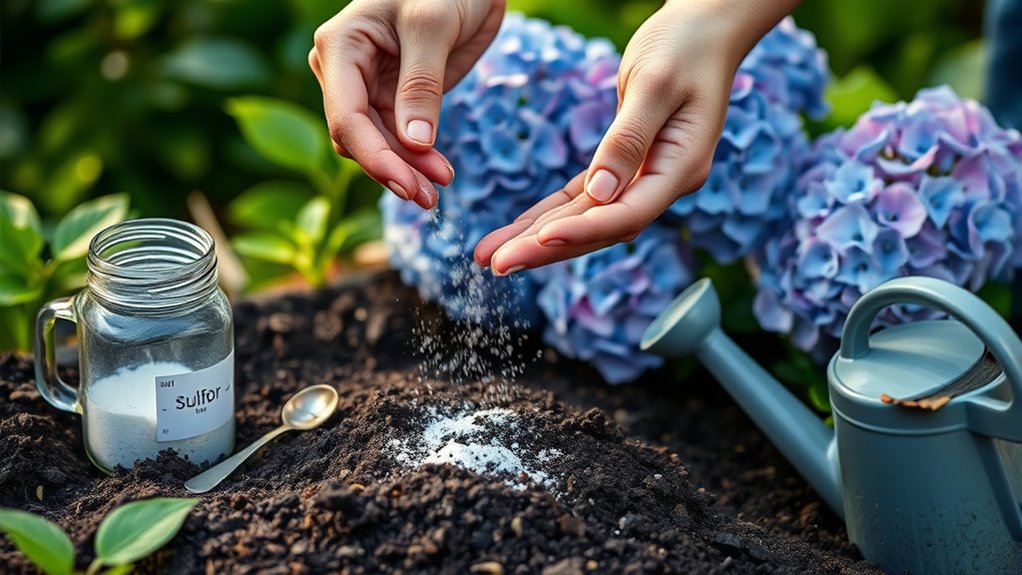
Apply your chosen acidifier in small, measured amounts rather than trying to change the soil pH all at once. Follow the product label’s rate for your soil type and garden area; don’t guess or exceed the recommended dose.
If you’re using elemental sulfur, work it into the soil as directed, taking care not to disturb hydrangea roots. Wear gloves and eye protection, and keep amendments away from stems and foliage.
Test the soil before treatment, then wait the interval recommended for your chosen product before testing again. Acidifiers need time to affect soil chemistry, so avoid adding more simply because you don’t see an immediate change.
Make gradual amendments based on test results, adjusting your approach as needed. If your soil is already within the range your hydrangeas need, skip treatment. For uncertain results or a large planting area, ask your local extension service for guidance.
Careful dosing helps you avoid overly acidic soil, which can limit nutrient availability and stress your plants.
Water and Mulch to Support Soil Health
After adjusting soil pH gradually, keep the soil consistently moist and cover it with a layer of organic mulch. Hydrangeas need steady moisture to establish healthy roots, especially during warm, dry weather.
Water deeply at the base when the top inch of soil feels dry, and avoid frequent, shallow sprinkling. A soaker hose can help you target roots while supporting water conservation.
Spread two to three inches of shredded bark, leaf mold, or pine needles over the root zone. Keep mulch a few inches away from stems to discourage rot and pests.
As it breaks down, organic mulch improves soil structure and feeds beneficial organisms. These mulch benefits support healthier soil without requiring drastic changes.
- Check soil moisture before watering so you don’t overwater.
- Replenish mulch as it thins, maintaining an even layer.
- Leave fallen leaves nearby when practical; they can add organic matter as they decompose.
Together, consistent watering and thoughtful mulching help your hydrangeas thrive.
Retest pH and Adjust for Hydrangea Blooms
Retest your soil pH every few months during the growing season to see whether your adjustments are working. Use a reliable soil testing kit or send a sample to your local extension service. Test near the hydrangea’s root zone, following the kit’s directions, and record each result so you can track changes over time.
If your soil remains too alkaline, apply an appropriate acidifying amendment, such as elemental sulfur, according to the product label and your soil test recommendations. Don’t add more than directed. Changing pH takes time, and excess sulfur can harm roots. Retest before making another adjustment.
For blue blooms, aim for a pH around 5.2 to 5.5, while pink blooms generally develop in less acidic soil, around 6.0 to 6.5. Bloom color also depends on the variety and available aluminum, so pH alone may not control it. These discussion ideas can guide your next steps: monitor, adjust gradually, and observe your flowers.
Frequently Asked Questions
Which Hydrangea Varieties Naturally Thrive in Acidic Soil?
Bigleaf hydrangeas (Hydrangea macrophylla), including mophead and lacecap types, are your best-known choices for acidic soil; cultivars such as ‘Endless Summer’ can produce blue flowers when soil acidity and available aluminum support them. Mountain hydrangeas (H. serrata) also tolerate acidic conditions.
You’ll find that flower color varies by cultivar, so acidity alone doesn’t guarantee blue blooms. Unlike blueberries, which thrive in strongly acidic soil, hydrangeas prefer moderately acidic ground; compost acidity can vary.
Can Acidic Soil Harm Nearby Plants?
Yes, acidic soil can harm nearby plants if you lower the pH beyond what they tolerate. Think of soil as a shared neighborhood: changing its acidity affects more than your hydrangeas.
Check each plant’s preferred pH, and test your soil before adding amendments. Also consider nutrients: a pH shift can limit nutrient availability and disrupt soil microbial balance.
Apply amendments carefully, keep them near hydrangeas, and monitor nearby plants for stress.
Do All Hydrangea Flower Colors Change With Soil Acidity?
No, you won’t see color changes in every hydrangea when you adjust soil acidity. Soil pH impact mainly affects bigleaf and mountain hydrangeas: acidic soil can turn their blooms blue, while alkaline soil can make them pink.
White hydrangeas generally stay white, and many other types don’t respond noticeably to pH. Check your variety before changing the soil, and remember that aluminum availability, not acidity alone, helps determine blue coloring.
When Is the Best Season to Plant Hydrangeas?
Plant hydrangeas in spring or early fall: you’ll give them mild weather, not summer’s scorching heat or winter’s frozen ground. For successful seasonal planting, choose a cool, cloudy day and water deeply afterward.
You’ll help roots establish before temperature extremes arrive. Check your soil pH impact, too: it can affect flower color in some hydrangeas, but it won’t change the best planting season.
Avoid planting when the soil’s waterlogged or frozen, and keep the plant moist.
Can Hydrangeas Grow in Containers With Acidic Potting Mix?
Yes, you can grow hydrangeas in containers with acidic potting mix. Choose a roomy pot with drainage holes, then fill it with a quality container potting mix that stays moist but drains well.
Check soil pH goals for your hydrangea variety; many prefer slightly acidic conditions, while blue-flowering types need more acidity. Water consistently, feed lightly during active growth, and monitor pH over time.
Repot when roots crowd the container or growth slows.
Conclusion
You can make soil acidic for hydrangeas in five easy steps, but patience matters more than speed. Test your soil, choose an appropriate amendment, and apply it gradually; then water, mulch, and retest before adjusting.
A quick fix may promise dramatic blooms, but steady care protects your plants and soil. Keep your pH goal in sight, and you’ll give your hydrangeas a better chance to thrive while letting their color change unfold naturally, season by season. Making soil acidic for hydrangeas takes time, but consistent care can help.