How to Prepare Soil for Planting in 5 Easy Steps
Preparing soil for planting can feel overwhelming when weeds, poor drainage, or uncertain soil conditions get in the way. You’re not alone—many gardeners struggle to know where to start. This guide to how to prepare soil for planting in 5 easy steps will help you create a healthier foundation for your plants.
First, pull weeds, removing roots and bagging seed heads or invasive plants. Revisit the bed a few days later to catch new sprouts.
Next, test soil pH and texture, then use the results to guide amendments. Loosen slightly moist soil with a fork, mixing in recommended materials without digging too deeply.
Add compost, then level the bed. These simple steps create a better start for healthy plants, and you’ll find helpful details below.
Key Takeaways
- Remove weeds by hand, loosening deep roots with a fork; bag weeds with seeds or invasive roots.
- Revisit the area a few days later to remove new sprouts, avoiding deep digging that exposes buried weed seeds.
- Test soil from several spots to determine pH and nutrient levels, then use the results to guide amendments.
- Feel a moist soil sample to identify whether it is sandy, clayey, or loamy, and assess drainage and water retention.
- Loosen slightly moist soil evenly with a fork or tiller, break up clods, and mix in test-recommended amendments.
Clear Weeds Before Preparing Soil for Planting
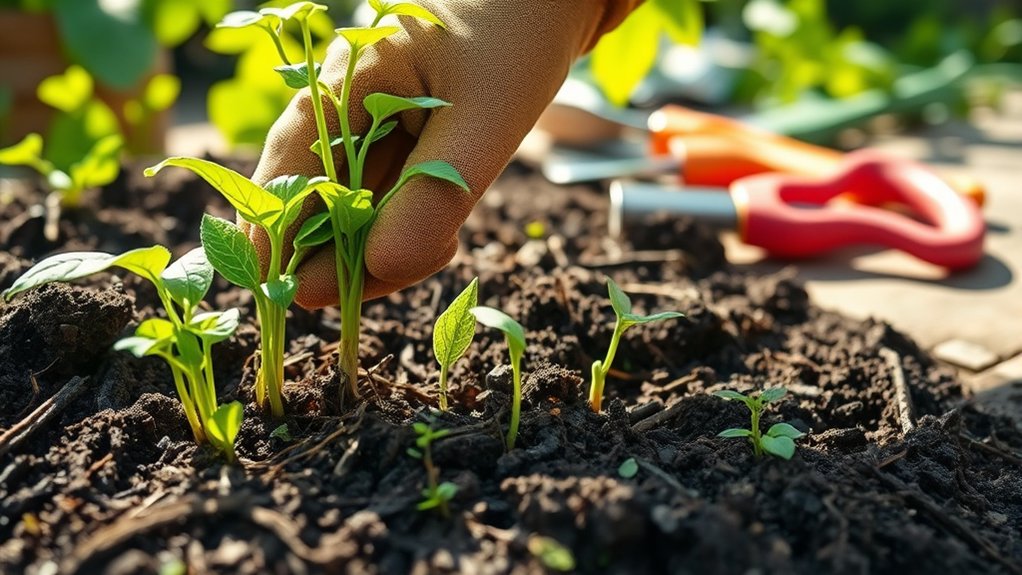
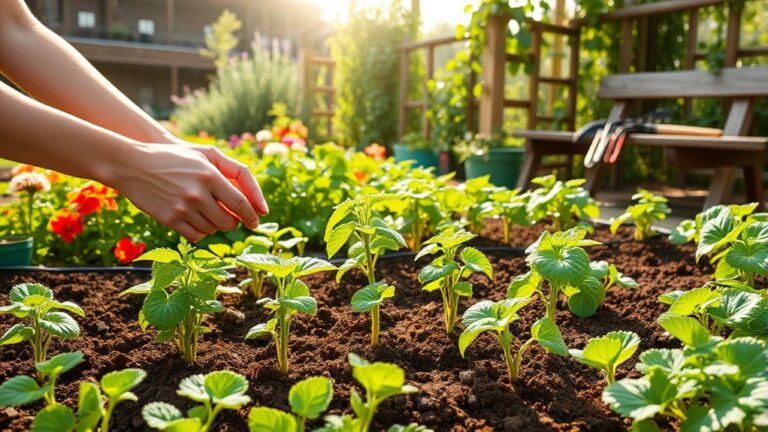
Before preparing your soil, remove weeds so they don’t compete with new plants for water, nutrients, and space. Start by walking through the planting area and identifying unwanted plants, including young seedlings and persistent perennials.
Remove weeds before preparing the soil to give new plants room to grow and access to water and nutrients.
Pull small weeds by hand, gripping each near its base to remove as much of the root as possible. For deep-rooted weeds, loosen the surrounding ground with a hand fork, then lift the plant carefully.
Work when the soil is slightly moist; weeds come out more easily, and you’re less likely to leave roots behind. Avoid digging or tilling deeply, since soil disturbances can bring buried weed seeds to the surface and encourage new growth.
Bag weeds that have mature seeds or invasive roots rather than adding them to your compost. For ongoing weed control, clear the area again a few days later and remove any new sprouts.
Once the bed looks clean, you can move on to preparing the soil.
Test Soil pH and Texture Before You Amend
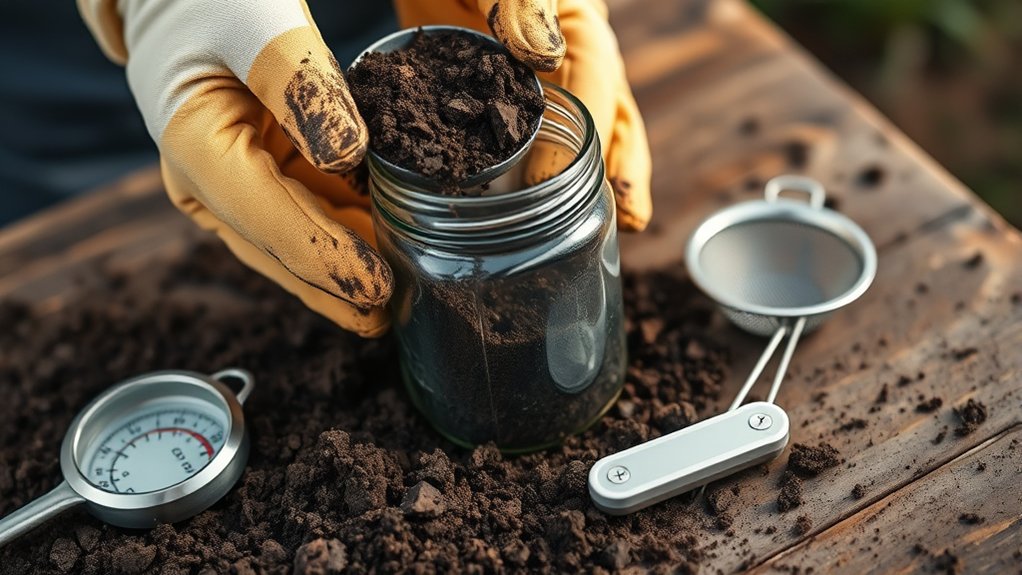
With weeds cleared, check your soil’s pH and texture before adding amendments. Start by collecting samples from several spots in your planting area. Remove surface debris, then combine small amounts of soil in a clean container.
Follow a home kit’s directions or send a sample to a local extension service to test soil. A lab report can also reveal nutrient levels, helping you choose amendments based on evidence rather than guesswork.
Use pH testing to learn whether your soil is acidic, neutral, or alkaline. Most plants grow well in a slightly acidic to neutral range, but check the needs of your chosen crops or flowers.
Next, assess texture by rubbing a moist sample between your fingers. Sandy soil feels gritty, clay soil feels sticky, and loam feels crumbly. Texture affects drainage and water retention, so note what you find.
Record your results and compare them with plant requirements before deciding what your soil needs.
Loosen the Soil and Mix in Amendments
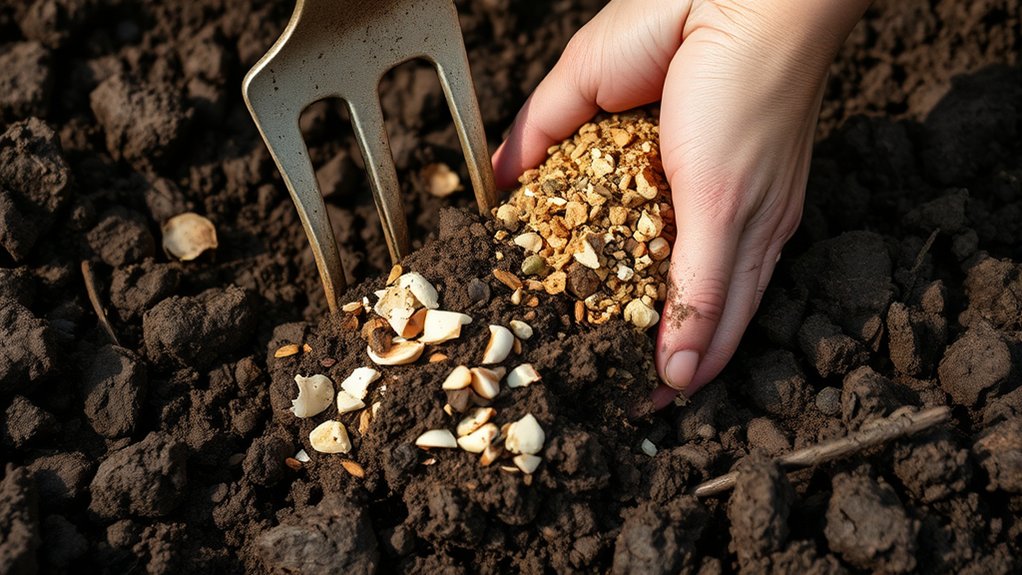
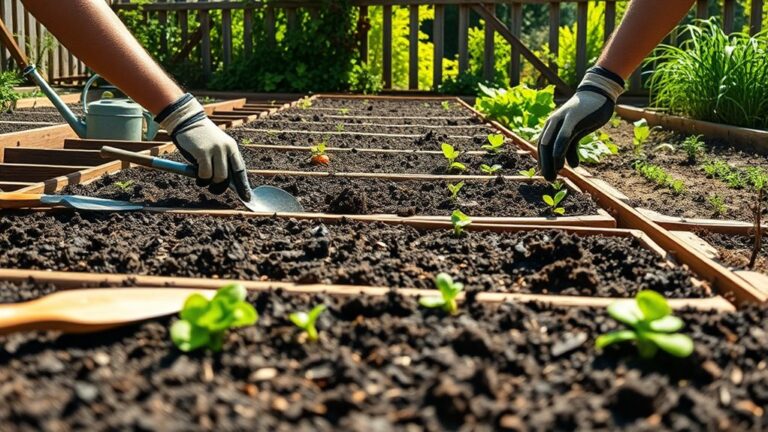
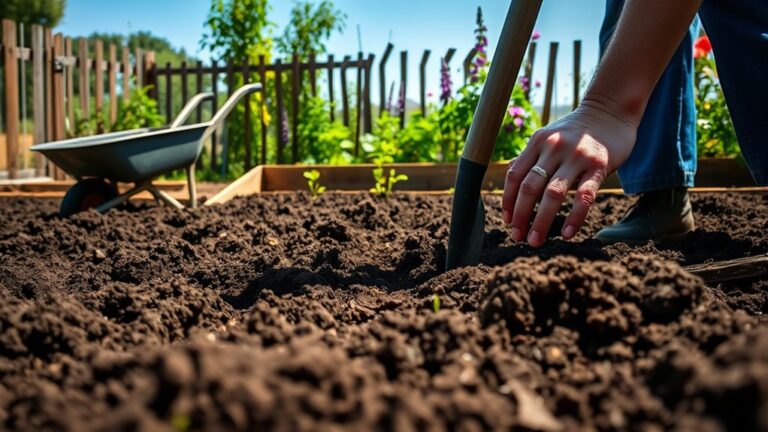
Once you’ve checked your soil, loosen it with a garden fork or tiller when it’s slightly moist—not soggy or dry. Break up compacted clods and work to the depth your plants’ roots will need, taking care not to disturb buried utilities or nearby roots. Loosen soil evenly across the bed so water and air can move through it.
Use your test soil results to choose suitable amendments. If the reading shows a pH imbalance, adjust pH with the recommended material and amount. To mix amendments, spread them over the surface, then turn them into the loosened soil according to package directions. Don’t add compost at this stage if you’ll cover that in the next step; focus on any other needed materials, such as lime or sulfur.
Rake the surface to level bed, removing large stones and debris. A smooth, workable surface helps you prepare planting area for the next step without compacting the soil.
Add Compost to Prepare Soil for Planting
Spread a 1- to 2-inch layer of finished compost over the loosened soil, then mix it into the top few inches with a fork or rake. Choose dark, crumbly compost with an earthy smell; avoid material that’s hot, slimy, or still full of recognizable scraps.
Spread finished compost over loosened soil, then work it into the top few inches. Choose dark, crumbly compost with an earthy smell.
Finished compost adds organic matter, improves soil structure, and helps sandy soil hold moisture while supporting drainage in heavier soil. These compost benefits can also encourage helpful soil organisms and provide a slow, modest supply of nutrients.
Your compost application methods can vary with the bed’s size and condition. For a small area, scatter compost by hand, then blend it evenly through the loosened soil. For a larger bed, use a wheelbarrow to distribute manageable loads and a rake or garden fork to incorporate them.
Don’t pile compost around plant crowns or rely on it as a complete fertilizer. If your soil already contains plenty of organic matter, use a thinner layer to avoid over-amending it.
Level the Bed and Get Ready to Plant
Rake the bed’s surface until it’s level and free of large clumps, then water it lightly if the soil is dry. Use the back of your rake to smooth uneven spots, but don’t press hard enough to compact the soil.
A level bed helps water spread evenly and gives seeds or transplants a stable place to grow.
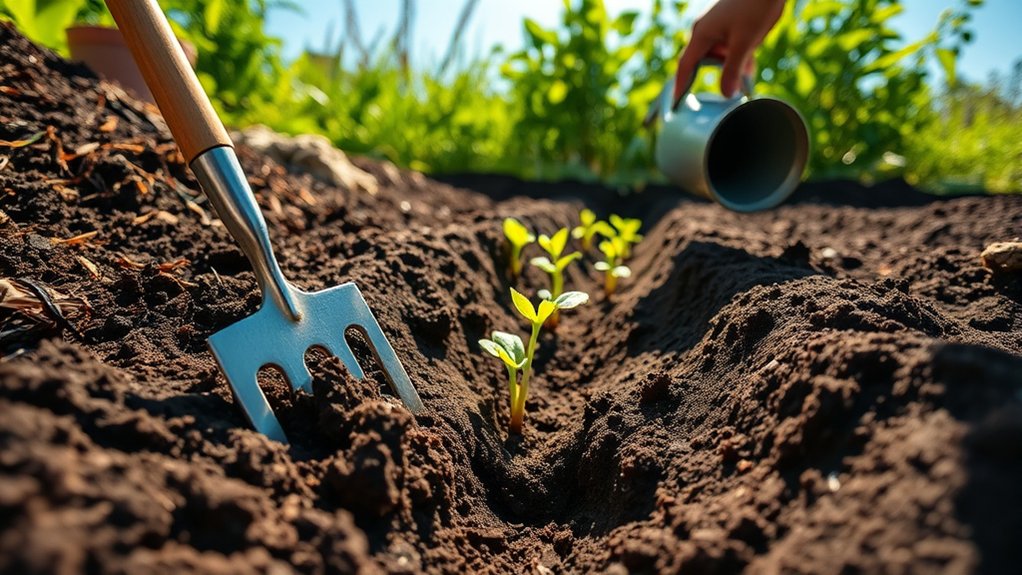
Next, check your planting plan and mark rows or planting spots with string, stakes, or shallow grooves. Follow the recommended plant spacing for each crop so roots have room to develop and leaves get enough air and sunlight.
Leave paths wide enough for you to reach plants without stepping on the prepared soil.
Before planting, remove any stones, roots, or weeds you’ve uncovered. Gather your seeds or seedlings, labels, and tools, and keep them close by.
Check the weather and soil moisture. If the surface has dried out, water gently again. Now you’re ready to plant at the right depth and spacing.
Frequently Asked Questions
When Is the Best Time of Year to Prepare Garden Soil?
The best time to prepare garden soil is early spring, several weeks before you plant, once the ground has thawed and dried enough to work. You can also prepare beds in fall, giving amendments time to settle before spring planting.
Check soil readiness by squeezing a handful: it should crumble, not form a wet, sticky ball. If it’s soggy, wait; working wet soil can compact it and harm its structure.
How Deep Should Garden Soil Be for Different Plants?
Give shallow-rooted greens 6–8 inches of soil depth, most vegetables and flowers 8–12 inches, and deep-rooted crops like tomatoes, carrots, or shrubs 12–24 inches or more. Think of soil as a home: roots need enough room to spread and settle.
Check each plant’s mature root needs, then match your bed depth to its requirements. Good plant compatibility helps you group crops with similar rooting needs, so every plant gets space to thrive.
Can I Prepare Soil for Planting in Containers?
Yes, you can prepare soil for planting in containers, and the right container soil preparation helps roots thrive. Choose fresh, lightweight potting mix rather than dense garden soil, which can compact and drain poorly. Check that each pot has drainage holes, then blend in compost for nutrients. For balcony planter amendments, add perlite or coco coir to improve airflow and moisture balance. Match the mix to your plant, and moisten it before planting.
How Can I Improve Soil Drainage in a Garden Bed?
Improving drainage starts with loosening compacted soil and helping water move through the root zone. Work compost into the top several inches to improve structure, but don’t add sand to clay soil; it can make compaction worse.
For persistent sogginess, raise the bed, create a gentle slope, or install a drain that carries water away. Choose plants suited to your conditions, and avoid walking on wet soil. These garden bed amendments help roots get air.
Should I Wear Protective Gear When Handling Soil Amendments?
Yes, wear safety gear when handling soil amendments because your garden’s makeover shouldn’t include an unplanned dust bath. Put on gloves, eye protection, and a dust mask, especially when working with powders, lime, or fertilizers. Long sleeves and closed-toe shoes add useful protective measures.
Read the product label, work outdoors or in a well-ventilated area, and wash your hands afterward. You’ll protect yourself while giving your plants the treatment they deserve.
Conclusion
You’ve cleared the weeds, checked your soil, loosened its texture, and fed it compost. Now level the bed like a welcoming table, ready for seeds to arrive.
Think of your garden as a small kingdom: healthy soil is its foundation, and each thoughtful step prepares the way for roots to settle and plants to thrive. Give your bed a final look, then plant with confidence.
You’ve made a strong beginning, and your garden’s next chapter starts beneath your feet. Preparing soil for planting gives your plants a healthy foundation to grow.