How to Plant in Containers in 5 Easy Steps
Choosing the right container gardening products can feel overwhelming when you’re not sure what your plants need. You’re not alone—many people struggle to get started, but a few simple steps can make planting containers easier.
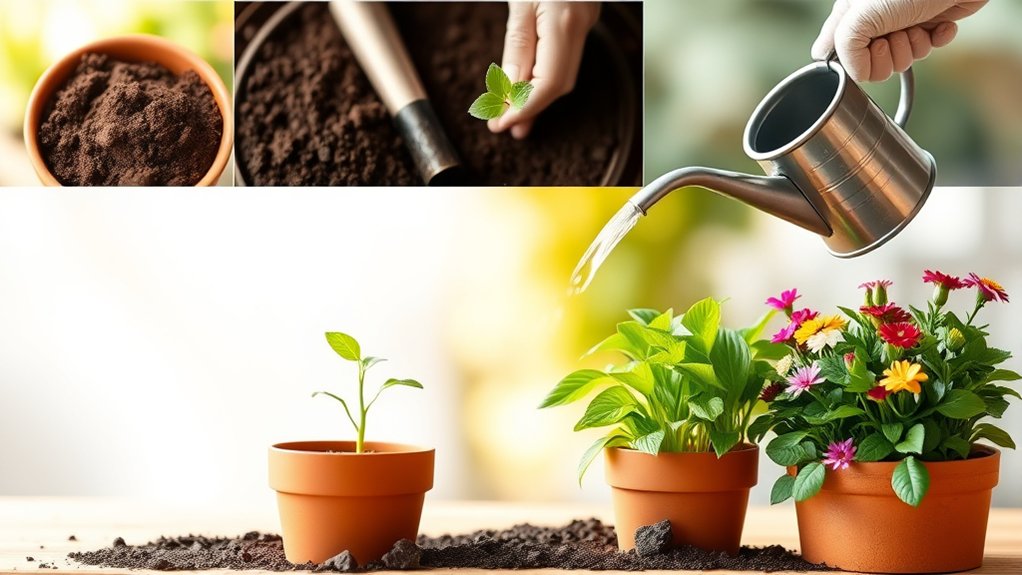
To plant in containers, choose a sturdy pot with drainage holes, and check that water flows through them. Match plants to the spot’s sunlight, grouping varieties with similar needs. Fill the pot with moistened, container-specific potting mix rather than garden soil.
Set each plant at its nursery depth, spacing it for mature growth, with tall plants centered and trailing ones near the rim. Water slowly until excess drains, then check moisture regularly. A few care details can help your container garden thrive.
Key Takeaways
- Choose a sturdy container with drainage holes, and confirm water flows freely through them.
- Match plants to the spot’s sunlight, grouping varieties with similar light requirements.
- Fill the container with suitable, lightweight potting mix rather than garden soil.
- Plant at nursery-pot depth, spacing for mature growth; place tall plants centrally and trailing plants near the rim.
- Water until excess drains, empty saucers, and provide regular feeding and basic plant care.
Choose a Container With Drainage
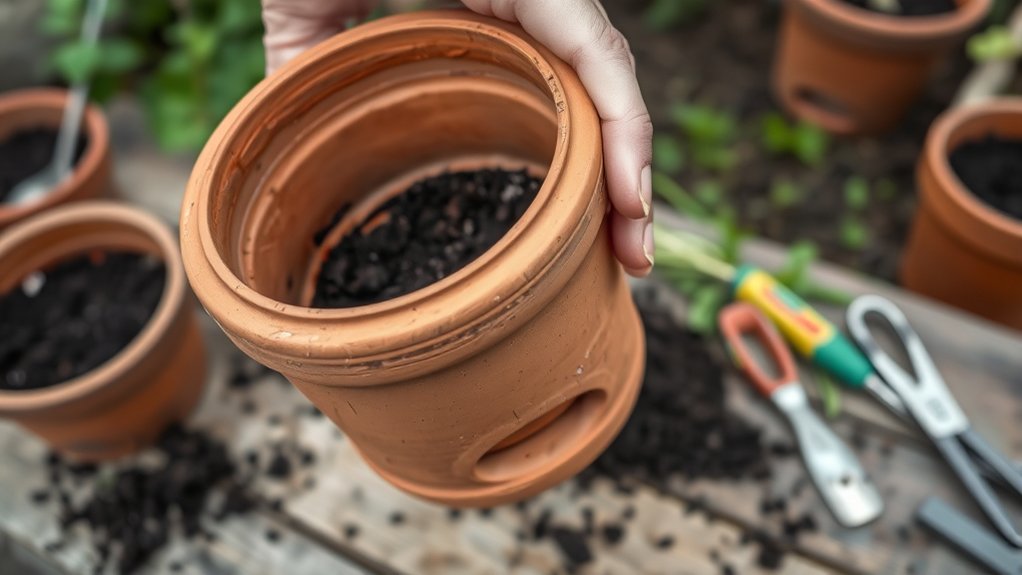
Before choosing a container, check that it has drainage holes in the bottom. Without them, excess water can collect around roots, increasing the risk of rot. Good container drainage lets water escape while keeping enough moisture for healthy growth.
If you find a pot you love without holes, use a drill to add them if the material allows, or place a nursery pot with holes inside it.
Next, choose a container size that suits your plant and gives its roots room to grow. A pot that’s too small dries out quickly and may restrict roots; one that’s much too large can hold excess damp soil.
Check the plant’s label or care guide for a recommended pot size, and consider its mature growth. Make sure the container is sturdy enough to support the plant and soil, and use a clean pot to reduce the chance of pests or disease. Before filling it, confirm that water can flow freely through every drainage hole.
Match Container Plants to Your Sunlight
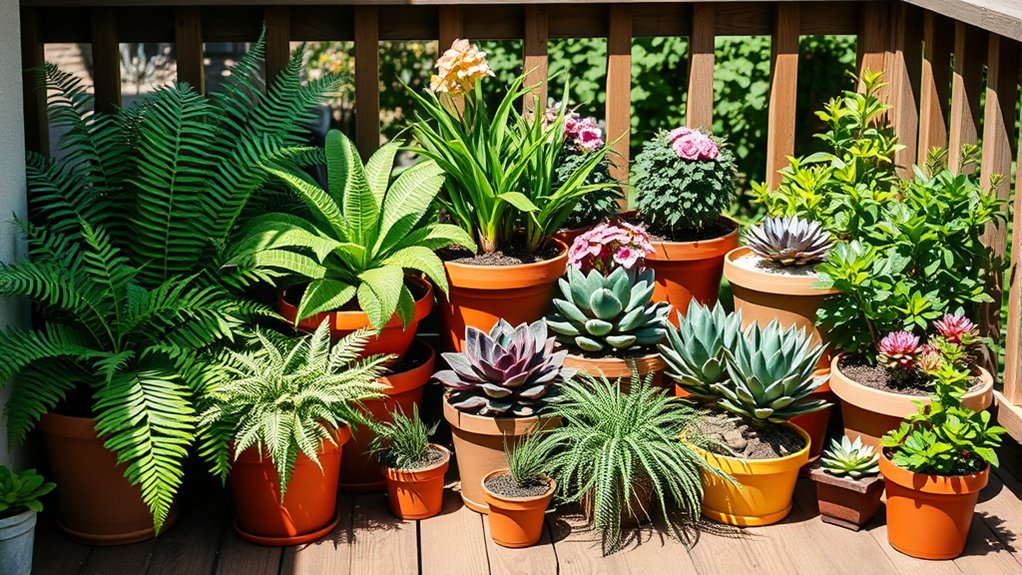
Once you’ve chosen a container, check how much sunlight the spot gets each day and pick plants that suit it. Observe the area at different times, noting when direct rays reach it and whether nearby walls or trees cast shade. This sunlight duration helps you choose plants that can thrive there.
For a bright, exposed spot, consider sun loving varieties such as tomatoes, peppers, petunias, or herbs like basil. These plants generally need several hours of direct sun, though their exact needs vary.
Choose sun-loving plants like tomatoes, peppers, petunias, or basil for bright spots with several hours of direct sunlight.
If your space gets partial sun, try leafy greens, begonias, or impatiens, which can handle some shade. For a mostly shaded location, choose plants such as ferns or hostas that tolerate low light.
Check plant labels for light requirements before buying, and group plants with similar needs together. If your light changes by season, select adaptable plants or move containers as needed. Matching plants to their location helps you avoid weak growth, scorched leaves, and disappointing blooms throughout the growing season.
Fill Containers With Suitable Potting Mix
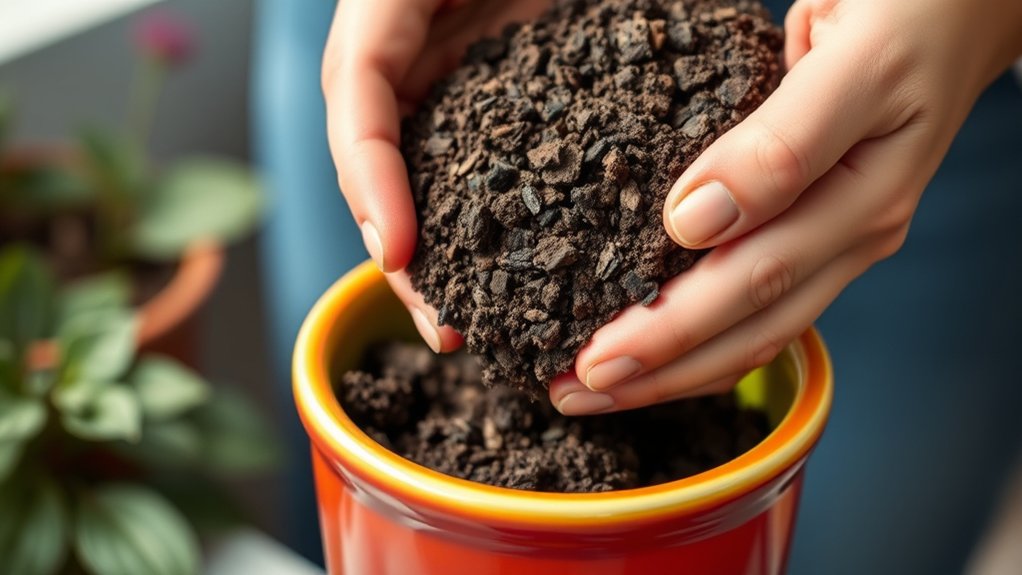
The right potting mix gives container plants the air, moisture, and nutrients they need. Choose a commercial mix labeled for containers rather than garden soil, which can compact and restrict airflow. Match the blend to your plants: succulents and cacti need a fast-draining mix, while many flowers and vegetables prefer a moisture-retentive potting mix.
Let container selection guide how much mix you buy and which blend you choose. Large pots hold more moisture, so a lighter, well-aerated mix can help prevent soggy roots. For small containers, check the label to ensure the mix won’t dry out too quickly.
Keep drainage importance in mind as you fill each pot. Use a container with open drainage holes, then add mix without packing it tightly; loose soil lets water move through and roots breathe. Don’t add gravel to the bottom, since it won’t improve drainage. Moisten dry mix slightly before use so it settles evenly and supports healthy growth.
Set Plants at the Right Depth and Spacing
Set each plant at the same depth it grew in its nursery pot, with the root ball’s surface level with the potting mix. Don’t bury stems or leave roots exposed. If a plant sits too low, add mix beneath its root ball; if it sits too high, gently adjust the mix before settling it in place.
Plan depth and spacing with each plant’s mature size in mind. Give roots room for spreading, while arranging foliage so plants look full without crowding one another. Check the plant tag for size guidance, then picture how the leaves and stems will fill the container.
- Place the tallest plant near the center or back of the pot.
- Set trailing plants near the rim, where their stems can spill over.
- Leave enough space between root balls for growth.
- Turn each plant so its best side faces outward.
- Keep foliage clear of the container’s edge if it needs room to expand.
Once the arrangement looks balanced, press mix lightly around each root ball to hold plants upright.
Water and Care for Container Plants
Water each container slowly until excess drains from the bottom, then let the potting mix dry to the level each plant prefers. Check moisture with your finger; containers can dry quickly in warm, windy weather.
Learn each plant’s water requirements, and adjust your schedule for rain, temperature, and pot size. Empty saucers after watering so roots don’t sit in standing water.
Feed plants with a balanced fertilizer according to its label, since frequent watering can wash nutrients from the mix. Remove faded flowers and yellow leaves to encourage fresh growth and keep plants tidy.
Use clean shears and suitable pruning strategies: pinch back leggy stems, and trim only as much as your plant can handle. Inspect leaves and stems regularly for pests or disease.
If you spot a problem, remove affected growth and treat it promptly with a method suited to the plant. Rotate containers occasionally for even light, and move them during extreme heat or cold.
Your attentive care helps plants stay healthy and productive.
Frequently Asked Questions
Which Vegetables Grow Best in Containers?
You’ll get the best results from compact vegetables that thrive in limited space. Choose cherry tomatoes, lettuce, spinach, radishes, green onions, peppers, bush beans, or dwarf carrots.
For smart vegetable choices, match each plant to a pot deep and wide enough for its roots, and check its sunlight needs. Use optimal soil mixes that drain well while holding moisture, and water consistently.
You can also grow herbs alongside vegetables to make every container more productive.
Can I Reuse Potting Soil From Last Year?
Yes, you can reuse last year’s potting soil, but give it a little spring cleaning before planting. Like a phoenix, old soil can rise again when you refresh it.
For safe reuse, check Soil reuse considerations: discard soil that housed diseased plants or has pests, mold, or foul odors. Remove old roots, then mix healthy soil with fresh potting mix and compost. Add fertilizer, too, since last year’s plants likely used up nutrients.
When Should I Repot a Container Plant?
Repot your container plant when roots circle the pot, emerge from drainage holes, or the soil dries unusually fast. Spring, as new growth begins, is usually the best repot timing, though you can move a struggling plant sooner. Check root health: healthy roots are firm and pale; trim any mushy or dead sections. Choose a pot only one or two inches wider, and water thoroughly after repotting to help your plant settle.
How Do I Protect Container Plants From Frost?
Treat frost like an unwelcome guest: move containers indoors or against a sheltered wall before temperatures drop. Group pots together, wrap them with burlap or blankets, and cover plants with breathable fabric, keeping covers off the foliage when possible.
Water soil beforehand if it’s dry, but don’t let pots sit in water. For protecting containers, raise them off frozen ground. Keep a frost backup plan ready, and enjoy self wertilization benefits from healthy, well-nourished plants.
Are Self-Watering Containers Worth Using?
Yes, self-watering containers are worth using if you want steadier moisture and fewer watering chores. Their reservoirs support consistent container irrigation, which can help during hot weather or short trips.
You’ll still need to refill them and check soil moisture; they don’t suit every plant, especially those that prefer drying between waterings. Look for sturdy designs with drainage and a visible water gauge. The term “self wert watering” may describe this style, too.
Conclusion
You don’t need a big garden—or a green thumb—to grow a thriving container garden. Choose pots with drainage, match plants to your sunlight, use quality potting mix, and give each plant room to grow. Set roots at the right depth, then water regularly and watch for signs of stress.
Worried you’ll make a mistake? Container plants are easy to adjust: move a pot, refresh the soil, or change your watering routine. Start small, learn as you go, and enjoy what you grow with these tips for planting in containers.