How Do You Plant and Grow in 10 Essential Steps?
Starting a garden can feel overwhelming when you’re unsure what to plant, where to begin, or how to keep everything alive. You’re not alone—many people struggle to turn gardening advice into simple, practical steps. This guide to how to plant and grow in 10 essential steps will help you get started with confidence.
To plant and grow a garden in 10 essential steps, choose plants suited to your space and climate, then pick a sunny, sheltered spot. Track sunlight, gather seeds, seedlings, and tools, and prepare well-drained soil with compost.
Plant seeds at the recommended depth or set seedlings with roots covered and stems above soil. Water deeply, add mulch, remove weeds, and check for pests.
Prune, feed, and monitor plants regularly, then harvest at maturity. Keep these steps in mind as you build a garden that thrives.
Key Takeaways
- Choose plants suited to your climate, available space, sunlight, and soil conditions.
- Track daily sunlight, then plan an accessible, sheltered, well-drained garden layout.
- Prepare the soil with compost, check drainage, and test pH and nutrient levels.
- Plant seeds at packet-recommended depths; set seedlings with roots covered and stems above the soil.
- Water deeply, mulch, remove weeds, monitor for pests, and prune and harvest as needed.
Choose Plants for Your Space and Climate
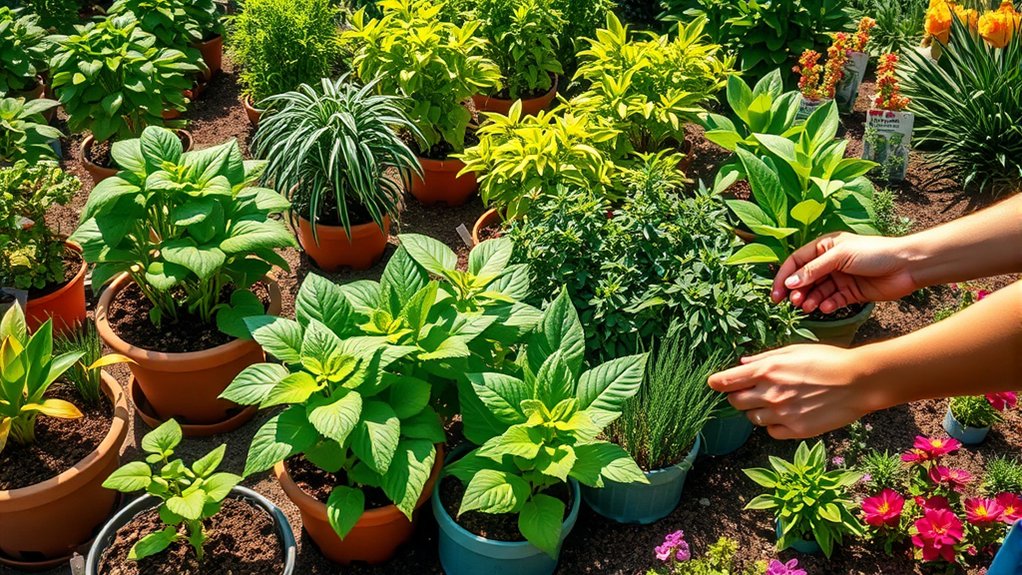
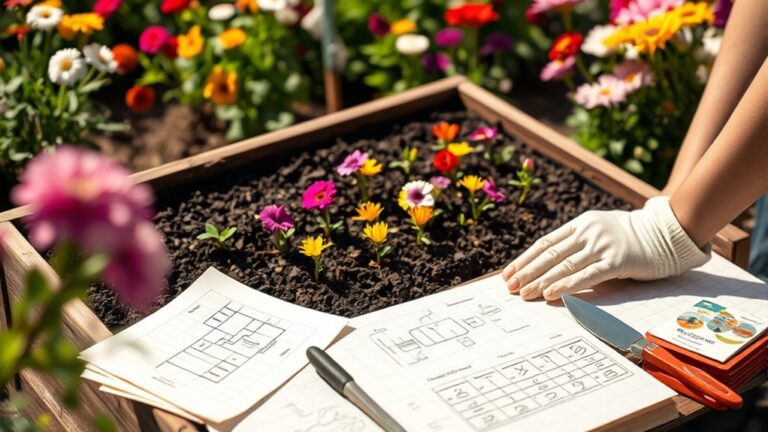
Before choosing plants, look closely at your space and local climate. Check your region’s growing season, typical rainfall, winter lows, and summer heat. Then match plants to conditions they can tolerate, such as frost, humidity, or drought. Your local extension service can recommend varieties suited to your area.
Consider how much room each plant needs at maturity. Read labels for expected height and spread, and leave space for roots and airflow. If you’re working with containers or a small yard, choose compact varieties that won’t outgrow their home. Think about how much time you can give watering, pruning, and harvesting, too.
Use soil testing to learn your soil’s pH and nutrient levels before selecting plants. Choose species that thrive in those conditions, or plan amendments based on the results. When choosing companions, group plants with similar water and soil needs, and avoid combinations that compete for space. A thoughtful match helps your garden grow well with less effort.
Pick a Sunny Spot for Your Garden

Choose a sunny spot where your plants can get plenty of light. To find the best place, track how much sun different areas receive throughout the day. Try to avoid shady spots, since they can limit plant growth.
Choose a Sunny Location
Where should you plant your garden? Choose a spot that receives ample sunlight and suits the plants you want to grow. Most vegetables and many flowers thrive with at least six hours of direct sun, while leafy greens and some herbs tolerate partial shade. Consider how nearby trees, buildings, fences, and walls may cast shade or reflect heat. These sunny considerations help you select a practical location without overlooking your garden’s daily needs.
Check climate compatibility before settling on a site. Your region’s temperatures, wind, rainfall, and seasonal conditions can affect plant health, so choose a sheltered area when strong winds threaten delicate stems. Avoid low spots where water collects, and favor well-drained ground that’s easy to reach for planting and care. A sunny, accessible location gives your garden a strong start and helps plants flourish throughout the growing season.
Track Daily Sunlight
Track sunlight across your garden site for a full day to see how much direct sun it receives and when. Check the area every hour, noting when sunlight reaches each section and when it moves away.
Repeat your tracking sunlight observations on another clear day to account for changing conditions. You can use a simple chart, phone notes, or photos to record the times.
This schedule helps you match plants to the light available and plan where to place each one. Consider how nearby structures, trees, and fences affect the sun’s path throughout the day.
Also note when you’ll be able to tend the garden; convenient access makes daily watering and routine care easier. Keep your records handy as you choose plants and organize your garden layout.
Avoid Shady Areas
Once you’ve tracked the sunlight, pick a garden spot that gets plenty of direct sun and avoid areas shaded for much of the day. Most vegetables and flowering plants need at least six hours of sun to grow well.
Check for shade from trees, fences, buildings, and shrubs, especially as the sun moves across your yard. A spot that looks sunny in the morning may fall into shade by afternoon.
If your garden gets low light, choose plants suited to those conditions rather than expecting sun-loving crops to thrive. Leafy greens and some herbs can tolerate partial shade, but fruiting plants usually need more direct sun.
You can also trim overhanging branches or move containers to brighter locations. To avoid shady areas, compare your sunlight notes across several days before planting.
Gather Seeds, Seedlings, and Garden Tools
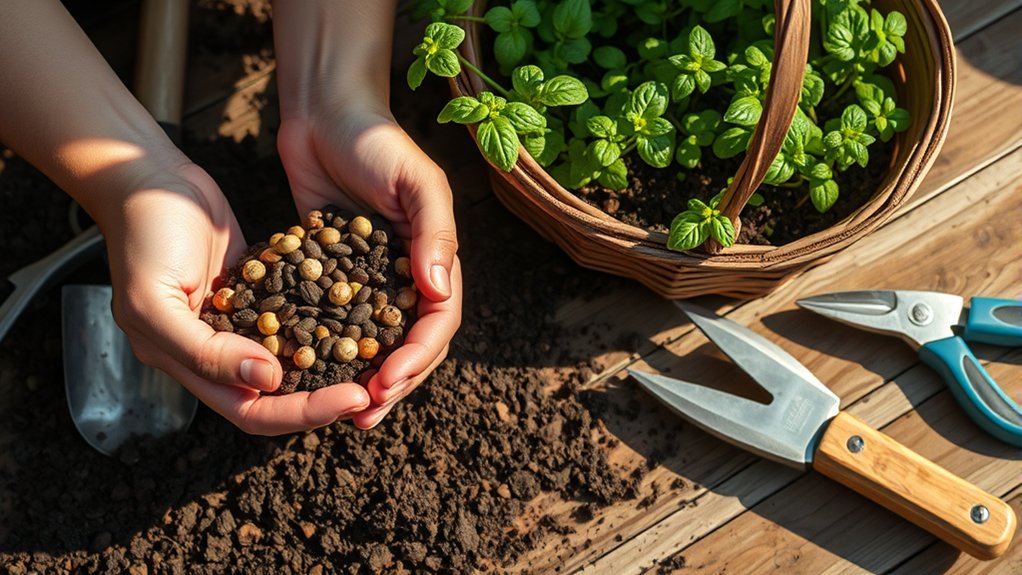
Choose quality seeds that suit your garden and growing conditions. Buying seedlings instead? Look for healthy plants with strong stems and vibrant leaves. Before you get started, gather a few essentials, such as a trowel, gloves, and a watering can.
Choose Quality Seeds
Start with seeds suited to your climate, growing space, and experience level. Check each packet for your region’s growing season, sunlight needs, and days to maturity. If you have a short summer, choose varieties that mature quickly; for containers, look for compact plants. Thoughtful seed selection helps you match crops to your conditions and goals.
Before buying, read the packet’s planting depth, spacing, and germination guidance. Check the harvest date and choose fresh seeds from a reputable supplier. Older seeds may germinate poorly, so avoid packets with unclear dates or damaged seals. If you’re saving seeds, confirm they come from open-pollinated varieties; hybrids may not produce plants like the parent.
Prepare your garden by checking soil testing results, then choose seeds that suit its conditions. Buy only what you can plant and care for this season. Keep packets dry and cool until sowing.
Select Healthy Seedlings
Healthy seedlings have sturdy stems, evenly colored leaves, and no signs of pests or disease. During seedling selection, inspect both sides of each leaf for spots, holes, or insects.
Check stems for firmness and avoid plants that look wilted, leggy, or crowded in their containers. Choose seedlings with healthy roots: they should hold the soil together without circling tightly or emerging in dense tangles from the drainage holes.
Match each plant to your growing conditions, including available sunlight, space, and climate. Read its label to confirm the variety and expected mature size.
Consider transplant timing, too. Select plants that are ready for your region’s planting window, and avoid seedlings that have outgrown their pots or begun flowering prematurely.
Healthy, well-matched starts adapt more easily and establish strong growth after transplanting.
Gather Essential Tools
Before planting, gather the seeds or seedlings suited to your garden, along with a trowel, gloves, watering can, and any tools needed to prepare the soil. Check seed packets for planting depth, spacing, and timing so you can support reliable seed germination.
If you’re using seedlings, choose sturdy plants with healthy leaves and roots. Match your supplies to the garden’s size: a hand fork can loosen small beds, while a hoe helps clear larger areas.
Keep a hose or watering can nearby to moisten soil without washing seeds away. Clean tools before use, sharpen blades when needed, and store everything in a dry place.
Regular tool maintenance helps prevent rust and damage, making each task safer and easier. Gather labels, too, so you can track what you plant and where.
Prepare Healthy Soil for Planting
Good soil gives roots the air, water, and nutrients they need to thrive. Before planting, assess what you have and improve it with simple, targeted steps. Healthy soil supports strong growth without unnecessary inputs.
Healthy soil provides roots with air, water, and nutrients, supporting strong growth with simple, targeted improvements.
- Check texture: Squeeze a handful of damp soil. If it forms a hard lump, add compost to loosen clay; if it crumbles like sand, compost can help it hold moisture.
- Look for drainage: Water a small patch. If puddles linger, loosen compacted areas and mix in organic matter to improve soil structure.
- Add compost: Spread a thin layer of finished compost over the bed. It feeds soil life and supports nutrient cycling, making nutrients more available over time.
- Test pH and nutrients: Use a home kit or local extension service. Follow the results when choosing amendments, rather than guessing or adding fertilizer indiscriminately.
Mix amendments into the top layer gently, then rake the surface smooth. Your bed is ready for planting.
Plant Seeds or Seedlings at the Right Depth
Check each seed packet for the recommended planting depth, since seeds vary. When planting seedlings, make sure their roots are secure in the soil and their stems stay above it. Follow each plant’s guidelines to give it a strong start.
Check Seed Depth
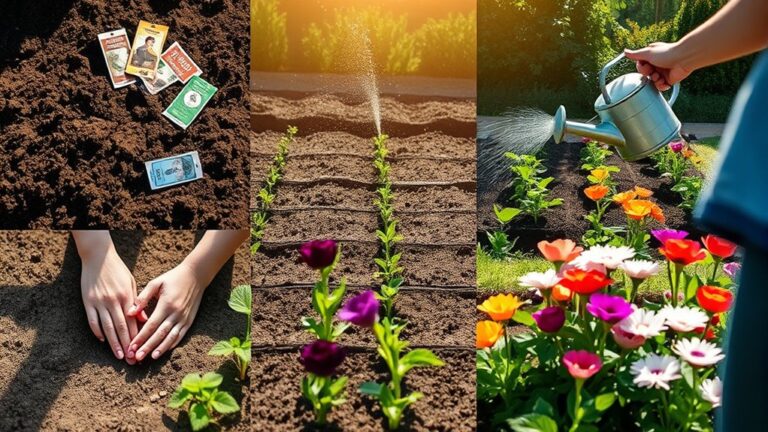
Plant seeds at the depth listed on the packet, since planting too deep can delay or prevent germination, while planting too shallow can leave seeds exposed to drying or washing away. Check the seed depth before you cover each row, and adjust for your soil texture when the packet offers guidance. A quick check helps you give seeds a reliable start:
- Read the packet’s depth and spacing instructions before planting.
- Use a ruler or your finger to make holes at the recommended depth.
- Place tiny seeds near the surface; cover them lightly if instructed.
- Measure a few holes as you go, then gently cover seeds without packing the soil hard.
If you’re unsure, err on the shallow side for small seeds. Keep the packet nearby so you can confirm details as you work.
Set Seedlings Properly
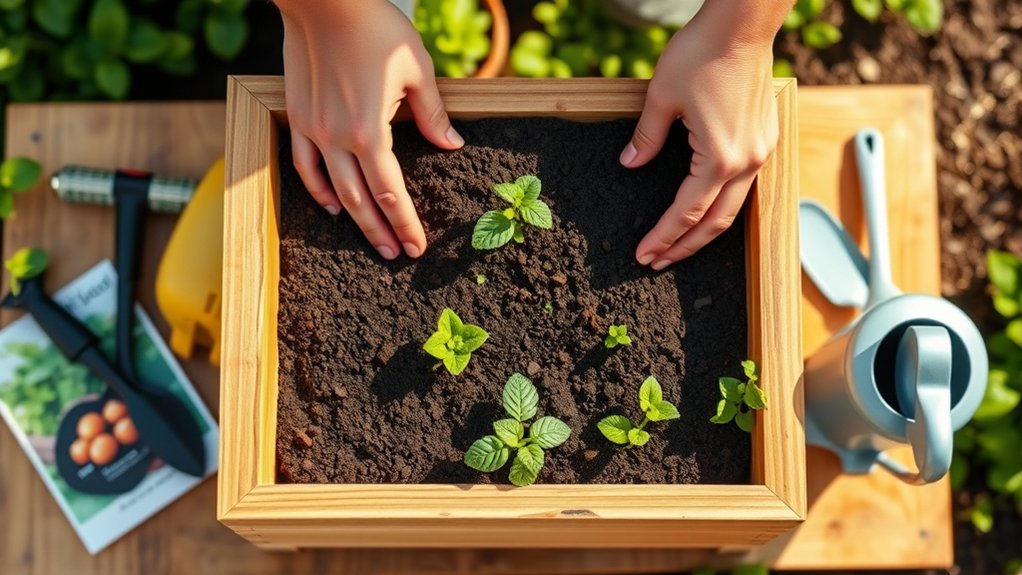
Set seedlings at the same depth they grew in their pots, keeping the root ball covered and the stem base above the soil. This placement protects delicate stems from rot while ensuring roots stay moist and supported.
Before planting, check seedling quality: choose sturdy plants with healthy leaves, firm stems, and roots that aren’t tightly tangled. Handle each seedling by its leaves or root ball, not its stem, which can bruise easily. If roots circle the pot, gently loosen them so they can grow outward.
Consider transplant timing, too. Move seedlings outdoors when conditions suit the crop and plants have adjusted to outdoor exposure.
Set each one into its prepared opening, settle soil gently around the roots, and water thoroughly to remove air pockets and help roots make contact with soil.
Follow Planting Guidelines
Depth matters because seeds buried too deeply may not sprout, while shallow ones can dry out. Check each seed packet or plant label for recommended depth, spacing, and planting conditions.
If you’re unsure, use these simple guidelines:
- Read the instructions. Follow the listed depth and timing; different plants have different needs.
- Measure carefully. Plant most seeds at a depth about twice their width, unless the packet says otherwise.
- Set seedlings correctly. Keep the root ball level with the soil surface, and don’t bury the stem unless instructions allow it.
- Give plants room. Follow plant spacing recommendations so roots and leaves have room to grow. Consider companion planting, but avoid crowding.
Cover seeds lightly, firm the soil gently, and water with a soft spray. Label rows so you can track what you’ve planted and spot emerging seedlings.
Water New Plants on the Right Schedule
Water new plants deeply after planting to settle the soil around their roots, then keep the root zone consistently moist while they establish. Check the soil every day during the first week, especially in warm, windy weather. Push a finger an inch or two into the ground; if it feels dry, water slowly until moisture reaches the roots.
This moisture monitoring helps you adjust your irrigation timing to the plant, soil, and weather rather than follow a rigid calendar. New plants in sandy soil may need water more often than those in dense clay, which holds moisture longer. Water at the base of each plant so roots receive moisture directly, and avoid frequent, shallow sprinkles that encourage shallow rooting.
In the weeks that follow, check soil moisture regularly and water when the root zone begins to dry. As roots grow, gradually extend the time between watering sessions while giving each plant a thorough soak. Adjust your schedule after rain and during heat spells.
Add Mulch to Protect Soil and Roots
Add a 2- to 3-inch layer of mulch around each plant to help the soil retain moisture, moderate temperature, and resist weeds. Keep mulch a few inches from stems and trunks so they stay dry and can breathe.
Choose an organic option, such as shredded leaves, bark, or straw, to gradually enrich your garden soil.
Use these simple steps to enjoy the mulching benefits:
- Prepare the surface: Water your plants first, then spread mulch over the soil. This helps lock in soil moisture after watering.
- Cover evenly: Apply mulch in a consistent layer, leaving open space around each plant’s base.
- Match the material: Use fine mulch for small beds and coarser pieces around shrubs or larger plants.
- Refresh as needed: Check the layer occasionally and add a little when it thins, keeping the total depth near 2 to 3 inches.
Mulch also cushions soil from heavy rain and helps roots handle temperature swings. Choose a material that suits your plants and local climate.
Remove Weeds and Check for Garden Pests
Keep your garden healthy by removing weeds and checking plants for pests regularly. Weeds compete with your crops for water, light, and nutrients, so pull them before they spread or set seed.
Loosen the soil around each weed and remove its roots, taking care not to disturb nearby plants. After rain or watering, damp soil makes this task easier. A layer of mulch can also support weed control by blocking sunlight, but check beneath it for emerging growth.
Make pest monitoring part of your routine. Inspect leaf tops and undersides, stems, and the soil around plants. Look for holes, discoloration, sticky residue, eggs, or insects, and identify the cause before choosing a response.
Handpick larger pests when practical, or rinse small infestations from leaves with water. Remove badly affected plant debris to limit spread, and avoid harming helpful insects. Check plants more often during warm weather, when pests can multiply quickly. Record recurring problems to guide future prevention.
Prune, Feed, and Check Plants Regularly
Prune, feed, and inspect your plants regularly to support healthy growth and catch problems early. A simple routine helps you respond before small issues spread. Use these four habits to care for your garden:
- Trim with purpose. Learn suitable prune techniques for each plant. Remove dead, damaged, or crowded stems with clean, sharp tools, and avoid cutting too much at once.
- Feed thoughtfully. Follow product directions and your plants’ needs rather than adding fertilizer by guesswork. Too much can harm roots and leaves.
- Set a routine. Create feeding schedules that match plant type, season, and soil conditions. Record what you apply so you don’t overfeed or miss a needed dose.
- Check closely. Look under leaves and along stems for discoloration, spots, or unusual growth. Notice changes in soil moisture, too, and adjust watering or care as needed.
Keep notes on what works. Regular attention makes it easier to spot patterns, support strong growth, and give each plant the care it needs.
Harvest Plants at the Right Time
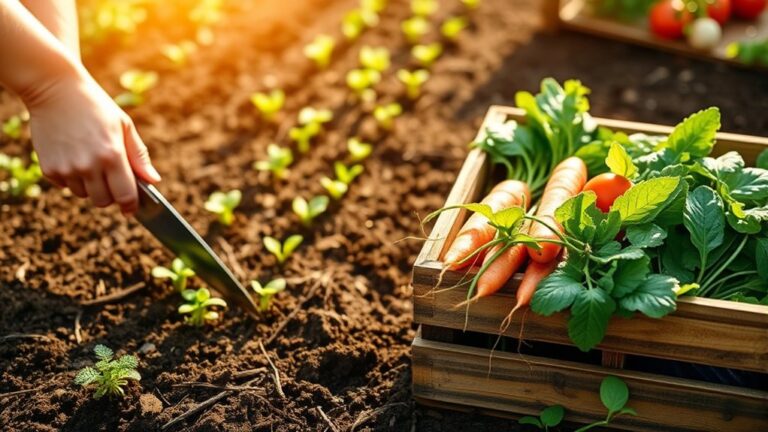
Harvesting at the right time helps you enjoy better flavor and encourages some plants to keep producing. Check each crop’s expected maturity, then watch its size, color, firmness, and aroma. Pick in the cool morning when possible, and use clean scissors or a gentle twist to avoid damaging stems. Harvest leafy greens from the outside, and leave the growing center intact.
| Crop | Harvest cue | Best action |
|---|---|---|
| Lettuce | Leaves reach usable size | Pick outer leaves |
| Tomatoes | Full color, slight softness | Twist gently |
| Beans | Firm, before seeds bulge | Snap pods often |
| Herbs | Before flowering | Snip leafy stems |
Harvest frequently to prevent overripe produce and signal some crops to make more. Your local climate affects maturity, so use climate adaptability when adjusting timing for heat, rain, or cool spells. If you garden with others, consensus planning can help coordinate picking, sharing, and storage. Keep a simple harvest log; it’ll guide next season’s timing and reduce waste.
Frequently Asked Questions
How Can I Extend My Growing Season?
Extend your growing season by starting seeds indoors and choosing fast-maturing, cold-tolerant crops. Use row covers, cloches, or a cold frame for Frost protection when temperatures drop, and remove covers during warm, sunny days.
Add mulch to keep soil warm, and consider a greenhouse or hoop house for an Extended season. Check local frost dates, monitor forecasts, and water consistently so your plants stay healthy as conditions change.
What Should I Do After a Frost Damages My Plants?
After frost damages your plants, wait until temperatures rise and you can assess the injury clearly. Don’t prune immediately; damaged foliage may protect healthy tissue from another cold snap.
Water dry soil gently, but avoid fertilizing until new growth appears. For frost repair, remove mushy or blackened stems gradually, cutting back to healthy tissue.
Keep plants sheltered if more frost threatens. Include spring cleanup by clearing fallen debris once recovery begins, and monitor for fresh growth.
Can I Grow Vegetables in Containers Indoors?
Yes, you can grow vegetables in containers indoors. A sunny window can provide about six hours of light daily, though fruiting crops often need more.
Choose indoor containers with drainage holes, and try leafy greens, herbs, radishes, or compact tomatoes. Use quality potting mix, water when the surface feels dry, and rotate pots for even growth.
If sunlight’s limited, add a grow light. Your best vegetable grown indoors depends on available space and light.
How Do I Save Seeds for Next Year?
Save seeds from healthy, true-to-type plants, choosing open-pollinated varieties rather than hybrids. Let fruits or seed pods fully mature on the plant, then collect and clean the seeds.
Dry them thoroughly on a screen or paper in a cool, airy spot. For successful seed saving, label each batch with its variety and date.
Store seeds in airtight containers in a cool, dark, dry place; check them before planting next year.
When Should I Rotate Crops in My Garden?
Rotate crops at the start of each growing season, moving plant families to different beds each year. Think of your garden as a chessboard: every season, you shift each piece to a new square.
Build crop rotation plans before planting, tracking where tomatoes, beans, brassicas, and root crops grew. Check soil health timing, too: rotate after harvest, then add compost or cover crops so beds recover before you plant again. Avoid returning a family to its old bed for three years.
Conclusion
Growing a garden isn’t complicated: choose plants suited to your space, give them sunlight, prepare healthy soil, and plant at the proper depth. Mulch, weed, check for pests, and keep up with pruning and feeding.
Then harvest when your plants are ready, not when you’re impatient. You’ll need a little attention, but not a green thumb blessed by the gardening gods.
Follow these 10 essential steps for planting and growing, and you may discover the biggest surprise: your plants thrive while you do less guessing.