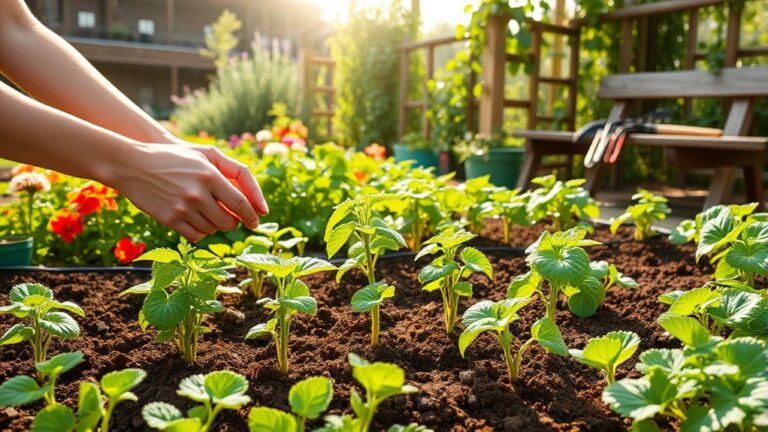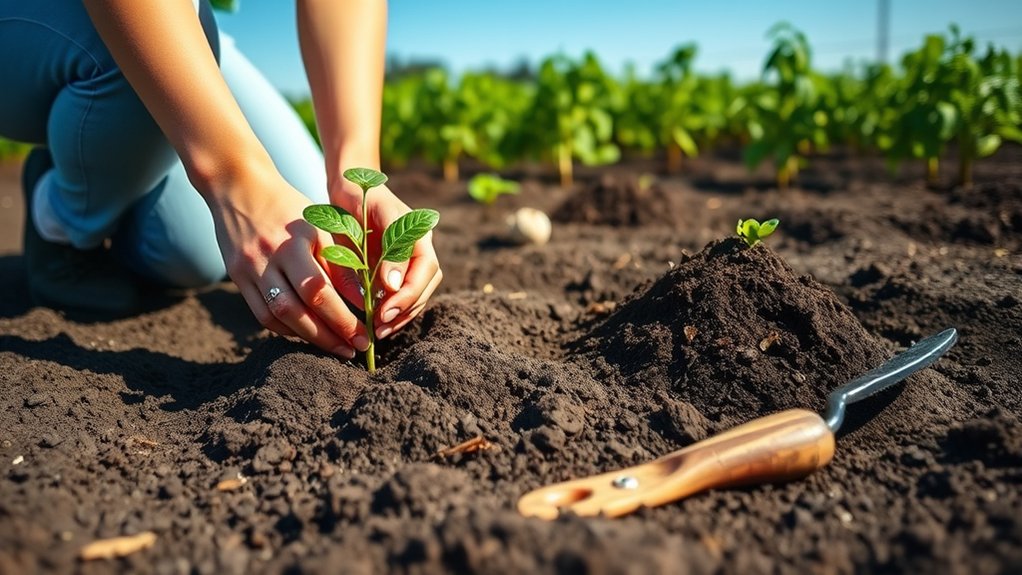
How to Plant Plants in Ground in 3 Easy Steps
Getting a new plant into the ground can feel tricky when you’re unsure about soil, spacing, or watering. You’re not alone—many gardeners struggle to get the basics right. This guide to how to plant plants in ground in 3 easy steps makes it simple to give your plants a strong start.
To plant in the ground in three easy steps, first choose a spot that suits your plant’s sunlight, drainage, and mature size. Test and loosen the soil, removing weeds and debris. Next, dig a hole two to three times wider than the root ball, but no deeper; set the plant level with or slightly above the soil. Finally, backfill, water slowly, and add two to three inches of mulch, keeping it clear of the stem. A few simple checks can help your plant thrive.
Key Takeaways
- Choose the right spot: Match the plant’s sunlight and drainage needs, and allow room for its mature size and roots.
- Prepare the soil: Test pH and nutrients, remove weeds and debris, and loosen compacted ground.
- Dig the hole: Make it two to three times wider than the root ball, but no deeper; loosen compacted sides.
- Set and backfill: Remove the plant gently, loosen circling roots, position the root ball level with or slightly above the soil, then backfill.
- Water and mulch: Water slowly until the soil is evenly moist, then add two to three inches of mulch, keeping it away from the stem.
Choose the Right Spot and Prepare the Soil
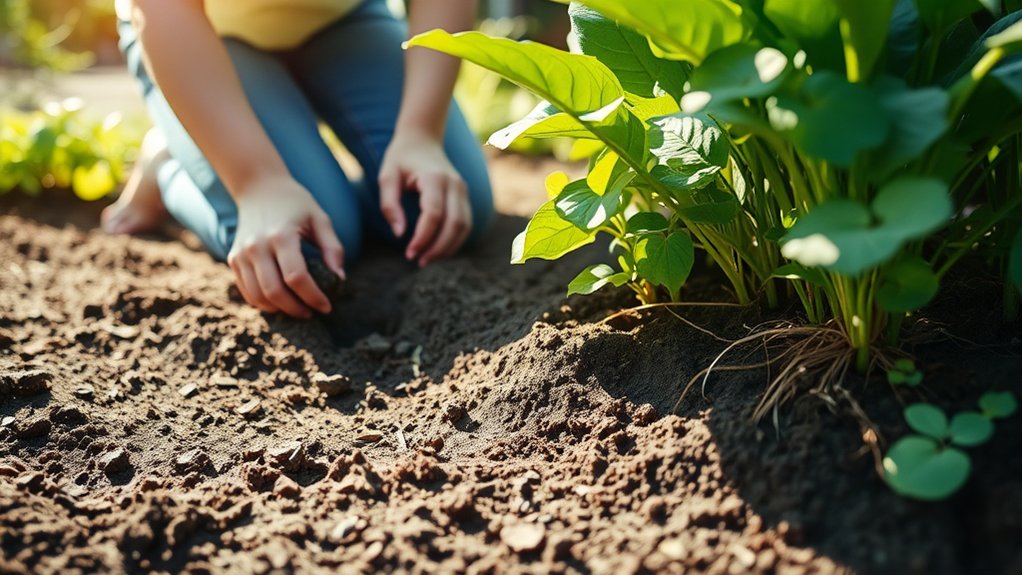
Start by choosing a spot that suits your plant’s sunlight and drainage needs. Check the plant’s label for its preferred sun exposure, then observe how much direct light the area receives throughout the day. Consider nearby trees, walls, and structures that may cast shade or compete for water.
Choose a planting spot that matches your plant’s sunlight and drainage needs, while accounting for shade and water competition.
Before planting, assess the soil. A simple soil testing kit can reveal pH and nutrient levels, helping you decide whether amendments are needed. Check how quickly water drains after rain; persistent puddles signal drainage concerns you should address.
Loosen compacted ground and remove weeds, stones, and debris. Make sure the site has enough room for the plant’s mature size and rooting depth.
Choose a location with conditions that match the plant’s drought tolerance, and plan fertilizer timing around its growth cycle rather than adding nutrients automatically. For pest prevention, clear away diseased plant matter and avoid crowded spots.
You can also compare mulching alternatives, such as compost or leaf mold, to suit your garden and conserve moisture.
Dig the Planting Hole and Set the Plant
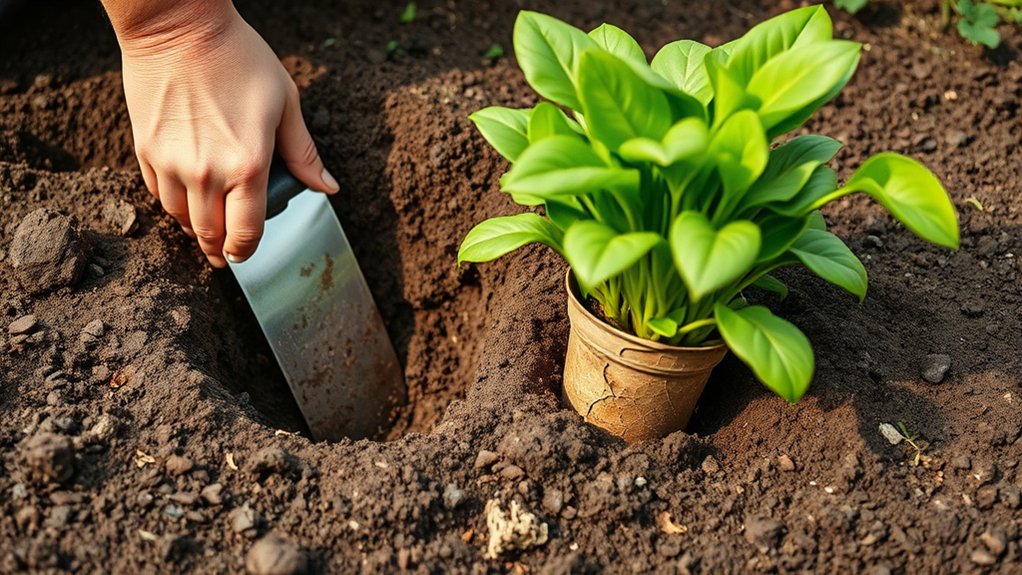
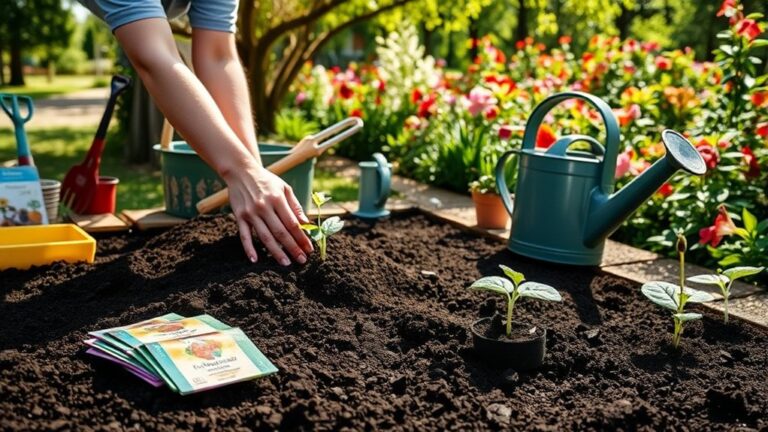
Dig a hole two to three times wider than the plant’s root ball and no deeper than its height, so the roots can spread while the plant sits at the right level. Check the hole’s depth by resting a straight stick across its top and measuring from the stick to the bottom. If the soil is compacted, loosen the sides with a fork so roots can move into the surrounding ground.
Slide the plant from its container carefully, supporting the root ball rather than pulling the stem. If roots circle tightly around the ball, tease them apart gently; trim any broken or dead roots with clean pruners. Set the plant in the hole and check its plant placement from several angles. Keep the top of the root ball level with, or slightly above, the surrounding soil. Confirm soil compatibility by matching the plant’s preferred conditions to the prepared site. Turn the plant until its strongest side faces the direction you want, then adjust its height before backfilling.
Water the Plant and Add Mulch
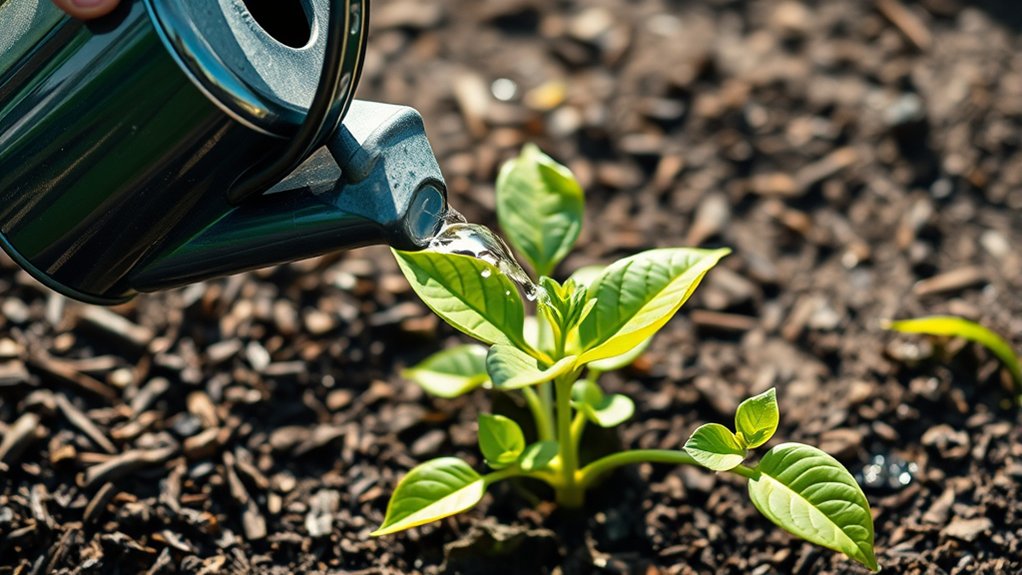
Once the plant is level and facing the right direction, backfill the hole and gently firm the soil to remove large air pockets. Water slowly at the base until the soil around the root ball feels evenly moist. A steady soak helps settle the soil and supports new roots. If water pools on the surface, pause and let it drain before continuing.
Set a watering schedule based on the plant’s needs, your soil, and the weather. Check moisture with your finger rather than watering by the calendar alone. Keep the soil damp during establishment, but don’t leave roots sitting in soggy ground.
Spread a two- to three-inch layer of mulch over the soil to retain moisture, limit weeds, and moderate temperature. Choose from suitable mulch options, such as shredded bark, compost, or leaf mold. Keep mulch a few inches away from the stem or trunk to prevent rot and discourage pests. Recheck moisture after hot, windy days.
Frequently Asked Questions
What Is the Best Season for Planting Outdoors?
Spring is usually the best season for planting outdoors because mild temperatures and regular rainfall help plants establish roots before summer heat. For many perennials, shrubs, and trees, fall also works well, especially where winters are mild.
Your ideal seasonal timing depends on the plant and local climate matching: check its hardiness zone, frost dates, and growing-season needs. Avoid planting during extreme heat, frozen ground, or drought, and water new plants consistently.
How Do I Know Which Plants Suit My Climate?
Check which climate zone you live in by entering your ZIP code on a reliable gardening or government website. Then compare each plant’s hardiness range with your zone, and consider your area’s rainfall, humidity, sunlight, soil, and seasonal temperatures.
For better plant compatibility, choose varieties that thrive in those conditions rather than merely survive them. Ask a local nursery or extension office for recommendations, and observe what grows well in nearby gardens.
Should I Harden off Seedlings Before Planting?
Yes—think of hardening off as giving your seedlings a tiny medieval training montage before they face the great outdoors. You should acclimate plants gradually so sun, wind, and temperature changes don’t shock them.
Set seedlings outside in a sheltered, shady spot for an hour or two, then bring them in. Over seven to ten days, increase their outdoor time and sunlight. Water as needed, and bring them inside if weather turns harsh.
How Can I Protect New Plants From Pests?
Protecting saplings starts with checking leaves and stems often, so you can spot damage early. Cover young plants with fine mesh or row fabric, securing edges to keep insects out while letting air and light through.
Use Pest proofing shields around stems to deter crawling pests, and clear weeds and fallen leaves that offer hiding places. Water at the base, avoid broad-spectrum pesticides, and remove pests by hand when you find them.
When Should I Fertilize Newly Planted Plants?
Wait until your newly planted plants settle in before feeding them; fertilizer timing depends on the plant and product. Think of fertilizer as coffee: helpful when you’re ready, but rough on an empty stomach.
For many perennials and shrubs, wait two to four weeks, then follow the label. If you used compost during soil preparation, you may not need extra fertilizer right away.
Water well, and avoid fertilizing stressed or dormant plants.
Conclusion
With the right spot, a roomy hole, and a gentle drink, you’ve given your plant a strong start. Think of the soil as a cozy bed and mulch as a protective blanket, helping roots settle in and hold moisture.
Keep watering as needed, and watch for signs of new growth. These simple steps for planting plants in the ground can help your garden thrive, one healthy plant at a time.