How to Plant a Flower Bed in 10 Easy Steps
Planning a flower bed can feel overwhelming when you’re unsure where to start or which flowers will thrive. You’re not alone—many gardeners struggle to turn a patch of ground into a colorful, healthy garden. This guide breaks down how to plant a flower bed in 10 easy steps, so you can create a space you’ll love.
To plant a flower bed in 10 easy steps, choose a sunny, well-drained spot, check for buried utilities, and mark the outline. Remove grass and weeds, then spread and mix in 1–2 inches of compost. Choose flowers suited to your climate and light, sketch their placement, and gather your tools. Set taller flowers behind shorter ones, plant each at its labeled depth, water thoroughly, then add 2 inches of mulch. Keep caring for your bed with a few simple tips.
Key Takeaways
- Choose a level, well-drained spot with suitable sunlight, convenient watering access, and no buried utilities.
- Mark the bed’s outline, gather and clean your tools, then remove weeds and prepare the soil.
- Spread one to two inches of compost and mix it into the top six to eight inches of soil.
- Choose climate- and sunlight-appropriate flowers, then arrange them by mature height, spacing, and bloom color.
- Plant at the recommended depth, water thoroughly, add two inches of mulch, and maintain the bed regularly.
Choose a Sunny Spot for Your Flower Bed
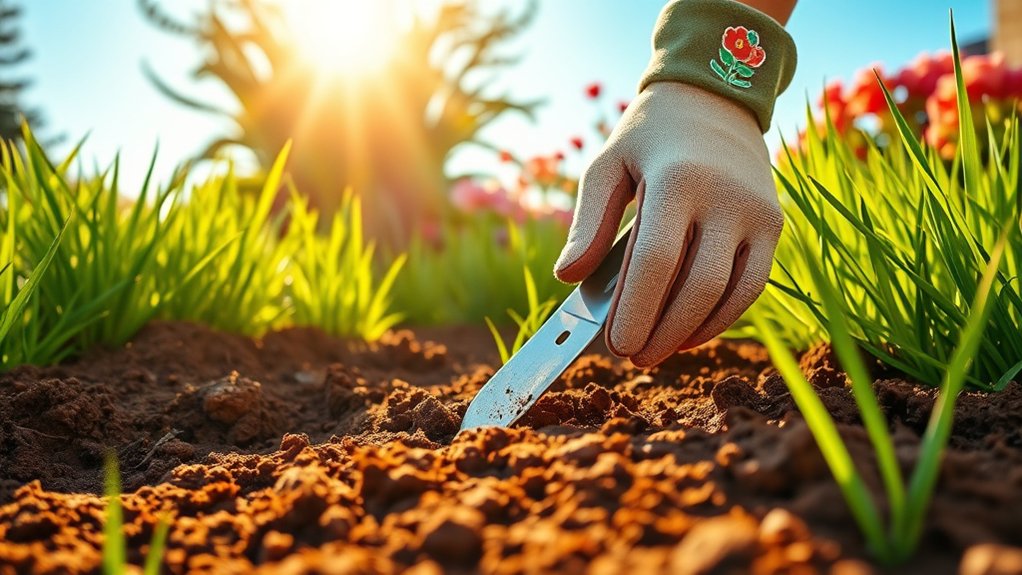
Before you choose a spot, watch how sunlight moves across your yard. Check the area at different times of day, noting where shadows fall from trees, fences, and buildings. This simple observation helps you find a location with enough light for a thriving flower bed.
Look for a level or gently sloped patch that drains well after rain. Avoid low spots where water collects, since soggy soil can harm roots. Also consider how easily you can reach the bed with a hose.
Convenient access makes daily watering simpler, especially during dry spells, and helps you keep the flowers healthy without hauling heavy containers.
Choose a place you can see and enjoy from a window, patio, or walkway. Leave enough room to move around the bed for planting and upkeep.
Before you commit, mark the outline with a garden hose or string. Step back and check that the shape fits your yard and doesn’t block paths or other useful spaces. Count the hours of direct light to guide your placement.
Choose Flowers for Your Climate and Sunlight
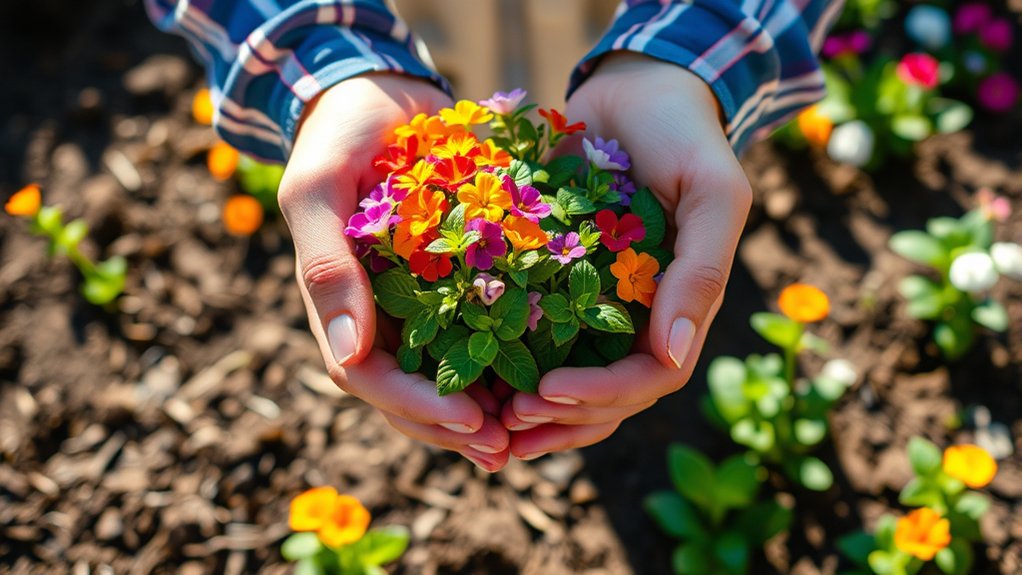
Choose flowers that match your region’s climate and the sunlight in your bed. Check your local hardiness zone to see which plants can survive your winters, then consider summer heat, humidity, and rainfall.
When you choose climate-appropriate varieties, you’ll spend less time replacing plants and more time enjoying them. Native flowers often adapt well to local conditions and support pollinators.
Next, match each flower to its preferred sunlight exposure. Full-sun plants generally need at least six hours of direct light daily, while partial-shade varieties thrive with less. Shade-loving flowers suit beds that receive limited direct sun.
Since you’ve already picked a sunny spot, observe how much light it gets throughout the day. Nearby trees or buildings may cast shade at certain hours. Read plant labels or reliable growing guides before buying, and note each flower’s water and soil needs.
Choose a mix that can thrive in the conditions you actually have, rather than selecting blooms based only on appearance. This helps your flower bed grow reliably through the season.
Sketch a Layout for Your Flower Bed
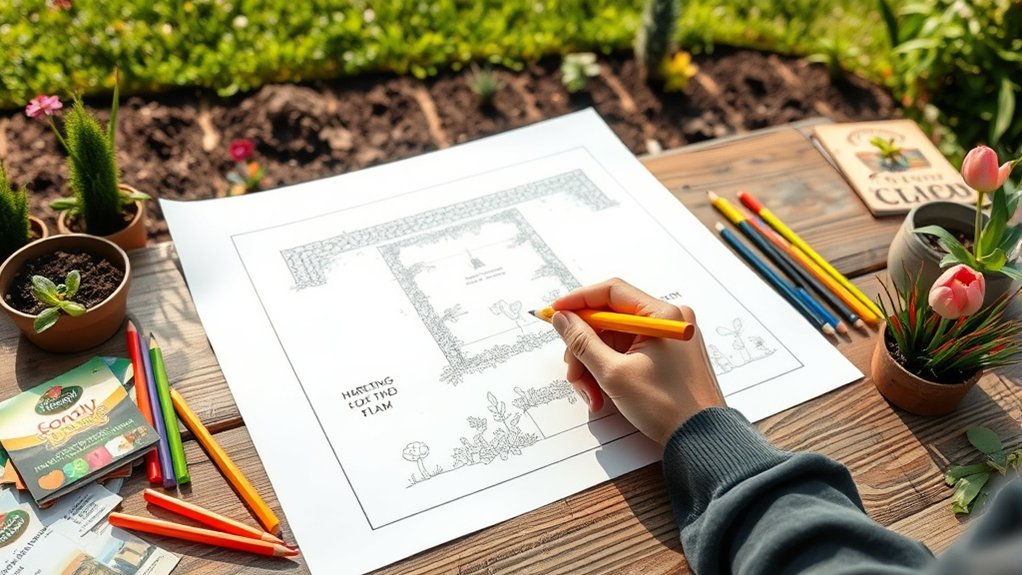
Sketch your flower bed before you plant to arrange blooms by height, color, and spacing. Start with a simple outline that reflects the bed’s shape, then mark where you’ll place each flower you chose for your climate and sunlight.
Sketch your flower bed’s shape, then mark each flower’s placement based on its color, height, climate, and sunlight needs.
Put tall plants toward the back of a border or the center of an island bed, and position shorter blooms near the front or edges. This arrangement keeps every plant visible and helps you reach them for care.
Use design principles to create a balanced mix of colors, textures, and bloom times. Group flowers in odd-numbered clusters for a natural look, and repeat key colors or shapes to connect different areas.
Leave room for mature growth by checking plant labels for width and height before assigning spots. Allow enough space for airflow and to prevent crowding while still creating a full display. Your sketch doesn’t need perfect detail; clear symbols and labels will help you follow the plan when planting.
Gather Tools and Mark the Bed
Gather essentials like a spade, rake, and garden hose before you start. Choose a spot that suits your flowers’ sunlight and drainage needs. Then mark the bed’s boundaries with a hose or with stakes and string.
Essential Gardening Tools
Before you break ground, gather a spade, rake, garden hose, measuring tape, and stakes with string. Add gardening gloves and a hand trowel if you have them; borrowing tools supports budget friendly gardening without sacrificing usefulness.
Choose sturdy tools that feel comfortable in your hands, and clean them before use to limit the spread of plant diseases and support pest prevention.
Measure the bed’s planned length and width, then mark each corner with a stake. Tie string between the stakes to outline a clear shape. Use your measuring tape to check the sides, and adjust the stakes until the outline matches your plan.
Lay the hose along curved edges to guide the shape, or use straight string for a rectangular bed. Step back and inspect the outline; refine it before you start digging. Keep your tools nearby so you can work efficiently.
Choose Bed Location
With your tools ready, choose a spot that gets the amount of sunlight your planned flowers need and has well-drained soil. Check the seed packets or plant labels for sunlight considerations, such as full sun, partial shade, or shade, then observe how light moves across your yard during the day. Avoid areas where trees or buildings block the light your flowers require.
Assess the bed location for drainage after rain. Skip low spots where water pools, and consider how easily you can reach the area with a hose. Keep the bed visible from places you enjoy, but leave enough room to walk around it and care for plants. Check for underground utilities before digging, and note nearby roots, paths, or structures that could affect growth. Choose a location that fits your garden’s needs and your regular routine.
Mark Bed Boundaries
Mark the flower bed’s shape and size before you start digging. Gather a tape measure, garden hose or rope, wooden stakes, and string. Use the hose or rope to outline curves, or place stakes and connect them with string for straight edges. Step back and check the shape from several angles. Adjust the outline until it fits your yard and leaves enough room to walk around the bed.
Measure the marked area so you can estimate how much soil, compost, and edging you’ll need. Consider how your planned seedling selection will fit the space, allowing room for mature growth. Keep the bed accessible for watering and weed management. Once you’re satisfied, mark the boundary clearly with flour or landscape paint. Confirm that the outline avoids buried utilities before you dig.
Remove Grass and Weeds
Clear the planting area of grass and weeds so they don’t compete with your flowers for water, nutrients, and space. Start by cutting the grass short, then remove it and its roots.
Clear grass and weeds before planting so your flowers have room to grow and don’t compete for water or nutrients.
For a small bed, use a spade to slice beneath the sod in manageable strips. Lift each piece and shake loose soil back into the area. For a larger bed, rent a sod cutter to speed up grass removal.
Next, focus on removing weeds, including their roots. Pull shallow-rooted weeds by hand after rain or watering, when the ground is soft. Use a garden fork or weeding tool to loosen stubborn roots, taking care not to scatter seeds.
If weeds have gone to seed, bag and discard them rather than adding them to your compost pile.
Check the entire bed for missed grass, roots, and weeds, then clear away plant debris. Keep the cleared area free of regrowth while you prepare for planting.
Improve the Soil With Compost
Choose quality compost to give your flower bed a nutrient-rich start. Spread it evenly over the soil, then mix it in thoroughly.
Choose Quality Compost
Improve your flower bed’s soil with quality compost before planting. Choose a finished product that looks dark and crumbly, smells earthy, and contains no recognizable food scraps or fresh manure.
Quality compost should feel moist but not soggy, with a texture that breaks apart easily. These signs suggest that the materials have decomposed and won’t compete with your plants for nutrients.
Check the label for ingredients and avoid compost that includes chemicals or materials you don’t want in your garden. If you make your own, let it mature fully before using it.
Well-made compost adds organic matter, supports soil structure, and helps your soil retain moisture while draining well. Select a product suited to your garden’s needs, and buy enough for the bed you plan to plant.
Amend Soil Evenly
Once you’ve chosen finished compost, spread a thin, even layer over the flower bed. Aim for about one to two inches, adjusting the amount to suit your existing soil and the plants you plan to grow.
Use a rake to distribute the compost across the entire surface, including the edges and spaces between planting areas. A consistent layer gives each part of the bed access to the same soil amendment, rather than leaving some spots overly rich and others unchanged.
Check the bed from several angles to spot bare patches or thick piles, then redistribute compost as needed. Keep the layer level without pressing it down; a light touch helps you maintain uniform incorporation in the next step.
Measure carefully, since too much compost can affect drainage and nutrient balance.
Mix Compost Thoroughly
With the compost spread evenly, work it into the top six to eight inches of soil using a garden fork or spade. Break up clumps as you go, turning the soil until the amendment blends throughout the bed. Thorough mixing helps roots access nutrients and improves soil texture without leaving concentrated pockets.
- Start at one end and loosen a small section.
- Turn the soil over, folding compost into each layer.
- Move across the bed in overlapping passes.
- Rake the surface smooth when the mix looks uniform.
Don’t dig deeper than needed; most flower roots feed near the surface. If the soil feels dry, lightly water it to help the compost settle. Avoid working wet soil, which can compact under your tools. Once you mix compost evenly, the bed is ready for planting.
Place Taller Flowers Behind Shorter Ones
Place taller flowers behind shorter ones to give every plant room to shine. Before you arrange them, check each variety’s mature plant height, not just its size at planting. Seed packets and plant labels usually list expected dimensions, helping you plan a balanced layout.
If your bed is viewed from one side, put the tallest blooms at the back and graduate to shorter plants near the front. For a bed you can see from every direction, position the tallest flowers in the center and surround them with progressively shorter varieties.
Consider stem height as well as foliage width. A tall, narrow flower may fit behind a compact plant, while a wide one could shade its neighbors or crowd the path. Leave enough space between plants for air to circulate and leaves to spread.
Group flowers with similar light needs together, and avoid placing a sun-loving variety where a taller neighbor will block its light. Step back and adjust your arrangement until each plant remains visible.
Plant Flowers at the Right Depth
Check the planting depth on each flower’s label or in its care instructions. Then set the roots so the crown sits level with the soil surface. Cover the roots carefully, keeping the stems and leaves clear.
Check Planting Depth
Plant each flower at the depth it grew in its nursery pot to help it settle in and thrive. Before you fill the hole, check the root ball’s position and adjust it as needed. These planting depth considerations help you avoid burying stems or leaving roots exposed.
- Set the plant beside its hole and compare the soil line on the stem with the surrounding ground.
- Make the hole deep enough to hold the root ball without compressing it.
- Add or remove soil beneath the plant until its original soil line matches the bed’s surface.
- Check that the plant sits evenly, then backfill gently without pressing hard.
Follow soil moisture guidelines as you work: keep the root ball slightly moist, not soggy, so it stays intact. If the soil settles after watering, check the depth again and make a small adjustment. Don’t cover the stem.
Set Roots At Grade
With the hole prepared, set each flower so its root ball sits at the same level as the surrounding soil. Check the plant’s original soil line, then position the root ball so that line meets the garden’s grade level.
You can lay a straight stick across the hole to compare the two surfaces. If the root ball sits too high or low, lift it out and adjust the hole before planting.
Don’t press the plant down to force a better fit; that can damage roots and leave the flower unstable. Take a moment to check the plant from several angles, keeping its stem upright and its root ball level.
Once you’re satisfied with the position, hold the flower steady as you prepare for the next step. Properly set roots give the plant a sound start.
Cover Roots Carefully
Now backfill the hole with loose soil, covering the roots without burying the stem or crown. Keep the flower at the same depth it grew in its nursery pot. Correct placement supports root health and helps prevent rot, drying, or poor growth.
- Add soil around the roots in small handfuls, filling gaps without forcing or bending them.
- Gently firm the soil with your fingertips so the plant stays upright, but don’t pack it tightly.
- Check the stem base or crown; keep it level with the surrounding soil, not covered.
- Water slowly to settle the soil, then add a little more if watering exposes roots.
As you cover roots, leave the surface even with the bed. Avoid piling soil against stems, where trapped moisture can invite disease. Recheck the planting depth after watering.
Water Your New Flower Bed Thoroughly
How much water your new flower bed needs depends on the soil and weather, but every plant needs a thorough drink after planting. Use a gentle stream to avoid washing soil from the roots.
Water slowly at each plant’s base until the soil feels moist several inches down. Your water rate should let the ground absorb moisture without forming puddles; adjust it to your drainage quality.
| Soil condition | Watering approach |
|---|---|
| Sandy, fast-draining | Water slowly, then check again |
| Clay, slow-draining | Apply small amounts in stages |
| Dry, crumbly soil | Soak the root zone thoroughly |
Check beneath the surface with a finger rather than judging by appearance alone. If water runs off, pause briefly, then resume at a gentler flow.
If the soil stays soggy, stop and let it drain before adding more. Give each newly planted flower enough water to settle soil around its roots and help it begin establishing.
Recheck the bed after watering to confirm moisture reaches each plant.
Mulch and Care for Your Flower Bed
Once the soil has settled around the roots, spread a 2-inch layer of mulch over the bed to conserve moisture and suppress weeds. Choose from mulch options such as shredded bark, compost, or straw, matching the material to your plants and garden style. Keep mulch a few inches away from stems to prevent rot, and refresh it as it breaks down.
- Check soil moisture: Water when the top inch feels dry, providing ongoing moisture without leaving roots waterlogged.
- Remove weeds: Pull them promptly, while they’re small, to limit competition for water and nutrients.
- Inspect plants: Look for pests, damaged leaves, or signs of disease, and remove affected growth as needed.
- Support healthy growth: Deadhead spent flowers and trim plants according to their needs.
After heavy rain, check that mulch hasn’t shifted or covered plant crowns. Adjust the layer when necessary, keeping it even across the bed. Regular attention helps your flowers establish strong roots and produce healthy, lasting blooms throughout the growing season.
Frequently Asked Questions
When Is the Best Time of Year to Plant a Flower Bed?
The best time to plant a flower bed is usually spring, after your area’s last frost, when soil warms and plants can establish before summer heat. You can also plant in early fall, especially perennials, if roots have time to settle before winter. Your best planting season depends on regional climate nuances: mild regions may support fall planting, while cold areas favor spring. Check local frost dates and choose flowers suited to your conditions.
How Much Does It Typically Cost to Create a Flower Bed?
You’ll typically spend $300–$1,500 to create a flower bed, depending on its size, location, and materials. A small DIY bed may cost just $50–$200 for plants, soil, edging, and mulch; the cost of mulch often runs $30–$150.
If you hire help, labor costs can add $200–$800 or more. You can keep your budget down by choosing affordable plants, preparing the soil yourself, and starting with a smaller bed.
How Can I Protect Flowers From Pests Without Harming Pollinators?
Protecting pollinators starts with pest management without harming bees: you can prevent damage by checking flowers regularly, removing pests by hand, and spraying water on affected leaves. Encourage birds and beneficial insects with native plants and diverse blooms.
If you need treatment, choose targeted, low-toxicity products, apply them only to affected areas, and never spray open flowers. Treat at dusk, when pollinators are less active, and follow label directions to protect your garden’s visitors.
Which Flowers Are Safe to Plant Around Pets?
Choose pet safe varieties such as snapdragons, sunflowers, zinnias, marigolds, and roses; these are generally considered non-toxic to cats and dogs. You’ll still want to check each plant’s exact species, since common names can cover different plants.
Keep fertilizers, pesticides, and bulbs out of reach, and use non toxic fertilizers according to label directions. Even safe flowers can upset your pet’s stomach if eaten in large amounts, so supervise curious nibblers and contact your veterinarian if symptoms appear.
How Often Should I Replace Flowers in a Perennial Bed?
You usually don’t need to replace perennials every year; renew them when they decline, die, or outgrow their space, often after several years. Think of your bed as a small kingdom: healthy plants are loyal citizens, while struggling ones may need new neighbors.
Check growth and flowering each spring. Divide crowded plants, remove dead ones, and replant as needed. Regular seasonal maintenance helps your garden thrive without unnecessary replacements.
Conclusion
You’ve turned an empty patch into a flower bed by choosing the right spot and plants, planning the layout, clearing the ground, and planting with care. Keep watering, remove weeds, and refresh the mulch as needed.
Like a garden, your outdoor space grows more beautiful with steady attention, not perfection. Watch how your flowers respond, adjust when they need help, and enjoy each new bloom.
With a little patience, you’ll create a colorful corner that welcomes you home. Follow these steps to plant a flower bed you’ll enjoy for seasons to come.