How to Grow a Flower Bed in 5 Easy Steps
Starting a flower bed can feel overwhelming when you’re unsure what to plant, how to prepare the soil, or where to begin. You’re not alone—many gardeners struggle to get healthy blooms, but the right products can make the process easier.
To grow a flower bed in five easy steps, choose a spot with suitable sunlight and well-drained soil, then pick flowers that fit your climate and available space. Clear weeds, grass, and debris, and improve the soil with compost. Plant flowers at the correct depth and spacing, checking labels for guidance.
Water thoroughly after planting, then add mulch to help retain moisture and suppress weeds. With a little ongoing care, you’ll enjoy healthy blooms through the season—and discover how to make each step work for your garden.
Key Takeaways
- Choose a location with suitable sunlight, checking how shade from buildings, trees, and fences changes throughout the day and season.
- Check drainage after rain, avoid soggy spots, and allow enough wind protection and air circulation.
- Select flowers suited to your climate, light, and bed size; combine mature sizes and bloom times for a balanced display.
- Remove weeds, grass, rocks, and roots, then test the soil and improve it with compost as needed.
- Plant at the right depth and spacing, firm and water the soil, then mulch and maintain the bed.
Choose a Flower Bed Location With the Right Light
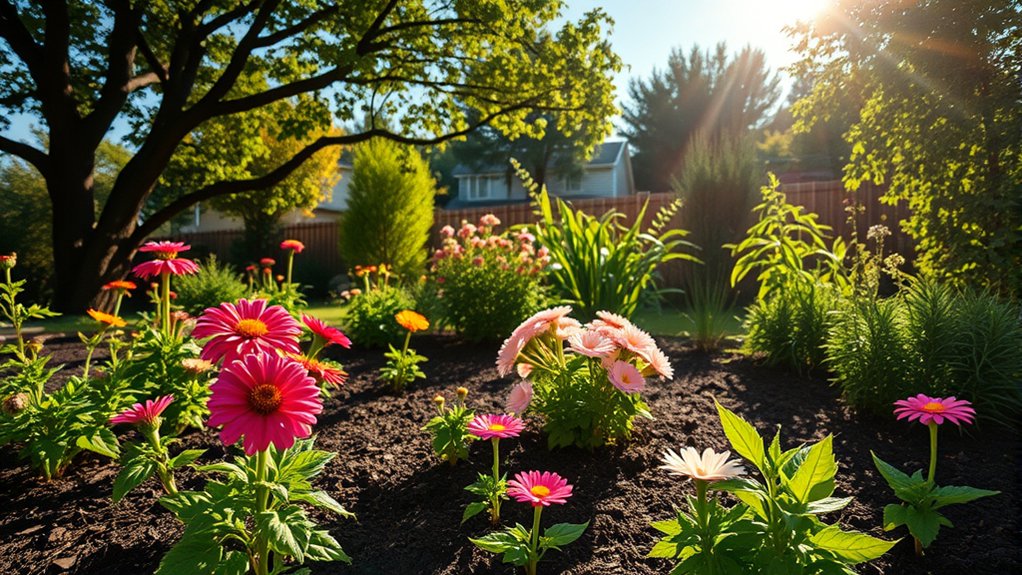
Before choosing a spot, check how much sunlight it gets throughout the day. Track the sun’s path from morning to evening, noting where buildings, trees, or fences cast shade. To assess sun exposure accurately, observe the area on a clear day and repeat your check if nearby trees change with the seasons.
Next, choose light suitability by matching the location to the flowers you plan to grow. Some need long hours of direct sun, while others do better in partial shade. Don’t assume a bright morning means the bed stays sunny all day.
Consider soil drainage considerations before you settle on the site. After rain, look for puddles or soggy ground; choose a spot where water drains rather than collecting around roots. Check for wind protection, too. A sheltered area near a fence or hedge can reduce damage from gusts, but leave enough space for air to circulate. Mark your preferred location and observe it for a few days before preparing the bed.
Pick Flowers for Your Light, Climate, and Space
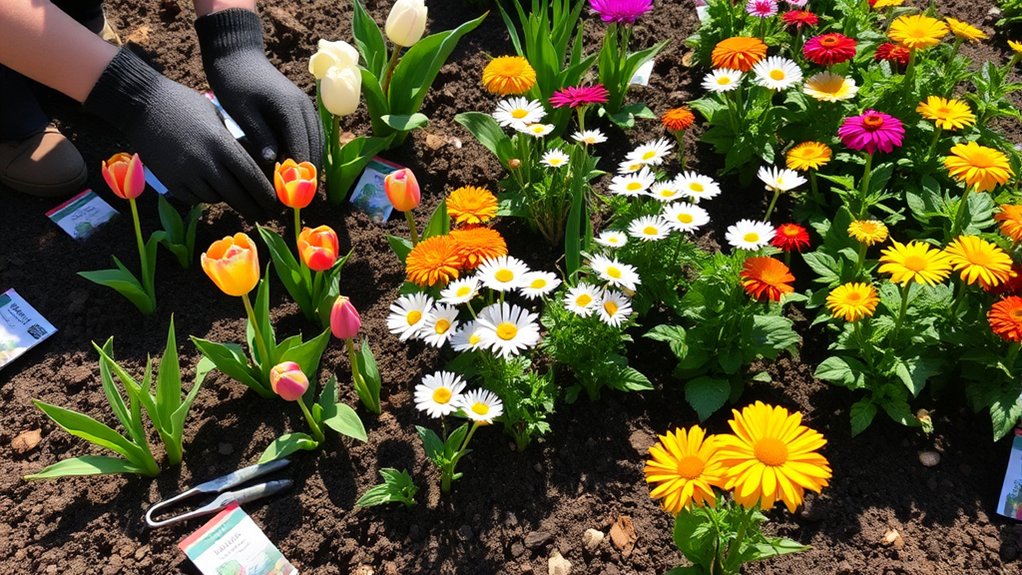
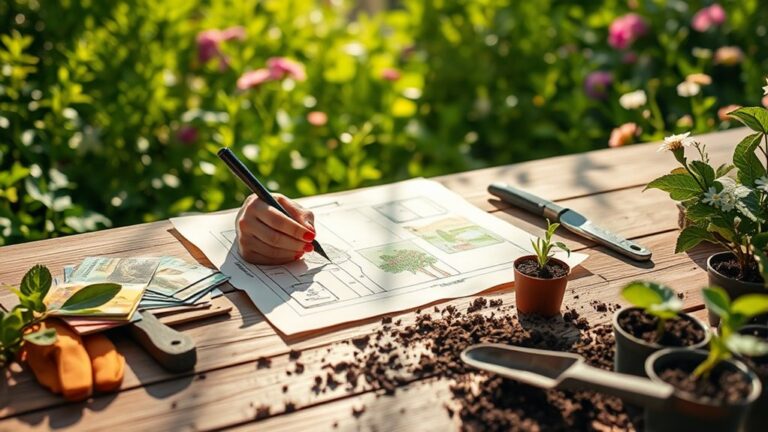
Once you’ve chosen a spot, pick flowers that suit its light, your local climate, and the space available. Check plant labels for sun needs and hardiness zones, then choose varieties that thrive where you live.
Match mature heights and widths to your bed so blooms have room to grow without crowding paths or neighboring plants.
Choose flowers that fit your bed’s mature dimensions, leaving room to grow without crowding paths or neighboring plants.
- For sunny spots, consider coneflowers, zinnias, or lavender; for shade, try begonias, astilbes, or hostas.
- In hot, dry regions, choose drought-tolerant flowers; in cooler areas, select plants suited to shorter growing seasons.
- Combine compact flowers at the front with taller varieties behind them, and repeat colors for color harmony.
Think about bloom times, too. Pair early, midseason, and late bloomers to enjoy color across more of the season.
If you want a low-maintenance display, favor dependable perennials and limit delicate annuals. Leave enough space for mature growth, and plan selective pruning to keep plants tidy without sacrificing flowers.
Check that your choices suit your watering habits and the time you can spend on upkeep. A balanced selection helps your bed look full and inviting.
Clear the Site and Prepare the Soil
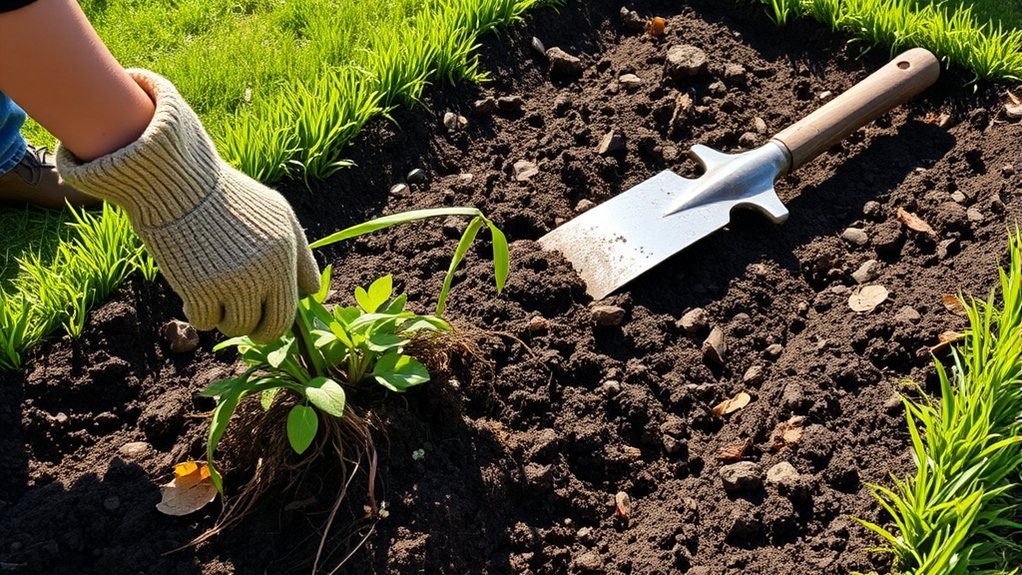
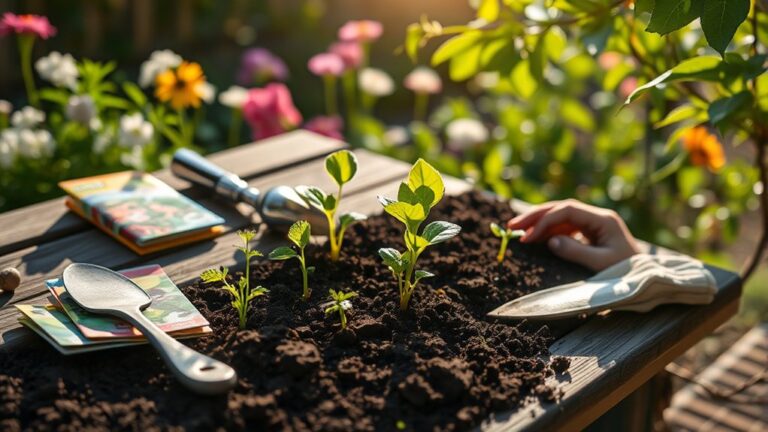
With your flowers selected, clear the bed of weeds, grass, rocks, and debris. Remove roots, too, so unwanted plants won’t quickly return. If you’re converting lawn, cut out the sod or smother it well before planting.
Next, complete a site evaluation. Check how water moves across the bed after rain, and note any low spots where it pools. Improve drainage or choose a better location if the ground stays soggy. Test your soil’s pH and nutrient levels with a home kit or local extension service; use the results to guide amendments.
Assess soil texture by rubbing a moist handful between your fingers. Sandy soil feels gritty, while clay feels sticky; loam crumbles easily. Spread compost across the surface to add organic matter and support healthy soil. Work it into the top several inches with a garden fork, loosening compacted ground without turning it excessively. Rake the bed smooth, then water lightly to settle dust and reveal uneven areas.
Plant Flowers at the Right Depth and Spacing
How deep should you plant each flower? Check the label first, since roots and crowns need different placement. Most flowers thrive when you set them at the same depth they grew in their nursery pots. For bare-root plants, spread the roots gently and position the crown at soil level. Don’t bury stems or leave roots exposed.
Plant flowers at their nursery-pot depth, keeping bare-root crowns at soil level and roots covered.
Before planting, try depth testing with one flower. Set it in its hole, then check that the crown sits level with the surrounding soil. Adjust the hole before placing the rest.
Plan spacing patterns to give each plant room to mature while creating a full, balanced display. Use the plant’s mature width as your guide, not its current size. Arrange flowers before digging so you can refine the layout.
- Group matching flowers for a bold, cohesive effect.
- Stagger rows to create a natural, layered look.
- Leave enough room between plants for their mature spread.
Once the layout works, plant each flower carefully and firm the soil around its roots.
Water, Mulch, and Maintain Your Flower Bed
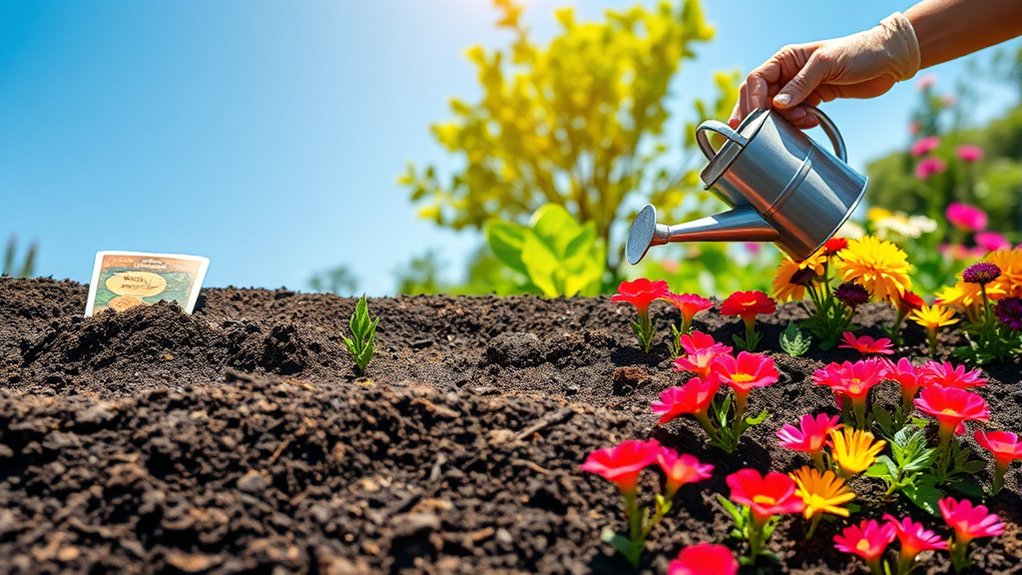
After planting, water the bed thoroughly to help settle soil around the roots. Then check moisture regularly, especially during hot, dry weather. Water slowly at the base of each plant so moisture reaches the roots instead of running off leaves.
Aim for consistently damp soil, not soggy ground, and adjust your schedule after rain. Good water drainage prevents roots from sitting in excess moisture. If puddles linger, loosen compacted soil or improve the bed before problems develop.
Spread a layer of organic mulch around your flowers to conserve moisture, reduce weeds, and moderate soil temperature. Keep the mulch depth around two to three inches, but leave a small gap around each stem to prevent rot.
Refresh the layer as it breaks down, and pull weeds before they spread. Remove faded blooms to encourage more flowers, and trim damaged leaves as needed. Check plants weekly for pests or signs of stress.
With steady care, your flower bed will stay healthy and colorful throughout the growing season.
Frequently Asked Questions
What Tools Do I Need to Start a Flower Bed?
You’ll need a spade or garden fork to loosen soil, a rake to level it, and a trowel for planting. Add gloves, a watering can or hose, and a wheelbarrow for moving compost or mulch.
A tape measure and garden stakes can help you mark the bed’s shape. For seed selection, keep seed packets handy; for soil improvement, use a simple soil test kit to guide amendments before planting.
When Is the Best Time of Year to Create a Flower Bed?
You’ll usually get the best results by creating your flower bed in spring or fall, when mild temperatures help plants establish without intense heat. For spring planting, prepare the bed as soon as the soil’s workable and the danger of hard frost has passed.
Fall also works well for many perennials and bulbs. Check your local climate and plant labels, and complete soil preparation before planting so roots can settle in healthy, well-drained ground.
How Much Does It Cost to Start a Flower Bed?
You might spend $150 to start a small flower bed, while a larger or professionally installed one can cost $500–$2,000 or more. For example, a 4-by-8-foot DIY bed could run about $150–$300 for soil, compost, edging, and plants.
Your cost estimates depend on bed size, plant choices, and local prices. You can lower expenses through careful material sourcing, using existing soil, dividing perennials, and buying young plants instead of mature ones.
Can I Create a Flower Bed in a Small Yard or Container?
Yes, you can create a flower bed in a small yard or grow flowers with container gardening. Choose a sunny spot, then use compact varieties that fit your available space.
You can plant in raised beds, narrow borders, pots, or window boxes. Check each flower’s sunlight and watering needs, and group plants with similar requirements.
Containers let you add color to patios and balconies, while vertical planters help you make the most of limited room.
How Can I Keep Pests and Diseases Away From My Flowers?
You can protect your flowers by choosing healthy plants, checking leaves regularly, and acting quickly when you spot trouble. Select disease-resistant varieties and use disease resistant strategies, such as watering at soil level, spacing plants for airflow, and removing infected leaves.
Handpick visible insects or spray them off with water before using pesticides. Avoid pest prone varieties if local pests target them, and keep beds tidy by clearing weeds and fallen debris.
Conclusion
A thriving flower bed starts with five simple choices: the right spot, suitable plants, healthy soil, careful planting, and steady care. Give your flowers the light and room they need, then water deeply and mulch to help conserve moisture.
For perspective, the U.S. Environmental Protection Agency estimates that outdoor water use accounts for nearly 30% of household water use nationwide, so efficient watering matters.
With a little planning and regular attention, you’ll learn how to grow a flower bed that rewards you with color all season long.