7 Essential Tips to Take Care of Perennials
Keeping perennials healthy can feel like a guessing game, especially when plants struggle despite your best efforts. You’re not alone—many gardeners find it hard to know how much sun, water, and care each plant needs. These tips for taking care of perennials can help you get started.
To care for perennials, choose varieties suited to your climate, soil, and available space. Plant them where sunlight matches their needs, and check drainage before planting. Water according to each plant’s needs and soil moisture, soaking deeply when needed. Apply a 2–3-inch layer of mulch after the soil warms, keeping it away from stems. Feed only when soil tests show a need. Deadhead or prune at the right time, and divide crowded clumps to restore vigor. These tips offer a strong start, with more useful details ahead.
Key Takeaways
- Choose perennials suited to your climate, soil, available space, and local growing conditions.
- Match each plant’s light needs to its location, grouping plants with similar sun or shade requirements.
- Check soil drainage and texture before planting; amend sandy soil with compost and improve heavy clay drainage.
- Water deeply when the soil needs it, and apply 2–3 inches of mulch without covering plant crowns.
- Deadhead, prune, and divide plants as needed; replant healthy divisions promptly and keep them evenly moist while they establish.
Choose Perennials That Suit Your Climate and Garden
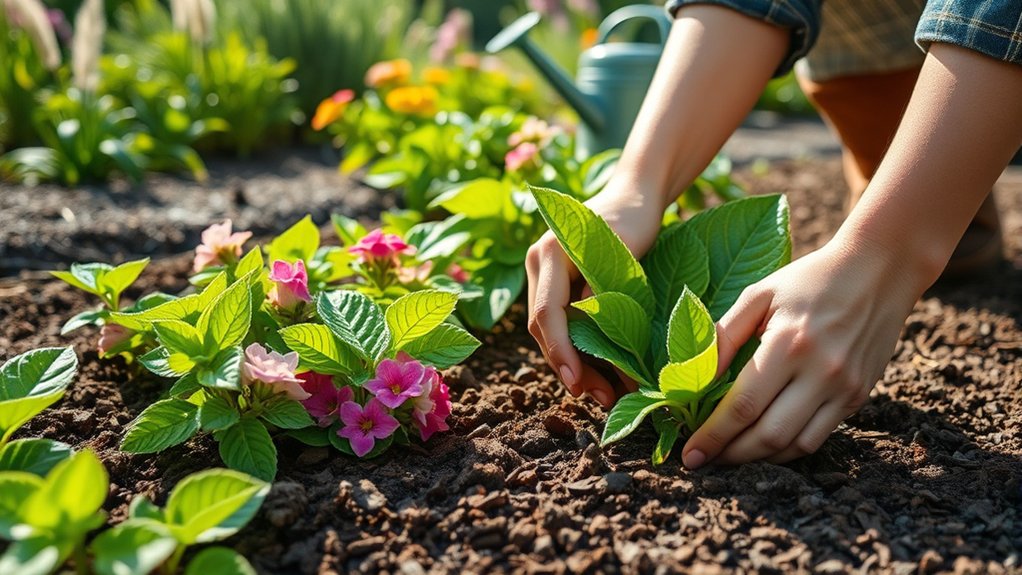
Which perennials will thrive in your garden depends on your climate, soil, sunlight, and available space. Start by checking your region’s hardiness zone and typical seasonal conditions.
Compare those details with each plant’s stated growing range, and choose varieties that can handle your winters, summer heat, and rainfall. Strong climate compatibility helps plants return reliably year after year, with less stress and fewer replacements.
Choosing suited perennials also means matching plants to the space you can give them. Check mature height and spread before buying, then consider whether a plant’s growth habit suits borders, containers, or naturalized areas.
If you have a small garden, select compact varieties; if you have room to fill, choose plants that spread at a manageable pace. Think about bloom times, too. A mix of early-, mid-, and late-season flowers can keep your garden colorful for longer.
Read plant labels carefully, and ask a local nursery for recommendations suited to your area. Start with a few dependable varieties, then expand as you learn what performs well in your garden.
Plant Perennials Where Light and Soil Fit
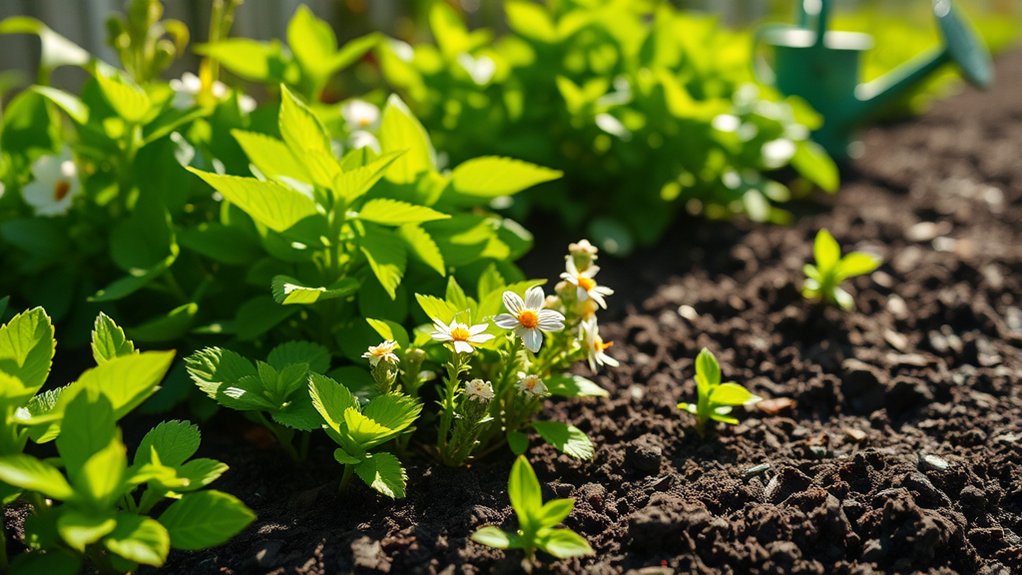
Place each perennial where its light needs match the sun your garden gets. Before planting, check your soil’s drainage, texture, and pH. These simple steps help your plants settle in and thrive.
Match Light Needs
Match each perennial to the light and soil conditions it prefers, and it’s more likely to thrive with less fuss. Check plant labels or reliable garden guides to learn each variety’s light requirements before choosing a spot.
Full-sun perennials generally need at least six hours of direct sunlight daily, while partial-shade plants do best with a few hours of sun or filtered light. Shade lovers can scorch or wilt under intense afternoon rays, so place them beneath trees or beside structures that provide shelter.
Watch how sunlight moves across your garden throughout the day, since nearby buildings and seasonal changes can alter sun exposure. If a bed gets mixed light, choose adaptable varieties suited to those conditions.
Group plants with similar needs together, making care and placement easier as your garden grows.
Check Soil Conditions
After choosing a spot with the right light, check its soil before planting. Dig a small hole and notice whether the ground feels sandy, sticky, or crumbly.
Test soil drainage by filling the hole with water; if it remains full for hours, choose moisture-tolerant perennials or improve drainage with compost.
A soil test can reveal pH balance and nutrient levels, helping you match plants to conditions or amend the bed.
| Soil clue | What you can do |
|---|---|
| Sandy texture | Add compost to hold moisture |
| Heavy clay | Loosen soil and improve drainage |
| Standing water | Select wet-soil plants |
| Dry, crumbly ground | Mix in organic matter |
Don’t guess at pH: follow test results before adding lime or sulfur. Prepare the bed before planting so roots can establish well.
Water Perennials Based on Soil and Plant Needs
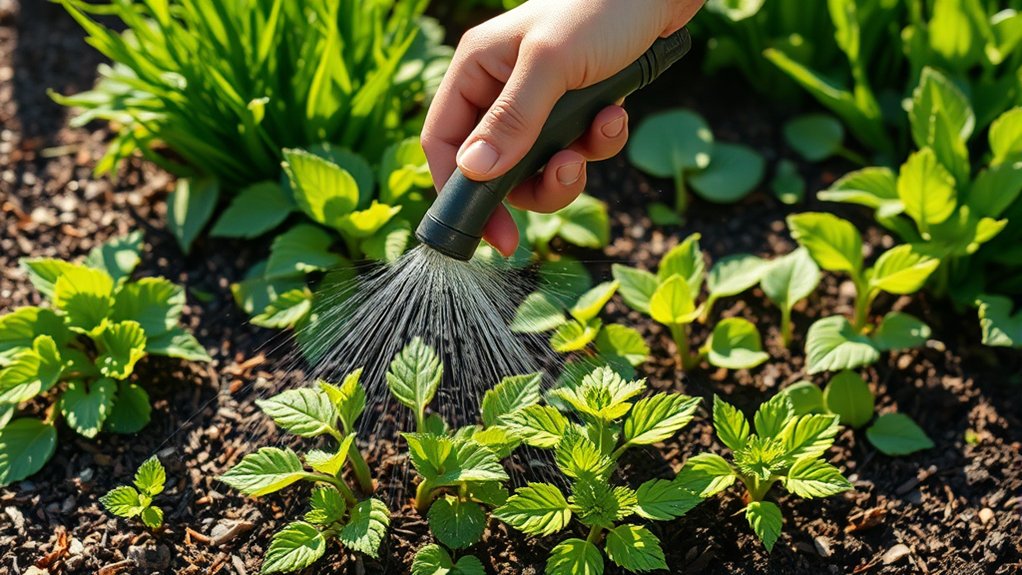
How often should you water perennials? Match your schedule to each plant’s water needs, the weather, and your soil’s drainage. Rather than watering by the calendar, check the soil first: press a finger a couple of inches below the surface. If it feels dry, water slowly at the base until moisture reaches the roots. If it’s damp, wait and check again later.
Your plants’ soil moisture requirements vary. Newly planted perennials need more frequent attention while their roots establish, while mature, drought-tolerant varieties can handle longer dry periods. Sandy soil drains quickly, so you may need to water more often; clay holds water longer, so avoid saturating it.
- Check soil moisture before each watering, especially during hot, windy weather.
- Water deeply enough to encourage roots to grow downward, not just near the surface.
- Adjust your routine after rain, and watch leaves for wilting or yellowing as clues.
Water early in the day when possible, and direct water to the root zone.
Mulch Perennials to Keep Roots Cool and Moist
Mulch helps keep perennial roots cool and soil moist while suppressing weeds. Apply it after the soil warms in spring, leaving a small gap around each stem to prevent rot. Choose organic mulch, such as shredded bark, leaf mold, or composted leaves, to protect roots and improve soil as it breaks down.
| Mulch choice | Helpful use |
|---|---|
| Shredded bark | Long-lasting weed control |
| Leaf mold | Gentle moisture retention |
| Straw | Light, seasonal coverage |
Aim for a mulch depth of two to three inches. Too little won’t block weeds effectively; too much can hold excess moisture against crowns and stems. Check the layer after heavy rain or wind, and replenish it when it thins.
Keep mulch from piling against plant crowns, where trapped dampness can encourage disease. In colder areas, a steady layer also buffers roots from sudden temperature swings. You’ll help perennials handle summer heat and dry spells without smothering them. When you water, direct it through the mulch so it reaches the soil.
Feed Perennials Only When Soil Needs It
Feed perennials only when their soil needs it; too much fertilizer can produce weak growth and fewer flowers. Start by checking your soil, rather than following a routine feeding schedule.
A soil test can show whether nutrients are low and help you choose an appropriate product. If your plants grow well and bloom as expected, they may not need extra fertilizer.
For sound feed timing, consider the plant’s growth cycle and local conditions. Apply nutrients when active growth begins, following the product label for amount and frequency. Don’t fertilize dormant plants or use more than recommended.
- Check soil test results before adding nutrients; guessing can lead to excess salts or nutrient imbalances.
- Consider soil moisture: water dry ground before feeding, and avoid applying fertilizer to waterlogged soil.
- Spread granular products evenly around the root zone, keeping them away from stems, then water as directed.
Your careful approach supports steady growth while protecting roots and nearby waterways from runoff.
Deadhead and Prune Perennials at the Right Time
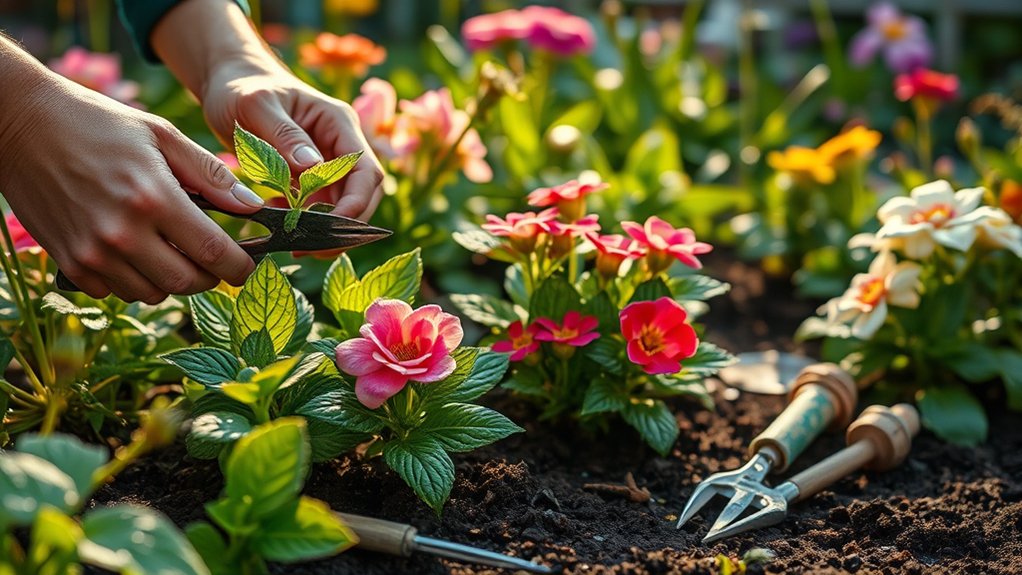
Deadhead spent blooms to encourage some perennials to flower again, and prune damaged or overgrown stems to keep plants tidy. Check each plant’s needs before cutting; the right deadhead timing depends on its flowering habit.
Remove faded flowers just above healthy leaves or a new bud, using clean, sharp shears. Don’t cut off seed heads if you want birds to feed or plants to self-sow.
| Task | When to do it |
|---|---|
| Deadhead repeat bloomers | After flowers fade |
| Leave ornamental seed heads | Through fall and winter |
| Remove damaged stems | Whenever you notice them |
| Cut back finished foliage | After it yellows |
Set pruning reminders for seasonal tasks, but let plant condition guide your cuts. Trim spring-flowering perennials after they bloom, since earlier pruning can remove next season’s buds.
For many summer bloomers, prune in early spring or after flowering, as appropriate. Avoid cutting healthy growth simply to make every plant look uniform. Check labels or reliable local guidance when timing is uncertain, and disinfect tools between plants to reduce disease spread.
Divide Overgrown Perennials to Restore Vigor
When blooms fade and growth starts to look crowded, your perennials may need dividing. Lift each clump and separate it into smaller sections. Then replant the healthiest divisions, giving them plenty of room to thrive.
Spot Overcrowded Growth
Overcrowded perennials often produce fewer flowers, smaller leaves, or a bare patch in the center. To spot overcrowded growth, check whether your plants have outgrown their space or compete for light, water, and nutrients.
Perennial crowding can weaken otherwise healthy plants, so look for changes across the whole clump rather than judging one sparse bloom.
- Notice stems leaning outward as the center thins; this can signal that the clump has become too dense.
- Watch for reduced flowering or smaller leaves, especially when nearby plants still thrive.
- Check whether foliage dries quickly or growth looks weak despite regular care; crowded roots may struggle to access resources.
Compare your plant’s current shape and performance with its usual growth. These clues help you identify crowding early and decide whether the clump needs attention.
Don’t mistake normal seasonal dieback for overcrowding; assess it during active growth.
Divide And Replant
Once you’ve confirmed a perennial is overcrowded, dividing it can restore vigor and create new plants. Choose a cool, cloudy day in early spring or fall, when the plant isn’t flowering and the soil is moist. Water it well, then loosen the root ball with a garden fork, digging around the plant to protect its roots.
Lift the clump and gently separate it into sections, keeping healthy roots and several shoots on each piece. Use a clean, sharp knife for tough crowns. Discard dead or woody centers, then divide replant sections promptly at their original depth. Space them according to their mature size, and firm soil around each one.
Water thoroughly after transplant division, and keep the soil evenly moist while new roots establish. Add mulch to conserve moisture, but keep it clear of stems. Wait until growth resumes before applying fertilizer.
Frequently Asked Questions
How Do I Protect Perennials From Frost During Winter?
Protect your perennials from winter frost by watering them before the ground freezes, then applying protective mulching after the soil cools. Spread two to four inches of straw, shredded leaves, or evergreen boughs around plants, keeping mulch away from crowns.
Cut back only diseased or damaged growth; leave healthy stems for insulation. Shield tender varieties with burlap or a cold frame. Try cold frame experimentation to uncover which plants benefit most in your garden.
Which Pests Commonly Damage Perennials, and How Can I Control Them?
Common perennial pests include aphids, slugs, snails, spider mites, Japanese beetles, and caterpillars. Use regular pest scouting to spot damage early, checking leaf undersides and new growth.
Handpick larger pests, rinse aphids off with water, and remove slugs or snails at dusk. Encourage beneficial insects by planting diverse flowers and avoiding broad-spectrum pesticides.
If damage persists, identify the pest before choosing a targeted treatment, and follow its label carefully. Keep plants healthy to reduce stress.
How Can I Prevent Fungal Diseases From Spreading Among Perennials?
You can limit fungal diseases by keeping foliage dry, improving airflow, and removing infected material promptly. Water at the soil level in the morning, space plants according to their needs, and avoid overcrowding.
Use preventative pruning to remove diseased leaves and stems, cleaning your tools between cuts. Practice cultural sanitation by clearing fallen debris, disinfecting tools, and disposing of infected plant matter away from your garden.
Choose resistant varieties and inspect your perennials regularly.
Should I Label Perennials to Identify Them When They Die Back?
Yes, you should label perennials to make die-back identification easier and avoid disturbing dormant plants. Add durable, weather-resistant tags near each plant, and write its common or botanical name clearly.
You can also note bloom color or height if varieties look similar. Place labels where you can find them without stepping into beds.
Update your perennial labels whenever you divide or move plants, so each marker stays accurate through the seasons.
How Do I Prepare Perennial Beds for Winter?
Prepare your perennial beds by removing diseased foliage and weeds, but leave healthy stems and seed heads for wildlife and winter interest. Water plants well before the ground freezes, especially if autumn’s been dry.
Apply Winter mulching after the soil cools, using a loose layer of shredded leaves or straw to protect roots. For frost protection, cover tender plants with breathable fabric during cold snaps, then remove it when temperatures rise.
Conclusion
With the right plant, place, water, and care, your perennials can settle in and return year after year. Let mulch tuck their roots beneath a cool blanket, and feed only when the soil asks for a little help. Remove spent blooms, prune at the proper time, and divide crowded clumps before they lose their spark.
Tend your perennials gently, and your garden will reward you with a fresh parade of color each season, growing brighter with every passing year.