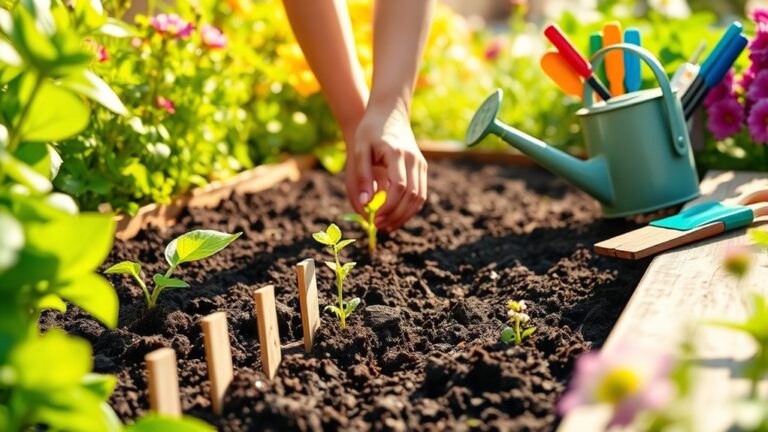
How to Start a Ground Garden in 7 Easy Steps
Starting a ground garden can feel overwhelming when you’re unsure where to begin or worried about wasting time and money. You’re not alone—many people struggle to turn an empty patch of yard into a thriving garden. These seven easy steps will help you get started with confidence.
Start a ground garden in seven easy steps. Choose a sunny spot with at least six hours of direct light, and check that water drains well. Plan a manageable bed and sketch its layout. Clear weeds and debris, loosen the soil, and mix in finished compost. Pick climate-suited plants, then plant at the right time, depth, and spacing. Water slowly at the base and add mulch. Pull weeds regularly, inspect plants for problems, and keep notes to improve your garden as you go.
Key Takeaways
- Choose a sunny, well-drained site with at least six hours of direct sunlight daily.
- Plan a manageable garden layout, grouping crops by light, water, mature size, and spacing needs.
- Clear weeds and debris, test your soil, loosen compacted ground, and mix in two to three inches of compost.
- Select climate-appropriate crops and plant at the right time, depth, and spacing using seed packets and local calendars.
- Water to keep soil consistently moist, mulch, control weeds, monitor plant health, and record recurring problems.
Choose a Sunny Spot and Check the Soil
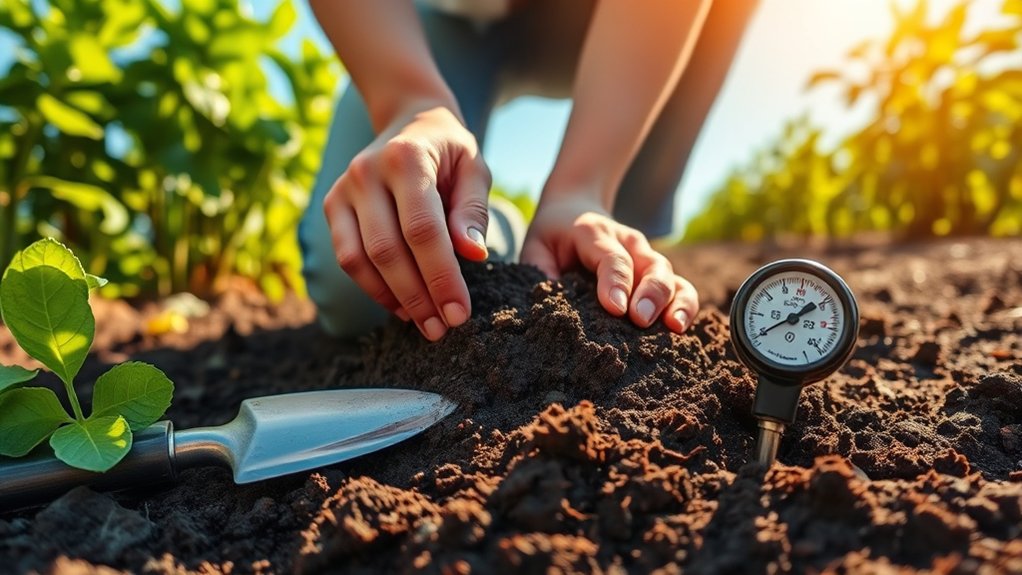
Choose a sunny spot that gets at least six hours of direct sunlight each day, and check that the soil drains well. Good sun exposure helps most vegetables grow strong and produce well.
Watch the area throughout the day to see whether trees, fences, or buildings cast shade. If you’re unsure, track sunlight at different times before choosing your spot.
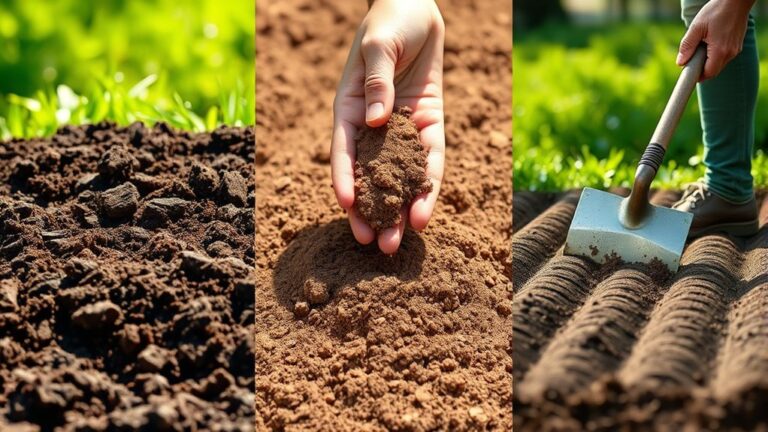
Next, examine the soil. Grab a handful of slightly moist earth and squeeze it. Sandy soil feels gritty and falls apart quickly, while clay soil feels sticky and holds its shape.
Loamy soil forms a loose ball that crumbles with a gentle touch. This simple test reveals your soil texture and helps you decide whether to add organic matter.
Check drainage after rain or watering. If water pools for hours, roots may struggle to get air. If the ground dries too quickly, plants may need more frequent watering.
You can improve many soils with compost, which boosts structure and supports healthy growth. Avoid planting until you’ve assessed both sunlight and soil conditions.
Plan Your Ground Garden’s Size and Layout
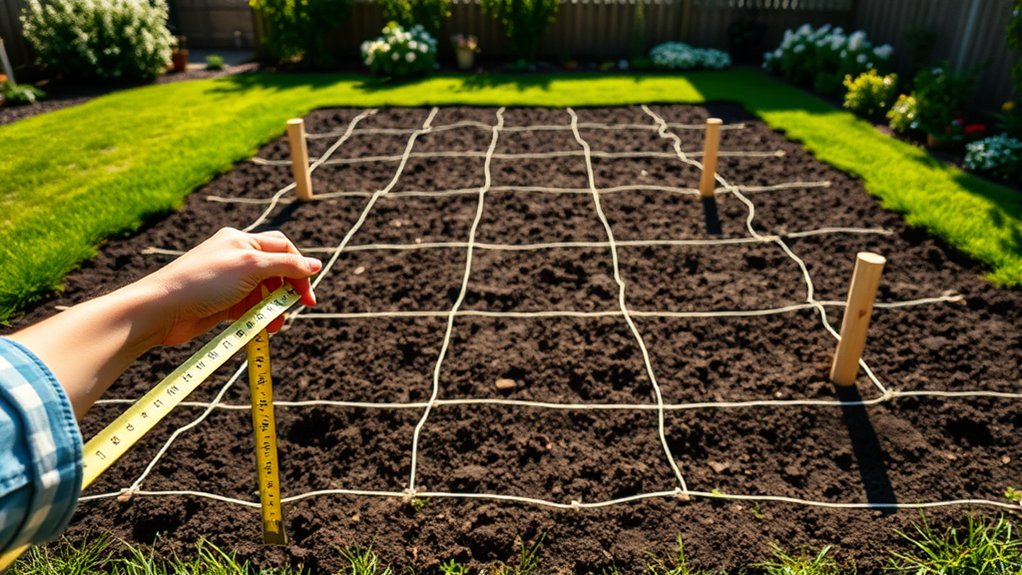
How much space should you set aside for your ground garden? Start with an area you can comfortably plant, water, and harvest. A small, well-managed bed often produces more than a large plot you can’t maintain.
Start with a garden you can comfortably plant, water, and harvest; a well-managed small bed can outproduce an unmaintained large plot.
Consider how much time you have, what you want to grow, and how many people you’ll feed. Then estimate space by checking the mature size and spacing needs listed on seed packets or plant labels.
Sketch a simple plan layout before you mark the garden’s boundaries. Group plants with similar light and watering needs, and leave room to reach every row without stepping on growing areas.
Keep taller crops where they won’t shade shorter ones, and place frequently harvested vegetables where you can reach them easily. Include paths wide enough for your tools and a wheelbarrow if you use one.
If you’re unsure, begin with a modest footprint and expand next season. Your garden’s shape can be rectangular, square, or irregular, as long as you can access each planting area comfortably.
Clear the Site and Improve the Soil
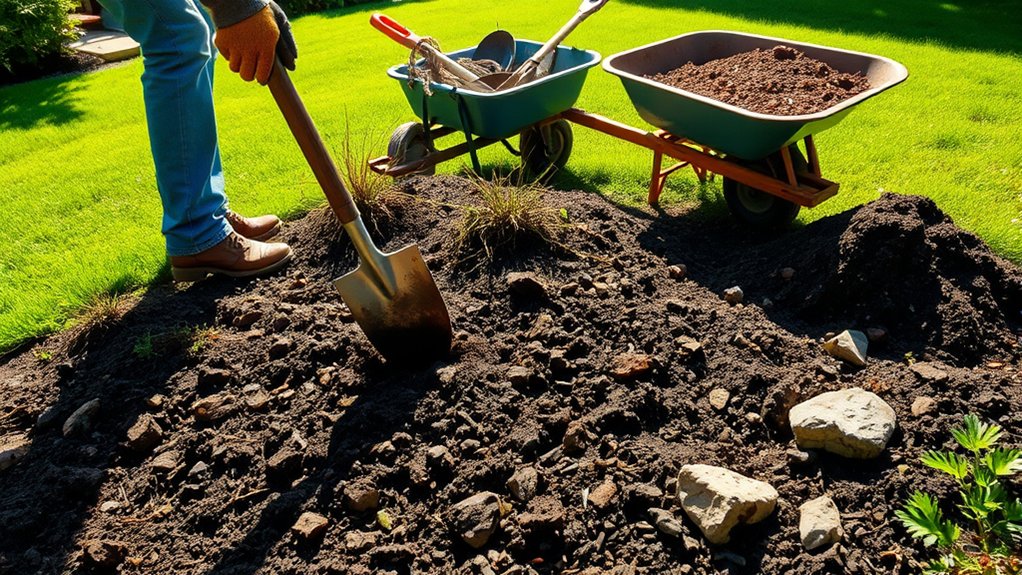
Clear your garden site by removing debris, rocks, and weeds. Pull weeds out by the roots to make them less likely to grow back.
Once the site is clear, mix compost into the soil to give your plants a healthy start.
Remove Debris and Weeds
Before planting, remove rocks, sticks, trash, and weeds from the garden site. Clear the area thoroughly so debris won’t interfere with planting or damage tools. Pull weeds by the roots, especially perennial varieties that can regrow from fragments. For stubborn growth, loosen the soil around each root with a hand fork, then lift it out. Don’t leave pulled weeds on the ground if they contain seeds; bag and discard them.
As you work, watch for signs of soil compaction, such as hard, crusted ground or puddles that linger after rain. Avoid walking over the planting area, since pressure can compact the soil further. Note where the ground feels dense and consider its aeration needs before preparing beds. A clean, weed-free site gives your plants room to grow and makes ongoing maintenance easier.
Enrich the Soil
Once you’ve cleared the site, improve the soil so it can support healthy plant growth. Start by testing a sample to learn its texture, pH, and nutrient levels. Understanding your soil chemistry helps you choose the right amendments instead of guessing.
If the soil is too acidic or alkaline, adjust it gradually with a suitable product, following label directions.
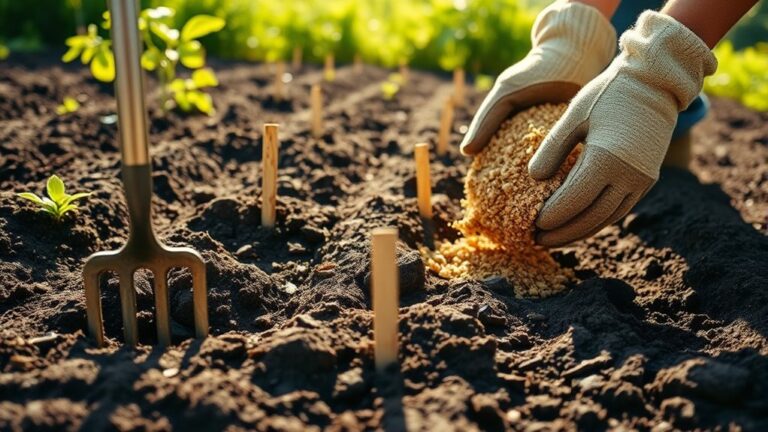
Next, loosen compacted ground with a garden fork, working about 8 to 12 inches deep. Spread 2 to 3 inches of finished compost over the surface, then mix it into the top several inches.
Review composting basics if you plan to make your own from kitchen scraps and yard waste. Add other nutrients only when your test recommends them. Rake the bed smooth, water lightly, and let the soil settle before planting.
Choose Plants That Suit Your Climate
Before choosing what to plant, find your USDA hardiness zone. It’ll tell you which plants can survive your winters. Then, pick varieties suited to your region’s temperatures and growing season. This simple step can help your garden thrive with less effort.
Know Your Hardiness Zone
Your hardiness zone reveals which plants can survive your area’s typical winter lows. Find your zone using the USDA Plant Hardiness Zone Map, which groups locations by average annual extreme minimum temperatures. Enter your ZIP code or locate your region on the map, then note its zone number and letter.
These hardiness zones offer a useful starting point for assessing climate compatibility, but they don’t describe every condition in your garden. Your yard may experience colder pockets, strong winds, or unusual temperature swings that affect plant survival.
Check your local extension service for regional guidance, and ask experienced nearby gardeners about winter conditions. Use your zone as a reference when reading plant labels and planning your garden.
Remember that it reflects winter lows—not summer heat, rainfall, soil, or sunlight—so consider those factors separately before choosing what to grow.
Choose Climate-Adapted Plants
Choose plants that match your region’s temperatures, rainfall, and growing season. Your hardiness zone offers a useful starting point, but it doesn’t tell the whole story. Consider local heat, humidity, frost dates, and how long your garden stays warm enough for crops to mature.
Look for climate adapted crops that thrive in your conditions rather than plants that need constant protection or extra water. Ask local nurseries, extension offices, or experienced gardeners which varieties perform well nearby.
Check regional planting calendars to find the best times to sow seeds and transplant seedlings. If you’re new to gardening, choose a few reliable, easy-to-grow options first. You can also try a small number of unfamiliar plants and track their progress.
Matching plants to your climate helps you save time, reduce stress, and enjoy a more productive garden.
Plant at the Right Time and Depth
Planting at the right time and depth gives seeds and seedlings the best chance to thrive. Check your seed packets and local planting calendar to guide plant timing. Your region’s last spring frost date matters for warm-season crops, while cool-season vegetables can often go in earlier. If you’re unsure, wait until soil reaches the temperature each crop prefers; a simple soil thermometer can help.
Before planting, loosen the ground and remove stones that could hinder roots. Read each packet for sowing depth and spacing, since seeds need different amounts of soil cover. A useful rule: plant a seed about twice as deep as it’s wide, unless its instructions say otherwise.
Set transplants at the same root depth they had in their pots, keeping stems and leaves above the soil. Some plants, such as tomatoes, tolerate deeper planting, but others may rot if buried. Follow crop-specific directions, and label rows so you can identify what you’ve planted.
Water Your Garden and Add Mulch
How often should you water? Check the soil before you reach for the hose. If the top inch feels dry, water slowly at the base of your plants until the soil is moist several inches down. A gentle flow helps water soak in rather than run off. Avoid wetting leaves when possible, since damp foliage can encourage disease.
Your watering schedule depends on rainfall, temperature, soil type, and plant needs. Young plants often need more frequent attention as their roots establish, while established plants may need less.
Water deeply and less often instead of giving your garden a light sprinkle every day. In hot, dry weather, check soil more frequently, and adjust after rain.
Once the soil is moist, spread organic mulch around your plants. Keep it a few inches away from stems to prevent rot, and aim for a mulch thickness of about two to three inches.
Mulch helps conserve moisture and moderate soil temperature. Replenish it as it breaks down, keeping the layer even without burying plants.
Weed and Check Your Plants
With watering and mulch in place, check your garden regularly for weeds and signs of plant stress. Pull weeds while they’re small, before their roots spread or they compete with your crops for water, light, and nutrients.
Grip each weed near the soil and remove as much of its root as you can. If the ground’s dry, water it first to make pulling easier. Consistent weed control helps your plants grow without unnecessary competition.
As you work, inspect leaves, stems, and soil. Look for yellowing, holes, spots, wilting, or insect activity. Check both sides of leaves, where pests and eggs often hide.
Remove damaged leaves with clean pruners, and handpick larger pests when practical. Don’t treat every blemish as a crisis; compare changes over several days and consider weather or watering conditions.
Adjust care when needed, and keep notes on recurring problems. Regular checks help you protect plant health and catch trouble early, before it spreads.
Frequently Asked Questions
Can I Start a Ground Garden if I Have Limited Mobility?
Yes, you can start a ground garden with limited mobility by adapting the space to your needs. Choose a level, firm path wide enough for your mobility aid, and keep tools and water within easy reach.
A handicap friendly design can include lightweight tools, seating, and containers near the ground. If bending is difficult, accessible raisedbeds may make planting and harvesting easier.
Start small, ask for help with heavy tasks, and grow what you enjoy.
How Much Does It Cost to Start a Ground Garden?
You can start a ground garden for about $50–$300, depending on its size, soil condition, and what you already own. Your cost estimates might include $20–$100 for seeds or starter plants, $20–$100 for compost and soil amendments, and $10–$100 for basic tools.
Set realistic equipment budgets by borrowing tools or buying secondhand. If your soil needs major improvement or you add fencing, expect to spend more. Start small to keep costs manageable.
What Tools Do I Need for a Ground Garden?
You’ll need a spade or shovel, garden fork, hoe, hand trowel, rake, pruning shears, watering can or hose, and sturdy gloves. This tools list covers digging, loosening soil, planting, weeding, watering, and trimming.
Add a garden wheelbarrow to move compost, soil, mulch, and harvested vegetables around your yard. You might also want a tape measure and stakes to mark beds, plus a kneeling pad for comfort while you work.
How Can I Keep Pets Out of My Garden?
Turn your garden into a green fortress, and you’ll give curious paws a clear boundary. Install sturdy garden fencing, burying the bottom edge a few inches so pets can’t squeeze underneath.
For simple pet deterrent ideas, use raised beds, motion-activated sprinklers, or plant-safe scents your animals dislike. Cover bare soil with mulch or prickly-free ground cover to discourage digging.
Reward pets for staying outside the garden, and redirect them consistently when they wander in.
Can I Grow Vegetables and Flowers Together?
Yes, you can grow vegetables and flowers together, and companion planting can make your garden more attractive and productive. Choose flowers that attract pollinators, such as marigolds, calendula, or nasturtiums, and plant them near vegetables that benefit from more bee visits. Some flowers may also help deter pests, though results vary. Give every plant enough sunlight, water, and room to grow. You can even use flowers as cheerful greeting questions for visitors.
Conclusion
Starting a ground garden takes planning, but each step brings you closer to fresh flowers, herbs, or vegetables just outside your door. Choose a sunny site, prepare the soil, and match your plants to your climate. Then water, mulch, weed, and watch for changes.
Here’s a motivating fact: one tomato plant can produce 10 to 15 pounds of fruit in a season. Start small, stay consistent, and enjoy seeing your ground garden grow.