How to Start Gardening in 10 Essential Steps
Starting a garden can feel overwhelming when you’re not sure where to begin or what supplies you need. You’re not alone—many new gardeners struggle to choose the right plants, prepare their space, and keep everything thriving. This guide to how to start gardening in 10 essential steps will help you get growing with confidence.
To start gardening in 10 essential steps, find a sunny, accessible spot and track its light. Choose a few crops you enjoy, check your local growing season, and match plants to your space. Pick a bed or containers, measure them, and gather basic tools. Prepare healthy soil, then plant seeds or hardened-off starters at the recommended depth and spacing. Water deeply when the soil needs it, pull weeds, watch for pests, and maintain plants as they grow. Next, explore each step for practical tips.
Key Takeaways
- Observe sunlight throughout the day, assess drainage, and measure your garden space before choosing a site.
- Select a few crops suited to your local growing season, available light, and space.
- Gather basic tools, clear the planting area, and improve soil with compost based on soil-test results.
- Plant seeds or healthy starter plants at the recommended depth and spacing, following seasonal timing.
- Water consistently, mulch to suppress weeds, and regularly inspect plants for pests and damage.
Find a Sunny Spot for Your Garden

Start by watching how sunlight moves across your yard or balcony throughout the day. Check the area in the morning, around noon, and late afternoon, noting where shadows fall and how long each patch stays bright. Nearby trees, fences, buildings, and roof overhangs can block light, so observe on more than one day if conditions change.
Track sunlight in the morning, at noon, and late afternoon to see where shadows fall and how long each spot stays bright.
Choose a Sunny spot that receives steady, direct light for much of the day. If your space gets only partial sun, note which hours bring the strongest exposure. This information helps you assess the location without committing to a particular plant.
Also consider practical details: Is the spot easy to reach with a watering can? Does it drain after rain, or collect puddles? A convenient, well-lit place makes regular care simpler.
Look at the ground, too. Compacted soil, standing water, or heavy shade may limit Soil fertility and make a location less suitable. You can improve soil later, but first pick the brightest, most accessible area you have.
Decide What You Want to Grow
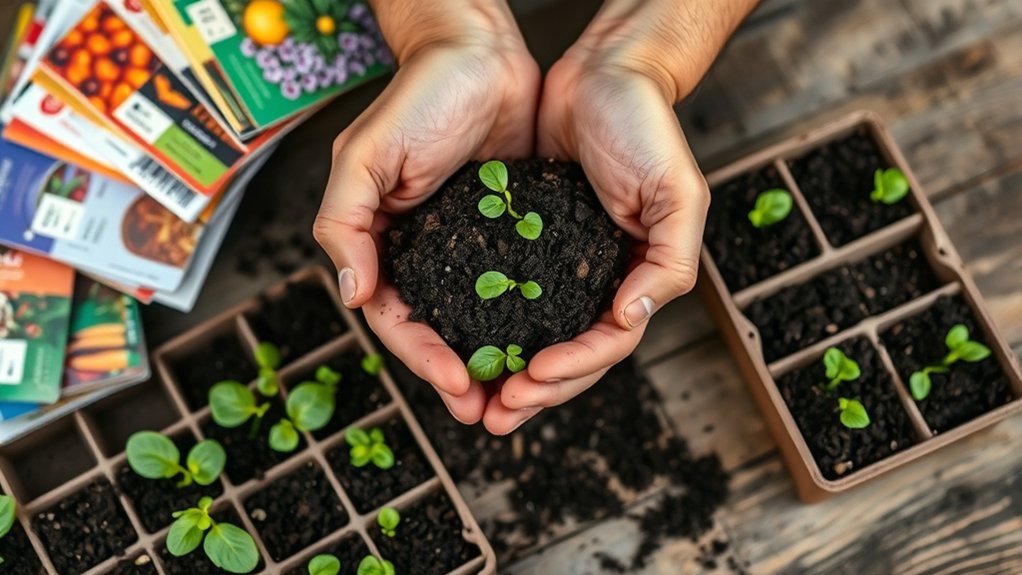
Choose what you’d enjoy growing, then match your choices to the sunlight and space you’ve observed. Start by deciding goals: Do you want fresh ingredients, colorful flowers, or a relaxing hobby? Your answer will guide selecting crops and help you stay motivated through the season.
Consider what you like to eat, how often you cook, and how much time you can give your garden. If you love salads, try lettuce, radishes, or herbs. For easy snacks, consider cherry tomatoes or strawberries. Flowers can bring color and attract pollinators, while herbs offer useful harvests in small amounts.
- List the vegetables, herbs, or flowers you’d genuinely enjoy.
- Check which options suit your local growing season.
- Choose a few reliable crops rather than planting everything at once.
- Note when each crop typically needs planting and harvesting.
Keep your first selection manageable. You’ll learn what thrives and what you enjoy tending, then adjust your choices next season. Don’t choose crops solely because they look appealing in a catalog.
Choose Plants That Fit Your Space
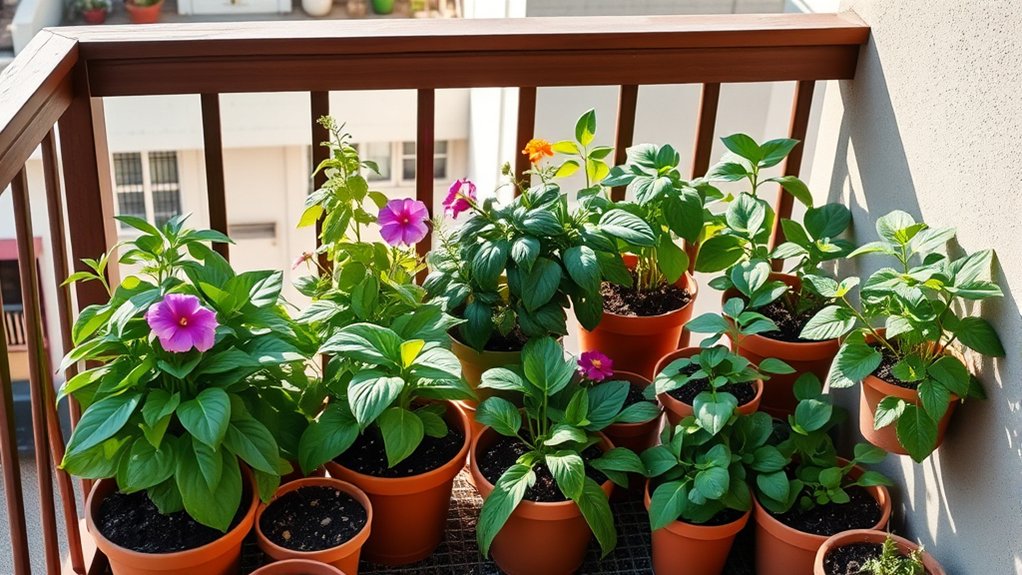
Before choosing plants, check how much sunlight your space gets. Then match each plant to your garden’s size and growing conditions. Also, consider how large it will grow so it doesn’t crowd nearby plants.
Assess Available Sunlight
Before choosing plants, find out how much sunlight your garden gets. Assessing sunlight helps you understand which areas receive direct rays and when shade takes over.
Track conditions across a typical day, since nearby buildings, fences, and trees can change sun exposure as the sun moves. Check your garden at several times, not just once, and note seasonal changes if possible.
- Morning: Record when direct sunlight first reaches each area.
- Midday: Note which spots stay sunny and which fall into shade.
- Afternoon: Check whether trees or structures block later rays.
- Weather: Repeat observations on clear days for a reliable picture.
Use your notes to describe each area’s light conditions. This gives you a practical basis for choosing plants suited to your garden’s actual sunlight.
Match Plants To Space
Once you know how much sun each area gets, match plants to the space you have. Measure your beds, containers, or window boxes, then note their shape and growing conditions.
Choose crops and flowers that suit the room available: leafy greens and herbs work well in narrow beds, while compact varieties can thrive in pots. If you’ve got a small plot, select varieties bred for containers or close planting.
In a larger garden, combine plants with different habits to use the space efficiently. Check seed packets or plant labels for recommended spacing, and match spacing to your layout so each plant has enough room for healthy growth.
You can also use vertical supports for climbers, keeping the ground clear for other crops. Plan a simple layout before you buy seeds or seedlings.
Consider Mature Plant Size
How large will each plant grow? Check the mature plant size before you buy seeds or seedlings. A compact plant may suit a container, while a sprawling variety can crowd nearby crops or block a path. Read the label or catalog description, and plan for the plant’s full width as well as its height. These height considerations matter near windows, fences, and shorter plants that need sunlight.
- Compare mature dimensions with your available bed or container space.
- Leave room for airflow, watering, harvesting, and routine pruning.
- Place tall plants where they won’t shade sun-loving neighbors.
- Choose dwarf or compact varieties when space is limited.
Don’t rely on a plant’s size at purchase. Give each crop enough room to reach its potential, and your garden will stay easier to manage.
Pick a Garden Bed or Container
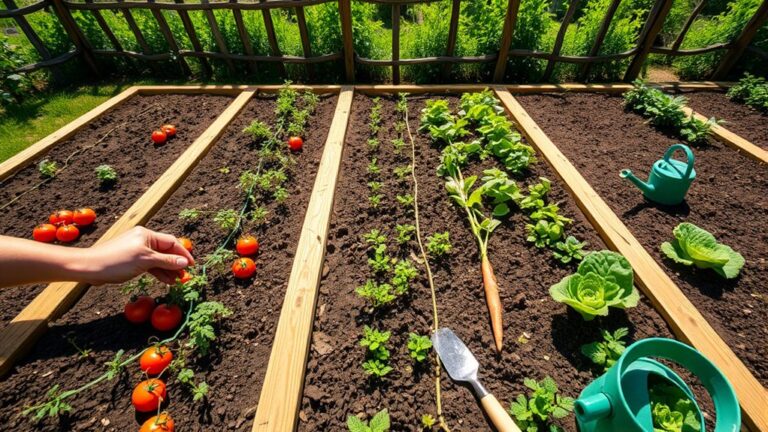
Choose a garden bed if you have room to plant directly in the ground or in a raised frame. If space is limited, use containers that suit your plants and growing area. Either way, make sure there’s enough room for the roots and that you can easily reach your plants to water them.
Choose Your Garden Bed
Your garden bed should fit your space, budget, and the plants you want to grow. Before buying materials, measure your available area and consider how you’ll reach every part of the bed. Choose bed shape to suit your layout: rectangular beds work well along fences, while square or curved designs can define open spaces. Keep beds narrow enough to tend from the edges without stepping on the soil.
- Match bed dimensions to your growing space.
- Choose durable materials that fit your budget.
- Check that the bed depth suits your plants’ roots.
- Compare Bed color options with your garden’s surroundings.
You’ll find Choose bed shape and Bed color options easier when you consider appearance alongside function. Pick a design you’ll enjoy maintaining, and leave enough room around it for comfortable access. Don’t overbuild; start with a manageable bed.
Select Suitable Containers
The right container gives your plants enough room to grow and makes gardening easier in a small space. Choose a pot, planter, or raised bed based on what you want to grow and where you’ll place it. Leafy greens and herbs need less depth than tomatoes or carrots, so check each plant’s root requirements before buying.
Consider container materials, too. Terracotta looks attractive but dries quickly, while plastic retains moisture and weighs less. Wood offers a natural look, but untreated boards may rot. Whatever you choose, make sure the container has drainage holes to prevent soggy roots.
Match the size to your space and watering routine. A larger container holds more soil and stays moist longer, but it can be heavy to move. Your selectable plan should fit both your plants’ needs and your available space.
Gather the Gardening Tools You Need
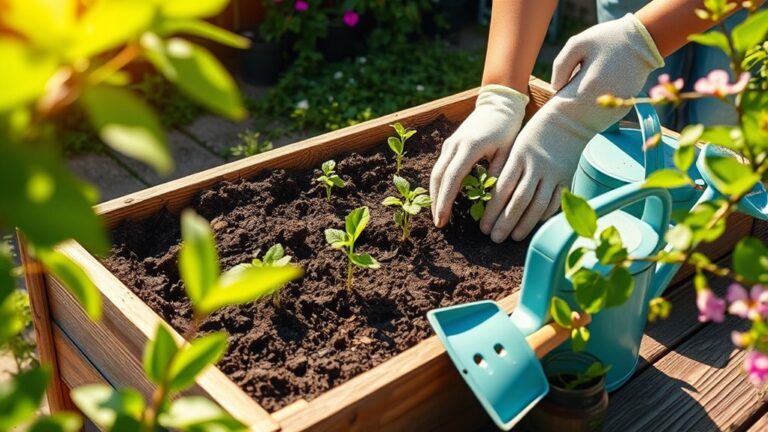
Gather a few essential tools to make gardening easier and help you care for plants safely. Start with a compact set suited to your space and the plants you’ve chosen. You don’t need every gadget; reliable basics will handle most everyday tasks, whether you’re tending containers or practicing seed starting.
- Hand trowel: Use it to make planting holes, move seedlings, and scoop potting mix into containers.
- Pruning shears: Keep a sharp pair handy for trimming small stems and removing damaged leaves. Clean the blades between plants.
- Watering can: Choose one with a comfortable handle and a gentle-flow spout so you can water young plants without washing them out.
- Gardening gloves: Protect your hands from scratches and dirt, and pick a snug pair that still lets you grip tools.
A small bucket or kneeling pad can add comfort, but wait until you know what tasks you do most. If you’re learning compost basics, a small scoop can help you handle finished material neatly. Keep tools clean and dry after use.
Prepare Healthy Soil for Planting
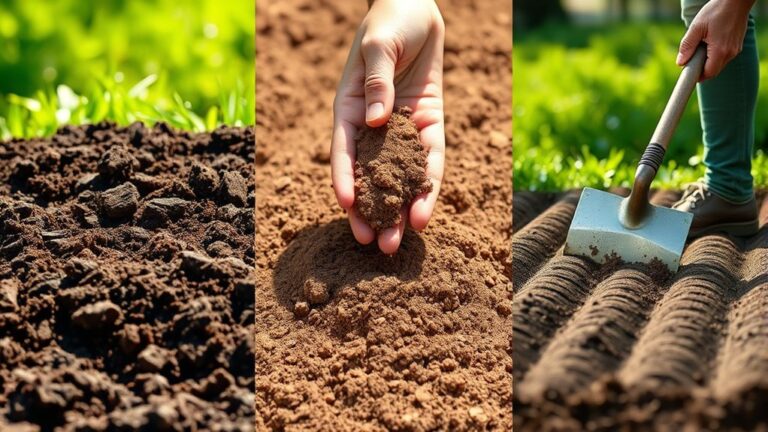
Healthy soil gives roots the air, water, and nutrients they need to grow. Before you prepare soil, clear away weeds, rocks, and leftover plant debris. Loosen the ground with a garden fork or spade, working about 8 to 12 inches deep so roots can spread and water can drain.
Avoid digging when the soil is soggy; you could compact it and damage its structure.
Next, test soil to learn its pH and nutrient levels. A home kit or local extension service can help you understand the results. Most vegetables and many flowers grow well in slightly acidic to neutral soil, but check the needs of the plants you plan to grow.
Add compost to improve texture and provide organic matter. If your test shows a specific deficiency or pH problem, choose an appropriate amendment and follow its label directions.
Rake the surface smooth, then water lightly if the soil feels dry. Your garden bed is now ready for planting.
Plant Seeds or Starter Plants
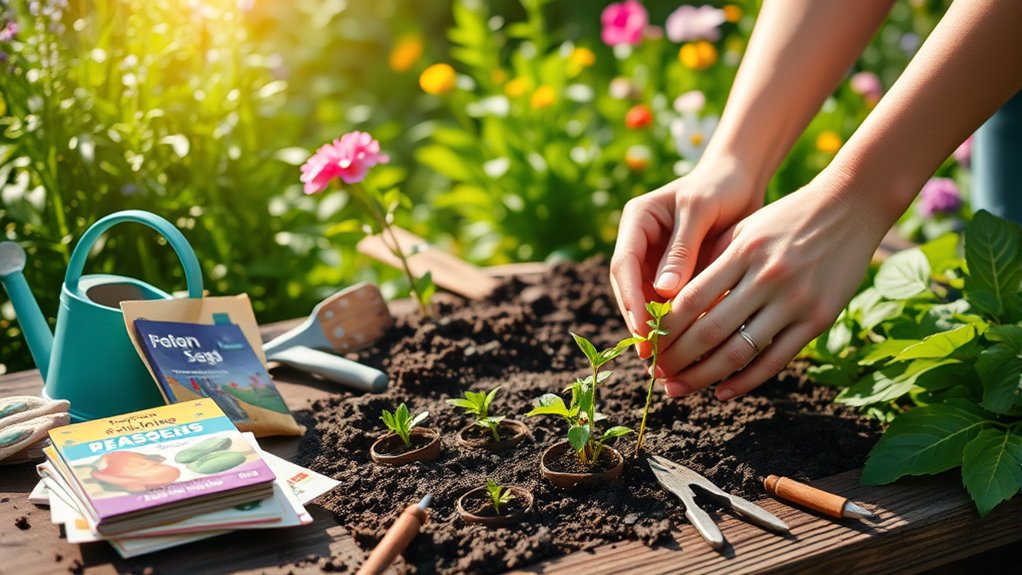
Once your soil is ready, decide whether to plant seeds or starter plants. Seeds offer more variety and cost less, while young plants give you a head start. Check each crop’s needs and your local growing season before choosing.
If you’re new to gardening, starter plants can make timing easier; seeds suit crops that grow quickly or don’t transplant well.
- Check the packet. Note planting depth, spacing, light needs, and germination timing for each seed variety.
- Choose the right date. Sow outdoors only when conditions match the crop’s requirements. Start seeds indoors if the packet recommends it.
- Prepare starter plants. Select compact, healthy plants without yellow leaves or crowded roots. Harden them off gradually before planting outdoors.
- Plant with care. Follow spacing guidance, keep roots intact during seedling transplantation, and set each plant at the recommended depth.
Label rows or containers with crop names and planting dates. This simple record helps you identify seedlings and track progress. Avoid planting too densely; crowded growth can limit access to light and space.
Water Your Garden the Right Way
Water deeply and consistently to help roots grow strong, adjusting how often you water for the weather, soil, and plants. Check the soil before watering: if the top inch feels dry, give your garden a thorough drink. Sandy soil dries quickly, while clay holds moisture longer, so tailor your schedule accordingly.
Water at the base of each plant to direct moisture to the roots and keep leaves dry. Morning is usually best; plants can absorb water before the day heats up. Use a watering can, hose, or drip system, choosing watering techniques that suit your garden’s size and your plants’ needs.
For effective root moisture management, water slowly so it soaks in rather than running off. Newly planted seeds and seedlings need consistently moist soil, but established plants often prefer less frequent, deeper watering. Check containers daily, since they dry out faster than garden beds. After rain, feel the soil before adding more water. Track your routine, then adjust as temperatures and rainfall change.
Control Weeds and Prevent Common Pests
With watering in place, keep weeds and pests from competing with your plants. Consistent Weed control and Pest prevention protect young growth without relying on harsh chemicals. Start with these practical steps:
- Pull weeds while they’re small, loosening roots with a hand tool after rain or watering. Remove them before they flower and spread seeds.
- Add a layer of mulch around plants to block sunlight from reaching weed seeds. Keep mulch a little away from stems to discourage rot.
- Inspect leaves, stems, and soil regularly for holes, eggs, or unusual spots. Check both sides of leaves, where pests often hide.
- Encourage helpful insects by planting flowers nearby, and cover vulnerable crops with lightweight row fabric. If pests appear, remove them by hand or use a targeted, garden-safe treatment.
Keep your beds tidy, but avoid disturbing healthy soil unnecessarily. These habits help you catch problems early and reduce the effort needed to protect your garden.
Maintain Plants and Harvest at the Right Time
Water and feed your plants regularly to keep them healthy. Prune them as needed, and check for signs of stress or disease. When each crop reaches peak ripeness, harvest it for the best flavor.
Water and Feed Regularly
Consistent care helps your garden thrive from planting through harvest. Water and feed regularly, adjusting your routine to each plant’s needs, the weather, and your soil. A thoughtful schedule supports water efficiency and keeps soil nutrients available without waste.
- Check soil moisture before watering. If the top inch feels dry, water slowly at the base until the root zone is moist.
- Water early in the day to reduce evaporation and give leaves time to dry.
- Feed plants with compost or a suitable fertilizer, following package directions to avoid overfeeding.
- Reassess after rain or heat. Reduce watering during wet spells, and check containers more often because they dry quickly.
As fruit and vegetables mature, harvest them promptly at their ideal size. Use clean tools, handle produce gently, and pick regularly to encourage continued production.
Prune and Check Plants
Check your plants regularly for damaged leaves, pests, and signs of disease, and prune as needed to improve airflow and remove unhealthy growth. Look beneath leaves and along stems, where insects and eggs can hide. If you spot a problem, remove affected parts promptly and dispose of them away from your garden. Clean your pruning shears between plants to avoid spreading disease.
To prune plants safely, use sharp, clean tools and make cuts just above a leaf node or branch junction. Remove dead, crossing, or crowded stems, but don’t take off too much at once; plants need healthy foliage to grow.
Check plants weekly, adjusting your routine as weather and growth change. Watch for wilting, yellowing, or unusual spots, and respond early. Regular attention helps your garden stay healthy and makes small issues easier to manage.
Harvest at Peak Ripeness
Harvest vegetables and fruits when they’re ripe for the best flavor and texture. Check your garden often, since crops can mature quickly in warm weather.
Learn each plant’s timing harvest needs and watch for ripeness indicators such as color, firmness, size, and aroma. A gentle taste test can help, too.
- Tomatoes: Pick when fully colored and slightly soft; they’ll continue ripening indoors if needed.
- Cucumbers: Harvest while firm and tender, before seeds grow large or skins turn yellow.
- Leafy greens: Snip outer leaves young, leaving the center to keep producing.
- Beans and peas: Gather pods when plump but still crisp, before they become tough.
Use clean shears to avoid damaging stems, and harvest in the cool morning when possible. Regular picking encourages many plants to produce more.
Frequently Asked Questions
What Is the Best Time of Year to Start Gardening?
The best time of year to start gardening is usually spring, after your area’s last frost, when warming soil supports new growth. However, your ideal timing depends on what you want to grow and your local climate.
For cool-season crops, you can begin earlier; heat-loving plants need warmer conditions. When to start gardening? Check seed packets and local frost dates, then use season planning to schedule planting and enjoy a longer, healthier harvest throughout the year.
How Much Does It Cost to Start a Garden?
You might spend $50 on a few pots or $500 on a full backyard setup. Your garden’s cost depends on its size, your location, and whether you already own tools.
For cost considerations, budget for seeds or plants, soil, containers or beds, and water. Starter equipment, such as a trowel, gloves, and watering can, can add $20 to $100.
You can keep costs low by starting small, reusing containers, and growing easy plants from seed.
Do I Need a Gardening License or Permit?
You usually don’t need a license or permit to garden at home. License requirements depend on your location and what you plan to do: selling produce, keeping livestock, installing irrigation, or building a greenhouse may trigger local rules.
Permitting myths can make ordinary planting seem complicated, but a small backyard garden typically needs no approval. Check your city or county website before starting projects that change structures, water use, or property boundaries.
How Can I Garden Sustainably?
You can garden sustainably by treating your garden as a living ecosystem, not a machine. Build sustainable soil with compost, mulch, and minimal digging; choose native plants suited to your climate, and avoid synthetic pesticides.
Use water-wise techniques, such as drip irrigation, rain barrels, and watering early in the day. Plant a mix of flowers and vegetables to support pollinators, save seeds when practical, and reuse containers to reduce waste.
Where Can I Find Local Gardening Classes?
You can find local gardening classes through your county extension office, botanical gardens, community colleges, and neighborhood garden centers. Search online for local workshops and community classes, or check library calendars, parks department listings, and community garden websites.
Ask nearby nurseries whether they host beginner sessions, too. If you want hands-on learning, look for classes that include garden tours, planting practice, or advice tailored to your region and growing season.
Conclusion
Starting a garden may seem overwhelming, especially if you think you need a big yard or expert skills. You don’t. A sunny balcony, a few containers, and beginner-friendly plants are enough to get started.
Choose what you enjoy eating or seeing, then learn as you go: water consistently, manage weeds, and harvest at the right time. Your first garden doesn’t have to be perfect.
Plant one small patch today, and you’ll build confidence with every new leaf. With these 10 essential steps to start gardening, you can grow a garden that works for you.