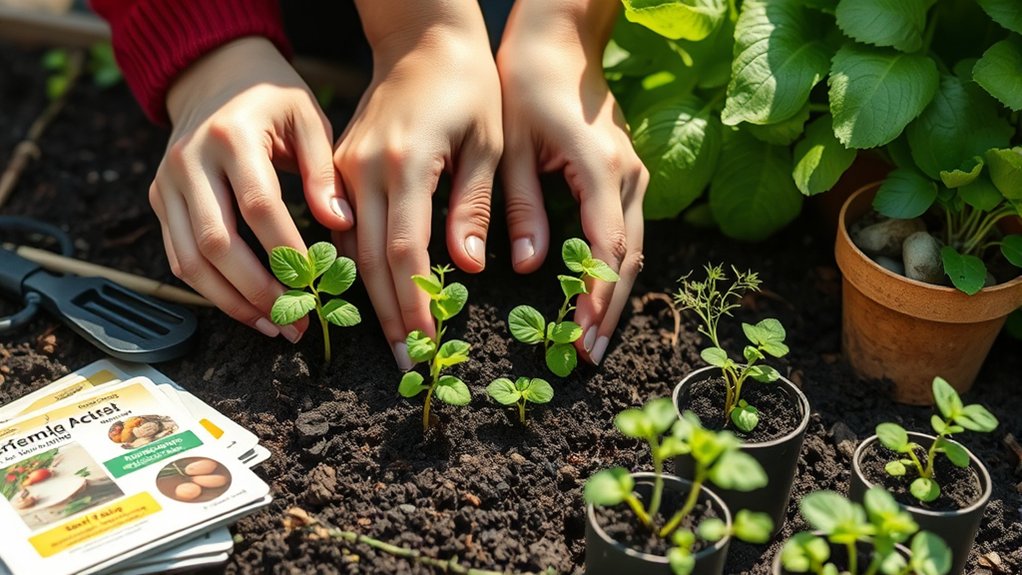
10 Easy Steps to Plant a Garden for Beginners
Starting a garden can feel overwhelming when you’re not sure what to plant or where to begin—and you’re not alone.
These 10 easy steps to plant a garden for beginners will help you choose the right plants, prepare your space, and get growing with confidence.
Key Takeaways
- Choose a level, sunny spot that receives at least six hours of direct sunlight and is near a water source.
- Start with easy plants, such as herbs, marigolds, zinnias, or dependable perennials suited to your climate.
- Plan a bed or containers, allowing room for mature plant sizes, paths, and taller plants that could shade shorter ones.
- Clear the area, loosen soil 8–12 inches, and mix in finished compost; use soil test results to guide amendments.
- Plant seeds or seedlings at label-recommended depths and spacing, then water deeply, check moisture, and add mulch.
Choose a Sunny Spot to Plant a Garden
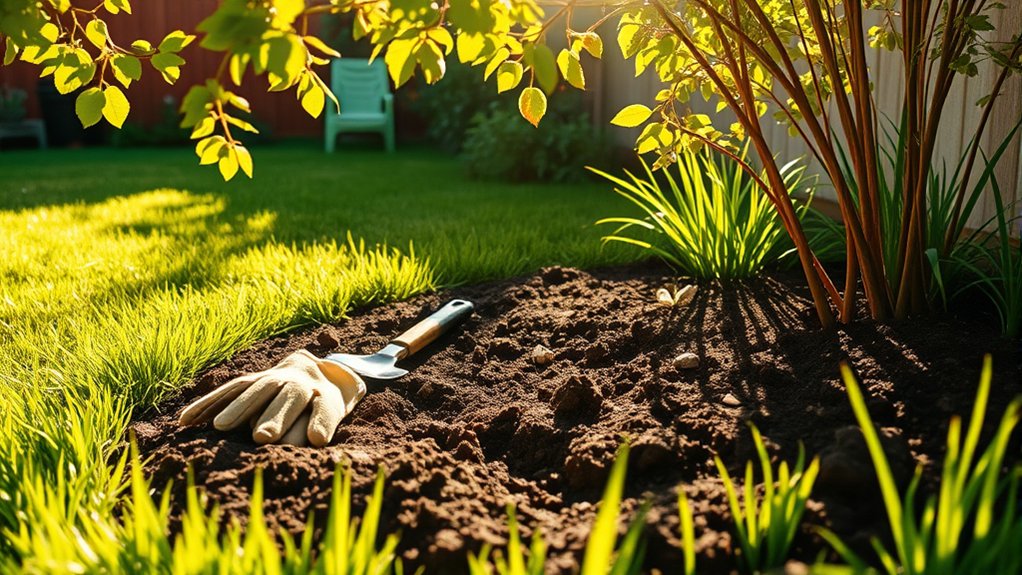
Before you choose a spot, watch how sunlight moves across your yard. Check the area in the morning, around midday, and late afternoon. Nearby trees, fences, and buildings may cast shadows that shift throughout the day, so don’t judge a location from one quick glance.
Most vegetables and many flowering plants need at least six hours of direct sunlight daily. For reliable sunny exposure, choose an open area that receives steady light, especially during the middle of the day. If your yard has limited sun, note which spaces get the longest uninterrupted stretch.
Consider garden orientation, too. A south-facing spot often gets more consistent sunlight, while east-facing areas receive gentler morning light and west-facing ones get stronger afternoon rays. Your local climate matters: intense afternoon sun can heat a garden quickly, while cool regions may benefit from it.
Also look for level ground with convenient access to a water source. Avoid low spots where rain collects, and choose a location you can reach easily for regular care.
Pick Beginner-Friendly Plants to Grow
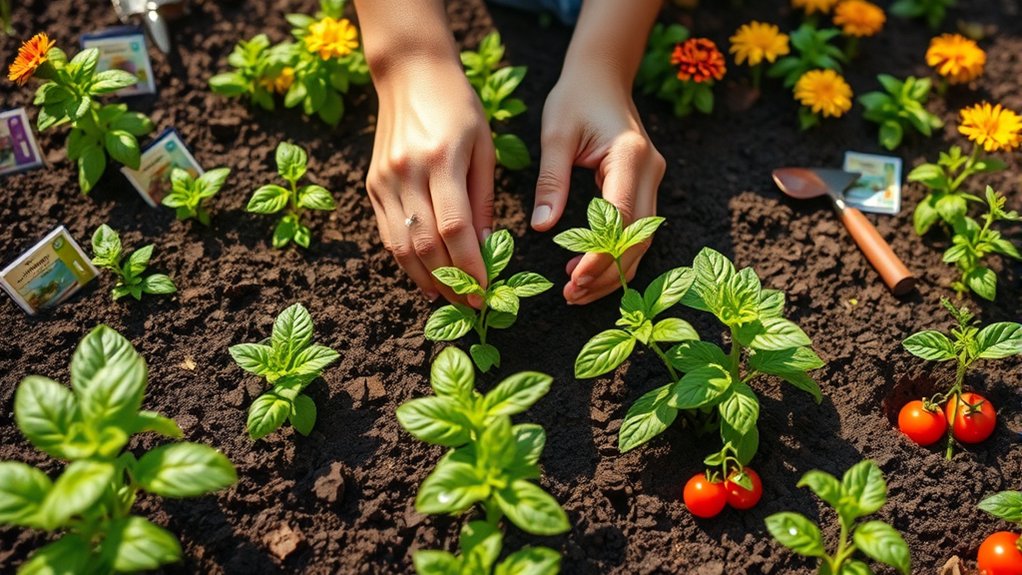
Start with plants that grow reliably and don’t need constant attention. Choose varieties suited to your local climate and the sunlight you’ve observed. If you’re new to gardening, try beginner friendly perennials such as coneflowers, daylilies, or black-eyed Susans. They return each year, so you won’t need to replant them every season.
Choose reliable, climate-appropriate plants that suit your garden’s sunlight, and start with easy perennials that return each year.
Check each plant’s mature size and care needs before choosing, and select a few that share similar requirements.
For quick color, add low maintenance annuals like zinnias, marigolds, or cosmos. They bloom through much of the growing season and are easy to raise from seeds or nursery starts. Pick colors and heights you enjoy, but don’t crowd your choices with too many varieties.
Herbs such as basil, parsley, and chives can also be rewarding, especially if you’ll use them in meals. Read plant labels for watering and spacing guidance, then make a short list of favorites. Starting with dependable plants helps you learn what thrives in your garden without making care feel overwhelming.
Choose Garden Beds or Pots
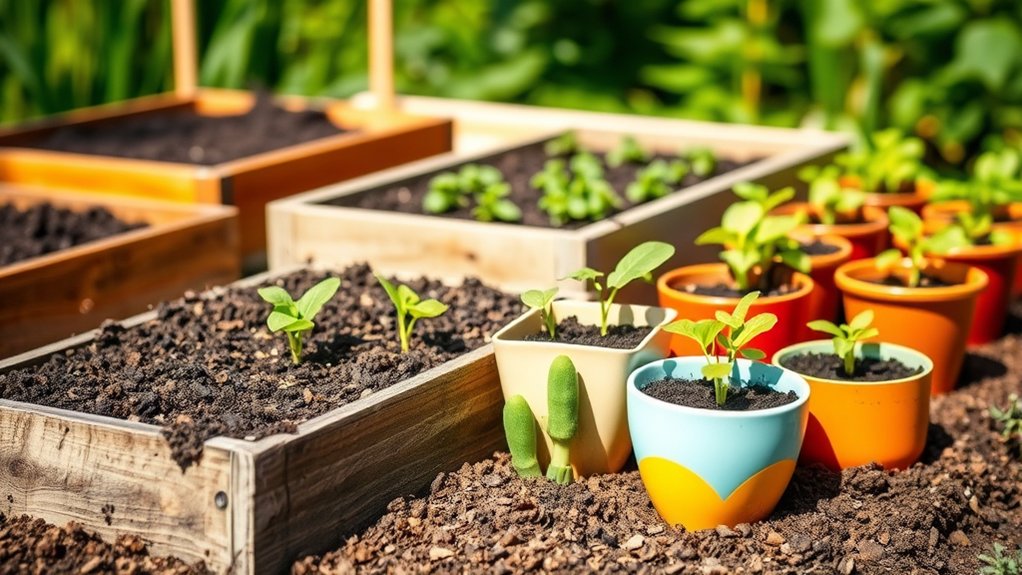
You can grow plants in garden beds or pots, and each option has its benefits. Choose what works best for your space and the plants you want to grow. Pots are great for small patios, while garden beds give roots more room.
Compare Beds And Pots
Garden beds and pots both give you a practical way to grow vegetables, herbs, and flowers, but each suits different spaces and needs. To compare beds vs pots, consider how you’ll prepare the soil, manage watering, and maintain your planting area. Use these points to weigh your options:
- Beds: You can grow more plants together and improve the soil with compost. Beds also let roots spread freely, though you’ll need to prepare the ground or build a frame.
- Pots: You can move containers and control their growing mix. Container soil considerations include choosing a lightweight potting mix and ensuring each pot has drainage holes.
- Watering: Beds often hold moisture longer, while pots may dry out quickly.
- Upkeep: Both need regular care, but pots may require more frequent watering and feeding.
Choose the option you’ll enjoy maintaining.
Match Space And Plants
Match your garden setup to the space you have and the plants you want to grow. Start with space planning: measure your sunny areas, note access to water, and leave room to move around.
A small balcony or patio may suit pots, while a yard can accommodate a garden bed. Check how much light each spot gets before choosing plants.
Consider plant compatibility as you pair crops with your available space. Deep-rooted vegetables, such as tomatoes, need large containers or roomy beds; herbs and lettuce can thrive in smaller pots.
Read plant labels for mature size and spacing needs, then avoid crowding. If you’re short on ground space, use vertical supports for climbers.
Choose a setup you can maintain comfortably, and match each plant’s needs to the light, soil, and room you can provide.
Gather Soil, Seeds, and Garden Tools
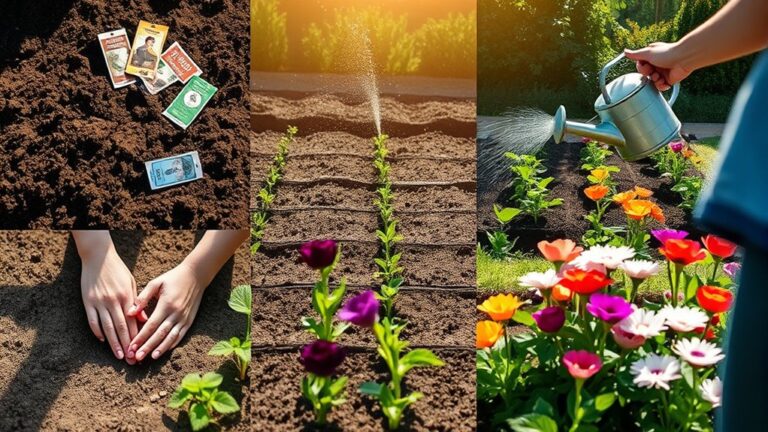
Before planting, gather a few essentials: quality soil suited to your garden, seeds that fit your space and climate, and basic tools such as a trowel, gloves, and watering can. Choose supplies that match the plants you selected for your garden.
Gather soil suited to your garden, climate-appropriate seeds, and basic tools that match the plants you plan to grow.
Use this quick checklist to shop confidently:
- Select soil: Check the label for a blend suited to your plants. Soil testing can help you understand your garden’s existing conditions before you buy.
- Pick seeds: Read packets for planting season, mature size, and sunlight needs. Choose varieties that suit your climate and available space.
- Gather tools: A hand trowel, sturdy gloves, and a watering can cover many beginner tasks. Add plant labels so you can track each variety.
- Plan supplies: Consider composting basics and keep a simple watering schedule in mind. Buy only what you’ll use, and store seeds and tools somewhere dry and easy to reach.
With these essentials ready, you’ll be prepared for the next step.
Prepare Soil to Plant a Garden
Start by clearing weeds, rocks, and debris from your planting area. Then test the soil and amend it to meet your plants’ needs. Finally, loosen the soil so roots can spread easily.
Clear the Planting Area
Remove weeds, grass, rocks, and other debris from your planting area so your vegetables or flowers won’t have to compete for space and nutrients. Start with a clear surface, then loosen the ground enough to make cleanup easier. Use these simple steps:
- Pull small weeds by hand, removing their roots so they don’t quickly return.
- Cut tall grass close to the ground, then lift it away with a spade.
- Gather rocks, sticks, and litter; set aside anything you can reuse.
- For a large patch, cover unwanted growth with cardboard or a tarp until it dies back.
Wear gloves and watch for sharp objects as you work. Keep healthy plant material separate from persistent weeds. You’ll have a tidy space ready for the next stage, including soil testing and composting basics.
Test and Amend Soil
With the planting area clear, test your soil to learn what it needs. A soil testing kit or local lab can reveal its pH and nutrient levels, helping you choose the right amendments. Follow the results rather than adding fertilizer by guesswork, and check fertilizer timing before planting.
Add finished compost to improve soil structure and supply gentle nutrients; these composting basics can support healthy growth. Consider your plants’ sun exposure and drainage needs when deciding what to grow. Good soil preparation also supports weed control and pest prevention, while mulch selection can help conserve moisture later.
As you plan, match irrigation scheduling to your climate and plant needs. If you’re starting seeds, note their requirements; for container sizing, choose pots that suit mature plants. Amend only what your test recommends.
Loosen the Soil
Once you’ve amended the soil, loosen it to help roots grow and water drain. Work when the ground is moist, not soggy; digging wet soil can damage its structure. Choose a tool that suits your garden’s size, and loosen only the planting area.
- Remove rocks, weeds, and debris so they won’t obstruct root growth.
- Use a garden fork or broadfork to lift and gently turn the soil, breaking up compacted areas without pulverizing them.
- Loosen the top 8 to 12 inches, creating space for root penetration while preserving healthy soil structure.
- Rake the surface smooth, then avoid walking on prepared beds; foot traffic compacts soil again.
If you hit stubborn clumps, use your fork to break them apart. Don’t overwork the soil: a crumbly texture supports drainage, airflow, and healthy roots.
Plan Your Garden Layout and Spacing
Before you plant, sketch a simple layout that fits your garden’s sunlight, available space, and the plants you want to grow. Note which areas receive full sun, partial shade, or mostly shade, then match each crop to its preferred conditions.
Plan your garden around sunlight, available space, and each crop’s growing needs.
Check mature plant sizes on seed packets or labels so you can leave enough room for leaves, roots, and airflow.
Arrange taller plants where they won’t block sunlight from shorter ones. If you’re gardening in rows, leave paths wide enough for you to reach every bed without stepping on loosened soil.
In small spaces, consider containers or vertical supports to make better use of the area. Group plants with similar watering needs to simplify care.
Use your seed germination guidelines to estimate how many plants you’ll need, and leave space for succession planting if you want later harvests. Keep composting basics in mind when planning a spot for your compost bin.
Mark the layout before planting, and adjust it as needed.
Plant Seeds or Seedlings at the Right Depth
After marking your garden layout, plant each seed or seedling at the depth recommended on its packet or label. Correct placement helps roots establish and gives sprouts room to emerge.
Since seeds vary, don’t assume a deeper hole offers extra protection. Check the instructions before you begin, and use these quick guidelines:
- Small seeds: Scatter them on the surface or cover them with only a thin layer of soil, as directed. Tiny seeds may struggle to reach daylight if buried too deeply.
- Larger seeds: Make a hole at the specified depth, then cover the seed gently. Follow spacing directions, too.
- Seedlings: Set each plant so the top of its root ball sits level with the surrounding soil. This seedlings depth usually protects the stem while keeping roots covered.
- Timing: Plant when local conditions match the packet’s guidance. Germination timing can vary with the crop and soil temperature, so check expected sprouting dates before you sow.
Handle young plants carefully, and keep labels nearby for reference.
Water Your New Garden Properly
Water your new garden slowly and deeply so the moisture reaches the roots. Before watering, check the soil to see whether your plants need more. And when the weather brings rain or heat, adjust your watering schedule.
Water Deeply and Slowly
Give your new garden a slow, thorough soak so moisture reaches the roots instead of running off the surface. Water at the base of each plant, directing a gentle stream onto the soil. A steady pace helps water sink in and encourages roots to grow deeper, where they’re better protected from dry spells.
- Use a watering can or hose with a gentle spray to avoid disturbing seedlings.
- Move slowly across the bed, giving each area time to absorb water.
- Water around plant bases rather than over leaves to limit disease.
- Adjust your approach for soil drainage: sandy soil may need slower, more frequent soaking, while compacted soil absorbs water gradually.
Adding compost can improve soil structure; those compost benefits include better water retention. Keep your watering gentle and even, and let the soil take in moisture without creating puddles.
Check Soil Moisture
Once you’ve soaked the bed, check the soil before watering again. Push your finger about two inches into the ground near a plant. If the soil feels cool and slightly damp, wait; if it feels dry, water slowly until moisture reaches the roots. Don’t judge by the surface alone, since it can dry faster than the soil below.
Your soil texture affects how quickly water moves and how often you’ll need to check. Sandy soil drains quickly, while clay holds moisture longer. Feel the soil and watch how it behaves after watering.
If it stays soggy or water pools, you may have drainage issues. Improve drainage before adding more water, and avoid soaking roots repeatedly. A simple finger check helps you give seedlings enough moisture without leaving them waterlogged or letting them dry out.
Adjust for Weather
Adjust your watering routine as the weather changes. Your new garden needs steady moisture, but rain, heat, and wind affect how quickly soil dries.
Use these weather considerations to decide when and how much to water. Remember that seasonal timing matters as temperatures shift.
- Check rainfall: Skip watering after a soaking rain, but check the soil before assuming a brief shower was enough.
- Respond to heat: Water deeply in hot weather, preferably early in the morning, to reduce evaporation and help roots absorb moisture.
- Account for wind: Dry, windy days can pull moisture from soil and leaves. Check your beds more often and water when the top layer feels dry.
- Ease off in cool weather: Plants usually need less water as temperatures drop. Adjust gradually, and avoid soggy soil that can encourage root problems.
Mulch and Protect Your Garden Plants
A layer of mulch helps your garden hold moisture, suppress weeds, and protect plant roots from temperature swings. These mulch benefits make routine care easier and help young plants settle in.
Spread a two- to three-inch layer of shredded leaves, straw, or untreated wood chips over the soil. Keep mulch a few inches away from stems to prevent excess moisture from collecting against them.
Choose material that suits your plants and local conditions. Straw works well around vegetables, while leaves can enrich beds as they break down.
Add more mulch when the layer thins, but don’t pile it too deeply; thick coverings can block air and water from reaching roots.
Use simple protection strategies when weather turns harsh. Cover tender plants with breathable fabric before a cold night, then remove it in the morning.
In strong sun, temporary shade can reduce stress while seedlings establish. Secure covers so wind won’t lift them, and water the soil before a freeze.
Spot Pests and Solve Common Garden Problems
Check your plants regularly to catch pests and common problems before they spread. Look beneath leaves, along stems, and around the soil to spot pests early. A quick check helps you protect healthy growth without reaching for harsh treatments.
- Identify the signs. Look for holes, sticky residue, curled leaves, or fine webs. Note where damage appears so you can find its source.
- Remove pests by hand. Pick off larger insects, or rinse small pests from leaves with a gentle stream of water. Check again the next day.
- Support plant health. Water at the soil level, give plants enough space, and remove dead leaves. Healthy plants often handle minor damage better.
- Respond to common problems. Yellow leaves may signal overwatering, while wilting can mean dry soil. Check moisture before changing your routine, and trim diseased growth with clean tools.
To solve common garden issues, start with the simplest safe fix. Keep notes on symptoms and changes, then ask a local garden center for help if the problem persists.
Frequently Asked Questions
When Is the Best Time of Year to Start a Garden?
The best time to start a garden depends on your climate and what you want to grow. For most warm-season vegetables, plant after your area’s last spring frost; cool-season crops can go in earlier, while the soil’s still workable.
Check local frost dates before choosing your planting day, and use seasonal timing to plan fall crops, too. You’ll get the best results when you match each plant’s needs to your region’s growing season.
How Much Does It Cost to Start a Beginner Garden?
You can start a beginner garden for about $50–$200, depending on its size and supplies. The theory that gardening always costs a fortune doesn’t hold up: you can reuse containers, choose budget friendly tools, and check the cost of starter seeds before buying.
Sustainable practices, like composting, can lower ongoing expenses. Check local home garden permits, too. Your seasonal planting window and harvest timelines affect what you’ll grow and when you’ll see results.
Do I Need a Permit to Plant a Garden at Home?
You usually don’t need a permit to plant a garden in your yard, but local rules can vary. Check permitting basics with your city or county before you start, especially if you’ll add a greenhouse, raised structure, irrigation system, or retaining wall.
Review zoning considerations, too: rules may limit garden placement, height, water use, or front-yard planting. If you rent or live in an HOA, get approval from your landlord or association first.
How Can I Garden Sustainably and Reduce Waste?
You can garden sustainably by composting scraps, conserving water, and reusing materials. Start Sustainable composting with fruit and vegetable peels, coffee grounds, leaves, and grass clippings; keep meat and dairy out to avoid pests.
Choose Water wise irrigation, such as drip lines or soaker hoses, and water early to limit evaporation. Mulch beds, collect rainwater where permitted, and plant native varieties. Reuse pots, repair tools, and share extra seeds or produce with neighbors.
How Long Does It Take for a New Garden to Produce a Harvest?
You can harvest your first crops in as little as three to six weeks, though many vegetables take two to four months. Choose fast growing varieties, such as radishes, lettuce, and baby greens, for quick results.
Beginner friendly crops like beans, zucchini, and tomatoes need longer, depending on the variety and growing conditions. Check seed packets for maturity dates, and keep your garden watered and sunny to help plants thrive.
Conclusion
Your first garden doesn’t need to be perfect; it needs a little sun, steady care, and room to grow. Choose plants suited to your space, prepare their soil, and water them thoughtfully.
Then watch for pests and adjust as you learn. Each seed is a small promise, and every new leaf brings a lesson.
With patience, your garden will reward you with color, flavor, and confidence. Start where you are, tend what you’ve planted, and let your green thumb take root with these 10 easy steps to plant a garden for beginners.