How to Make a Garden in 7 Easy Steps
Starting a garden can feel overwhelming when you’re not sure where to begin or what supplies you need. You’re not alone—many people struggle to choose the right plants, prepare the soil, and keep everything thriving. The right gardening products can make it easier to create a garden in seven easy steps.
To make a garden in seven easy steps, choose a level spot with suitable sunlight and access to water. Select plants that fit the light and space, then gather basic tools and supplies. Clear the area, loosen the soil, and mix in compost, or use containers with drainage holes. Plant seeds or seedlings at the recommended depth and spacing. Water deeply, add mulch, and keep it away from stems. Check plants regularly, manage weeds and pests, and discover helpful care tips ahead.
Key Takeaways
- Observe sunlight, drainage, and nearby roots, then choose an accessible garden spot near a water source.
- Select plants suited to the site’s sunlight and space, grouping varieties with similar water needs.
- Gather basic tools and supplies, then clear weeds and debris and loosen the soil with compost.
- Plant seeds or seedlings at the recommended depth and spacing, then water deeply and apply two to three inches of mulch.
- Check plants regularly, adjust watering, remove weeds and damaged growth, manage pests, and record observations for next season.
Choose a Sunny Spot for Your Garden
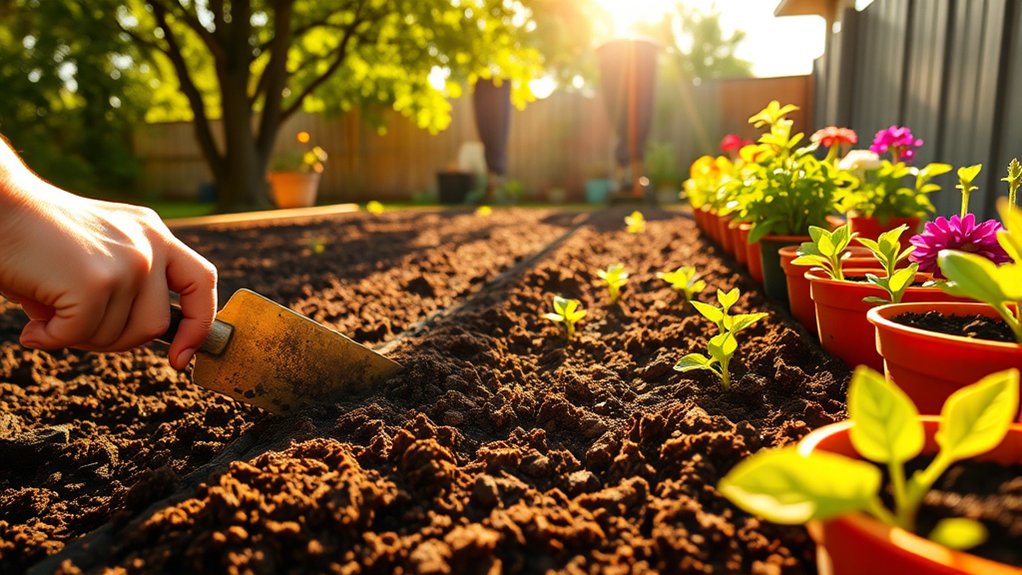
Before you plant, watch how sunlight moves across your yard. Check the area in the morning, around midday, and late afternoon. Notice where direct light lands and how long it stays. A spot that looks bright at breakfast may sit in deep shade by noon.
Track the sun over several days, especially if trees, fences, or buildings cast changing shadows. You’ll uncover sunny microclimates—small areas that receive more light than nearby spaces. Look for shade gaps between branches or structures, but don’t assume they’ll remain open all season; leafy trees can block more sunlight in summer.
Choose a level location that’s easy to reach from your home and water source. Avoid low spots where rain collects, and check whether nearby roots or structures crowd the ground. If your yard has limited sun, observe every possible corner before settling on a site. A simple sketch of light and shadow can help you compare locations and make a confident choice for your garden.
Choose Plants for Your Space and Sunlight
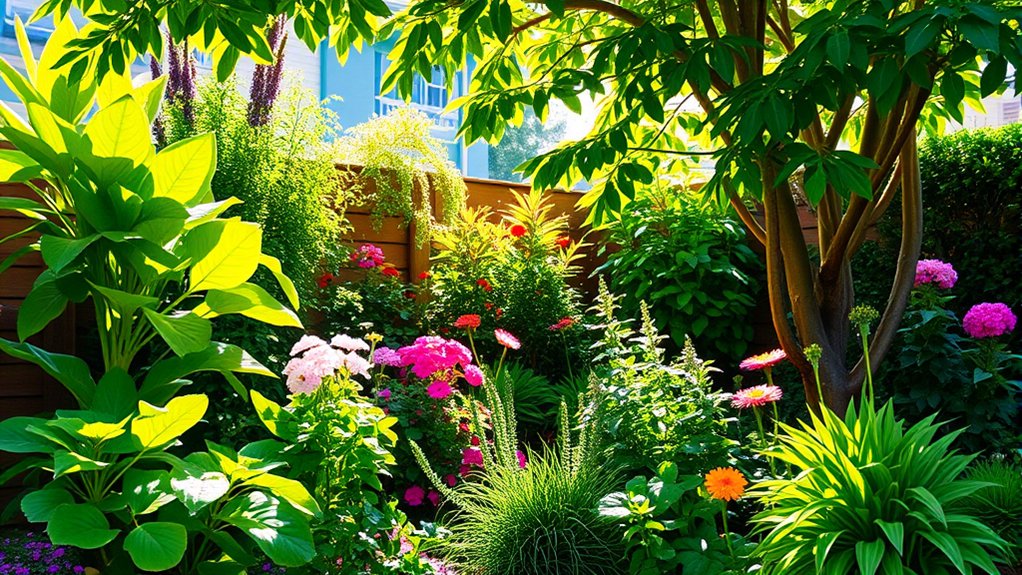
What you plant should match both the sunlight your garden gets and the space you have. Check how many hours of direct sun each area receives, then choose plants suited to those conditions. Read plant labels or descriptions to confirm their needs before you decide.
Think about mature size, too. A compact bed or container calls for smaller varieties, while a roomy plot can support spreading plants. Mix heights and textures to make your garden interesting without overcrowding it. Consider these options:
- For full sun, choose tomatoes, zinnias, or lavender.
- For partial shade, try lettuce, begonias, or parsley.
- For deep shade, select hostas or ferns.
- For tight spaces, grow compact varieties or use vertical plants.
- For dry, sunny spots, consider drought tolerant choices and colorful foliage.
Group plants with similar light and water needs so you can care for them more easily. Leave enough room for growth and airflow, and choose varieties you’ll enjoy seeing and harvesting throughout the season.
Get the Basic Tools and Supplies for Your Garden
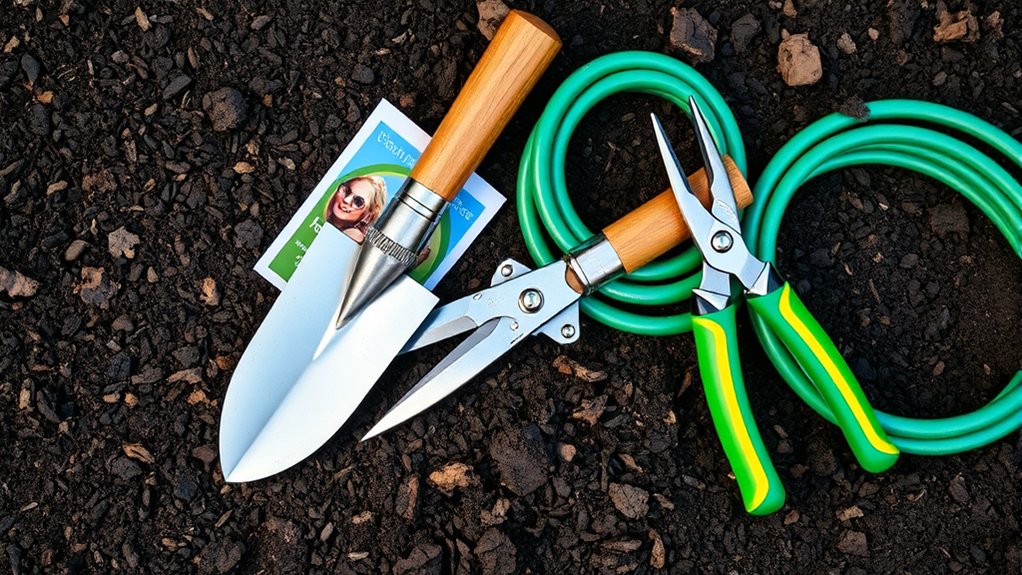
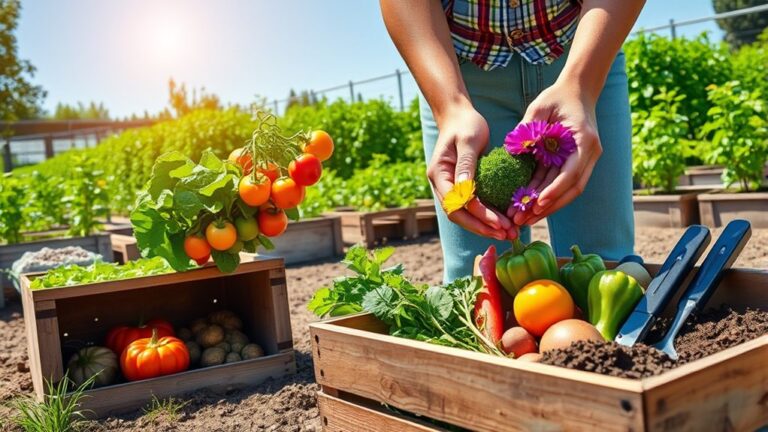
With your plants chosen, gather a few basic tools to prepare the soil and care for your garden. A sturdy hand trowel helps you dig small holes and move plants, while a garden fork loosens compacted ground.
A hand trowel and garden fork make it easier to prepare soil, dig planting holes, and move plants.
Add pruning shears for trimming stems, gloves to protect your hands, and a watering can or hose with a gentle spray nozzle. Choose tools that feel comfortable and suit the size of your space.
Your garden planning can also guide which supplies you’ll need. Pick up plant labels and a waterproof marker so you can track varieties and planting dates.
If you’re starting seeds indoors, get a seed starter tray, seed-starting mix, and a clear cover to hold moisture. For outdoor sowing, buy seeds or seedlings suited to your chosen location, plus stakes or supports for plants that climb or grow tall.
A small bucket or garden tote keeps supplies together as you work. Check what you already own before shopping, and buy only what fits your garden’s needs and budget.
Prepare Soil or Containers for Your Garden
Healthy soil gives your plants a strong start, so prepare the garden bed or containers before planting. Begin by clearing weeds, rocks, and old plant debris from your chosen spot.
For prepping soil, loosen the top several inches with a garden fork, then mix in finished compost to improve texture and add nutrients. If your ground feels heavy or drains poorly, consider a raised bed or pots instead.
For a simple containers setup, choose sturdy pots with drainage holes and enough room for roots to grow. Fill them with fresh potting mix rather than garden soil, which can become compacted in containers.
Keep your setup practical and easy to maintain:
- Check that each pot has open drainage holes.
- Use clean containers to reduce disease risks.
- Add compost to garden beds, not potting mix.
- Level the soil surface without packing it tightly.
- Place beds and pots where they’ll get suitable sunlight.
Water the prepared soil lightly to settle it, and keep the area ready for planting.
Plant Seeds or Seedlings at the Right Depth
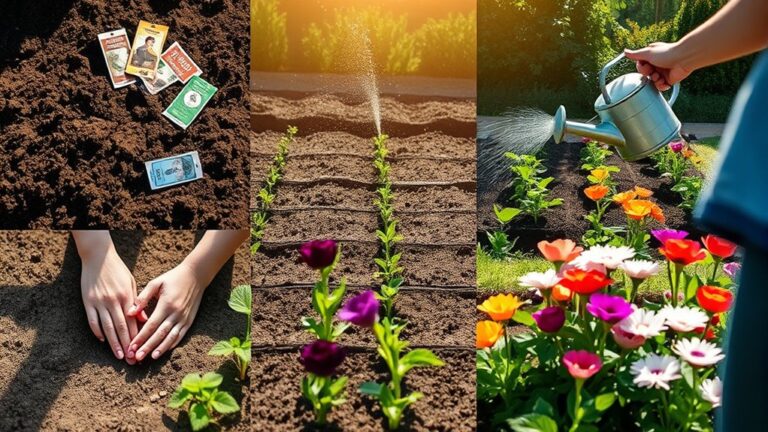
Once your soil or containers are ready, plant each seed or seedling at the depth its label recommends. Check the packet or plant tag before you begin, since the right seed depth varies by crop.
Check each packet or plant tag for the recommended planting depth, as it varies by crop.
Some seeds need light to germinate, so they should sit on the surface; others need a thin covering of soil. Don’t bury small seeds too deeply, or they may struggle to sprout.
For seedlings, make a hole that fits the root ball and follow the recommended seedling depth. Set the plant at the same level it grew in its nursery pot, unless its tag says otherwise.
Keep the stem base above the soil for most plants, and avoid covering leaves. Tomatoes are a common exception: you can bury part of the stem to encourage extra roots.
Space seeds and seedlings according to their labels, leaving room for mature growth. Mark each row or container with the plant name and variety so you can identify what you’ve planted.
Water Your Garden and Add Mulch
Water your garden deeply and consistently so the roots can grow strong. Choose a mulch that suits your plants and climate, and keep it a few inches away from the stems to help prevent rot.
Water Deeply and Consistently
How often should you water your garden? Your plants need enough moisture to develop strong roots, but their needs vary with weather, soil, and growth. Check the soil before watering: if the top inch feels dry, give your garden a drink.
Aim to water deeply, soaking the root zone rather than wetting leaves lightly. Consistent watering helps prevent stress, especially while seedlings establish and during hot, dry spells.
- Water early in the morning to reduce evaporation.
- Direct water at the soil around each plant.
- Use a gentle stream to avoid washing soil away.
- Check containers more often; they dry out quickly.
- Adjust your schedule after rain or during cool weather.
Keep an eye on plants for drooping or yellowing, and respond by checking soil moisture. Deep, steady care supports healthy growth.
Choose the Right Mulch
Choose mulch that suits your plants and local conditions to help soil hold moisture, suppress weeds, and stay at a steadier temperature. Organic options, such as shredded bark, leaves, straw, or compost, gradually break down and enrich your soil.
Inorganic choices, including gravel or landscape fabric, last longer but don’t add nutrients. Consider your garden’s needs, climate, and budget before selecting a mulch material.
For vegetable beds, you might prefer straw or compost; around shrubs, bark can provide lasting coverage. After watering deeply, spread mulch evenly over the soil to support moisture retention and weed suppression.
A layer about two to three inches deep usually works well, though fine materials need less. Check the surface occasionally and replenish organic mulch as it decomposes, so your garden stays protected throughout the growing season.
Keep Mulch Away From Stems
Once you’ve spread the mulch, leave a small, clear ring around each plant’s stems to prevent trapped moisture from causing rot or inviting pests. This gap provides stem protection while helping you spot damage early.
Keep mulch a few inches from stems, crowns, and trunks; don’t pile it against bark or tender growth. A thick, damp mound can hide mulch hazards, including insects, disease, and decay.
Spread mulch evenly across the soil instead, keeping the layer shallow near young plants. Check the ring after watering or heavy rain, since mulch can shift and touch stems. Use these simple checks:
- Leave several inches of bare soil around stems.
- Pull back mulch that touches plant tissue.
- Keep the layer loose, not compacted.
- Watch for pests or signs of rot.
- Refresh the clear ring as plants grow.
Care for Your Garden and Fix Common Problems
Regular care keeps your garden healthy and helps you catch problems early. Check your plants every few days, looking beneath leaves and along stems for discoloration, holes, or wilting. Water deeply when the soil feels dry, and adjust your schedule after rain or heat. Pull weeds before they spread, and remove dead leaves to improve airflow and support disease prevention.
For pest management, identify insects before taking action. Handpick larger pests, rinse small infestations from leaves, or use a suitable treatment according to its label. Encourage beneficial insects by planting flowers nearby, and avoid spraying healthy plants unnecessarily.
If a plant looks unhealthy, check its soil moisture, sunlight, and drainage before assuming it has a disease. Trim damaged growth with clean tools, and discard infected material rather than composting it. Stake tall plants before wind bends them, and add mulch if the soil dries quickly. Keep notes on recurring problems so you can adjust your care next season.
Frequently Asked Questions
When Is the Best Time of Year to Start a Garden?
The best time to start a garden is usually spring, after your area’s last frost, when soil warms and plants can grow safely. Your best planting season depends on regional climate considerations: in mild regions, you can plant in fall or winter, while hot areas may favor early spring or autumn.
Check local frost dates and plant-specific guidance, then sow seeds or transplant seedlings when conditions suit the crops you’ve chosen.
How Can I Keep Pets From Damaging My Garden?
Keep pets out of your garden by creating clear boundaries and offering them a more appealing place to play. Choose fencing options suited to your animals, such as sturdy mesh or low decorative barriers, and secure gaps they could squeeze through.
Use gentle pest deterrents, like motion-activated sprinklers, rather than anything harmful. You can also designate a pet-friendly digging area. Avoid soil amendments that could be toxic, and supervise pets around new plants.
Is Gardening Safe for Children?
Yes, gardening can be safe for children when you guide them and choose suitable tasks. For child safety, store tools, fertilizers, and pesticides out of reach, and supervise children near water or sharp edges. Is gardening hazards a concern? A few simple kid friendly precautions can keep little explorers safer: provide child-sized tools, encourage handwashing, and avoid toxic plants. With thoughtful supervision, your garden can become a delightful place for learning, discovery, and family fun.
How Can I Grow Vegetables in a Small Apartment?
You can grow vegetables in a small apartment by choosing compact crops like lettuce, herbs, radishes, and cherry tomatoes. Place them near a sunny window or on an Urban Balcony, and use Micro Containers with drainage holes.
Match Soil Types to each plant’s needs, using lightweight potting mix rather than garden soil. Water when the surface feels dry, feed plants regularly, and check leaves often. For Pest Control, remove pests by hand and keep plants clean.
What Should I Do With Extra Produce From My Garden?
Share your extra produce with neighbors, friends, food banks, or community fridges; sharing surplus produce helps others enjoy fresh food before it spoils. Preserve what you can by freezing, drying, pickling, or making sauces and jams. Use ripe vegetables in soups, salads, and baked dishes, or trade them with other gardeners. For scraps and spoiled produce, explore composting options, such as a backyard bin, worm farm, or local collection program.
Conclusion
You’ve taken your garden from a sunny spot to a growing space with just seven steps. Keep checking your plants, watering when the soil feels dry, and addressing pests or wilting early.
Don’t worry if everything doesn’t thrive right away. Gardening takes practice, and each season teaches you something new. With a little patience and care, you’ll soon reap what you sow and enjoy fresh flowers, herbs, or vegetables right outside your door. Creating a garden can be simple and rewarding.