7 Steps to Prep Ground for Your Garden
Starting a garden can feel overwhelming when the ground is hard, weedy, or low on nutrients. You’re not alone—many gardeners struggle to figure out where to begin. These helpful products can make it easier to prep ground for your garden and get your planting space ready.
To prep ground for your garden, choose a sunny spot with good drainage and nearby water. Clear away weeds, grass, rocks, and debris, then test your soil’s pH and nutrients.
Add compost and any amendments your test recommends. Loosen the soil when it’s moist but not soggy, and rake it level.
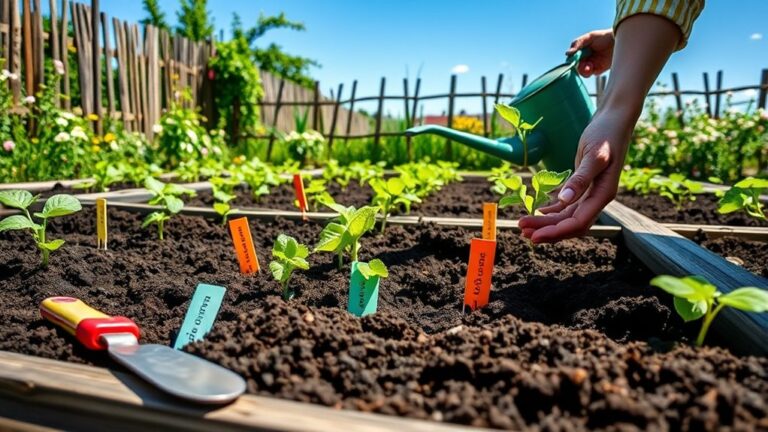
Mark rows, paths, and crop spacing using plant labels as a guide. Water the bed slowly one or two days before planting, and find helpful tips for each step below.
Key Takeaways
- Choose a sunny, well-drained site with at least six hours of direct sunlight and convenient access to water.
- Clear weeds, grass, rocks, and debris; remove deep-rooted weeds and mark the garden boundaries.
- Test soil pH and nutrients, then add compost or other amendments based on the results.
- Loosen moist—not soggy—soil, remove remaining stones and roots, and rake the bed level.
- Plan and label rows, paths, and plant spacing using crop instructions, then moisten the bed one to two days before planting.
Choose a Sunny, Well-Drained Garden Spot
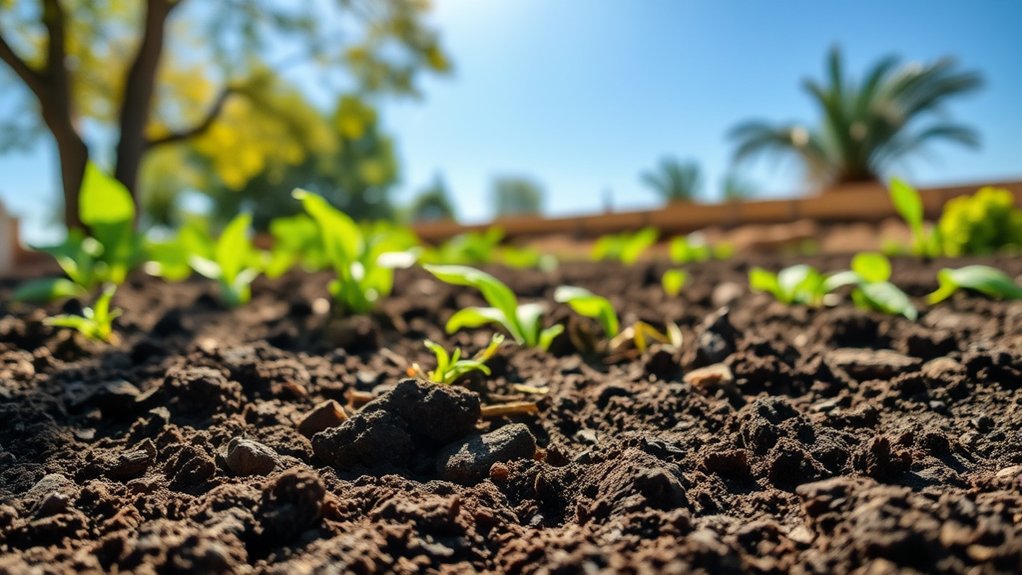
Before you break ground, choose a spot that gets at least six hours of direct sunlight a day and drains well. Most vegetables and flowering plants need steady sun to grow strong and produce well.
Watch your yard throughout the day, since nearby trees, fences, and buildings can cast shifting shadows. A Sunny spot gives your garden the light it needs, but consider afternoon heat, too; some delicate crops prefer a little shade during the hottest hours.
Next, assess how water moves through the soil. After a heavy rain, look for puddles that linger or areas where water runs downhill.
For a simple Drainage check, dig a hole about a foot deep, fill it with water, and see how quickly it empties. If water remains for hours, choose a higher location or consider a raised bed. Avoid low spots where roots may sit in soggy soil.
Also check that a nearby water source can reach your garden without a long, inconvenient hose.
Clear Weeds, Grass, and Garden Debris
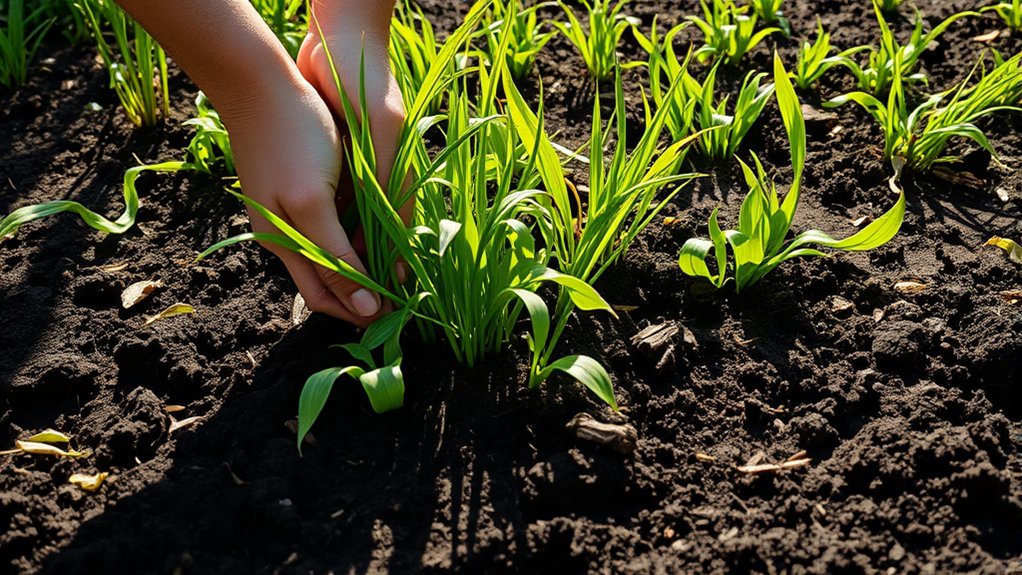
Once you’ve chosen a sunny, well-drained spot, clear away weeds, grass, rocks, and fallen branches. Start by marking the garden’s edges so you know exactly where to work.
Pull small weeds by hand, gripping each near its base to remove as much of the root as possible. For deep-rooted weeds, loosen the soil with a hand fork before pulling.
To clear weeds, grass and garden debris from a larger area, use a hoe or spade to cut through the turf. Lift the grass in manageable sections, then shake off loose soil.
Don’t leave roots or seed heads behind; they can regrow or spread. Rake the exposed ground and remove garden debris and weed clumps, including leaves, stems, and stones.
Bag invasive weeds and seed-bearing plants rather than adding them to your compost. Keep useful, healthy plant material separate if you plan to compost it.
Finish by collecting stray fragments, leaving the area clear for the next preparation step.
Test Your Garden Soil
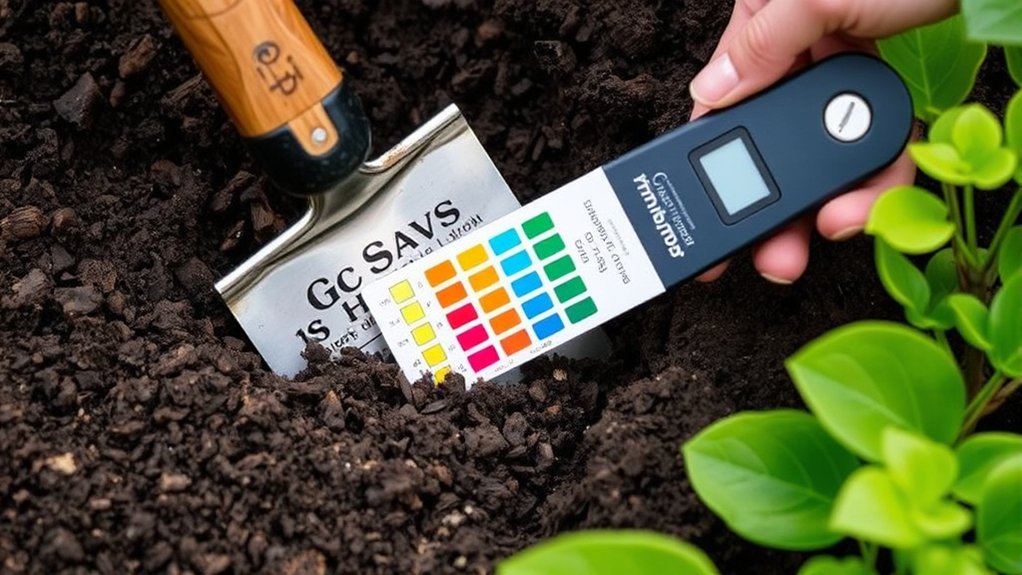
With the weeds and debris cleared, test your garden soil to learn its pH and nutrient levels. A soil test shows whether your garden’s conditions suit the plants you want to grow. You can collect a sample and send it to a local extension service, or use a reliable home kit for a quick estimate.
Follow the test instructions carefully. Take small samples from several spots in the planting area, remove stones and roots, and mix the soil in a clean container.
Don’t sample unusual patches separately unless you want to investigate a specific problem. Testing wet or recently fertilized soil can skew results, so choose a representative area and follow the recommended timing.
Review the report for pH, nutrient balance, and any flagged concerns. Your results give you a useful baseline and help you make informed decisions as you plan your garden.
Keep a copy for comparison in future seasons. Repeated soil testing can reveal how conditions change over time.
Add Compost and Soil-Tested Amendments
Mix compost into your garden soil to improve its structure and add organic matter. Then, use your soil-test results to apply only the amendments your garden needs. That way, you can address nutrient deficiencies without adding anything your soil doesn’t require.
Mix In Compost
Spread a layer of finished compost over the loosened soil, then blend it into the top few inches to improve soil structure and add organic matter. You’ll create a crumbly bed that holds moisture while allowing roots to breathe.
Use mature compost, not fresh scraps, which can tie up nutrients as they break down. A small amount of seed compost can help when preparing areas for sowing.
| Compost cue | What you’ll notice | Your next step |
|---|---|---|
| Dark color | Rich, even tone | Spread evenly |
| Earthy smell | No sour odor | Mix it in |
| Crumbly texture | Few recognizable scraps | Break up clumps |
| Moist feel | Damp, not soggy | Adjust water |
Work gently to protect soil life and support microbial health. Keep the layer moderate; too much compost can leave your bed overly rich.
Rake the surface smooth when you’re done.
Apply Test-Based Amendments
Use your soil-test results to decide whether the bed needs amendments beyond compost. Check the report for nutrient levels and pH, then follow its recommendations rather than adding products by guesswork. Too much fertilizer or lime can harm plants and disrupt soil balance.
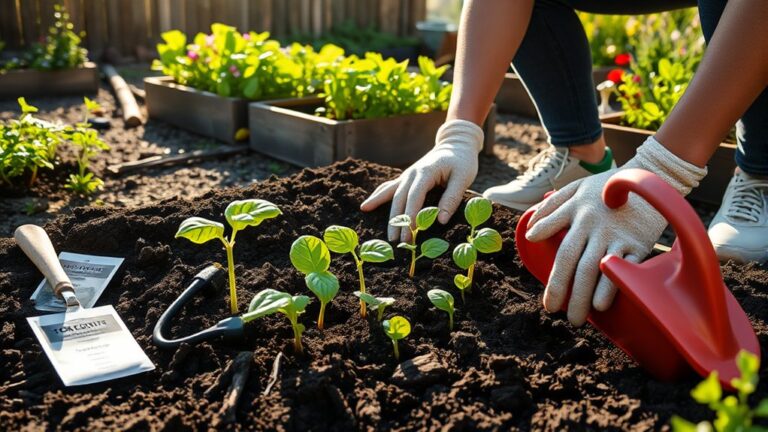
Choose amendments suited to your crops and soil conditions. If the test calls for a nutrient, select a product that supplies it and apply the recommended amount. Spread amendments evenly over the bed, then mix them into the top few inches of soil unless the label advises otherwise. Wear gloves and follow all product directions.
Consider how amendments fit your garden’s thoroughfare design and irrigation planning. Keep paths clear, and water the bed as directed to help nutrients move into the root zone. Retest periodically to guide future applications.
Loosen and Level Your Garden Bed
Once you’ve cleared the bed, loosen the soil with a garden fork or tiller, breaking up compacted clumps so roots can grow easily. Work when the ground is moist but not soggy; wet soil can clump and compact under pressure, while dry soil may resist your tools.
Push the fork several inches into the ground, then rock it gently to lift and aerate the earth. Turn the soil only as deeply as needed, preserving its structure and beneficial organisms.
Loosen soil gently with a garden fork, turning only as deeply as needed to protect its structure and beneficial organisms.
After you loosen bed areas, rake the surface to level soil and remove stones, roots, and leftover debris. Aim for a smooth, even bed, not a perfectly packed surface.
Fill low spots with nearby soil and gently rake down raised areas so water won’t collect unevenly. Check the bed from several angles, adjusting until the surface looks consistent. Avoid walking on the prepared soil; your footsteps can undo your work by pressing air out and creating new compacted patches.
Mark Rows, Paths, and Plant Spacing
Mark your garden rows with stakes and string to keep them straight. Leave walking paths wide enough to reach your plants easily without compacting the beds. Before marking planting spots, check how much space each plant needs.
Mark Garden Rows
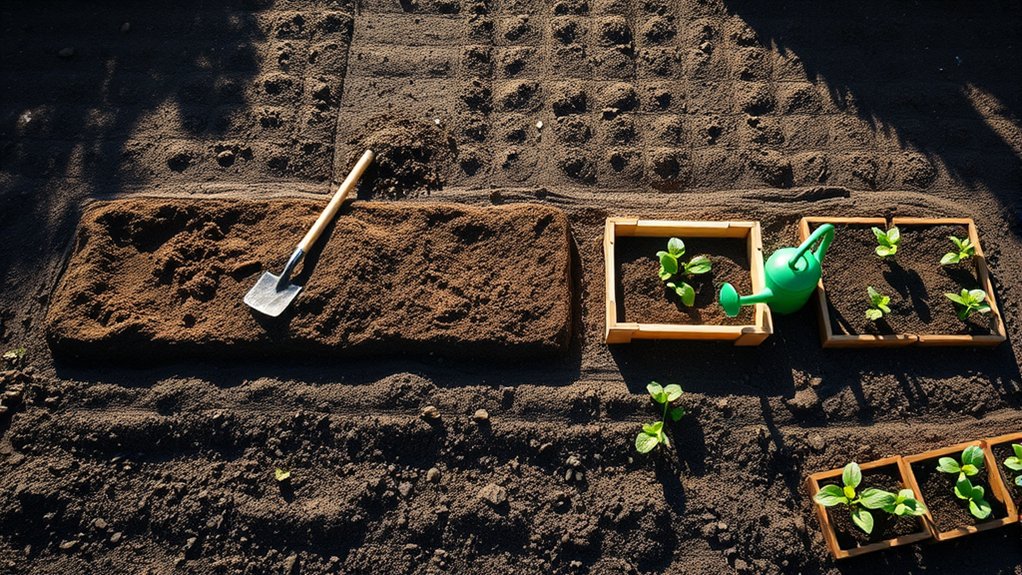
Before planting, plan where each row, path, and crop will go. Check your seed packets for spacing needs, then sketch a simple layout. Marking grids can help you keep rows straight and give each crop enough room to grow. Use stakes and string to outline the rows before you loosen the soil.
- Measure row lengths with a tape or marked stick.
- Leave enough space between rows for mature plants.
- Align rows with sunlight and your garden’s shape.
- Labeling rows helps you remember what you’ve planted.
- Mark each crop’s position along its row.
Keep your plan flexible. You can adjust spacing for small beds or mixed plantings. Make clear labels that can withstand rain, and place them at row ends. Once the layout looks right, use it to guide planting and maintain consistent spacing.
Plan Walking Paths
With your rows mapped out, plan clear walking paths so you can reach every crop without stepping on growing soil. Sketch a path design that connects the entrance, beds, and water source. Keep main routes wide enough for your wheelbarrow, and add narrower paths between beds where you can comfortably pass. Mark each route with string, stakes, or a light layer of mulch before you dig. Consider an accessibility layout that suits your mobility and tools.
| Path location | Planning tip |
|---|---|
| Main route | Leave room for a wheelbarrow |
| Between beds | Ensure comfortable passage |
| Garden entrance | Connect directly to main route |
Walk the marked paths to check for awkward turns or blocked access. Adjust them now, while the ground remains easy to reshape.
Set Plant Spacing
Once your paths are set, mark the rows and plant locations so each crop has room to grow. Check seed packets or plant labels for spacing guidance, then adapt it to your bed’s width and the mature size of each crop.
Good row organization makes watering, weeding, and harvesting easier. Use stakes and string, a garden rake, or a measuring tape to lay out straight lines before you plant.
- Leave enough space between rows for comfortable access.
- Mark each row’s crop name to avoid mix-ups.
- Space seeds or seedlings according to their needs.
- Allow larger plants room to spread without crowding neighbors.
- Keep paths clear so you can reach every bed.
This efficient spacing supports airflow, reduces competition for light and nutrients, and helps you use garden space wisely. Recheck your marks before sowing.
Water the Garden Bed Before Planting
Water the garden bed thoroughly a day or two before planting so the soil settles and has enough moisture to support new roots. Apply water slowly and evenly across the surface, letting it soak into the soil instead of running off.
If you’ve amended compacted ground, check that moisture reaches the full root zone, not just the top layer. Use a hose with a gentle spray or a soaker hose to distribute water without washing away soil or disturbing the bed.
To check moisture, push a finger or trowel a few inches down. The soil should feel damp and crumbly, not muddy or waterlogged. If it’s still dry beneath the surface, water again in short intervals.
Pay attention to recent rain and your soil type. Sandy soil drains quickly, while clay holds water longer. Avoid overwatering, which can limit oxygen and encourage root problems.
Once the bed feels evenly moist, let excess water drain before planting. You’ll give seeds and transplants a better start.
Frequently Asked Questions
When Is the Best Time of Year to Prepare Ground for a Garden?
The best time to prepare garden ground is fall or early spring, when the soil is workable—not soggy or frozen. For spring planting, start soil preparation several weeks before your last expected frost so amendments can settle and beds can warm.
In fall, clear debris and add compost after harvest; winter weather will help break down organic matter. Avoid digging wet soil, since you can compact it and damage its structure.
How Deep Should I Prepare the Soil for Different Vegetables?
Prepare soil 6–8 inches deep for shallow-rooted vegetable types like lettuce, radishes, and spinach. Give carrots, beets, and beans 8–12 inches, and loosen soil 12–18 inches for tomatoes, peppers, and other deep-rooted crops.
Your soil depth needs may vary with soil texture: compacted clay benefits from deeper loosening, while loose, well-drained soil needs less. Choose a tillage method that loosens the root zone without turning or compacting wet soil.
Can I Prepare a Garden Bed Without Digging?
Yes—you can prepare a garden bed without digging; your spade can take a well-earned retirement. With the no dig method, you build healthy soil by layering compost and organic matter on top, letting worms and microbes do the mixing.
First, smother grass or weeds with cardboard, then add several inches of compost. For a mulch only bed, cover the surface with mulch, but add compost where you’ll plant vegetables.
Keep layers moist and replenish them seasonally.
How Long Should Prepared Soil Settle Before Planting?
You can plant in prepared soil right away if it’s moist, workable, and evenly mixed; you don’t need to wait for soil settling. If you’ve added compost or amendments, water the bed and let it rest for a few days so everything settles, then top up low spots.
For new beds, plan preparation a week or two ahead. The best time depends on your climate and year planning, but avoid planting in soggy soil.
Should I Cover a Prepared Garden Bed Before Planting?
Yes, cover your prepared garden bed if you won’t plant right away, but choose the cover based on your needs. Spread a tarp to keep rain from compacting soil and weeds from taking hold; remove it before planting.
You can also sow cover crops to protect and improve the soil, then cut them down before planting. For mulch timing, wait until seedlings emerge or transplants settle, then add a light layer to conserve moisture and suppress weeds.
Conclusion
With your garden spot chosen, weeds cleared, soil tested, and amendments added, you’ve given the ground a thoughtful beginning. Loosen and level the bed, then mark rows, paths, and planting spaces so each crop has room to thrive. Water the soil before planting to settle it gently into place.
A little preparation now helps your garden make a graceful entrance and gives you a season of healthier growth, easier care, and more rewarding harvests. These final steps complete your ground prep for the garden.