
5 Essential Tips to Care for Perennial Flowers
Keeping perennial flowers healthy and blooming year after year can feel like a lot of work, especially when every variety seems to need something different. You’re not alone—many gardeners struggle to know where to start. These five essential tips to care for perennial flowers can help you build a garden that thrives.
To care for perennial flowers, choose a spot that matches their sunlight needs, drains well, and gives each plant room to grow. Prepare the soil by removing weeds, loosening it, and mixing in finished compost.
Water new plants thoroughly, then keep the soil evenly moist as roots establish. During the growing season, feed sparingly and deadhead spent blooms.
Prune as needed, water during dry autumn spells, and add mulch after the soil cools. These simple steps support healthy blooms year after year, and there’s more to learn about caring for each season.
Key Takeaways
- Choose a site with suitable sunlight, well-drained soil, and enough space for each perennial’s mature size.
- Check nearby trees and structures for shade, and arrange plants so taller varieties don’t block light or compete for water.
- Remove weeds, loosen the soil, add finished compost, and plant at the depth recommended on the label.
- Water new plants thoroughly and keep soil evenly moist while roots establish; adjust watering to weather and plant needs.
- Feed sparingly, deadhead spent blooms, prune as needed, and protect roots with mulch after the soil cools.
Choose the Right Spot for Perennial Flowers
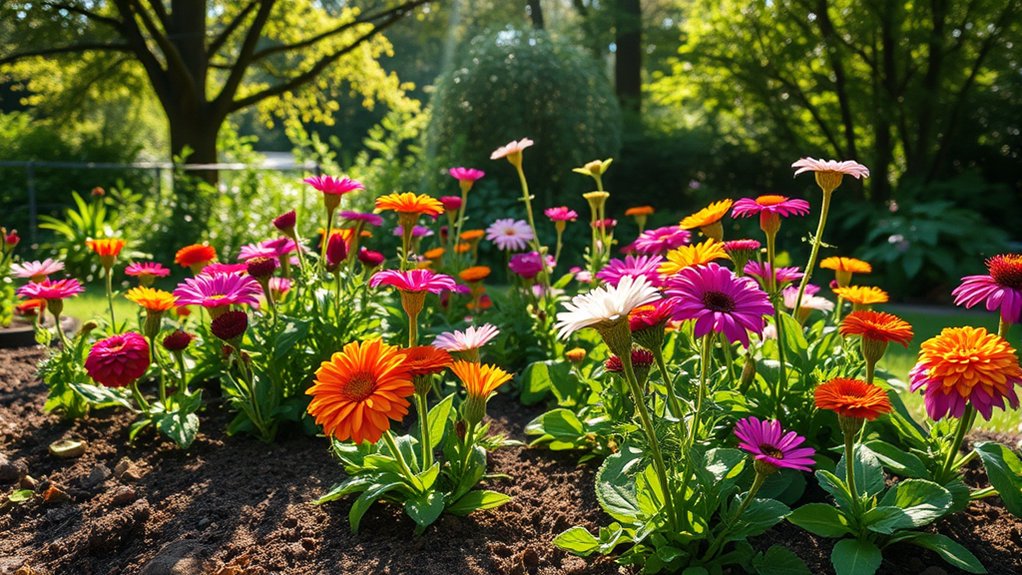
Choosing the right spot gives perennial flowers the light, soil, and space they need to thrive. Before you choose a location, check how much direct sun reaches it throughout the day. A sunny border suits flowers that need six or more hours of light, while shade-loving varieties prefer protection from strong afternoon rays. Match each plant’s needs to your yard’s patterns, not just its appearance.
Match each perennial to the light in your yard, choosing sunny spots for sun lovers and afternoon shade for shade-loving varieties.
Consider soil drainage, too. Notice where water collects after rain and avoid placing plants in spots that stay soggy unless they tolerate wet conditions. A gentle slope or raised area may suit varieties that need drier roots.
Check how much room each perennial will need at maturity, so neighboring plants won’t crowd it or block airflow. Keep taller flowers from shading shorter ones, and account for nearby trees, fences, and buildings that may cast shadows or compete for water.
When you plan around these conditions, you’ll give each perennial a better chance to flourish and make ongoing care easier.
Prepare Soil and Plant Perennials Well

Healthy perennials start with well-prepared soil. Before planting, remove weeds, rocks, and old roots, then loosen the ground so young roots can spread. Good soil preparation also means checking drainage and mixing compost into poor or compacted soil. Don’t add fertilizer unless a soil test or plant label recommends it.
| Task | What you do | Why it helps |
|---|---|---|
| Clear | Remove weeds and debris | Reduces competition |
| Loosen | Work soil several inches deep | Opens space for roots |
| Amend | Blend in finished compost | Improves soil structure |
| Check | Read the plant label | Guides planting depth |
Dig each hole about twice as wide as the root ball, but no deeper than its height. Set the crown at the soil surface, following the plant’s specific planting depth needs. Backfill gently, firm the soil around the roots, and leave enough space between plants for their mature spread. A thoughtful start helps your perennials settle in and grow strong.
Water Perennials Deeply and Consistently

Water new perennials thoroughly after planting, then keep the soil evenly moist while their roots establish. Check the soil regularly by feeling it a few inches below the surface; if it’s dry, water slowly until moisture reaches the root zone.
This deep watering encourages roots to grow downward, helping plants handle dry spells better than frequent, shallow sprinkling.
Once your perennials are established, adjust your routine to suit the weather, soil, and plant type. Water during dry periods, especially when heat or wind quickly dries the ground.
Aim for consistent moisture, not soggy soil: too much water can deprive roots of air and encourage rot. Well-drained soil should feel moist, not waterlogged.
Water near the base of each plant to limit evaporation and keep foliage dry. Morning is a good time, since plants can absorb water before midday heat.
If you’re unsure whether to water, check the soil rather than relying on a fixed schedule.
Feed and Deadhead Perennials in Season
Feed established perennials sparingly during their growing season, and deadhead spent blooms to encourage fresh flowers and keep plants tidy. Too much fertilizer can produce lush leaves at the expense of flowers, so follow the product label and your soil test results.
Feed established perennials lightly, deadhead faded blooms, and follow soil test results to encourage flowers without excessive leafy growth.
For many garden beds, a light application of balanced, slow-release fertilizer in spring is enough. Skip feeding plants that already grow vigorously or prefer lean soil.
Set a deadheading schedule that suits your plants and routine. Check flowering perennials every few days, then remove faded blooms before they form seeds. Snip each spent flower just above a healthy leaf or bud, using clean, sharp shears.
For plants with clusters of blossoms, pinch or trim the whole cluster once most flowers have faded. Some perennials won’t rebloom after deadheading, but removing old flowers can still keep the display neat and limit unwanted seedlings.
Adjust seasonal feeding to each plant’s needs, and avoid fertilizing late in the season.
Prune Perennials and Protect Them in Winter
When should you prune perennials? Trim each plant at the right time for its growth habit and your climate. After flowering, remove spent blooms and damaged stems to keep beds tidy.
In fall, cut back diseased foliage, but leave healthy seed heads and sturdy stems for birds and winter interest. In spring, remove remaining growth before new shoots emerge. Always use clean, sharp shears so you won’t spread disease.
To protect wintercare, prepare roots before the ground freezes. Water during dry autumn spells, then spread mulch after the soil cools. Don’t pile mulch against crowns; leave room for air to circulate.
Match your approach to each plant, since some perennials prefer shelter while others tolerate cold without extra cover.
- Picture golden coneflower heads feeding finches beneath a pale winter sky.
- Lay a loose blanket of shredded leaves over tender roots.
- Tie tall stems gently against gusts, not into tight bundles.
- Mark dormant plants with small stakes so you won’t disturb them.
When you prune perennials thoughtfully, you’ll support healthy spring growth.
Frequently Asked Questions
How Do I Divide Overgrown Perennial Flowers?
To divide overgrown perennial flowers, water the plant, then lift it carefully with a garden fork. Shake or rinse away excess soil, and separate the root clump into sections, each with healthy roots and several shoots.
Discard dead centers and damaged pieces. For successful dividing perennials, choose transplant timing when the plant’s dormant or just after flowering, avoiding heat.
Replant sections promptly at their original depth, water thoroughly, and keep soil moist.
When Is the Best Time to Transplant Perennials?
You’ll give most perennials a gentle fresh start by transplanting them in early spring or early fall, when mild temperatures and moist soil ease root stress. This transplant timing lets plants establish before summer heat or winter cold arrives. Choose a cool, cloudy day, water the plant beforehand, and keep roots moist as you work. For best transplant methods, dig widely, replant at the original depth, and water thoroughly to help roots settle in.
Which Perennials Attract Pollinators to the Garden?
Choose pollinator friendly perennials such as coneflowers, bee balm, black-eyed Susans, asters, and salvia to bring bees, butterflies, and hummingbirds to your garden. These garden friendly nectar sources offer blooms across different seasons, so you can support pollinators from spring through fall.
Add native varieties suited to your climate, and plant several of each type together. You’ll create a colorful, welcoming space where visiting pollinators can find reliable food throughout the growing season.
How Can I Identify Common Perennial Flower Diseases?
Your perennials wave distress flags when disease strikes. For identifying fungal diseases, inspect leaves for powdery coatings, rusty spots, dark lesions, or fuzzy growth; check whether symptoms spread during damp weather.
For spotting bacterial infections, look for water-soaked patches, yellow halos, wilting, or foul-smelling, mushy stems. Compare changes across the plant, not just one leaf.
Remove affected foliage, sanitize your tools, and ask your local extension service when symptoms remain unclear or worsen quickly.
Can Perennials Grow Successfully in Containers?
Yes, you can grow perennials successfully in containers, even if you have limited room. Choose compact, container friendly bloomers suited to your climate, and match each plant to a pot with drainage holes. Use quality potting mix, water when the top feels dry, and feed during active growth. Protect roots from extreme temperatures, since pots heat and freeze faster than garden soil. With thoughtful choices, perennials in small spaces can thrive and return year after year.
Conclusion
When you choose the right spot, prepare rich soil, and water deeply, your perennials gain strong roots and room to thrive. Feed and deadhead them through the season, then prune and protect them as winter approaches.
Think of each task as a small note in a garden’s song: steady care keeps the melody going, year after year. With patience and a little attention, you’ll help your perennial flowers return in fresh color, turning each new season into a welcome encore.


