Garden Ground Preparation in 3 Essential Steps
Preparing garden ground can feel like a big job, especially when weeds and compacted soil get in the way. You’re not alone—many gardeners struggle to create the right foundation for healthy plants. These garden ground preparation tips can help you get started.
Prepare your garden ground in three essential steps. First, clear weeds, fallen leaves, stones, and old plants, pulling weeds with their roots and discarding diseased material separately.
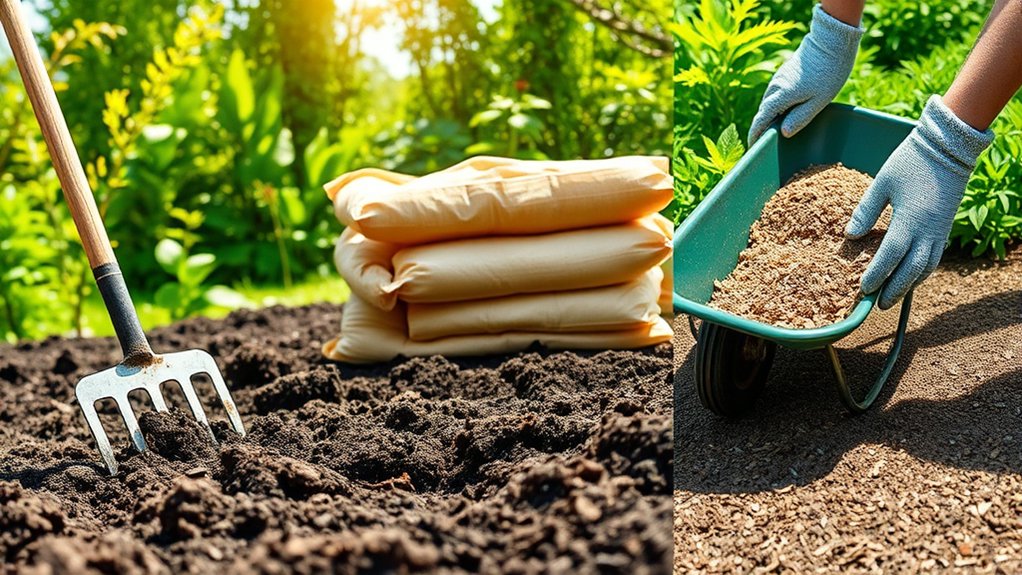
Next, spread a thin, one- to two-inch layer of mature, crumbly compost, keeping it away from plant stems.
Finally, loosen the soil eight to twelve inches deep with a garden fork, remove remaining obstructions, and rake the surface level without packing it down. These steps set you up for successful planting.
Key Takeaways
- Clear the bed: Pull weeds by the roots, remove old plants, leaves, stones, and litter, and discard diseased material separately.
- Add compost: Spread 1–2 inches of mature, crumbly compost, using less if the soil already has ample organic matter.
- Loosen the soil: Use a garden fork or broadfork to work the soil 8–12 inches deep, removing roots and debris as you go.
- Level the surface: Rake soil from high spots into low areas without pressing it down; wait if the soil is wet and sticky.
- Check planting readiness: Inspect edges, corners, and supports, and confirm the bed is clean, even, and free of obstructions.
Clear Weeds, Debris, and Old Plants
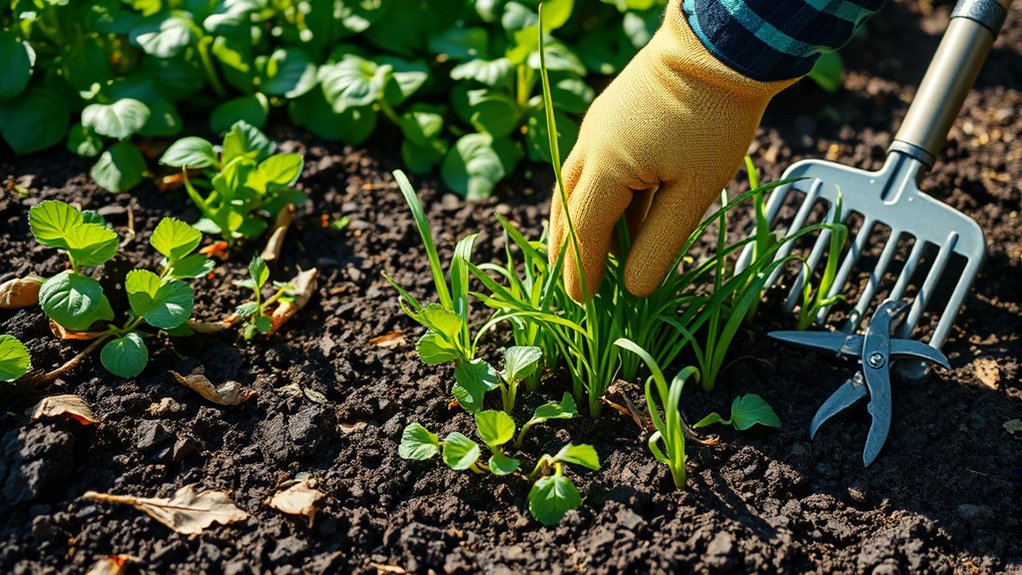
Start by removing weeds, fallen leaves, stones, and leftover plant material from the garden bed. Pull weeds by the roots so they’re less likely to return, and use a hand tool to loosen stubborn roots without disturbing nearby plants. For effective weed removal, check the bed’s edges and corners, where unwanted growth often hides.
Next, focus on debris clearing. Pick up branches, twigs, and litter, then remove old plant material that could shelter pests or disease. If a plant looks diseased, bag it and discard it rather than adding it to your yard waste. Healthy, dry plant scraps can go into a separate pile for disposal or reuse, depending on your local guidelines.
Finally, inspect the cleared bed for remaining roots, stones, or damaged plant supports. Take out anything that could obstruct planting or make maintenance harder. Rake the surface lightly to reveal missed debris, then dispose of the collected material promptly. A clean bed gives you a clear view of the space and makes the next preparation steps easier.
Improve Garden Soil With Compost
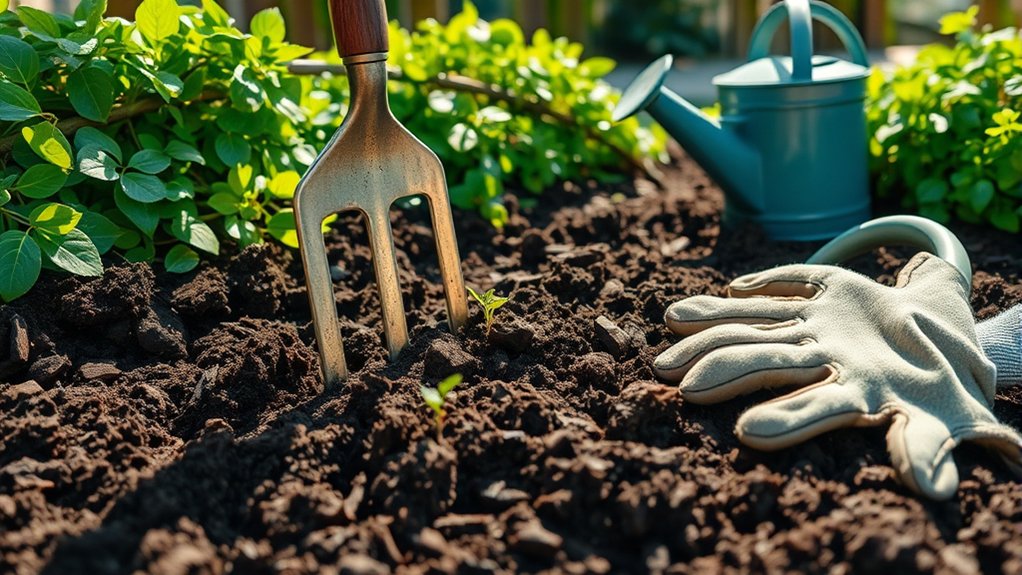
With weeds and debris cleared, improve the soil by mixing in finished compost. You’ll add organic matter that supports soil life, helps retain moisture, and feeds plants gradually. Spread a thin layer over the bed, choosing mature compost that smells earthy and looks dark and crumbly. These compost benefits can strengthen your garden’s growing conditions without relying only on quick-release fertilizers.
Finished compost adds organic matter, supports soil life, retains moisture, and feeds plants gradually for healthier growing conditions.
- Add about one to two inches of compost across the surface.
- Choose screened compost to avoid large chunks and unwanted materials.
- Use homemade or purchased compost that’s fully decomposed.
- Apply less if your soil already contains plenty of organic matter.
- Keep compost away from plant stems to reduce excess moisture there.
As compost breaks down, it supports nutrient cycling by returning nutrients to the soil for future growth. Its organic matter also contributes to carbon sequestration, keeping some carbon stored in the ground.
Match the amount to your soil’s needs, and use clean, finished material for a steady, natural boost. You’ll give beneficial organisms food while helping create a healthier foundation for your garden.
Loosen and Level the Garden Bed
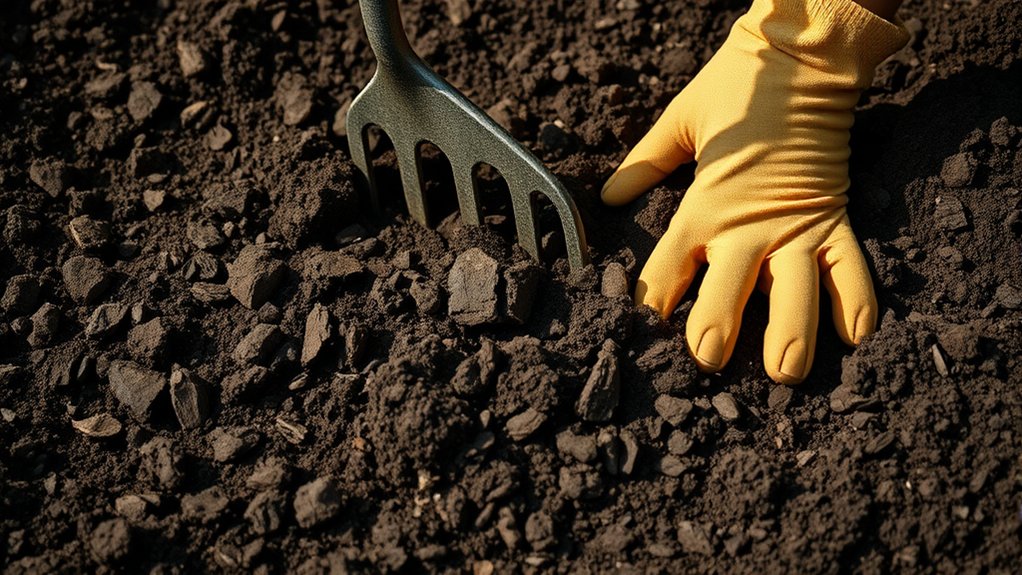
Once compost is spread, loosen the garden bed to help roots grow and water move through the soil. Use a garden fork or broadfork to loosen soil about 8 to 12 inches deep, working carefully so you don’t turn over the layers unnecessarily. Break apart compacted clumps, but leave the soil’s structure intact where possible.
As you work, remove weeds, debris, and old plants, including roots that could regrow or harbor pests. Pull weeds by hand or use a hoe, and discard diseased plant material rather than adding it to your compost. Clear stones and sticks that might interfere with planting or create uneven spots.
Next, level bed surfaces with a rake. Move soil from high areas into low spots, then smooth the top without pressing it down hard. A level surface helps water spread evenly and makes planting easier. Check your work from several angles, and adjust as needed. If the soil feels wet and sticky, wait until it dries slightly before digging to avoid compaction.
Frequently Asked Questions
When Is the Best Time to Prepare a Garden Bed?
The best time to prepare a garden bed is several weeks before you plan to plant, once the soil is workable—not soggy or frozen. For spring planting, prepare it in early spring; for fall crops, work ahead in late summer.
Watch seasonal cues, such as soil temperature and your region’s last frost date, to guide your best timing. You’ll give soil amendments time to settle and avoid compacting wet ground.
How Do I Test My Garden Soil’s pH?
To learn how to test soil pH, use a home test kit, digital meter, or laboratory service. Collect small samples from several spots, remove debris, and mix them in a clean container.
Follow your kit’s instructions, or send the mixed sample to a lab for a detailed reading. Once you know the result, choose proper soil amendment steps based on your plants’ needs, and retest after adjustments to confirm the pH has changed.
What Tools Are Essential for Garden Ground Preparation?
Essential tools for Ground prep include a spade or shovel, garden fork, hoe, rake, wheelbarrow, and sturdy gloves. Use the spade to turn soil, the fork to loosen compacted areas, and the rake to level beds and remove debris.
Add a Soil test kit to check pH and nutrients before amending. Keep a tape measure and hose nearby, too; they’ll help you plan spacing and prepare for Irrigation install.
How Wide Should Garden Beds Be for Easy Access?
Keep your beds about 3 to 4 feet wide for easy access. With a 3-foot bed, you can reach the center from either side without stepping on the soil; choose 4 feet only if you’re tall or can comfortably stretch. Picture a neat, reachable row of rich earth.
If you’re building wide beds, leave 2 to 3 feet between them for narrow access paths, wheelbarrows, and comfortable movement.
Should I Install Irrigation Before Planting?
Yes, install irrigation before planting whenever possible. You’ll avoid disturbing roots, seedlings, and finished beds, and you can test coverage while the soil’s still clear.
For good irrigation timing, lay out lines, connect the system, and check for leaks or uneven flow before you sow or transplant. Confirm planting readiness by making sure each bed gets appropriate water without runoff. If plants are already in place, install carefully and protect their roots.
Conclusion
Prepare your garden ground in three steps: clear weeds and debris, enrich the soil with compost, then loosen and level the bed. These simple tasks give roots room to grow and help water reach plants evenly.
For perspective, the USDA reports that healthy soil can contain more living organisms in a teaspoon than there are people on Earth. As you work, protect that underground life by avoiding unnecessary disturbance.
Start with these basics, and you’ll give your garden ground a stronger foundation for the season ahead.