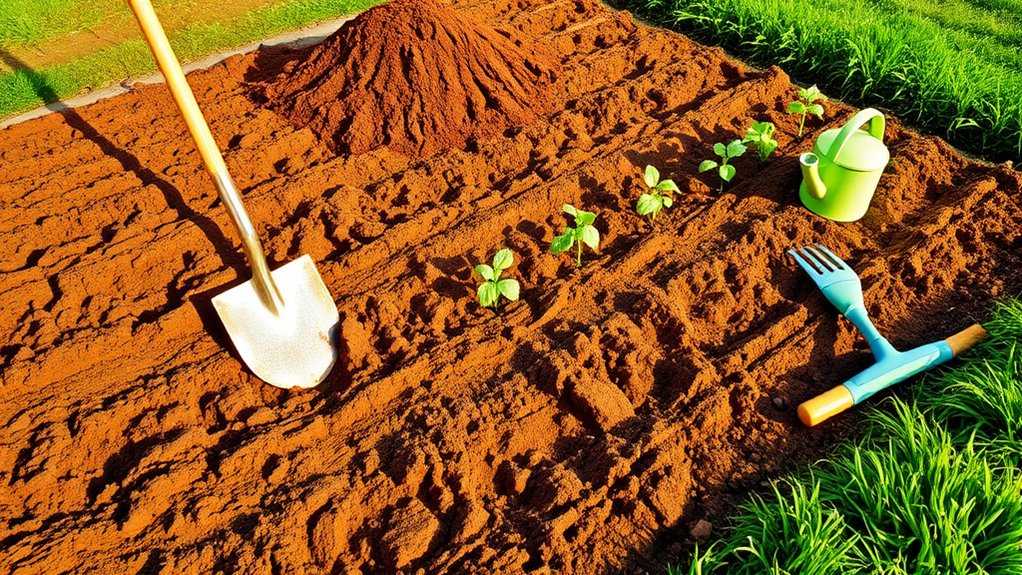
10 Essential Steps to Prepare Land for Your Garden
Preparing land for your garden can feel overwhelming, especially when you’re unsure where to start or how to avoid costly soil mistakes. You’re not alone—many gardeners struggle to turn an overgrown or compacted patch into a healthy growing space. These essential steps to prepare land for your garden make the process easier, from choosing the right site to getting your beds ready to plant.
To prepare land for your garden, choose a sunny, well-drained site near a water source, then track sunlight, runoff, and access. Test soil for pH, nutrients, depth, and compaction before adding amendments. Mark beds and paths, check for buried utility lines, and clear weeds, sod, and planting obstacles. Loosen compacted ground gently, spread finished compost, and apply only recommended amendments. Shape beds to drain well, then water them to settle the soil. The steps below cover each task in order.
Key Takeaways
- Choose a sunny, accessible site with at least six hours of direct sunlight and soil that drains well.
- Observe sunlight, slopes, rainwater flow, and water access; map brighter areas and routes for runoff.
- Test soil from several spots for texture, depth, compaction, pH, and nutrients before selecting amendments.
- Clear weeds, rocks, and other hazards; contact utility services and wait for underground lines to be marked before digging.
- Loosen compacted soil gently, add finished compost, and apply only test-recommended amendments before planting.
Choose a Sunny, Well-Drained Garden Site
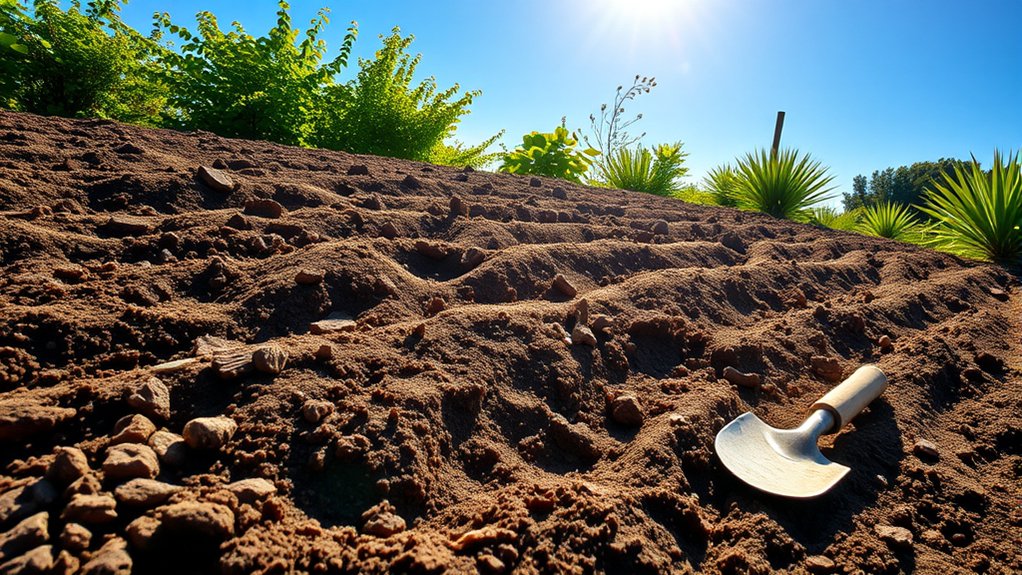
Before you prepare the soil, choose a site that gets at least six hours of direct sunlight each day and drains well after rain. A sunny location helps vegetables, herbs, and many flowers grow vigorously, so consider how much light reaches the area throughout the day. Avoid spots shaded by buildings, fences, or mature trees, since limited sun can weaken plants and reduce harvests.
Check the ground after a rainstorm. Water should soak in rather than linger in puddles, because soggy conditions can deprive roots of oxygen and encourage disease. Choose well drained soil whenever possible. If the site stays wet, consider another area before you begin preparing the land. Also notice whether the surface feels firm or spongy underfoot.
Think about how you’ll use the garden, too. Pick a place that’s easy to reach from your home, so you can tend plants regularly and bring in produce without hassle. A practical site makes gardening simpler from the start.
Check Sunlight, Slope, and Water Access

Check how sunlight moves across the garden, how the ground slopes, and where you can reach a water source. Track the area at several times of day, noting shade from trees, buildings, or fences. This sunlight assessment helps you confirm that your chosen spot gets the exposure your planned plants need.
If conditions vary across the plot, mark brighter and shadier zones so you can place crops accordingly.
Next, watch where rainwater flows after a storm. A gentle slope can guide runoff away, while a steep grade may cause erosion or make planting and maintenance difficult. Look for low spots where water collects, and consider whether you can redirect runoff safely.
Don’t assume the ground stays dry just because it looks level.
Check water accessibility before you commit to a layout. Make sure a hose or watering can reach every bed without awkward detours. If you’ll rely on a tap, confirm its location and plan paths that keep watering convenient.
A practical setup saves time and helps you care for plants consistently.
Test Your Garden Soil Before Digging

What’s beneath the surface can shape how well your garden grows. Before you dig, check your soil’s texture, structure, and nutrient levels. Take samples from several spots in the planned growing area, removing surface debris first.
Mix the samples in a clean container, then follow a home test kit’s directions or send the soil to a local lab. A lab report can reveal nutrient shortages and suggest amendments suited to your plants.
Use a probe or narrow spade to test soil depth and see how far roots can grow before they meet compacted earth, rubble, or a hardpan layer. If you find a barrier, note its depth; you may need to loosen or improve the soil.
Also test pH levels, since acidity or alkalinity affects nutrient availability. Compare your results with the needs of the crops you want to grow. Add only recommended amendments, and give them time to work before planting.
Mark Garden Beds and Paths
Once you’ve assessed your soil, mark out garden beds and paths so you can plan the layout before digging. Start with a simple sketch, noting the garden’s dimensions, sunlight, and nearby features.
Decide how much space you’ll need for each crop, then leave room to reach plants without stepping on growing areas.
Use stakes and string to mark beds in straight lines, or lay a garden hose on the ground to shape curved beds. Keep beds narrow enough that you can reach the center from either side.
To mark paths, account for wheelbarrows, carts, or other tools you’ll use; wider routes make moving supplies easier. Make sure your layout includes a clear route between beds and the garden entrance.
Use string, stakes, or temporary edging to define borders and check the shape from several angles. Walk through the planned paths and adjust any tight turns or awkward crossings.
A clear layout helps you use space efficiently and makes later planting easier.
Check for Buried Lines, Weeds, and Sod
Before you dig, find out whether buried utility lines run beneath your garden beds or paths. Contact your local utility locating service and wait for the marked lines before you break ground. Don’t assume you know where cables, pipes, or irrigation lines lie; a damaged line can cause serious injury, costly repairs, or service disruptions. Keep your planned digging within safe distances from the markings, following the locator’s guidance.
Next, assess the weeds and grass in each bed. Identify persistent weeds, especially those that spread through seeds or underground growth, and remove them before planting. Pull small weeds by hand or use an appropriate method for larger patches. Consistent weed control now can reduce competition for water and nutrients later. Avoid spreading weed seeds as you work, and dispose of removed plants responsibly.
For lawn areas, plan sod removal if you want clear planting space. Cut the sod into manageable strips, lift it carefully, and set it aside for reuse or composting if it’s healthy. Don’t bury it beneath new beds.
Remove Rocks and Manage Roots
With utility lines marked and unwanted growth cleared, remove rocks that could obstruct planting or damage tools, loosening the soil around them before lifting. Set aside small stones for paths or drainage, but discard sharp or oversized pieces safely. Don’t pry blindly near marked lines; use hand tools and check before digging deeper.
Next, manage roots left by shrubs or sod. Trace each root to its source, then cut manageable roots with clean loppers and pull them out gently. For larger roots, avoid damaging nearby trees or structures; consult an arborist if removal could destabilize a tree. Don’t leave woody fragments where they’ll interfere with beds or future planting.
As you clear roots, note where they cluster. This information can guide irrigation planning, helping you place lines away from persistent roots that may crowd or damage them. Remove remaining root fragments that could resprout, and dispose of invasive material carefully to support weed suppression. Keep the cleared area ready for the next preparation step.
Loosen Compacted Soil Without Over-Tilling
After clearing rocks and roots, check whether the soil is compacted by pressing a garden fork into it; if it resists, loosen the ground to improve air and water movement. Work only when the soil is slightly moist: wet earth smears, while dry earth can break into hard clods.
Check soil compaction with a garden fork, and work only when the earth is slightly moist—not wet or dry.
Your goal is soil aeration, not a finely tilled bed. Choose a gentle method that suits the area:
- Push a garden fork into the ground, rock it slightly, then lift without turning the soil over.
- Repeat across the bed, spacing each insertion several inches apart to loosen compacted patches evenly.
- For a larger plot, use a broadfork to open the soil while keeping its layers mostly in place.
Stop once roots can penetrate and water can drain. Repeated digging can damage soil structure and bring dormant weed seeds to the surface. If you encounter a stubborn patch, make a few careful passes rather than pulverizing the whole bed.
Your soil will stay more stable and easier to work.
Add Compost and Needed Soil Amendments
Once the soil is loosened, spread a layer of finished compost over the bed to add organic matter and support healthy growth. You can mix it gently into the top few inches, taking care not to disturb the soil more than necessary. Finished compost should smell earthy and look dark and crumbly; avoid material that’s still hot or contains recognizable scraps.
Before adding other soil amendments, test your soil to identify its pH and nutrient levels. Your results can help you choose amendments that address specific needs, such as lime for overly acidic soil or a suitable fertilizer for a nutrient deficiency. Don’t add products based on guesswork, since excess nutrients can harm plants and wash into waterways.
When choosing compost, consider its source and maturity. Well-rotted manure, leaf compost, and plant-based compost can all improve soil, but their nutrient content varies. Follow recommended rates, and apply materials early enough to incorporate them before planting. Keep records so you can adjust future applications based on plant growth and updated soil tests.
Shape Beds and Plan for Drainage
Shape beds to suit your plants and site, creating a level surface or a slight crown that lets excess water drain away. Your bed design should also make planting, weeding, and harvesting comfortable. Keep beds narrow enough for you to reach the center from either side, and leave clear paths between them.
Before shaping, observe where rain collects and how water moves across your yard. Good drainage planning helps prevent soggy roots and erosion without sending runoff toward your home or a neighbor’s property. Use these checks to guide your layout:
- Place beds away from low spots where water tends to pool.
- Follow the natural slope, or adjust the surface to direct water safely.
- Keep paths slightly lower than raised beds so they can carry excess water away.
Mark bed edges with stakes and string, then shape the soil with a rake or hoe. Check the surface from several angles, refining high and low areas until the layout supports healthy growth and easy access. Don’t create steep banks; gentle contours are easier to maintain.
Water the Beds to Settle the Soil
With the beds shaped and drainage planned, water the soil gently to help it settle into place. Use a slow, even watering technique so moisture reaches the surface without washing soil away or creating puddles. A hose with a gentle spray nozzle or a watering can works well. Move across each bed in steady passes, giving the water time to soak in.
Watch how the soil responds. If water runs off, pause and let it absorb before continuing. Add enough to moisten the upper several inches, but don’t saturate the bed. Excess water can compact soil, disrupt drainage, and leave roots short of air.
After watering, check for low spots or exposed clumps. Smooth the surface lightly with a rake, then water those areas again if needed. This soil settling step reveals uneven areas before planting and helps create a stable, level surface. Let the beds drain and dry slightly before sowing seeds or setting out transplants.
Frequently Asked Questions
When Is the Best Time of Year to Prepare Garden Land?
The best time to prepare garden land is usually early spring, once the soil has thawed and dried enough to work. Check soil moisture by squeezing a handful: if it crumbles, you can dig; if it clumps or feels soggy, wait to avoid compaction. In mild climates, you can also prepare beds in fall, giving amendments time to settle before planting. Choose the best season for your local climate and crops.
How Much Space Should I Leave Between Garden Beds?
Leave 2 to 3 feet between garden beds so you can pass comfortably, carry tools, and reach plants without stepping on the soil. Think of each path as a little bridge between green islands: make it wider—about 3 feet—if you’ll use a wheelbarrow. Keep beds narrow enough to reach the center from either side.
Clear paths also support efficient tilling techniques and let sunlight reach the ground, aiding soil warming.
What Tools Are Essential for Preparing a Garden Plot?
For soil preparation, you’ll need a sturdy spade or shovel, a garden fork, a hoe, and a rake. These essential tools help you loosen compacted ground, remove weeds and stones, break up clods, and level the plot.
Add a hand trowel for smaller tasks, plus gloves to protect your hands. A wheelbarrow makes it easier to move compost, mulch, and debris. Choose durable tools that feel comfortable to use.
Can I Prepare Land for a Garden Without Using Power Tools?
Yes, you can prepare land without power tools. Use a spade, garden fork, hoe, rake, and hand pruners to clear weeds, loosen soil, and shape beds. For “can i prepare land” by hand, work when soil is moist, not soggy.
“When is the best time of year to prepare garden land?” Usually, prepare several weeks before planting. Leave 2–3 feet between beds. “How long should i wait before planting after preparing the land?” About one to two weeks.
How Long Should I Wait Before Planting After Preparing the Land?
You can plant as soon as your prepared soil is workable, moist but not soggy, and free of fresh amendments that need to settle. Your planting wait time depends on what you added: wait several weeks after fresh manure, but usually only days after compost.
The best time of year depends on your crop and local frost dates. During garden preparation, plan space between beds and bed spacing; essential tools, prep tools, and non powered manual tools can help you prepare soil.
Conclusion
With your site chosen, soil tested, beds shaped, and drainage planned, you’ve laid the groundwork for a thriving garden. Take one last look for buried lines, weeds, and compacted spots before planting, and water your beds to help the soil settle.
Your careful preparation is like setting the stage for a great performance: it gives every seed a better chance to shine. Keep an eye on moisture and soil health, and you’ll be ready to grow with confidence. These essential steps to prepare land for your garden will help your plants thrive.