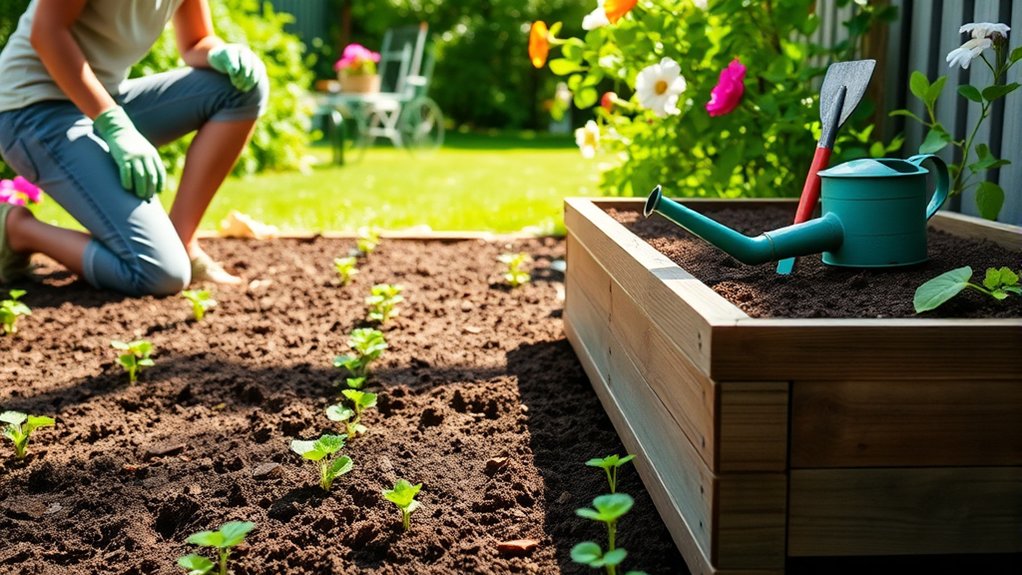
How to Start a Backyard Garden in 7 Easy Steps
Starting a backyard garden can feel overwhelming when you’re not sure what to plant, where to put it, or how to keep it thriving. You’re not alone—many new gardeners face the same challenges. These simple steps can help you get started and make the most of your space.
Start your backyard garden in seven easy steps. First, choose vegetables, herbs, and flowers you enjoy. Second, check your growing zone and frost dates to time planting. Third, find a spot with at least six hours of sun. Fourth, choose a layout that fits your space, using compact crops or trellises if needed. Fifth, loosen soil and add compost. Sixth, plant seeds or seedlings at the recommended depth and spacing. Seventh, water deeply, mulch, and harvest regularly; simple tips can help your garden thrive.
Key Takeaways
- Choose vegetables, herbs, and flowers you enjoy, matching crops to your space, available time, and growing season.
- Check your growing zone and frost dates, then choose suitable seeds or beginner-friendly plants.
- Select a sunny, well-drained site; test the soil and improve it with compost or organic matter.
- Prepare the soil gently, then plant seeds or transplants at the recommended depth and spacing.
- Water deeply at soil level, mulch around plants, and harvest crops regularly when they reach the right size.
Choose What to Grow in Your Backyard Garden
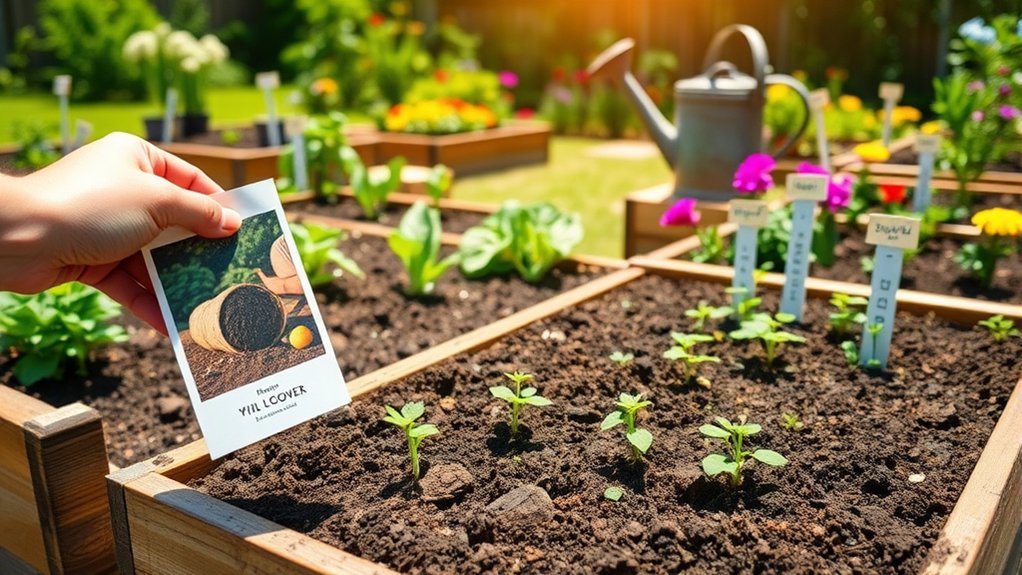
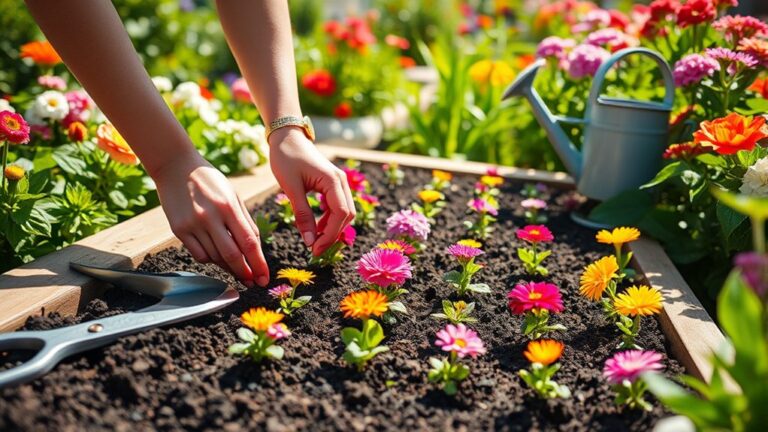
What should you grow in your backyard garden? Start with foods you enjoy eating and can use regularly. If you love salads, consider lettuce, tomatoes, and cucumbers. For fresh herbs, try basil, parsley, or mint in containers. Your preferences will make tending the garden more rewarding and help prevent unused harvests.
Next, assess your space, sunlight, and available time. Choose compact varieties if your yard is small, or grow vertically with trellises. Check plant labels to match crops with your garden’s conditions, and favor easy-care options if you’re new to gardening. A mix of vegetables, herbs, and flowers can support pollinators and add variety.
Thoughtful seed selection matters: choose reliable varieties suited to your region and growing conditions. Consider disease resistance and mature plant size before buying. Also plan for pest management by selecting crops less prone to common local pests and leaving room to inspect plants. Start with a manageable number of crops; you can expand your choices as you gain confidence and learn what thrives in your backyard.
Decide When to Plant Each Crop
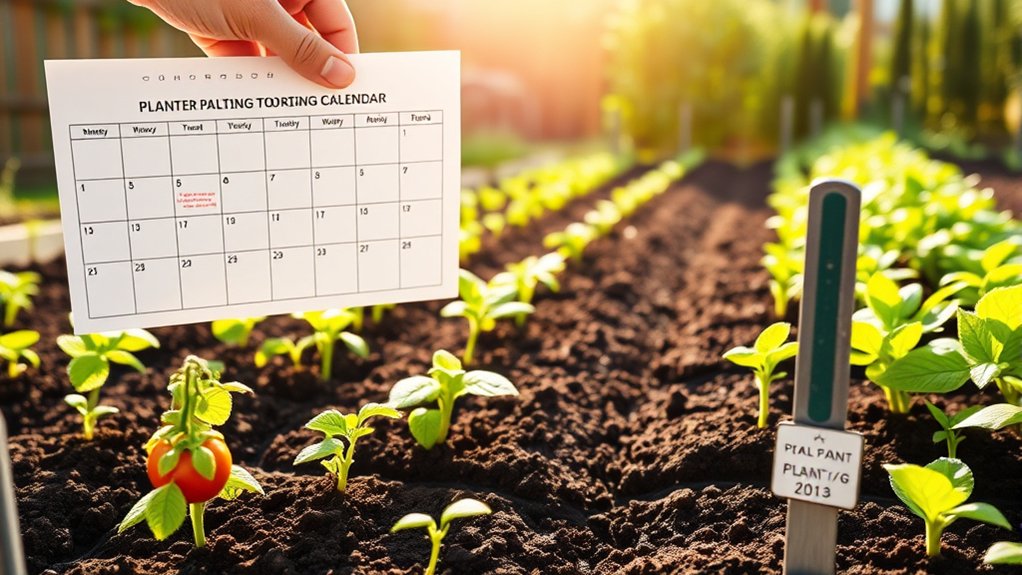
Check your growing zone to see which crops thrive in your climate. Then use your last and first frost dates to find safe planting times. Finally, match each crop to the season when it grows best.
Know Your Growing Zone
Your growing zone helps you choose when to plant each crop. Find your location’s zone using a current plant hardiness map, then use it as a guide to which perennials can survive your winters. Remember, the zone doesn’t tell you everything about your garden’s conditions, but it offers a useful starting point.
For annual vegetables, check each seed packet or plant label for the recommended planting season and suitable growing conditions. Compare those needs with your region’s typical climate to assess climate readiness and zone compatibility. A crop suited to your area is more likely to grow well, though your yard’s sun, soil, and exposure also matter.
Use local gardening resources to refine your choices. Choose varieties adapted to your region, and keep notes on how they perform. This helps you make better planting decisions each season.
Check Frost Dates
Knowing your area’s average last spring frost and first fall frost helps you decide when to plant each crop. Find these dates through your local extension service, nearby weather station, or a reliable gardening resource. Treat them as estimates, not guarantees: weather can shift from year to year, and cold pockets in your yard may experience frost earlier than nearby areas.
Use frost date planning to set a safe planting window for each crop, checking seed packets or plant labels for guidance on timing. Keep a calendar so you can track dates and adjust your schedule as forecasts change.
If you plant before the last expected spring frost, prepare spring frost protection, such as row covers or cloches. Check local forecasts regularly, and cover vulnerable plants when a late cold snap threatens. Remove covers during the day when temperatures rise.
Match Crops to Seasons
Once you’ve noted your frost dates, match each crop to the conditions it prefers. Cool-season crops, such as lettuce, peas, and spinach, thrive in spring and fall. Plant them when the soil is workable and temperatures stay mild.
Warm-season crops, including tomatoes, peppers, and beans, need warmer soil and should go outside after your last frost date. Check seed packets for planting depth, spacing, and days to maturity so you can time harvests before extreme heat or cold.
For a steady supply, sow quick-growing crops in small batches every few weeks. Use crop rotation to avoid planting the same crop family in one spot year after year, which helps protect soil health.
Plan companion planting, too: pair compatible crops to make efficient use of space and support growth. Keep a simple calendar, and adjust your schedule to local weather.
Choose a Sunny Garden Spot
Choose a sunny spot for your garden, since most vegetables and herbs need at least six hours of direct sunlight each day. Watch your yard throughout the day to see where sunlight falls and how long it lasts.
Morning light is gentle, while strong afternoon sun can dry soil quickly. For effective sunlight planning, note any seasonal changes, too: nearby trees may cast longer shadows as they grow, and the sun’s path shifts over the year.
Pay attention to shade considerations before you settle on a spot. Buildings, fences, trees, and sheds can block light, even when an area looks bright at first. Check the site at different times, and look for places that stay sunny through the afternoon.
If your yard has limited sunshine, choose crops that tolerate partial shade, such as leafy greens. Avoid damp, low areas where water collects after rain; excess moisture can encourage root problems.
A sunny, well-drained location gives your plants a stronger start and helps you enjoy healthier growth.
Pick a Layout for Your Backyard Garden
After finding a sunny, well-drained spot, pick a garden layout that fits your space and makes it easy to reach every plant. Good layout planning starts with measuring your available area and noting paths, fences, and nearby structures.
Choose a shape that suits your yard and gardening style. Thoughtful space utilization helps you grow more without crowding plants.
| Layout | Best for |
|---|---|
| Rows | Larger yards and easy access |
| Raised beds | Compact spaces and defined plots |
| Containers | Patios, balconies, and flexible placement |
For rows, leave room between beds so you can walk through comfortably. Raised beds create clear boundaries, while containers let you rearrange your garden as needed.
Keep beds narrow enough to reach the center from either side, and place taller plants where they won’t shade shorter ones. Sketch your plan on paper before you mark the ground.
Include paths wide enough for your tools and a watering can. A simple, accessible arrangement makes planting, tending, and harvesting easier throughout the season.
Don’t pack every corner; leave space to move freely.
Prepare the Soil for Planting
Test your soil before planting to find out what it needs. Then, add compost or other organic matter to improve its texture and nutrients. Finally, loosen the ground so roots can grow easily.
Test Your Soil
Before you plant, find out what your soil needs. A simple soil test can reveal pH and soil nutrients, helping you choose suitable plants and correct imbalances. You can use several testing methods, from a home kit to a laboratory analysis.
| Method | What it checks | Best for |
|---|---|---|
| Home kit | pH, basic nutrients | Quick results |
| Lab test | pH, nutrients, texture | Detailed guidance |
| pH meter | Soil acidity | Frequent checks |
Collect samples from several spots in your garden, avoiding compost piles or recently fertilized areas. Remove surface debris, mix the samples, and follow your kit’s instructions, or send the sample to a local extension lab.
Test again every few years, or when plants struggle. Use the results to decide what your soil needs before planting.
Add Organic Matter
Organic matter improves soil structure, boosts moisture retention, and feeds beneficial organisms. After testing your soil, use the results to choose what it needs. Add finished organic compost to enrich nutrient-poor soil and support steady plant growth.
If your test shows a specific deficiency, select a soil amendment suited to that issue, such as aged manure or leaf mold. Follow package directions for purchased products, since too much can harm plants or upset nutrient balance.
Spread a layer of compost or your chosen amendment over the garden bed. Use a consistent amount across the area, adjusting it to your soil test and product guidance.
Keep fresh manure and unfinished compost out of planting beds; they can damage roots or introduce unwanted materials. Organic additions work gradually, so plan ahead when possible. Once you’ve added the right materials, your soil will be better prepared for planting.
Loosen the Ground
With organic matter in place, loosen the soil to create space for roots and help water move through the bed. Choose a garden fork or broadfork for compacted ground, and work when the soil is slightly moist—not soggy or bone-dry.
Push the tool down, then gently rock it back to lift and crack the earth. Repeat across the bed, spacing each insertion several inches apart. This method improves soil aeration while preserving more soil structure than aggressive digging.
If you’re preparing a small area, use a hand cultivator to loosen ground near the surface. Avoid turning the soil deeply; that can disturb helpful organisms and bring weed seeds upward.
Remove large stones and break apart stubborn clumps by hand. Stop when the soil feels crumbly and easy to work, ready for planting.
Plant Seeds or Seedlings at the Right Depth
Planting at the right depth gives seeds the conditions they need to sprout and helps seedlings establish strong roots. Check each seed packet for its recommended seed depth, since requirements vary by plant. As a general guide, sow a seed about twice as deep as it’s wide.
Sow seeds at the depth recommended on the packet; a useful rule of thumb is twice as deep as the seed is wide.
Tiny seeds often need light to germinate, so press them onto the soil surface instead of covering them. Make a shallow furrow or individual holes, then place seeds carefully and cover them with loose soil.
When you transplant seedlings, dig a hole deep enough to hold the root ball. Set most plants at the same depth they grew in their containers. Tomatoes are an exception: you can bury part of the stem to encourage extra roots.
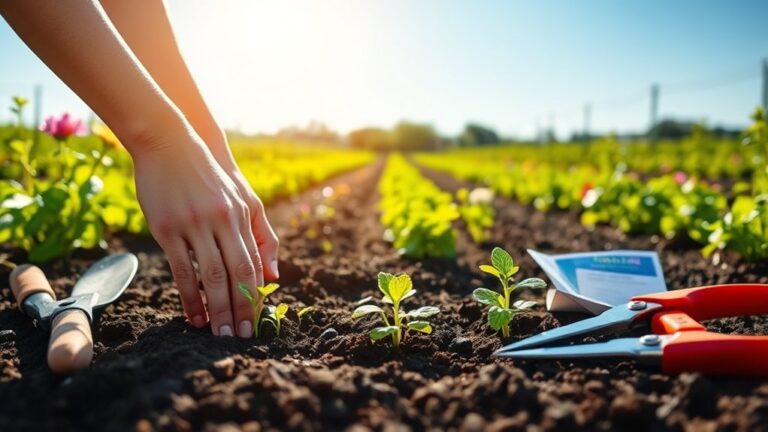
Follow the label’s guidance for seedling spacing, leaving enough room for mature plants to grow without crowding. Handle stems gently, support each root ball, and firm the soil lightly around the base. Check plant tags for special planting directions before you begin.
Water, Mulch, and Harvest Your Garden
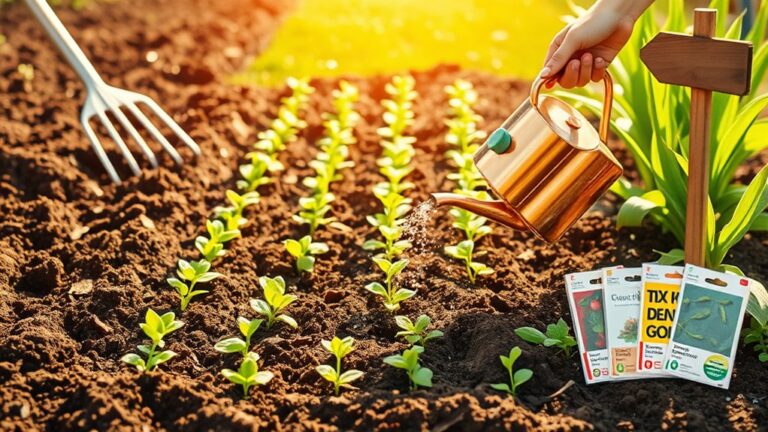
Once your garden is planted, water it deeply to help roots settle and grow. Aim the hose or watering can at the soil, not the leaves, to reduce disease. Check moisture by pressing a finger into the ground; water when the top inch feels dry. Adjust water usage for rainfall, heat, and your plants’ needs. Early morning watering limits evaporation and gives foliage time to dry.
Spread a two- to three-inch layer of organic mulch around plants, keeping it away from stems. Mulch holds moisture, suppresses weeds, and moderates soil temperature. Choose a mulch color that suits your garden, but prioritize clean, untreated materials such as straw, shredded leaves, or wood chips. Replenish the layer as it breaks down.
Harvest crops when they reach their ideal size and ripeness. Pick leafy greens regularly to encourage new growth, and use clean scissors for tender stems. Check plants often, since ripe produce can attract pests or spoil quickly. Enjoy your harvest fresh, and compost healthy scraps to enrich the soil for the next planting.
Frequently Asked Questions
Do I Need a Permit to Start a Backyard Garden?
You usually don’t need a permit to plant a small backyard garden, but local rules vary. Check your city or county’s permit requirements and zoning considerations before building raised beds, greenhouses, fences, or irrigation systems.
Homeowners’ associations may also set restrictions. You’ll generally need approval for structures or major plumbing, not ordinary planting. Ask your local planning office to confirm.
Then plan your garden, including pest deterrents and tool budgeting, within any applicable limits.
How Can I Keep Pets Out of My Garden?
Keep pets out of your garden by combining barriers, training, and deterrents. Install sturdy fences with no gaps, and bury the bottom edge to stop dogs from digging underneath.
For cats, cover bare soil with mesh, prickly branches, or mulch they dislike. You can also use raised beds or motion-activated sprinklers.
Give pets a nearby play area, reward them for staying out, and avoid harmful chemicals or plants that could injure them.
What Tools Should a Beginner Gardener Buy?
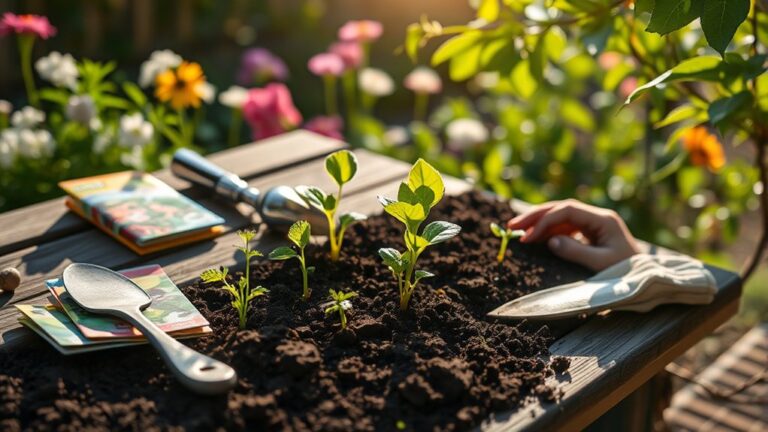
Your first garden doesn’t need a toolbox worthy of a castle; a few trusty tools will do. Start with newbie tools: a hand trowel, sturdy gloves, pruning shears, and a watering can or hose with a gentle nozzle. Add a digging fork if you’ll work compacted soil. Choose budget gear that feels comfortable and won’t bend easily. You can borrow or buy secondhand, then add tools as your garden grows.
How Can I Garden on a Tight Budget?
You can garden on a tight budget by starting small, reusing containers, and growing plants from seeds instead of buying mature seedlings. Choose budget friendly supplies, such as homemade compost, rainwater, and shared or borrowed tools. Focus on low cost crops like lettuce, beans, radishes, and herbs, which grow quickly and provide useful harvests. Save seeds from suitable plants, swap extras with neighbors, and expand your garden gradually as your confidence and savings grow.
How Do I Prevent Pests Without Using Chemicals?
Protect your garden by making it a welcoming home for helpful allies. Use companion planting: grow herbs and flowers such as basil, marigolds, or nasturtiums near vegetables to confuse pests and attract beneficial insects. Encourage natural predators, including ladybugs and birds, by providing water and shelter. Check leaves regularly, remove pests by hand, and cover vulnerable plants with lightweight row covers. Healthy soil and diverse plantings also help your garden resist damage.
Conclusion
Starting a backyard garden doesn’t require perfect soil, a huge yard, or a green thumb. The idea that you must follow every gardening rule exactly isn’t true: local conditions vary, and a little experimentation teaches you what works.
Choose suitable crops, plant them at the right time, give them sunlight, and care for the soil. Then water consistently, mulch, and harvest as needed.
Start small, observe your plants, and adjust next season. You’ll build confidence with every harvest, one step at a time, as you start a backyard garden.