How to Build an Arbor Arch in 3 Simple Steps
Planning an arbor arch can feel overwhelming when you’re trying to find a design that suits your space and materials that can handle the weather. You’re not alone—many people struggle to balance style, stability, and the needs of climbing plants. These arbor arch ideas and tips can help you choose the right option and build with confidence.
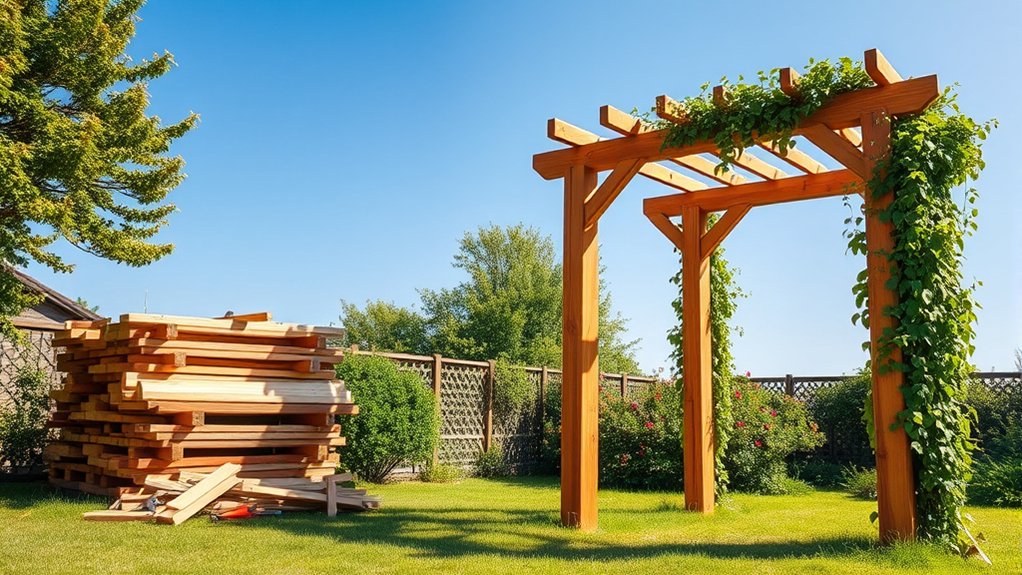
To build an arbor arch in three simple steps, first measure the opening, walk-through space, and plant growth, then choose a design and weather-suited materials such as cedar, metal, or vinyl. Next, assemble the frame on a level surface, check its alignment, and anchor it securely in well-drained soil, following local utility and depth guidance. Finally, attach the top, smooth and seal surfaces, then plant suitable climbers and guide stems with soft ties. Keep going for helpful planning and care tips.
Key Takeaways
- Measure the opening, walkway clearance, and plant space; choose cedar, treated lumber, metal, or vinyl for your climate and budget.
- Sketch the arbor dimensions and design, then make a materials list before shopping.
- Assemble the side supports and frame on a level surface. Use suitable fasteners, check corners with a square, and measure diagonals.
- Attach evenly spaced top slats, smooth rough edges, and apply a material-appropriate exterior finish, following product instructions.
- Set the arbor on firm, well-drained ground. Check for buried utilities, anchor supports securely, then guide suitable climbing plants as they grow.
Choose Dimensions and Materials for Your Arbor Arch
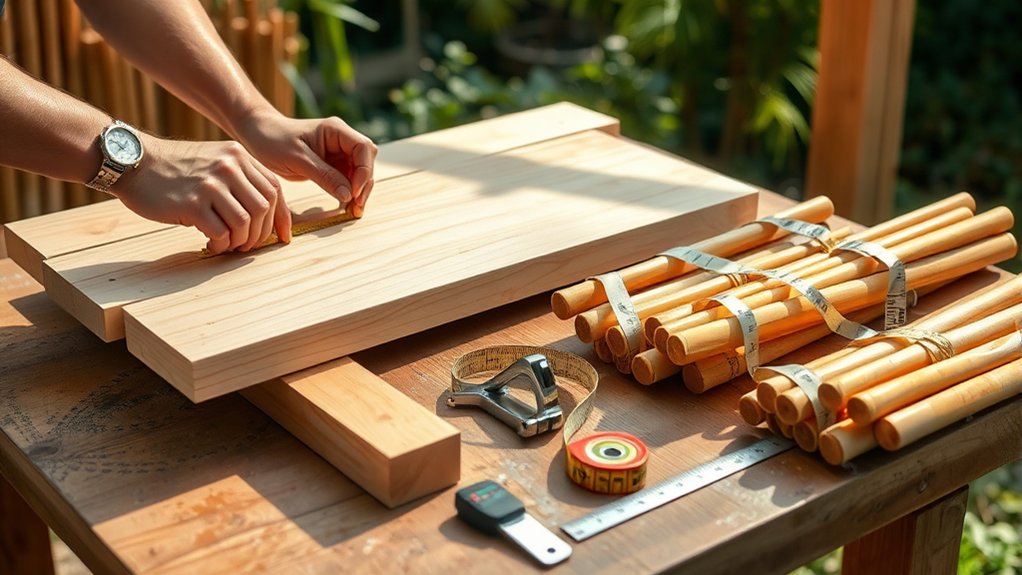
Start by measuring the space where you plan to place your arbor arch. Check the opening’s width and height, then leave enough room for people to walk through comfortably and for nearby plants to grow. Consider the path, seating, or garden feature you want the arch to frame. These measurements will guide your material choices and help the structure suit your yard.
Next, compare materials such as cedar, pressure-treated lumber, metal, or vinyl. Wood offers a natural look, while metal can create a slimmer profile; vinyl needs little upkeep. Weigh durability, maintenance, and budget considerations before you buy. Your local climate matters, too: choose materials that can handle moisture, sun, and seasonal temperature changes.
Explore ideas about design trends, but let your own gardening aesthetics lead. Match the arch’s shape and finish to your home and landscape, and choose a size that won’t overwhelm the space. Sketch your dimensions and make a materials list before shopping. Keep this planning focused on selection, not assembly or anchoring.
Assemble and Anchor Your Arbor Arch Frame
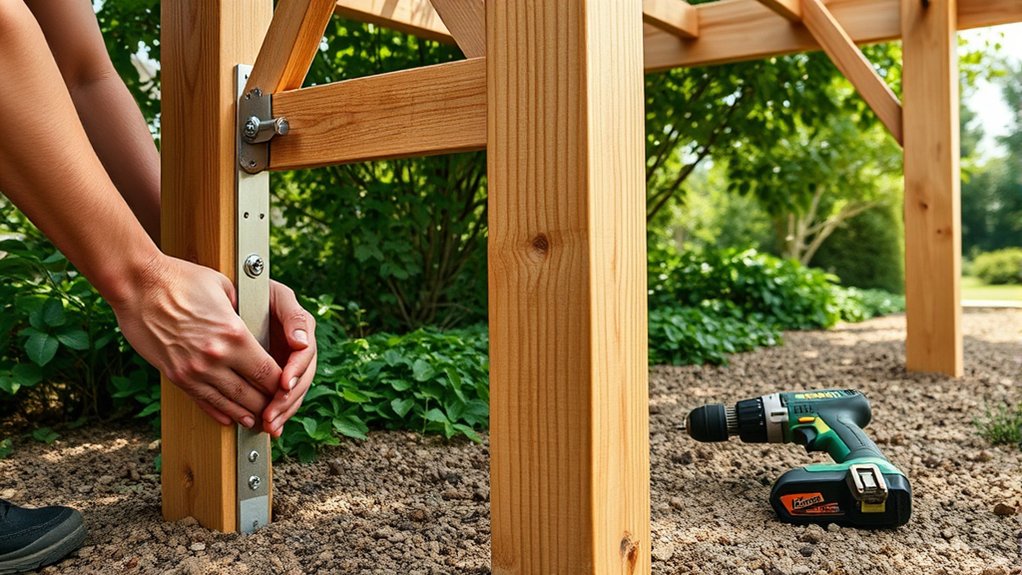
With your dimensions and materials chosen, assemble the frame on a level surface, following the plan and using fasteners suited to the material. Lay out the side supports and crosspieces, then check each joint for a snug fit. Pre-drill holes in wood to help prevent splitting, and tighten bolts or screws without overtightening. Use a square to keep corners aligned, and measure diagonals to confirm the frame isn’t twisted.
Choose a spot with firm, well-drained soil. Mark the support locations, then dig holes deep enough to anchor the frame securely. Check local guidance for depth and buried utilities before digging. Set the supports in place, keep them plumb with a level, and brace them temporarily. Backfill soil in layers, tamping each layer firmly. For added stability, use concrete where appropriate, following its instructions and allowing it to cure before removing braces. Keep organic compost away from the support bases, where excess moisture can encourage decay. Apply weatherproof sealant to exposed wood, following the product label.
Attach the Top, Finish, and Guide Climbing Plants
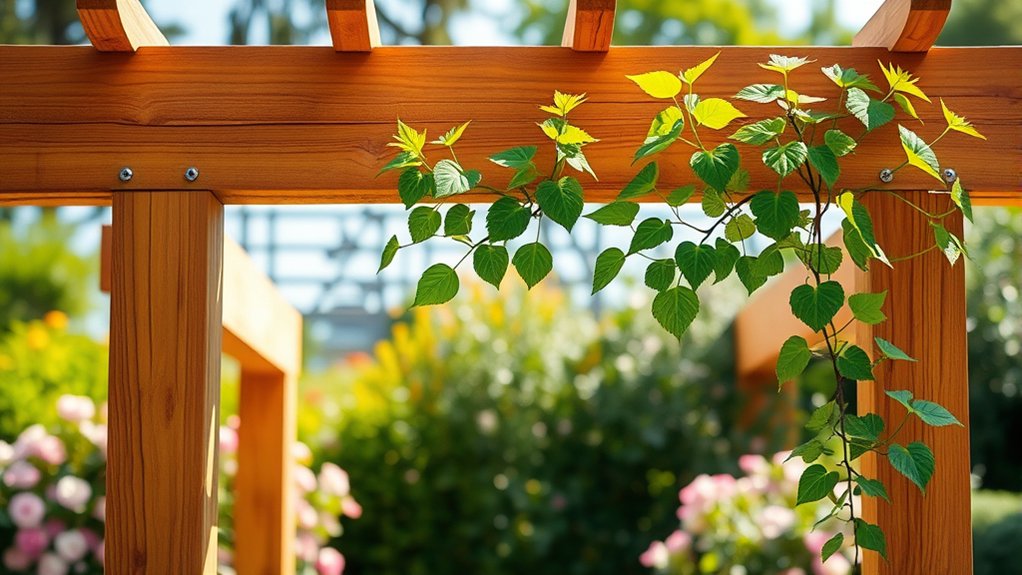
Once the frame is secure, attach the top crosspieces or slats, spacing them evenly and fastening each one firmly to the side supports. Check that the overhang is balanced and the fasteners sit flush, so you won’t snag clothing or damage plants later. If your arbor includes a prefabricated top, follow the manufacturer’s instructions and review the warranty terms before drilling or altering parts.
Smooth rough edges with sandpaper, then apply an exterior-rated stain, paint, or sealant suited to your material. Let the finish dry completely before adding plants, and keep coatings away from soil and foliage.
Choose climbing plants suited to your climate, sunlight, and available space. Plant them near the supports, then loosely tie young stems to the frame with soft garden ties. Guide growth across the top as it develops, loosening ties when needed. Prune regularly to maintain airflow, protect the structure, and address privacy concerns without blocking pathways or neighboring views.
Frequently Asked Questions
Do I Need a Permit to Build an Arbor Arch?
You may need a permit to build an arbor arch, depending on your local rules. Check with your city or county building department before construction; requirements can vary by location, height, size, placement, and whether you attach the structure to your home.
Ask about zoning, property-line setbacks, and utility restrictions, too. Include permitting considerations and material selection in your plans, since some jurisdictions regulate construction methods or approved materials. Don’t assume a small arch is exempt.
Where Should I Place an Arbor Arch in My Yard?
Place your arbor arch where it’ll make your yard feel a thousand times more magical: at an entrance, along a garden path, or as a focal point framing a view. For your first placement, choose level ground with enough clearance for people and equipment.
Check shade considerations throughout the day, and position climbing plants where they’ll get suitable sunlight. Consider weather protection, too: avoid exposed spots with strong winds, and anchor the arch securely for stability.
Which Climbing Plants Grow Best on an Arbor Arch?
Choose climbing plants that suit your climate, sunlight, and the arbor’s strength. Roses, clematis, honeysuckle, and jasmine can all thrive on arches, while wisteria needs a very sturdy structure because its woody stems grow heavy.
Match your climbing plant preferences to the site: check mature size, bloom season, fragrance, and maintenance needs. For trellis selection, consider the plant’s tendrils or twining habit, and provide supports that let stems climb securely without overcrowding the arch.
How Can I Protect an Arbor Arch From Harsh Weather?
Protect your arbor arch by sealing it, anchoring it securely, and checking it before storms arrive. Coincidentally, the same weekend you notice fading paint may bring the season’s first strong winds, so act early.
Apply weather-resistant protective coatings suited to your arch’s material, and renew them as directed. Tighten fasteners, secure the feet to stable ground, and improve wind resistance by pruning dense climbing growth. After severe weather, inspect for cracks, rust, or loose joints.
How Much Does It Typically Cost to Build an Arbor Arch?
You’ll typically spend $200–$1,000 to build an arbor arch, depending on its size, design, and materials. A basic DIY wood or PVC structure may cost $100–$400, while premium hardwood, metal, or custom work can exceed $1,500.
For effective arbor arch budgeting, price posts, fasteners, finishes, and tools, not just the frame. Compare local suppliers, reclaimed lumber, and seasonal sales to lower costs without sacrificing durability.
Conclusion
Your arbor arch is more than a garden structure—it’s a doorway to what comes next. You’ve chosen its proportions, anchored its frame, and finished the top; now give climbing plants a path to follow. As they wind upward, they’ll turn your sturdy work into a living passage.
Keep guiding their growth, and your arbor arch will reward you with shade, color, and a welcoming entrance. Step beneath it, and enjoy the garden you’ve helped flourish.