Garden Know How €“ 10 Essential Tips for Beginners
Starting a garden can feel overwhelming when you’re unsure what to plant, how much to water, or where to begin. You’re not alone—many beginners struggle with the basics. These garden know-how tips can help you build confidence and enjoy a thriving garden.
To start a thriving garden, choose a spot with at least six hours of direct sun and easy access to water. Pick a few hardy plants, such as basil, lettuce, or marigolds, and check their labels for light, spacing, and care needs.
Test and prepare your soil, then plant at the recommended time and depth. Water when the soil feels dry an inch down, mulch to retain moisture, and watch for pests or plant problems. A few simple habits can help your garden flourish.
Key Takeaways
- Choose a garden spot with at least six hours of direct sunlight, suitable for your plants and close to water.
- Start small with hardy plants such as basil, mint, lettuce, or marigolds, and check labels for growing requirements.
- Check frost dates and seed-packet instructions; plant at the recommended time and depth.
- Prepare loose, well-draining soil, space plants for mature size, and water gently at the soil level.
- Check soil before watering, mulch to retain moisture and suppress weeds, and feed only when plants need nutrients.
Choose a Garden Spot With Enough Sun
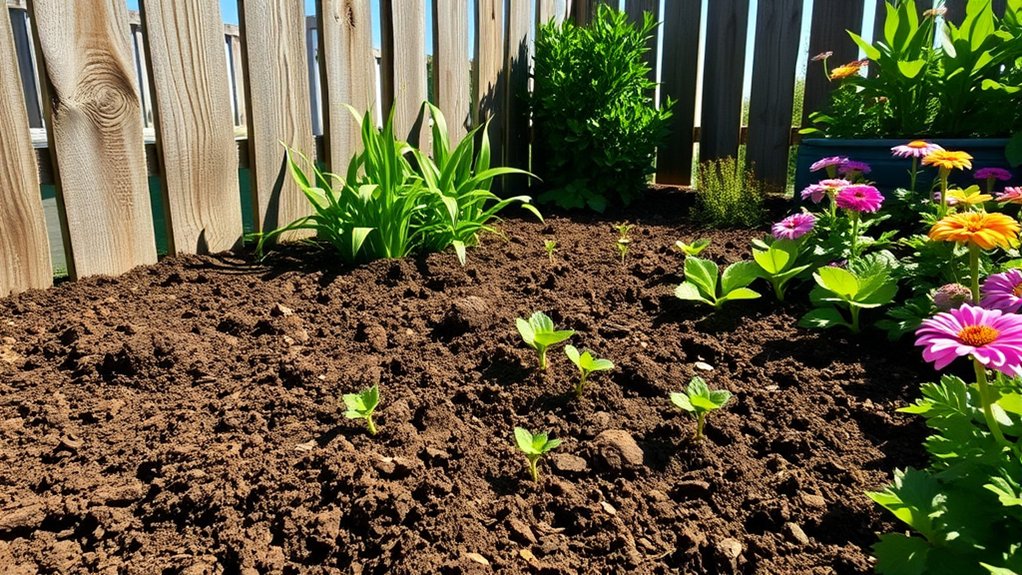
Before you plant, watch how sunlight moves across your yard. Check the area in the morning, midday, and late afternoon, because nearby trees, fences, and buildings can cast changing shadows.
This simple survey helps you understand the site’s sun exposure before you commit to a garden bed.
Most vegetables and many flowering plants need at least six hours of direct sunlight each day. If your chosen spot gets less, don’t assume it won’t work; compare the light conditions with the needs of the plants you’re considering.
Some crops grow well with partial sun, while others produce poorly without strong, steady light.
Notice how much shade falls across the space, and consider shade tolerance when matching plants to the location. You can also track sunlight on a simple sketch, marking where shadows land at different times.
Choose a spot that offers suitable light and convenient access to water, so you can care for your garden without fighting the conditions.
Start With Easy Plants for Beginners

Choose hardy plants that can handle a few beginner mistakes. Easy herbs like basil and mint are great for quick wins. Want a head start? Plant seedlings instead of starting from seed.
Choose Hardy Varieties
What if your first garden were filled with plants that forgive beginner mistakes? Choose hardy, resilient varieties that can handle changing weather, imperfect watering, and occasional neglect.
When you select Low maintenance cultivars, you’ll spend less time troubleshooting and more time enjoying steady growth. Check plant labels for your region’s climate, sunlight needs, and resistance to common pests or diseases. Start with a few dependable choices rather than filling every bed at once.
| Hardy choice | What you’ll feel |
|---|---|
| Weather-tolerant plants | Relief when seasons shift |
| Disease-resistant varieties | Confidence after setbacks |
| Drought-tolerant picks | Less worry on busy days |
| Adaptable perennials | Joy as they return |
Give each plant suitable light and soil, then observe how it responds. Even tough plants need basic care, but they’re more forgiving as you learn.
A resilient garden helps your confidence take root, too.
Grow Easy Herbs
Once you’ve picked resilient plants, try growing easy herbs like basil, mint, or chives. These forgiving choices help you build confidence while adding fresh flavor to everyday meals.
Pick a sunny spot where you can reach your plants easily, and use pots if your garden space is limited. Make sure each container has drainage holes so excess water can escape.
Check the soil before watering; if the top feels dry, give your herbs a drink. Don’t keep the soil soggy, since too much water can harm roots.
Snip a few leaves regularly to encourage fuller growth, but leave enough foliage for the plant to thrive. Keep labels nearby if you’re growing several varieties.
These beginner tips make herb care simple, and you’ll soon enjoy fresh, homegrown flavor.
Start With Seedlings
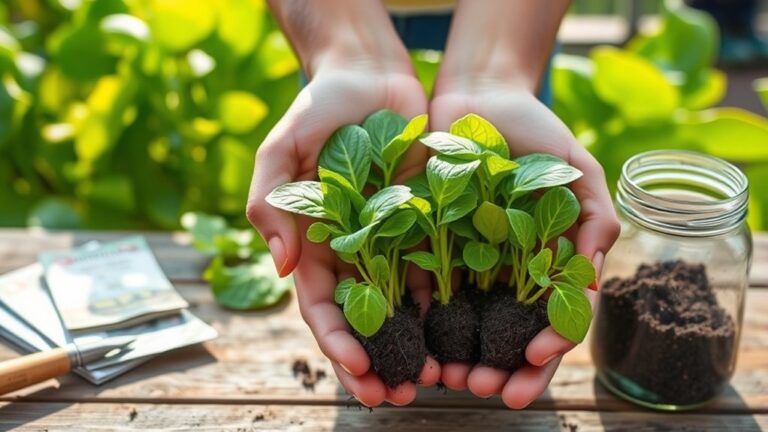
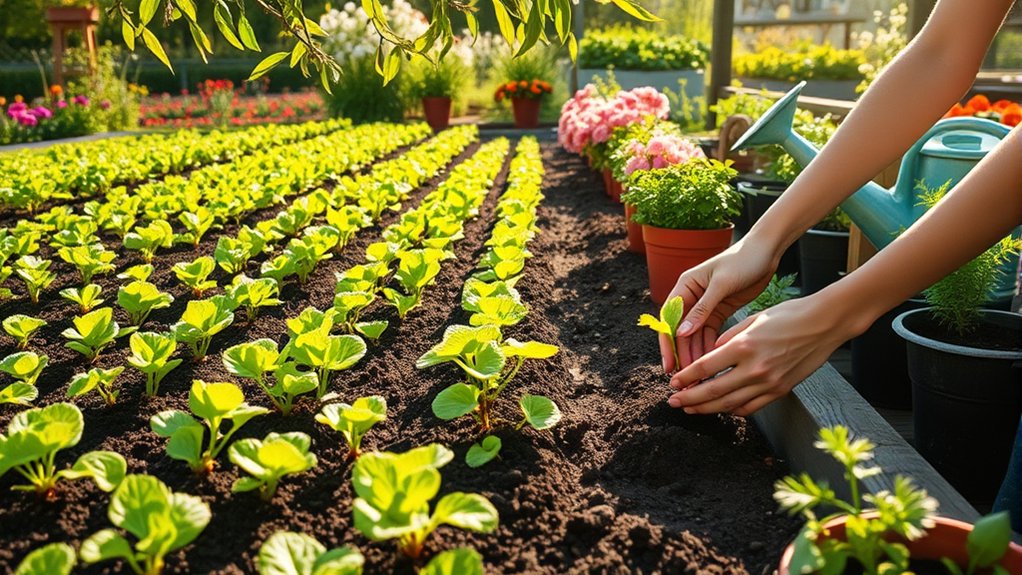
Starting with seedlings gives you a head start and makes gardening feel more manageable. Choose sturdy, beginner-friendly plants such as tomatoes, lettuce, basil, or marigolds. Look for compact seedlings with healthy green leaves and no signs of pests or wilting. Avoid plants with tangled roots or flowers already open; they may struggle after transplanting.
Before planting, check each plant’s label for sunlight, watering, and spacing needs. Prepare loose, well-draining soil, and mix in compost if your garden bed needs more nutrients.
Set seedlings at the same depth they grew in their pots, then water gently to settle the soil. Follow recommended seedling spacing so plants have room to grow and good airflow.
If you’re using containers, fill them with a quality starter soil mix and choose pots with drainage holes. Keep young plants moist while their roots establish.
Test Your Garden Soil Before Planting

Before you plant, test your garden soil to learn what it needs to support healthy growth. Soil testing helps you understand your garden’s conditions before you choose plants or make changes.
A simple home kit can give you a quick reading, while a laboratory test often provides more detailed results. Check the instructions carefully so you collect a useful sample.
Pay attention to these key findings:
- pH: This shows whether your soil is acidic or alkaline, which affects how well plants absorb nutrients.
- Nutrients: Look for levels of nitrogen, phosphorus, and potassium to assess nutrient balance.
- Soil type: A test may identify texture or organic matter, helping you select plants suited to your site.
Compare your results with the needs of the plants you want to grow. If anything seems unclear, ask your local extension service or garden center to explain the report.
Keep a copy of your results; you can use it to track changes and make informed choices in future seasons. Don’t guess when test results can guide you.
Prepare Soil for Garden Beds and Pots
Check your soil’s texture to see whether it needs improvement. If it does, add organic matter to improve its structure and add nutrients. Also, make sure your beds and pots drain well so roots don’t sit in water.
Test Soil Texture
How well your garden soil drains depends largely on its texture. Before preparing garden beds or pots, check whether your soil contains mostly sand, silt, or clay. These particles affect drainage, water retention, and how easily roots grow. You can use simple testing methods to identify the mix without special tools.
- Feel test: Rub a moist pinch between your fingers. Grit suggests sand; smoothness suggests silt; sticky, moldable soil often contains clay.
- Jar test: Add soil and water to a clear jar, shake well, then let it settle. Sand sinks first, followed by silt and clay.
- Squeeze test: Form a damp handful into a ball. Soil that crumbles easily is sandier; a firm ball points to more clay.
Record your results so you can choose suitable plants and plan your next preparation steps.
Add Organic Matter
Once you know your soil’s texture, add organic matter to improve its structure and support healthy plant growth. Mix finished compost into garden beds before planting, working it gently through the upper few inches of soil.
For pots, blend compost with a suitable potting mix rather than using garden soil alone. Start with a modest amount; too much can upset nutrient balance or make a mix unsuitable for your plants.
You can use homemade compost from leaves, vegetable scraps, and other plant materials, following safe organic composting practices. Well-aged compost adds nutrients gradually and feeds soil biology, including helpful organisms that support roots.
Replenish organic matter as it breaks down, especially before each growing season. Match amendments to your plants’ needs, and avoid fresh manure, which may harm roots or contaminate crops.
Ensure Proper Drainage
Good drainage lets excess water escape while keeping enough moisture for roots. Before planting, check how quickly water drains from your garden bed. Dig a small hole, fill it with water, and watch how long it takes to empty.
If water lingers, improve soil aeration by loosening compacted ground and mixing in compost. For containers, choose pots with open drainage holes and use a potting mix suited to your plants. Don’t add gravel to the bottom; it can trap water above the layer.
Plan your drainage design around your site’s slope and soil:
- Raise beds in low spots to help water flow away.
- Blend organic matter into heavy clay to improve structure.
- Set pots on feet so water can escape freely.
Check beds and containers after rain, then adjust if water pools or soil dries too quickly.
Plant at the Right Time and Depth
Plant seeds and seedlings at the right time and depth to give them the best chance to thrive. Check each plant’s label or seed packet for timing considerations, including your region’s last frost date and the crop’s preferred growing season.
Cool-season vegetables can often go in early, while heat-loving plants need warmer soil and settled weather. If you start seeds indoors, follow the recommended schedule so seedlings won’t become leggy before transplanting.
Use depth guidelines for each variety rather than planting everything alike. A seed planted too deeply may struggle to reach the surface; one planted too shallowly can dry out or fail to anchor.
As a simple rule, sow most seeds about twice as deep as their width, but follow package directions when they differ. Set seedlings at the same soil level they grew in, unless instructions say otherwise.
Space plants according to their mature size, and gently firm soil around roots to remove large air pockets. Label rows so you can identify what’s growing.
Water Garden Plants Without Overwatering
How often should you water your garden? Check the soil before reaching for the hose. Push a finger about an inch into the ground; if it feels dry, water slowly at the base of your plants. If it’s damp, wait and check again later. This simple habit helps you avoid overwatering and supports strong root health.
Check the soil an inch down before watering; dry soil needs a slow soak, while damp soil can wait.
Your plants’ needs change with weather, soil, and growth. Use these cues to shape watering schedules rather than following a rigid routine:
- Water in the morning, when plants can absorb moisture before daytime heat.
- Give soil a thorough soak, then let the surface begin to dry before watering again.
- Check containers more often; they dry out faster than garden beds.
Watch for drooping leaves, yellowing, or persistently soggy soil. These signs can point to too much or too little water, so inspect the soil before adjusting. Water gently to keep soil from splashing onto leaves, and direct the flow toward each plant’s root zone. Over time, you’ll learn what your garden needs.
Mulch to Protect Garden Soil
After watering, add a layer of mulch to help the soil hold moisture and stay protected. Spread two to three inches around plants, but keep it a few inches from stems to prevent rot.
You can choose organic mulch, such as shredded leaves or bark, or use clean straw. These mulch benefits include fewer weeds, steadier soil temperatures, and slower evaporation. Mulch also supports soil protection by cushioning the surface from heavy rain and wind.
| Mulch type | Best use | Key benefit |
|---|---|---|
| Shredded leaves | Garden beds | Breaks down naturally |
| Bark chips | Paths and shrubs | Lasts longer |
| Straw | Vegetable rows | Blocks weeds |
| Grass clippings | Thin layers | Adds quick cover |
Check the layer occasionally and top it up when it thins. If you use fresh grass clippings, spread them lightly so they don’t mat or smell.
Keep mulch off young stems, and leave room around plant crowns for airflow. A neat, even layer helps your garden stay resilient through changing weather.
Feed Plants Only When They Need It
Feed your plants only when they need extra nutrients. Watch for signs of deficiency, like yellowing leaves or stunted growth. But don’t overfeed—too much fertilizer can harm both your plants and the soil.
Watch for Nutrient Deficiencies
Yellowing leaves, stunted growth, or poor flowering can signal a nutrient deficiency, but they may also point to watering or light problems. Before you act, check the soil’s moisture, your plant’s light, and its recent care. Careful nutrient diagnosing helps you distinguish deficiency symptoms from other stresses.
Look for patterns rather than relying on one leaf. Older leaves often show shortages of mobile nutrients first, while new growth may reveal other issues. Compare affected leaves with healthy ones, and note where symptoms appear.
- Yellowing between veins can suggest a nutrient shortage.
- Purple or reddish leaves may indicate limited phosphorus uptake.
- Pale new growth can point to iron unavailability.
Check soil pH or use a soil test to confirm what’s missing. Then choose a suitable response based on the results, and watch for changes in new growth.
Avoid Overfeeding Plants
More fertilizer doesn’t mean healthier plants. When you overfeed, salts can build up, roots may burn, and leafy growth can outpace flowers or fruit. Check your plant’s needs before adding nutrients; healthy soil and regular watering may be enough. A soil test keeps your choices focused on topic relevance, not unrelated concepts.
| Clue | What it may mean | Your next step |
|---|---|---|
| Pale leaves | Possible deficiency | Check soil first |
| Brown leaf tips | Salt buildup | Flush soil gently |
| Lush leaves, few blooms | Excess nitrogen | Stop feeding |
| Slow growth | Many possible causes | Check light and water |
Follow the label’s dose and timing, and don’t fertilize dormant plants. If you’re unsure, wait and observe. You’ll avoid waste and protect your garden from unnecessary chemicals. Resume feeding only when growth or test results justify it. નોંધ: Start with half strength only if the label allows.
Prevent Weeds and Manage Garden Pests
A few simple habits can keep weeds and pests from taking over your garden. For effective Weed control, cover bare soil with mulch and pull young weeds before they spread. A layer of organic mulch also helps soil hold moisture, so you won’t need to water as often.
Make Pest prevention part of your routine by choosing barriers and inviting helpful insects rather than reaching first for sprays.
- Spread a few inches of mulch around plants, keeping it clear of stems.
- Remove weeds by hand after rain, when roots come out more easily.
- Use row covers or fine mesh to protect crops from common pests.
You can also rotate crops between seasons to make it harder for pests to settle in one spot. Keep garden edges tidy, and clear away fallen leaves or ripe produce that might attract insects.
If you spot a pest, identify it before taking action; some insects help your garden thrive. Choose the simplest targeted response that protects your plants and beneficial wildlife.
Check Plant Health and Fix Problems Early
Check your plants regularly, and you’ll catch problems before they spread. Look closely at leaves, stems, and soil as you water. Healthy plants usually show steady growth, firm stems, and evenly colored leaves.
“Regular plant checks help you spot early signs of trouble in leaves, stems, and soil.”
When you check plant health, notice changes such as spots, curling, yellowing, wilting, or stunted growth. Inspect both sides of leaves for insects, eggs, and webbing.
Keep up pest monitoring, especially during warm weather, when pests can multiply quickly. Also check for soggy soil, dry patches, and signs of root trouble. A quick inspection every few days helps you spot small issues before they become serious.
When you find a problem, identify its likely cause before acting. Remove damaged leaves, adjust watering, improve drainage, or move a plant to better light as needed.
If pests appear, pick them off or use a suitable treatment, following label directions. Fix problems early, then watch the plant closely to see whether your changes help. Keep brief notes so you can recognize patterns and respond faster next time.
Frequently Asked Questions
How Should I Choose the Right Gardening Tools for Beginners?
Choose tools that match your garden’s size, soil, and the tasks you’ll do most. For Choosing tools, start with durable essentials: a hand trowel, pruning shears, gloves, a watering can or hose, and a sturdy spade if you’ll dig.
Hold each tool before buying to check its comfort and weight. Look for Budget friendly gear at garden centers or secondhand shops, and clean and store your tools properly to make them last longer.
Can I Start a Garden if I Only Have a Balcony?
Yes—you can start a garden on your balcony, even with limited space. Think of your railing as a tiny farm’s front porch. Choose pots with drainage holes, then grow balcony container herbs like basil, mint, or parsley where they’ll get enough sunlight.
Try balcony microgreens for a quick harvest indoors or outdoors. Check your balcony’s weight limits before adding heavy planters, and water regularly. You don’t need a yard to enjoy fresh, homegrown greens.
How Do I Keep a Gardening Journal to Track Progress?
Start your gardening journal with a notebook or notes app, and update it after each gardening session. Record planting dates, varieties, watering, feeding, pruning, and observations.
Add weather logs to explain how heat, rain, or cold affects growth. Track seed progress, including germination dates and changes in seedlings.
Take photos regularly, label them with dates, and note what works or needs adjustment. Consistent record-keeping helps you spot patterns and improve future harvests.
What Are the Benefits of Composting Kitchen Scraps?
Waste not, want not: composting kitchen scraps turns everyday leftovers into a valuable resource for your garden. You’ll reduce the amount of food waste sent to landfills, where it can produce methane, and create nutrient-rich compost that improves soil structure and helps plants thrive. These composting benefits can also lower your need for store-bought fertilizers. By saving peels, coffee grounds, and vegetable trimmings, you’ll support healthier soil while making better use of what you already have.
How Can I Attract Pollinators to My Garden?
Attract pollinators by planting diverse pollinator friendly flowers that bloom from spring through fall. Choose native varieties, group each type together, and avoid pesticides that can harm visiting bees and butterflies. Add shallow water sources, such as a saucer filled with pebbles and water, so insects can drink safely. Leave some bare soil and natural shelter, too. You’ll create a welcoming habitat that supports pollinators throughout the growing season.
Conclusion
A successful garden doesn’t require expert skills—just a few thoughtful habits. Choose a sunny spot, grow beginner-friendly plants, and give them healthy soil, proper planting, and steady care. Mulch to conserve moisture, feed only when needed, and watch for weeds or pests before they spread.
Check your plants often; catching trouble early is like spotting a small leak before it floods the house. Start simply, learn as you go, and enjoy the rewards of growing your own garden with these garden know-how tips.