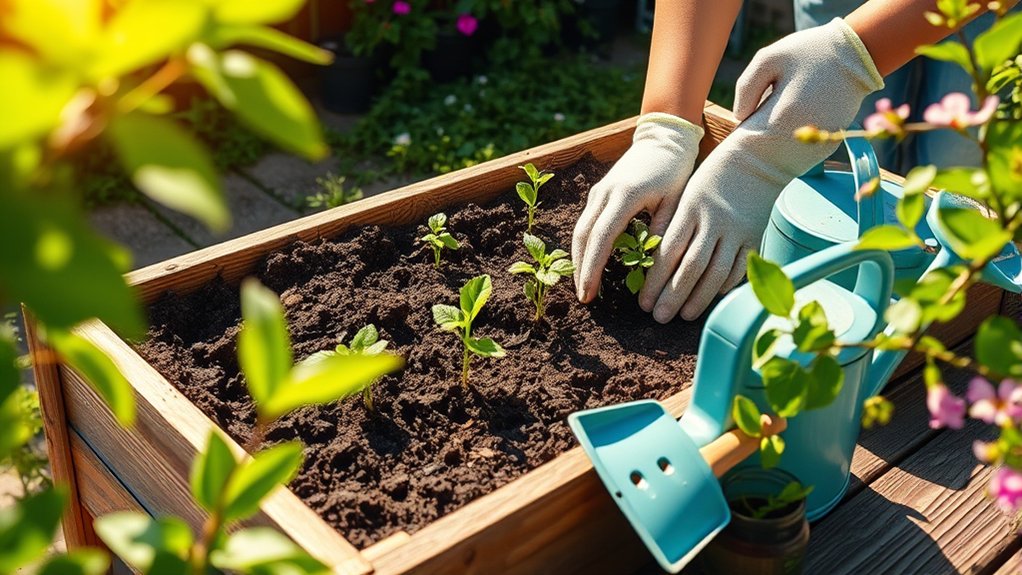
10 Steps to Start a Home Garden Today
Starting a home garden can feel overwhelming when you’re unsure what to plant, where to begin, or how to keep everything thriving. You’re not alone—many new gardeners face the same questions. These 10 steps to start a home garden today make it easier to plan your space and get growing.
Find a spot with at least six hours of sunlight, then choose a bed or container with good drainage. Pick easy crops suited to your space and climate, and gather basic tools.
Clear and loosen the soil, add compost, and check local planting dates. Follow seed-packet instructions for spacing and depth.
Water deeply, mulch around plants, and check regularly for weeds or stress. Harvest when crops show signs of ripeness; the next steps make planning easier.
Key Takeaways
- Choose a sunny site that gets at least six hours of direct sunlight, and check for shade throughout the day.
- Pick a garden bed or containers that fit your space, budget, and plants’ root needs; make sure containers drain well.
- Select beginner-friendly crops suited to your climate and sunlight, then check seed packets for spacing and planting dates.
- Prepare the soil by clearing debris, loosening it 8–12 inches deep, and mixing in finished compost.
- Gather basic tools, plant at the recommended depth, water thoroughly, and add mulch while keeping it away from stems.
Find a Sunny Spot for Your Home Garden
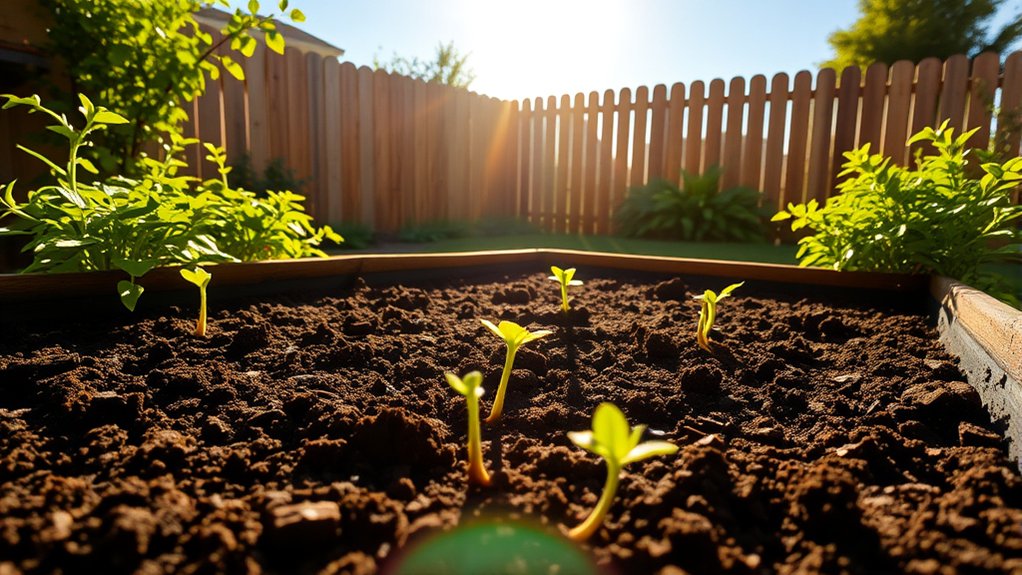
Start by finding a spot that gets plenty of sun, since most vegetables and herbs need at least six hours of direct sunlight each day. Watch how sunlight moves across your yard throughout the day, and note which areas stay bright longest. A sunny location can help your plants grow strong, produce healthy leaves, and yield more food.
Check the spot at different times, especially in the morning and afternoon. Trees, fences, walls, and nearby buildings may cast shadows that shift as the sun moves. Consider shade considerations before settling on a location: leafy greens can tolerate some afternoon shade, while tomatoes, peppers, and many herbs prefer full sun.
You can use a simple notebook to record sunny and shaded areas over several days. If you’re unsure, take photos at regular intervals to compare light patterns. Choose a place that gets consistent sunlight and suits the plants you hope to grow. Don’t rely on a single sunny moment; observe the area across a full day.
Choose a Garden Bed or Container
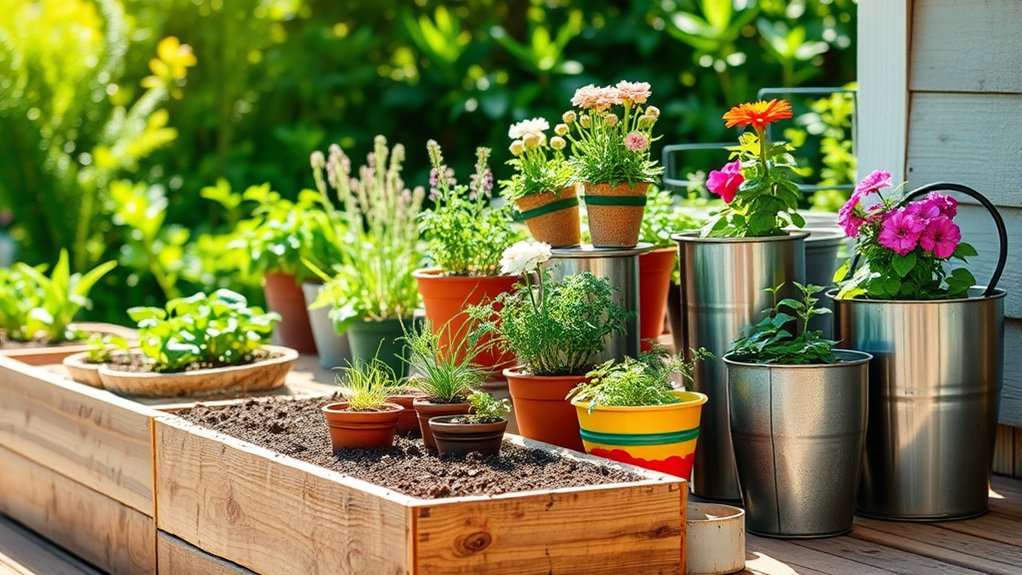
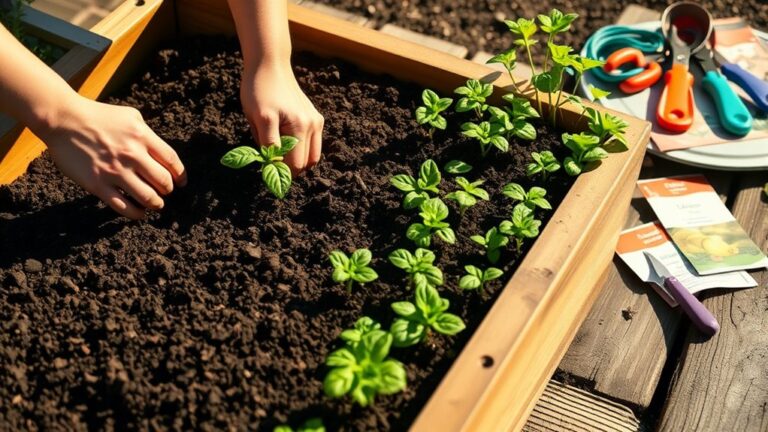
Once you’ve found a sunny spot, choose a garden bed or container that fits your space and the plants you want to grow. A raised bed gives you room to work and lets you control the soil, while an in-ground bed can suit a larger yard. Check that your chosen location offers enough space to reach every part of the bed without stepping on the soil.
If you’re short on space, use pots, window boxes, or grow bags. Match each container’s size to the plant’s root needs, and make sure it has holes for container drainage. Add a saucer if you’re gardening on a balcony or patio, but empty standing water after rain.
Consider the cost, weight, and upkeep of each option before you decide. Lightweight containers are easier to move, while sturdy beds can stay in place for years. Your setup should support seed selection and make watering, planting, and harvesting convenient.
Choose What to Grow in Your Home Garden
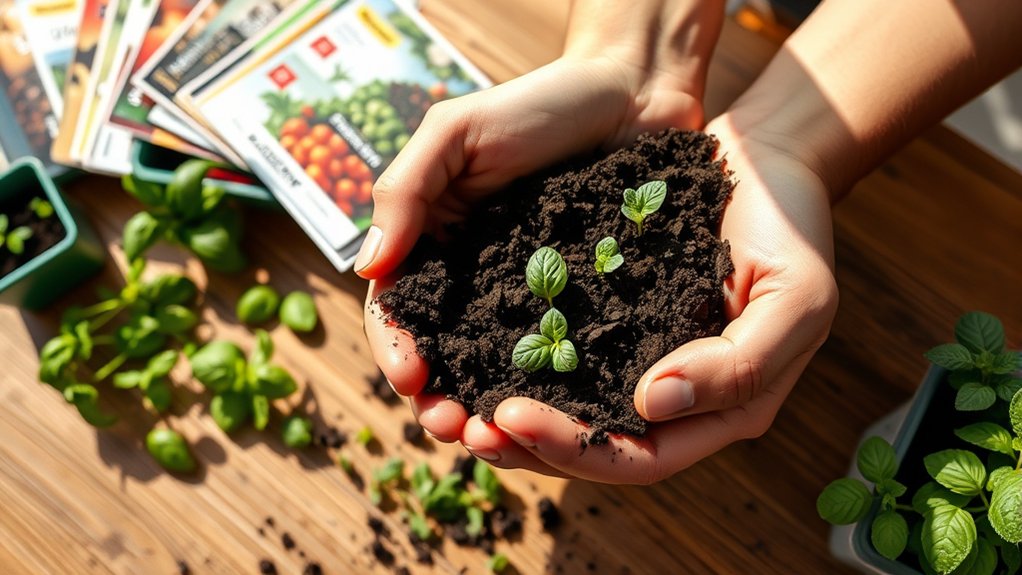
Choose plants that suit your climate, available sunlight, and garden space. Check which vegetables, herbs, or flowers thrive in your region, then match them to the light your garden receives. Leafy greens often tolerate partial shade, while tomatoes and peppers need several hours of direct sun.
If you’re new to gardening, start with a few reliable crops you enjoy eating, such as lettuce, radishes, or basil. Consider how much time you can give your plants. Fast-growing crops offer quick rewards, while some vegetables need a longer season and regular attention.
Read seed packets or plant labels to learn about maturity dates, spacing, and growing conditions. Thoughtful seed selection helps you choose varieties suited to your space and experience. You can also use companion planting to pair crops that grow well together and make efficient use of your garden.
Choose a manageable mix rather than filling every available spot. Your choices should fit your tastes, local conditions, and the space you’ve selected. A focused plan makes it easier to care for each plant and enjoy your harvest.
Gather the Basic Tools and Supplies
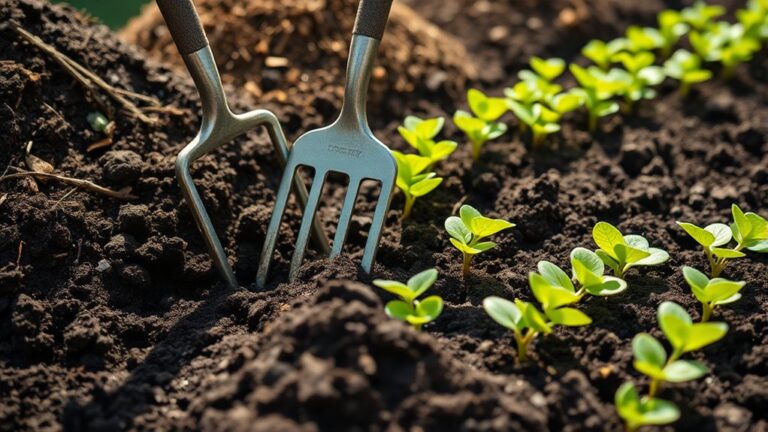
What do you need to get started? Gather basics that match the plants you’ve chosen and the space you’ll use. A hand trowel helps you make small planting holes, while a sturdy garden fork can loosen compacted ground.
Keep a pair of pruning shears nearby for trimming stems, and use gardening gloves to protect your hands from scratches and dirt.
Choose a watering can with a gentle rose or a hose with an adjustable nozzle so you can water without dislodging seedlings. A bucket or garden trug makes it easier to carry supplies and collect plant debris.
If you’re growing in containers, select pots with drainage holes and saucers to catch excess water. Add plant labels and a waterproof marker to identify what you’ve planted.
Assemble tools before you begin, checking that handles feel comfortable and blades work properly. You don’t need expensive gear; start with a few reliable essentials, then add items as your garden’s needs become clear.
Prepare Your Soil for Planting
Healthy soil gives roots the air, water, and nutrients they need to grow. Before planting, clear weeds, stones, and debris from your garden bed. Loosen the top 8 to 12 inches with a fork or spade, breaking up compacted clumps without turning the soil when it’s wet.
Check soil texture by rubbing a damp handful between your fingers. Sandy soil feels gritty; clay soil feels sticky; loam crumbles gently. Add finished compost to improve structure and help your soil hold moisture. A soil test can reveal pH and phosphorus content, so you can amend only what’s needed.
| What you notice | What you can do |
|---|---|
| Hard, packed earth | Loosen it gently |
| Dry, gritty soil | Mix in compost |
| Sticky, dense soil | Add organic matter |
| Uncertain nutrients | Test a sample |
Your careful preparation gives roots a welcoming home and helps you feel confident as your garden begins. Rake the bed level, then water lightly to settle the surface before moving on.
Choose Seeds or Starter Plants
Decide whether to grow from seeds or starter plants by weighing your time, budget, and patience. Seeds usually cost less and offer more varieties, but you’ll need to provide steady care as seedlings develop. Starter plants cost more, yet they give you a head start and can feel easier if you’re new to gardening.
For thoughtful seed selection, choose varieties you enjoy eating or growing, and check each packet’s instructions for space needs and care requirements. Look for seeds suited to your experience level; some crops are more forgiving than others.
If you buy starter plants, inspect leaves and stems for healthy color, firm growth, and signs of pests or disease. Avoid plants that look wilted or crowded in their containers.
Consider plant compatibility when choosing what to grow together. Match crops with similar care needs and leave enough room for mature growth. You can also mix seeds and starter plants to suit your budget and confidence. Pick a manageable number of varieties so you can give each plant consistent attention.
Check When to Plant in Your Area
When should you plant? Your local climate and each crop’s needs determine the best time to start. Check zone timing with a current plant hardiness map or your local extension service. Your zone offers a useful guide, but it doesn’t tell you exactly when the last spring frost will occur or how quickly your soil warms.
Next, assess frost dates for your area. Find the average last spring frost and first fall frost, then use those dates to plan your growing season. Cool-season crops, such as lettuce and peas, can often tolerate chilly weather, while tomatoes and peppers need warmer conditions.
Check seed packets or plant labels for recommended planting windows and days to maturity. If you’re unsure, ask a nearby nursery or experienced gardener what grows well locally.
Watch the forecast as your planting window approaches. A late cold snap can damage tender plants, so wait for safer conditions before moving them outdoors. You’ll make better choices by combining local guidance with current weather.
Plant Your Home Garden at the Right Depth
Plant seeds and seedlings at the depth their labels recommend; planting too deep can slow growth or prevent emergence, while planting too shallow can leave roots exposed. Check each packet or plant tag before you dig, since ideal soil depth varies by crop. Small seeds often need only a light covering, while larger seeds can go deeper. Some seeds need light to germinate, so press them onto the soil surface instead of burying them.
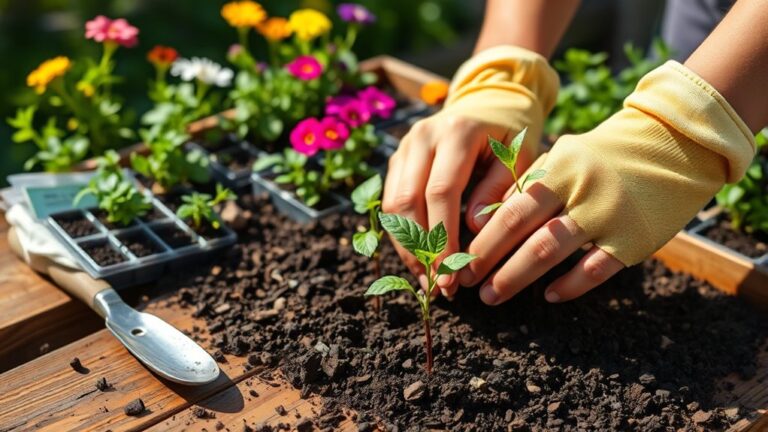
When you transplant seedlings, set each one at the depth it grew in its container, unless its tag gives different instructions. Firm the soil gently around the base to steady the plant, but don’t compact it.
Follow the recommended root spacing between plants, and leave enough room for each crop to grow without crowding. Use a ruler or marked trowel to keep depths consistent across a row. If you’re planting several varieties, label each row so you can match it to its instructions later.
Water, Mulch, and Care for Your Garden
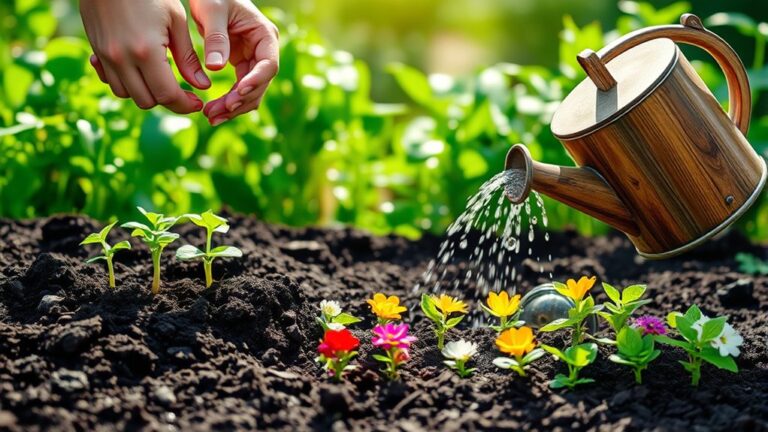
Water your garden deeply after planting, then check the soil regularly and water when the top inch feels dry. Aim the water at the soil near each plant’s base so roots can absorb it efficiently. Water in the morning to limit evaporation and give leaves time to dry. For water conservation, collect rainwater or use a soaker hose, which delivers moisture directly to the root zone.
Spread a two- to three-inch layer of organic mulch around your plants, keeping it a little away from stems. Mulch effectiveness comes from its ability to slow evaporation, suppress weeds, and moderate soil temperature. Refresh the layer as it breaks down, but don’t pile it against plant stems.
Check your garden often for weeds, pests, and signs of stress. Pull weeds while they’re small, and remove damaged leaves with clean tools. Support tall plants as they grow, and adjust your care routine after heavy rain or hot, dry weather. Consistent attention helps your garden stay healthy.
Harvest Your Home Garden at the Right Time
Keep an eye on your plants for signs that they’re ripe, like rich color and a firm texture. Harvest each crop when it’s at its freshest and most flavorful. You’ll enjoy better-tasting produce, and some plants may keep producing.
Watch for Ripeness
How can you tell when your garden’s ready to give up its harvest? Check each plant’s ripeness indicators, since color, size, and texture vary by crop. A seed packet or plant label can tell you what to look for, but your senses help confirm the signs. Don’t rely on color alone; some fruits ripen while still green.
| Crop | What to check | Ready sign |
|---|---|---|
| Tomatoes | Color and feel | Full color, slight give |
| Lettuce | Leaf size | Tender, usable leaves |
| Peppers | Size and color | Mature size, firm skin |
Taste a small sample when you’re unsure. Keep notes on what you see and taste, so you’ll recognize each crop’s cues and choose the best tasting harvest for your table.
Harvest at Peak
Harvest crops at their peak for the best flavor and texture. Check each plant often, since harvest timing can change quickly as fruit and vegetables ripen. Pick tomatoes when they’re fully colored and slightly soft, and harvest leafy greens while their leaves are young and tender.
For beans and cucumbers, choose firm, manageable sizes before seeds grow tough. Taste a small sample if you’re unsure; your senses can guide you toward peak flavor.
Harvest in the cool morning when possible, and use clean scissors or pruners to avoid damaging stems. Handle produce gently, then bring it indoors promptly.
Regular picking often encourages plants to keep producing, so don’t leave ripe crops on the vine. If you can’t use everything right away, refrigerate, preserve, or share your harvest. Keep notes on dates and results to improve next season’s timing.
Frequently Asked Questions
Can I Start a Home Garden if I Have No Gardening Experience?
Yes, you can start a home garden with no experience. You don’t need a green thumb or expensive tools; those are beginner-friendly myths. Start small with a few easy plants, such as herbs or lettuce, and choose a sunny spot.
Use simple setup tips: pick containers with drainage, add potting mix, and water when the soil feels dry. You’ll learn as you go, and your first harvest can build confidence.
How Much Does It Cost to Start a Home Garden?
You can start a home garden for about $50–$200, depending on its size, location, and supplies. Your cost breakdown might include $10–$30 for seeds, $20–$60 for soil and compost, and $20–$100 for containers or basic tools.
You’ll spend less if you reuse pots, borrow equipment, or grow from seed. For budget planning, start small, choose easy-to-grow plants, and add supplies gradually. A simple garden can cost even less than $50.
Can I Grow a Garden Indoors Without Outdoor Space?
Yes, you can grow a garden indoors without outdoor space. Choose a bright windowsill or add grow lights, then start with herbs, leafy greens, or compact vegetables. Use pots with drainage and quality indoor soil, or try a hydroponic setup for greens without traditional potting mix.
Match each plant to your available light and room, water carefully, and provide airflow. Even a small shelf can support a productive indoor garden year-round.
How Can I Garden Safely Around Pets and Children?
You can garden safely around pets and children by choosing nontoxic plants, securing tools, and creating clear boundaries. The ASPCA lists hundreds of plants that may harm pets, so check every variety before planting. Choose Pet safe plants such as sunflowers or basil, and keep fertilizers and pesticides locked away.
Create Child friendly garden zones with sturdy paths, raised beds, and no sharp tools. Supervise young helpers, and teach them never to taste plants.
What Are Easy Ways to Control Pests Without Harsh Chemicals?
You can control pests gently by hand-picking insects, removing damaged leaves, and covering plants with lightweight row covers. Encourage ladybugs and other beneficial insects with diverse flowers, and try natural pest repellents such as neem oil or diluted soap, following label directions and testing a leaf first.
Improve soil health strategies by adding compost, rotating crops, and watering at the soil level. Check plants often so you can catch problems early and respond selectively.
Conclusion
Your home garden doesn’t need to be perfect to become your favorite place. Start with one sunny spot, plant what you love, and give it a little care each day.
Before long, you’ll be harvesting fresh food that tastes like a tiny miracle—and feeling like you’ve conquered the world. Don’t wait for the “right” moment: grab your tools and begin today.
Your first sprout could turn an ordinary corner into a feast of color, flavor, and joy. Start your home garden today and see where it takes you.