How Do You Make a Vegetable Garden in 5 Easy Steps?
Starting a vegetable garden can feel overwhelming when you’re unsure where to begin or worried your plants won’t thrive. You’re not alone—many people struggle to get the basics right. The good news is that learning how to make a vegetable garden in 5 easy steps can help you get growing with confidence.
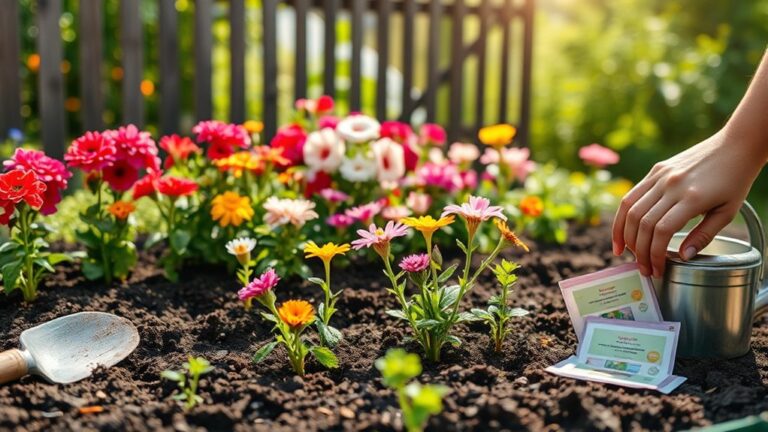
To make a vegetable garden in five easy steps, choose a spot with six to eight hours of direct sun, checking for shifting shade throughout the day. Select vegetables that suit your space, season, and local frost dates. Clear weeds and loosen the soil, then mix in finished compost. Plant seeds or seedlings at the depth listed on their labels. Water consistently, add mulch, and check plants regularly; a few smart choices can make each step easier.
Key Takeaways
- Choose a sunny, accessible spot that receives six to eight hours of direct sunlight each day.
- Select vegetables suited to your space, local growing season, and available sunlight.
- Test your soil, adjust its pH or nutrients as needed, and group crops with similar watering needs.
- Clear weeds and debris, loosen the soil, mix in finished compost, and rake the bed smooth.
- Plant seeds or seedlings at label-recommended depths, then label each row with the crop and planting date.
Choose a Spot With 6–8 Hours of Sun
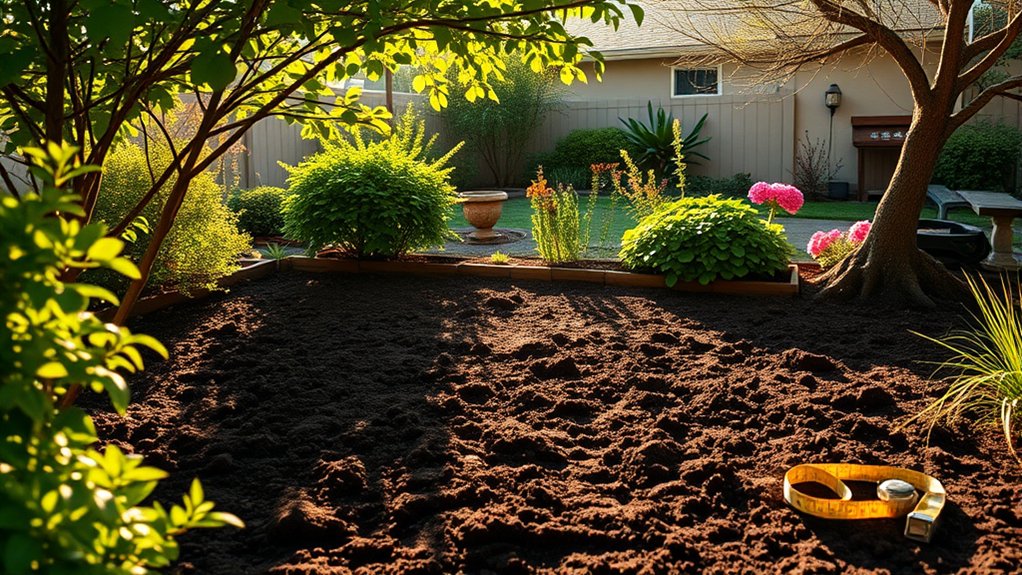
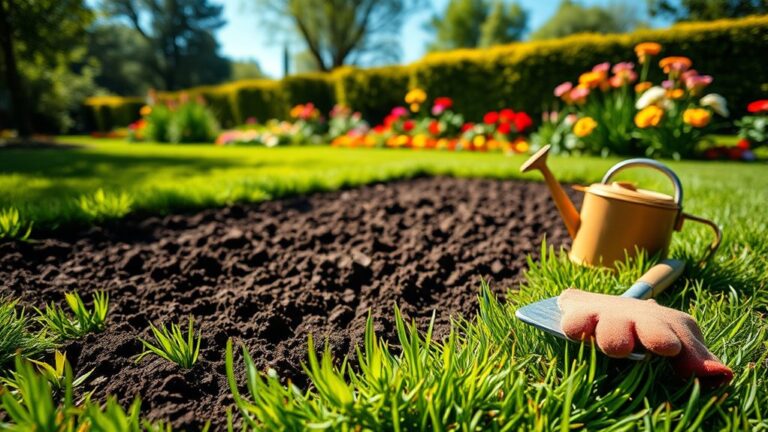
Choose a spot that gets at least six hours of direct sunlight each day; most vegetables grow best with six to eight. Watch how sunlight moves across your yard before you settle on a location. Check the area in the morning, around midday, and late afternoon, since nearby trees, fences, and buildings can cast shifting shadows.
Choose a garden spot with six to eight hours of direct sun, and check for shifting shadows throughout the day.
This simple sun exposure planning helps you avoid a site that looks bright but stays shaded for much of the day.
If your yard doesn’t offer a full six hours of sun, note which areas receive the most light and consider shade tolerance varieties for those conditions. Don’t assume a sunny spot stays sunny throughout the growing season: deciduous trees may leaf out and block light, while shadows change as the sun’s angle shifts.
Choose a location with steady access to direct light, and make sure you can reach it easily to tend your garden. A little observation now can prevent disappointing growth later.
Choose Vegetables for Your Space and Season
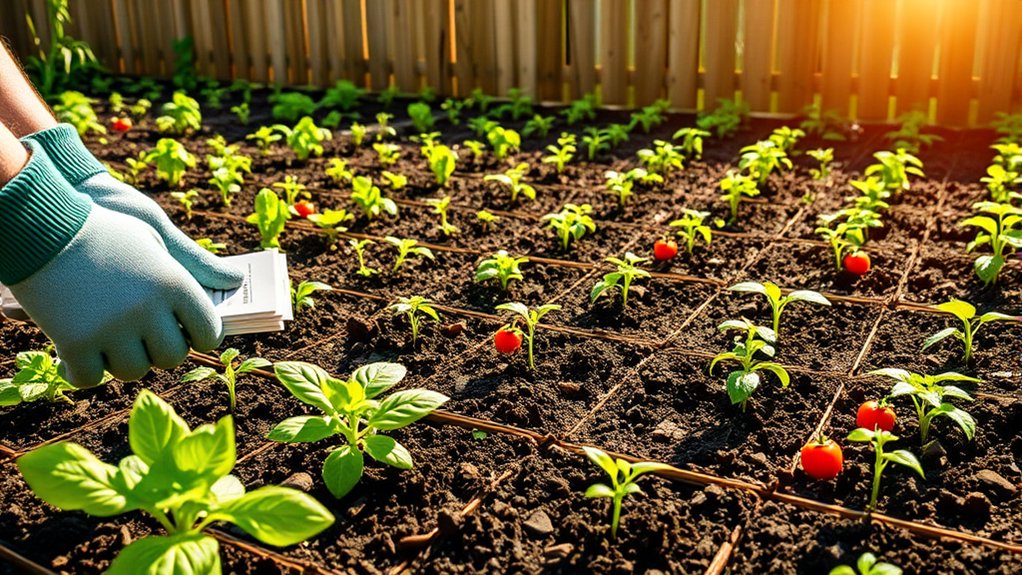
What you grow should match both your available space and your local growing season. Start with space planning: measure your garden beds or containers, then select vegetables that fit without crowding. Compact tomatoes, bush beans, and leafy greens work well in small areas, while sprawling squash needs more room. You can also grow climbing peas or cucumbers vertically.
Check your region’s frost dates and typical temperatures before you choose varieties. Read seed packets or plant labels to learn when to sow, how long crops take to mature, and whether they suit your seasonality. For a steady harvest, combine quick-growing crops with vegetables that produce over several months.
Consider soil compatibility when selecting plants; some thrive in acidic conditions, while others prefer a different pH. Choose disease-resistant varieties when possible, and group plants with similar watering needs. Plan pest management by avoiding crops that commonly attract the same pests. Include crop rotation in your yearly plan, moving plant families to different beds to reduce recurring problems.
Prepare Soil for Your Vegetable Garden
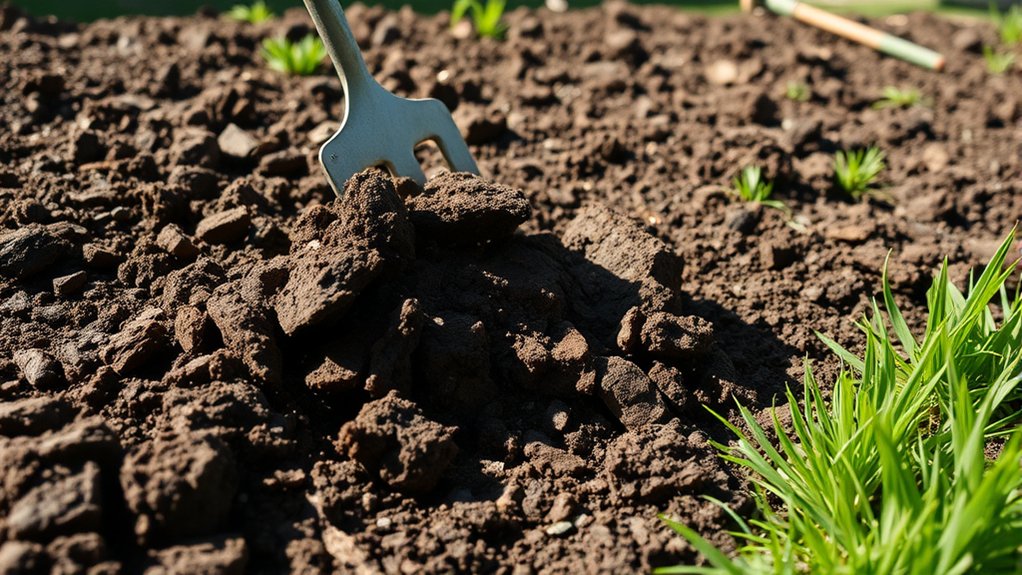
Healthy soil gives vegetables the nutrients, water, and root space they need to grow. Start with soil testing to learn your soil’s pH and nutrient levels. You can use a home test kit or send a sample to a local extension service. Follow the results to decide whether you need to adjust the pH or add specific nutrients.
Clear away weeds, rocks, and leftover plant material. Loosen compacted soil with a garden fork, working it only when it’s moist rather than wet. If you’re preparing a new bed, remove grass and roots so they won’t compete with your vegetables.
Improve the soil with compost application: spread a layer of finished compost over the bed and mix it into the top few inches. Compost adds organic matter, supports beneficial soil life, and helps the ground hold moisture while draining well.
Rake the surface smooth, then water lightly if the soil feels dry. Your bed is ready for the next gardening step.
Plant Seeds and Seedlings at the Right Depth
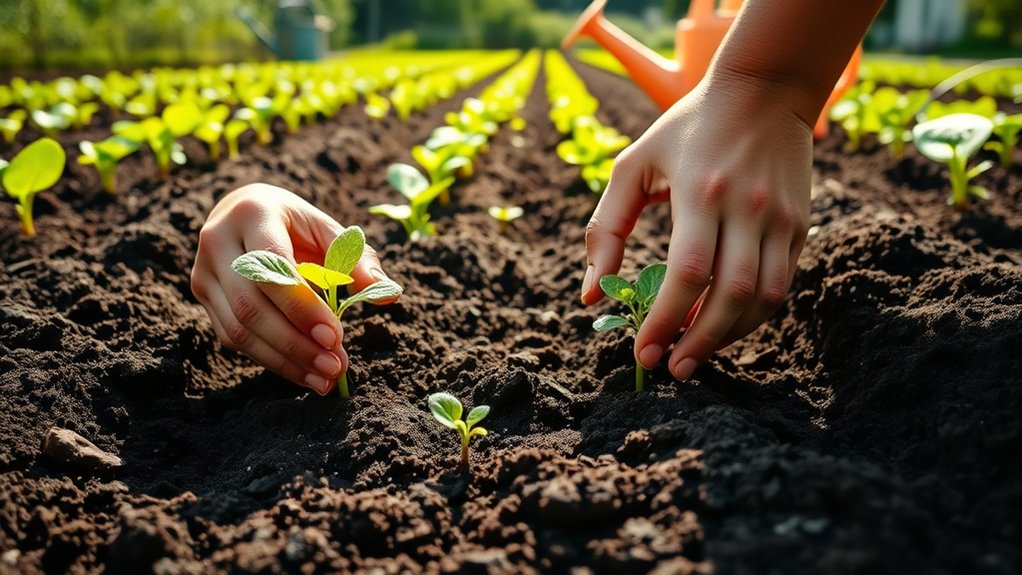
Once your soil is ready, plant each seed or seedling at the depth its label recommends. Check the packet for specific instructions, since seed depth varies by crop. Some seeds need light to germinate and should rest on the surface; others need a thin covering of soil.
If you plant too deeply, a seed may not reach the surface. If you plant too shallowly, it may dry out or fail to anchor.
For seedlings, make a hole deep enough to cover the roots while keeping leaves above the soil. Gently firm the soil around the base, and avoid burying the stem unless the plant’s directions allow it. Follow the recommended seedling spacing so each plant has room to grow and access sunlight.
- Use a ruler or your finger to measure planting depth accurately.
- Label each row with the crop name and planting date.
- Handle young roots carefully to limit damage during transplanting.
These small steps help you give every crop a strong start.
Water, Mulch, and Check Plants Regularly
After planting, water the soil gently to settle it around seeds and roots, then add a thin layer of mulch to retain moisture and limit weeds. These mulch benefits help keep soil temperatures steady and reduce the time you spend pulling weeds. Use straw, shredded leaves, or untreated grass clippings, keeping the layer loose and away from plant stems.
Build good water management into your routine by checking the soil before watering. If the top inch feels dry, water slowly at the base of each plant. Aim for consistent moisture, not soggy ground, and adjust your schedule after rain or during hot, windy weather. Morning watering gives leaves time to dry and can help prevent disease.
Check your garden regularly for drooping leaves, yellowing, pests, and weeds. Catching problems early makes them easier to manage. Remove weeds while they’re small, inspect both sides of leaves, and support plants that need staking. As vegetables grow, keep mulch topped up and water according to their changing needs.
Frequently Asked Questions
What Tools Do I Need to Start a Vegetable Garden?
You’ll need a hand trowel, garden fork or spade, watering can or hose, gloves, and pruning shears to start a vegetable garden. A rake helps with soil preparation, while a measuring tape and plant labels keep rows organized.
For seedlings, use a seed starter tray or small pots, plus quality potting mix. You don’t need every tool at once; begin with the basics, then add equipment as your garden grows.
How Much Does It Cost to Make a Vegetable Garden?
A vegetable garden can cost $50–$500 to start, depending on its size, location, and supplies. You might spend less by planting in containers or using materials you already own, while raised beds, soil, tools, and fencing can raise costs.
For accurate cost estimation, list what you need and compare local prices. Helpful budgeting tips include starting small, growing inexpensive seeds, composting kitchen scraps, and adding upgrades gradually as your garden develops.
Can I Grow Vegetables in Containers on a Balcony?
Yes, you can grow vegetables in containers on a balcony. Start your container grown garden with pots that have drainage holes, quality potting mix, and a sunny spot receiving at least six hours of light daily.
Choose compact crops such as lettuce, herbs, cherry tomatoes, or peppers, and water whenever the soil feels dry. A balcony micro garden can thrive with regular feeding, sturdy containers, and varieties suited to your climate and available space.
How Can I Keep Pests Out of My Vegetable Garden?
Like a watchful gardener, you can keep pests out by combining simple barriers with healthy growing habits. Cover young plants with lightweight row fabric, install collars around stems, and use fine mesh to block insects.
Rotate crops, remove weeds, and clear fallen leaves where pests hide. Try natural pest deterrents, such as handpicking, companion planting, or neem products.
These pest proofing strategies protect your vegetables while helping beneficial insects thrive. Check plants often to catch problems early.
When Is the Best Time to Harvest Homegrown Vegetables?
Harvest homegrown vegetables when each variety reaches its ideal size, color, and firmness; check seed packets for specific signs. Pick leafy greens young for tenderness, or wait for larger leaves if you prefer stronger flavor.
Tomatoes taste sweetest when fully colored and slightly soft, while cucumbers stay crisp when harvested small. Your seasonal harvest timing depends on local weather and planting dates.
Consider flavor vs texture tradeoffs, and harvest regularly to encourage continued production.
Conclusion
A vegetable garden begins as a patch of earth, but your care turns it into a promise. Give your plants sunlight, suitable soil, proper spacing, and steady attention, and they’ll reward you with fresh food and new growth.
Don’t worry if every seed doesn’t thrive; gardening teaches patience as much as it provides produce. Keep tending your small green corner, and you’ll find that each harvest is more than a meal. It’s proof that good things grow with time, especially when you know how to make a vegetable garden in 5 easy steps.