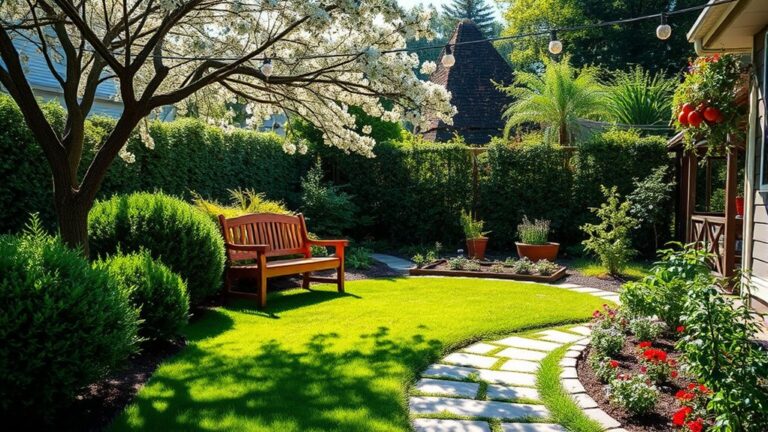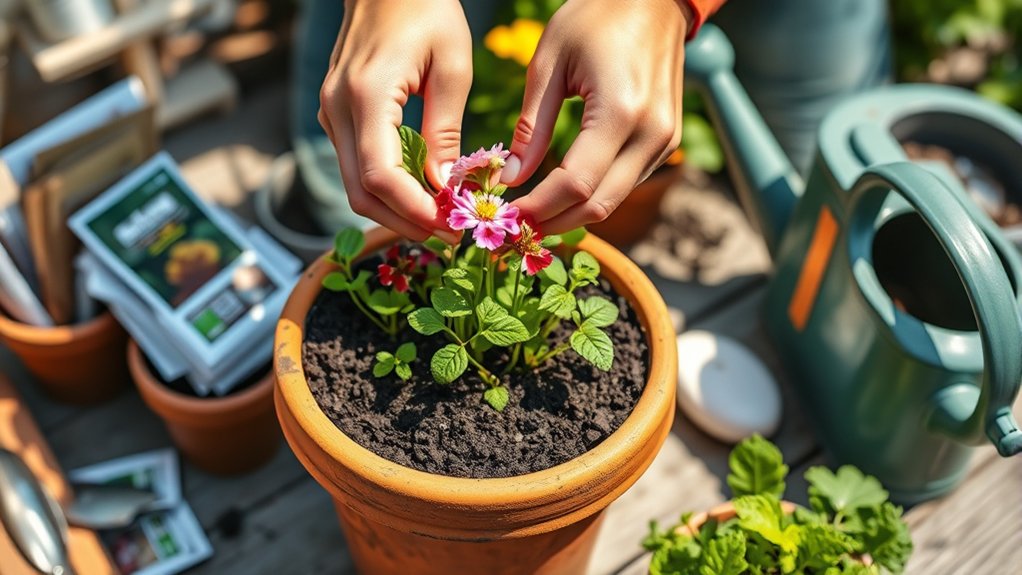
10 Steps to Plant Container Flowers Successfully
Choosing the right container flowers can feel tricky when sunlight, drainage, and watering all affect how well they grow. If you’ve struggled to keep potted blooms thriving, you’re not alone. These steps can help you find the right products and set your flowers up for success.
To plant container flowers successfully, check your spot’s daily sunlight and choose varieties suited to it. Gather plants, tools, and a pot with clear drainage holes; fill it with fresh, loose potting mix, not garden soil. Arrange flowers by color and height, keeping taller plants behind shorter ones, then plant at the right depth and water until excess drains. Place the pot where it’ll thrive, check moisture regularly, feed as directed, deadhead blooms, and watch for pests. These simple steps help you keep flowers flourishing.
Key Takeaways
- Choose flowers suited to the container’s daily sunlight, climate, and growing season.
- Select a pot sized for mature plants, with clear drainage holes and a saucer.
- Fill it with fresh, well-draining potting mix, leaving space below the rim.
- Arrange plants by height and color, then plant root balls level with the soil surface.
- Water when the top inch dries, let excess drain, and maintain flowers with appropriate feeding and deadheading.
Choose Flowers for Your Sunlight
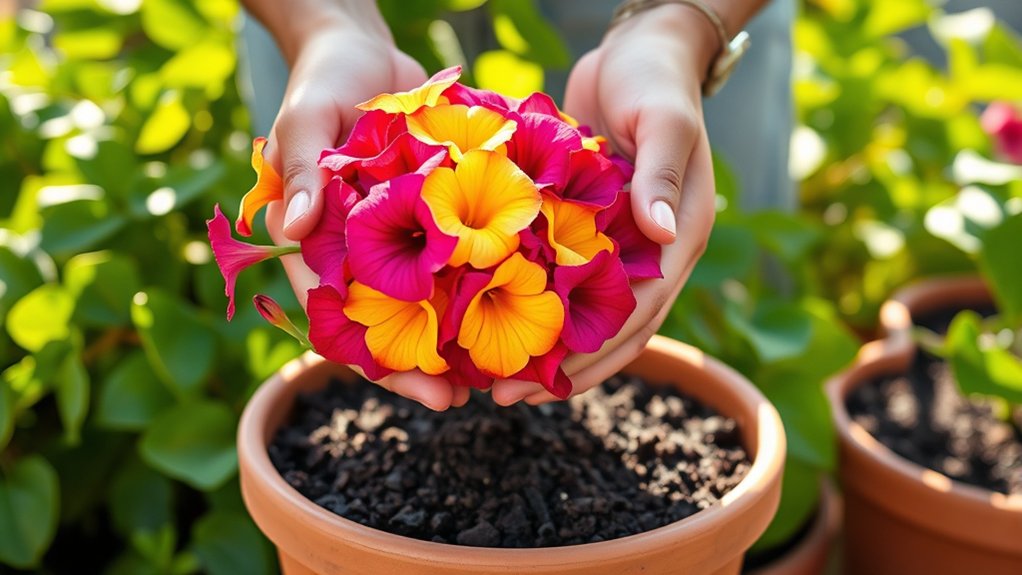
Start by checking how many hours of direct sunlight your container gets each day, then choose flowers suited to those conditions. Observe the spot throughout the day, since nearby walls, trees, and buildings can shift sunlight as the sun moves. Use those observations to match each flower’s sunlight requirements to your container’s location.
Track your container’s sunlight throughout the day, then choose flowers suited to the light it receives.
For a sunny spot, consider flowers such as petunias, marigolds, or zinnias. These choices thrive with several hours of direct light and often bloom generously when you meet their needs.
If your container receives only a few hours of sun, look for flowers with greater shade tolerance, such as begonias, impatiens, or fuchsias. For dappled light, choose varieties that handle partial shade and avoid placing sun-loving flowers where they’ll struggle.
Check plant labels or reliable growing guides for the light conditions each variety prefers. Don’t rely on a flower’s appearance alone; similar blooms can have different needs. Matching flowers to your site helps you encourage healthy growth and longer-lasting color.
Gather Flowers and Planting Supplies
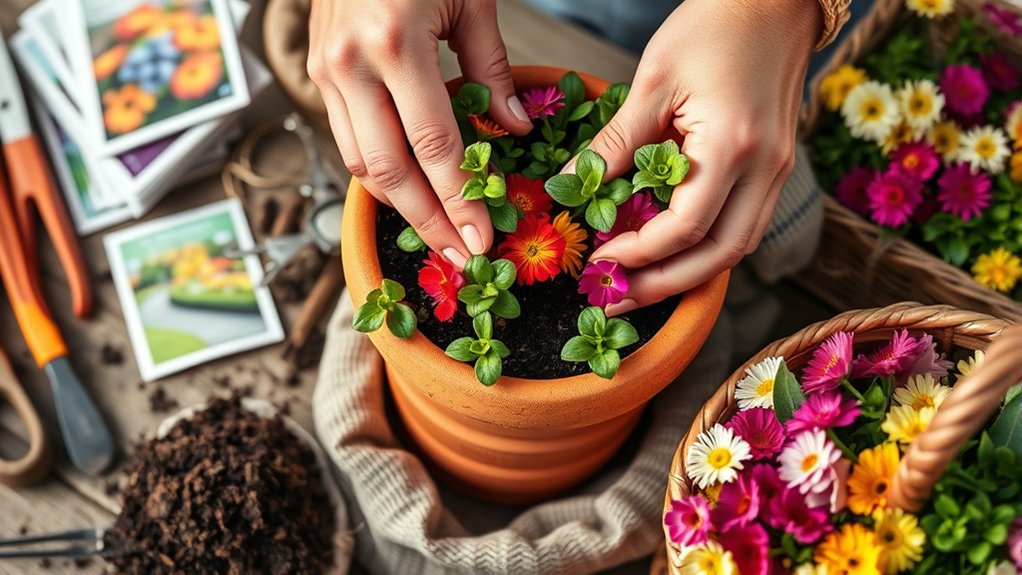
Once you’ve matched flowers to your sunlight, choose varieties that suit your container and growing conditions. Then gather pots with drainage holes, quality potting mix, and basic tools like a trowel and watering can. Having everything ready makes planting easier.
Choose Container Flowers
Which flowers will thrive in your containers? Start by checking how much sun your spot receives, then match flowers to those conditions. Choose sun lovers, such as petunias or marigolds, for bright locations; try begonias or impatiens where shade prevails. Consider your climate and select varieties suited to your growing season so you won’t struggle to keep them healthy.
Think about the look you want, too. Combine colors and bloom shapes, or choose variegated foliage to add interest between flowers. For a low-maintenance display, pick drought tolerant varieties if you sometimes miss watering.
Check each plant’s mature size and growth habit before deciding. Tall flowers can anchor a display, while trailing types soften container edges. Choose plants with similar light and water needs, so you can care for them together and enjoy a balanced arrangement.
Gather Planting Supplies
Before planting, gather your flowers and supplies in one place. Set out your chosen plants, containers, fresh potting mix, and a watering can so you can work without interruptions. Check that each container has drainage holes; add a saucer if you’ll protect a deck or patio. Keep gloves, a hand trowel, and pruning shears nearby for easier planting and cleanup.
As you gather supplies, review each flower’s care needs and group plants with similar water and light requirements. Plan sunlight by noting where your containers will sit and how many hours of direct light each spot receives. Choose a location that suits your flowers before filling pots, since heavy containers are harder to move.
If you’re planting several arrangements, label plants or sketch a quick layout to keep colors and heights balanced. Having everything ready helps you plant efficiently and gives your flowers a strong start.
Pick a Pot With Drainage Holes
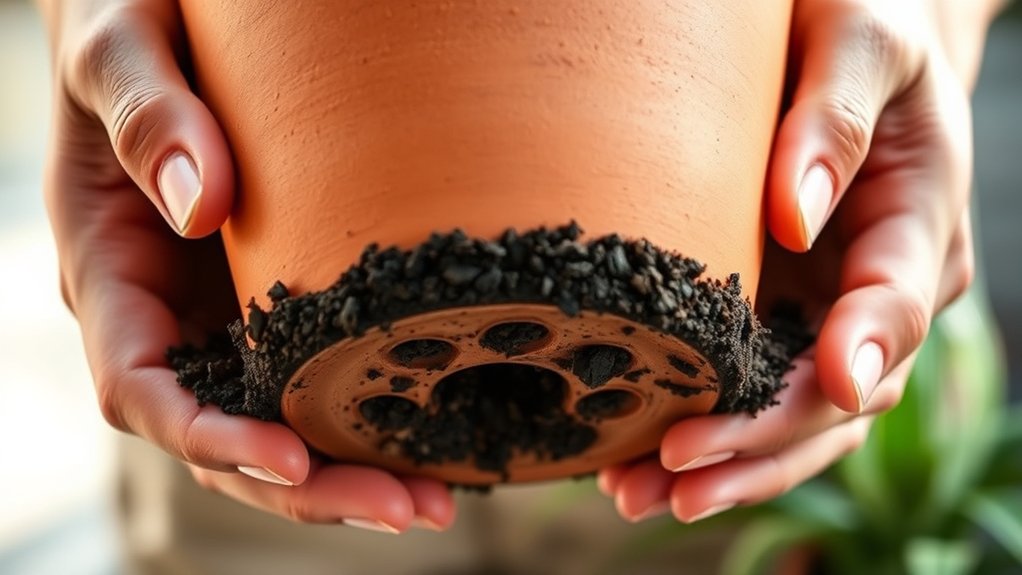
Choose a pot with drainage holes to keep excess water from pooling around your flowers’ roots. Openings in the bottom let surplus water escape, helping you protect root health and reduce the risk of rot. Before planting, check that each hole is clear and large enough to drain freely.
Match your pot’s size to the flowers you plan to grow. A container that’s too small can crowd roots, while an oversized one may feel heavy and take up unnecessary space. Consider the mature plant’s size, not just its appearance as a seedling. Your seed selection can guide this choice: check expected growth and spacing needs before you buy.
You can use plastic, ceramic, metal, or terracotta pots, as long as they have drainage holes. If you’ve found a decorative container without openings, use it as a cover pot: place a smaller, draining pot inside, then remove it when watering so excess water can escape. Ensure the inner pot fits securely and lifts out easily.
Use Fresh, Well-Draining Potting Mix
Once your pot drains freely, fill it with fresh, well-draining potting mix. Don’t use garden soil: it can compact in a container, restrict airflow, and hold too much water around roots. Instead, choose a quality mix formulated for pots, or blend fresh soil with ingredients such as perlite or bark to improve drainage.
Check the package to ensure the mix suits your flowers. Many mixes work for both annuals and perennials, while others offer specific nutrients or textures. If you’re reusing a container, remove old roots and debris, then add new mix to reduce the chance of pests and disease.
Good moisture control starts with a mix that drains well but still retains enough water for roots to absorb. Avoid packing it tightly; settle the mix gently so water and air can move through it. Fresh potting mix also supports weed prevention by limiting unwanted seeds that may be present in used soil. Leave a little space below the rim for watering.
Arrange Flowers for Color and Height
How can you make a container display feel balanced? Start by choosing flowers that complement your pot and suit the same light conditions. For pleasing color balance, combine a dominant shade with one or two supporting colors.
Choose flowers that complement your pot and share its light needs, then pair a dominant shade with one or two supporting colors for balance.
You might pair purple blooms with white flowers and a few yellow accents, or keep the palette simple with several tones of pink. Repeat each color in more than one spot so the arrangement feels connected, not scattered.
Next, plan height contrast. Place taller flowers near the center of a round pot or toward the back of a container viewed from one side. Add medium-height blooms around them, then use trailing plants along the edges to soften the outline.
Check that taller stems won’t block shorter flowers from view, and vary flower shapes for added interest. Before planting, set the nursery pots inside the container and shift them around until the composition looks balanced from every angle. Take a step back and adjust as needed.
Plant Container Flowers at the Right Depth
Plant each flower at the same depth it grew in its nursery pot, with the top of its root ball level with the surrounding potting mix. Correct depth placement helps your flowers settle in without burying stems or exposing roots.
Before you plant, check each variety’s root depth and inspect its root ball so you can position it accurately.
- Set the height: Place the flower in its spot and compare the root ball’s top with the mix surface. Adjust the planting hole until both sit level.
- Protect the stem: Keep leaves and stems above the mix. Burying them can encourage rot, while leaving roots exposed can dry them out.
- Fit the roots: Loosen circling roots gently, then spread them within the hole. Don’t force a large root ball into a shallow space; choose a deeper container or reposition the plant.
Fill around each root ball with potting mix, keeping the original soil line visible and the surface even.
Water the Container Thoroughly
After setting each flower at the right depth, water the container thoroughly to settle the potting mix around the roots. Pour slowly over the surface, moving around the pot so you wet the mix evenly. Keep going until water flows freely from the drainage holes.
This first deep watering helps eliminate air pockets and gives roots good contact with the soil. Let excess water drain completely, and empty any saucer beneath the container so roots don’t sit in standing water.
If the mix sinks after watering, add a little more around the roots, but don’t bury the stems or cover the crowns. Check soil moisture with your finger before watering again.
If the top inch feels dry, water until excess drains out; if it still feels damp, wait and check later. Your flowers’ water needs may vary with their size and the container’s material, so use the mix’s feel—not a fixed schedule—to guide each watering.
Place the Pot Where Flowers Will Thrive
Where will your flowers get the light they need? Check each plant’s label before choosing a spot. Some blooms need full sun, while others prefer shade during the hottest part of the day. Matching your pot’s location to those needs helps flowers grow well and keeps leaves from scorching.
Use these three checks to find the right place placement:
- Track sun exposure. Notice how many hours of direct light reach the spot, and whether nearby trees or buildings cast changing shadows.
- Consider heat and wind. A sunny balcony can become hot quickly, while strong gusts may dry soil or topple a lightweight pot. Choose a sheltered position when needed.
- Keep access in mind. Put the container somewhere you can see and reach it easily, but leave enough room for people to pass.
If your first location doesn’t suit the flowers, move the pot and observe how the plants respond. Recheck light as seasons change, since sun angles and shade patterns shift throughout the year.
Feed Flowers and Remove Spent Blooms
Keep container flowers blooming by feeding them as needed and removing faded flowers. Because frequent watering can wash nutrients from potting mix, give your plants a steady supply of food. Choose a fertilizer suited to your flowers, then follow the label’s directions for dilution and application.
Feed container flowers with a suitable fertilizer as needed, following label directions to replace nutrients lost through frequent watering.
Don’t assume that more fertilizer will produce more blooms; excess can harm roots and leaves. Set a fertilizing schedule that matches the product and your plants’ growth, and adjust it as flowering slows.
Remove spent blooms regularly to encourage many flowering plants to produce fresh buds instead of seeds. Pinch or snip each faded flower just above a healthy leaf or stem joint, using clean fingers or scissors.
Check your containers every few days, since deadheading works best before petals drop and seedpods form. Gather discarded blooms and fallen petals from the soil surface so they won’t smother nearby growth or make the container look untidy. Some flowers don’t need deadheading, so check their care instructions before you trim.
Spot Pests and Fix Common Flower Problems
Regular checks help you catch pests and flower problems before they spread. Inspect leaves, stems, and blooms whenever you water. Look beneath foliage for insects, webbing, sticky residue, or eggs, and check for yellowing, spots, and wilting. These container gardening basics help you spot pests early and protect nearby flowers.
- Treat small infestations: Pick off visible insects or rinse leaves with a gentle stream of water. If pests persist, use insecticidal soap as directed, testing one leaf first.
- Correct watering issues: Dry soil and drooping leaves may signal thirst; soggy soil, yellow leaves, or a sour smell can mean overwatering. Adjust your schedule and confirm drainage holes stay clear.
- Improve growing conditions: Leggy stems often need more light, while scorched leaves may need afternoon shade. Remove damaged foliage and spent blooms with clean snips.
Act promptly, but change one care factor at a time. You’ll find it easier to fix common problems and see which adjustment helps your flowers recover.
Frequently Asked Questions
How Often Should I Repot Container Flowers?
Repot your container flowers every one to two years, or sooner if roots circle the pot, emerge from drainage holes, or growth slows despite proper care. Your repotting frequency depends on the plant’s growth rate and container size; fast-growing flowers may need a larger pot annually.
Choose fresh, well-draining potting mix and a container only slightly bigger. After repotting, water thoroughly and resume your usual fertilization schedule once the plant settles in.
Can I Overwinter Container Flowers Indoors?
Yes, you can overwinter many container flowers indoors, and the first chilly night often arrives just as you’re wondering whether to bring them in. Before frost, check each plant’s needs: tropical varieties usually need warmth, while some perennials prefer a cool, dormant spot. Inspect for pests, trim damaged growth, and acclimate plants gradually. Give them suitable light, reduce watering, and pause fertilizer until spring. Can I overwinter every flower? No—some won’t tolerate indoor conditions.
Which Flowers Grow Well Together in One Container?
You can pair flowers that share similar sunlight and watering needs. For sunny pots, try petunias, verbena, and calibrachoa; for partial shade, combine impatiens, begonias, and lobelia.
These flower combos offer varied colors and textures while growing well together. Use companion planting by mixing upright flowers, trailing varieties, and compact fillers, such as salvia, sweet alyssum, and creeping Jenny.
Choose a roomy container with drainage, and avoid crowding so each plant gets enough air and space.
How Do I Protect Container Flowers From Frost?
Protect your container flowers from frost by moving pots indoors or against a sheltered wall, then covering them with protective frostcloth before temperatures drop. A single frost can damage tender blooms in just a few hours, so check your local forecast each evening.
Water soil lightly beforehand, since moist soil holds warmth better than dry soil. Choose hardy varieties for colder weather, and remove covers during sunny days to prevent overheating and encourage healthy growth.
Can I Reuse Potting Mix From Last Season?
Yes, you can reuse potting mix from last season if it looks healthy and hasn’t hosted diseased plants. Remove old roots and debris, then refresh it with fresh compost and fertilizer; don’t use it alone, since nutrients decline and the mix can compact.
For reusing soil that contained pests or disease, consider soil sterilization, or discard it. Check drainage and texture before planting, and replace any mix that smells sour or stays soggy.
Conclusion
Planting container flowers is simple when you match blooms to your light, choose a draining pot, and use fresh potting mix. Arrange plants for color and height, water them well, then keep up with feeding and deadheading.
Check regularly for pests or signs of stress so you can respond early. Even a small pot can make a big impact: research suggests plants can cool surrounding air through transpiration.
Give your container flowers consistent care, and you’ll enjoy a brighter space all season long.